

Wuhan Guide R180E Series User Manual

User Manual
Thank you for buying our product
·
To make sure your operation is right and safe, please read this
manual carefully before use.
·
Unauthorized copying or disseminating of this manual is illegal.
·
The content of this manual including the product’s parameters are
subject to change without notice.
·
Every effort has been made to ensure the accuracy of this manual,
so if you find anything wrong or being omi
tted, please contact us
immediately, and we will be very appreciate!
·
company shall not be liable for any errors or for direct or
indirect incidental or consequential damages when use this printer.
·
company shall not be liable for any errors or for direct or
indirect incidental or consequential damages in connection with the error
operation.
·
It is a Class A product and may cause radio interference in
envi
ronment. In this case, user may be required to make adequate
measures.
R180E Series
V1.0
Corporation

Content
Machine Specification ……………………………………………………………1
Operation Insctruction …………………………………………………………2
Accessories …………………………………………………………………………5
Hardware………………………………………………………………………………6
Print Preparation …………………………………………………………………8
1.Software Installation ………………………………………………………8
2.USB3.0 Driver Installation…………………………………………………11
3.Panel Description ……………………………………………………………17
4.Operation Preparation ………………………………………………………18
5.Start Point Setting …………………………………………………………18
6.Menu Bar Main Function………………………………………………………18
7.Print Quality …………………………………………………………………19
8.Print Head Cleaning …………………………………………………………20
9.Print Head Physical Calibration …………………………………………21
10.Print Head Bidirectional Calibration……………………………………24
11.Double Heads Printing Position Calibration……………………………26
12.Same Color Calibration………………………………………………………29
13.Color Calibration ……………………………………………………………30
14.Board Print Setting …………………………………………………………31
Maintenance …………………………………………………………………………32
1.Change Cartridge………………………………………………………………32
2.Handle Waste Ink………………………………………………………………34
3.Machine Cleaning………………………………………………………………35
4.Print Head Maintenance ……………………………………………………36
Frequently Asked Questions………………………………………………………37
1
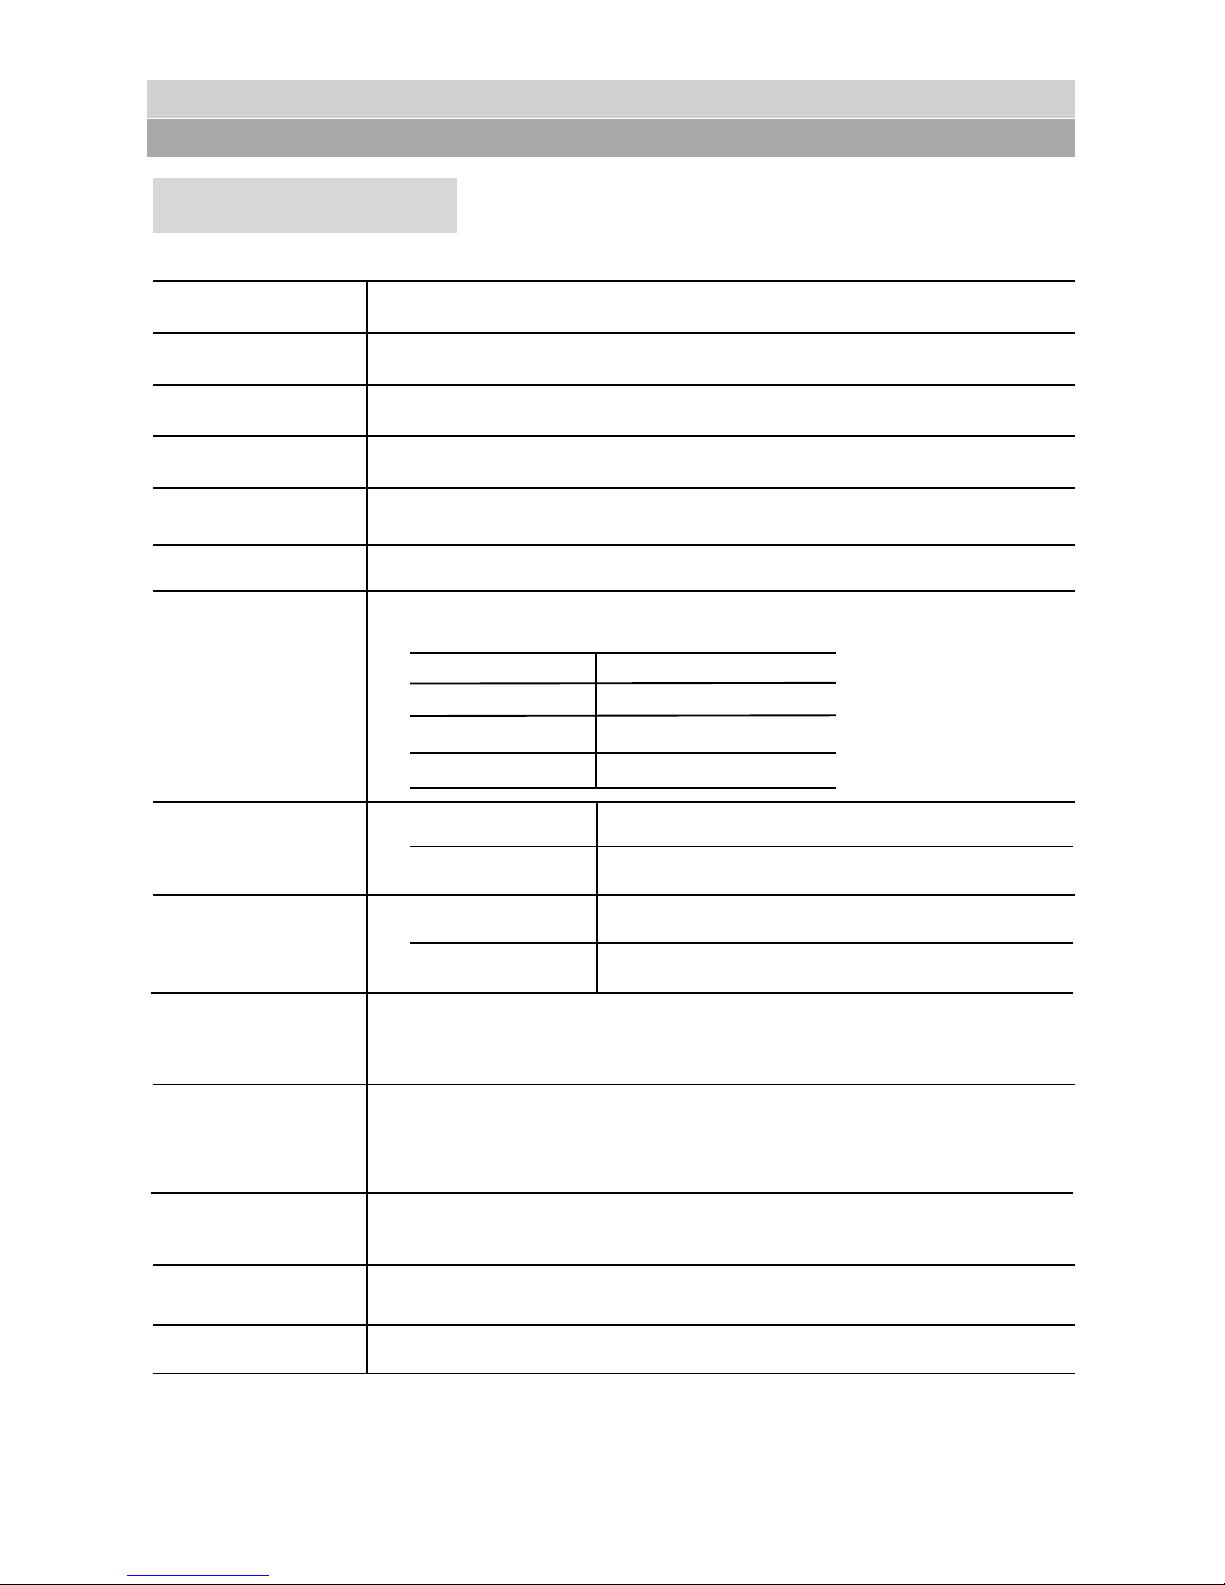
Model
Printhead
No.of printhead
Max print width
Max print height
Dimension
Printing speed
Ink
Environment
Auto printhead
cleaning system
Media
Data transmission
interface
RIP software
Power
R180E/R180E(UV)
Piezo electric printhead DX5
2 pieces
1800mm
≤30mm
3160*1130*1330(L*W*H)
print mode standard production
model Eco solvent ink/UV
color 4 colors/6 colors/8 colors
Temperature 18-32℃
Humidity 46-65%RH
Auto cleaning system with anti clogged flash
spray&moisturizing function
VC,outdoor PP,soft media,textile,PVC board,hallow board,
metal,wall paper,leather,glass,fabric,Acrylic,chevron
board、wantong board etc
HI-USB2.0/3.0
Wasatch,PhotoPRINT,Maintop
AC220V,50HZ/60HZ
4PASS
6PASS
8PASS
16PASS
30㎡/Hr
20㎡/Hr
15㎡/Hr
8㎡/Hr
Machine specification
R180E/R180E(UV)
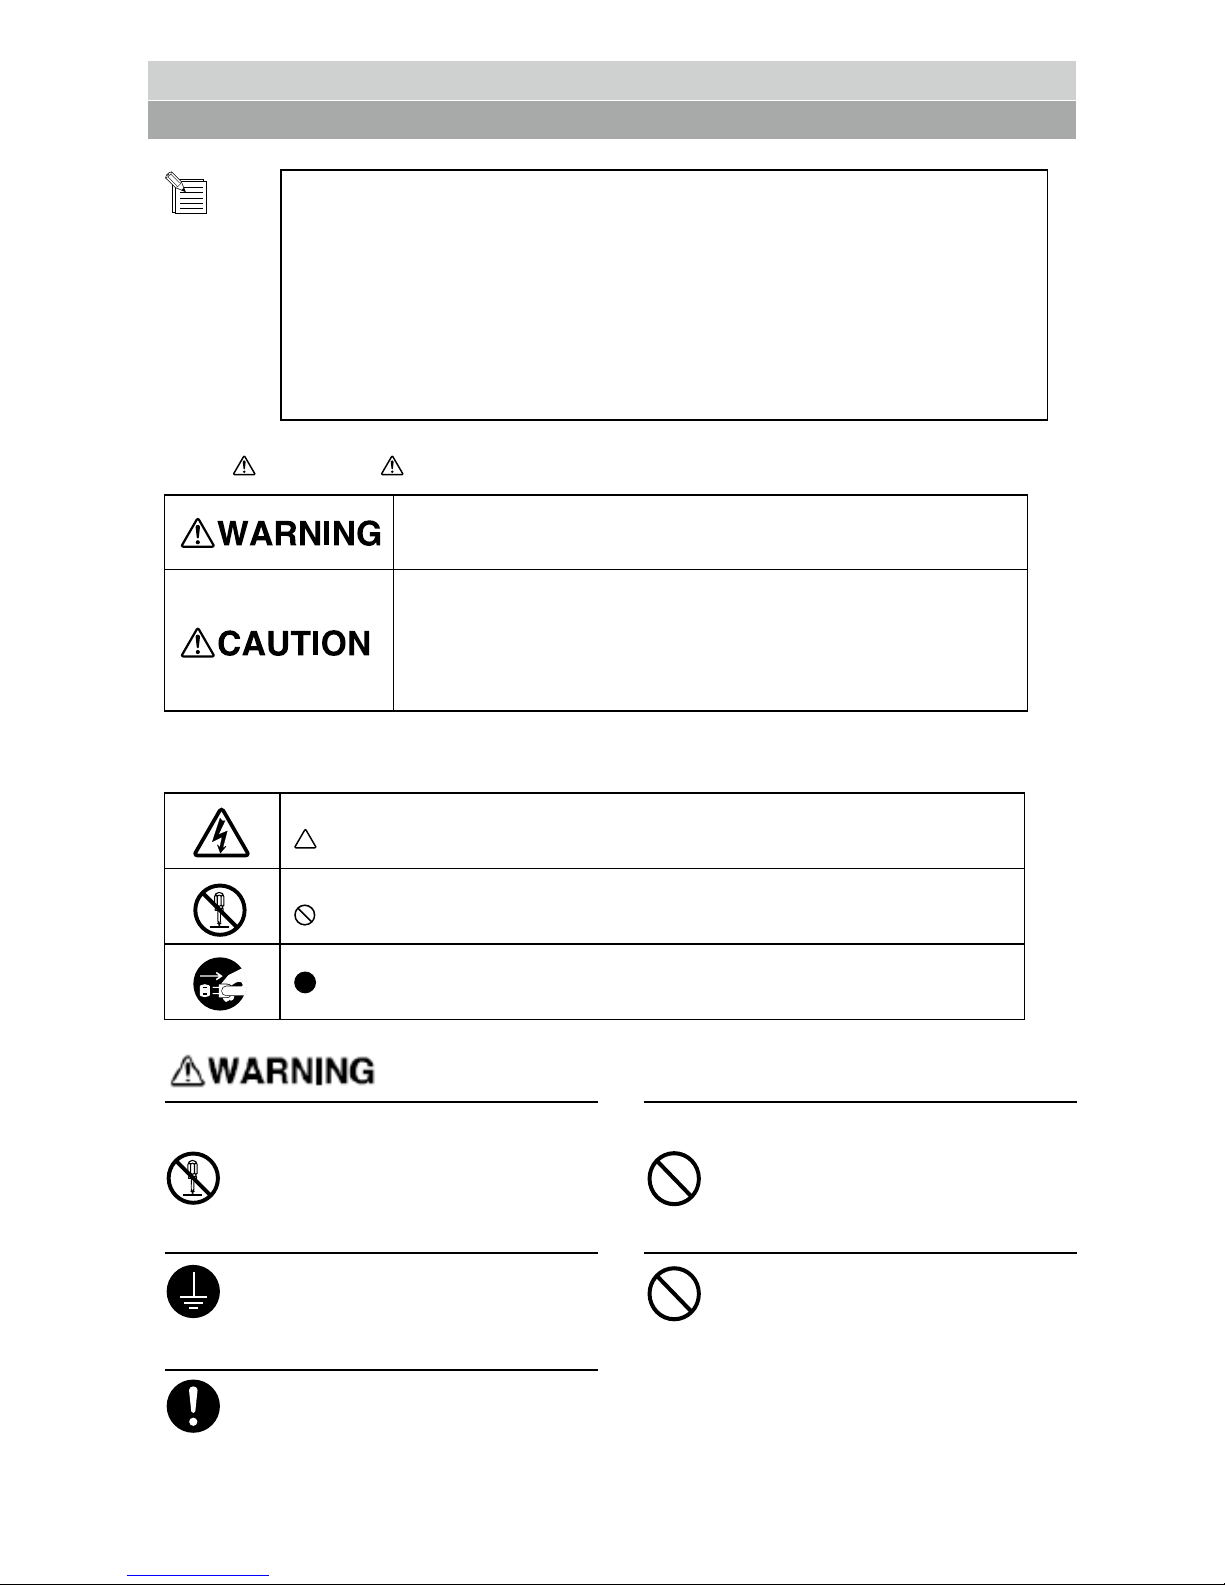
WARNING & CAUTION marks
to warn the user that deformity,serious injuries or death
may caused if any wrong operation.
to warn the user that injuries my caused or things may be
damaged if any wrong operation.
* Damage means to damage your furnishing, decoration,
animals, pets or others.
Various marks
to remind user of important notes or warnings. Its concrete meaning
depends on the figure in it. The mark on the left means: danger of
electric shock.
means never do such things, its concrete meaning depends on the figure in
it, the mark on the left means never to disassemble.
to remind user of things that must to be done. Its concrete meaning
depends on the figure in it, the mark on the left means plug must be
pulled out from the socket.
Can not be disassembled,repaired or
refitted.
Otherwise it may cause fire or other
damage.
Please use the power with the Rated value
which labeled on the printer.
Otherwise electric shock may be caused.
Earthing by using ground wire.
Otherwise electric shock may be
caused.
When it is in error state, do not use.
Use any other power supply which may
cause fire or electric.
Please use the power cord supplied by us.
If using other nonstandard power cord may
cause fire or electric shock.
Recommendation for computer configuration
Hard w are:CP U:3.00 GHZ
M e m o r y :4 . 0 0 G B
Mother board:equiped with PCI slot
Chipset:INTEL
System:WINXP-SP3
Data interface:USB3.0
MICROSOFT WINDOWS XP PROFESSIONAL
Operation instruction
2
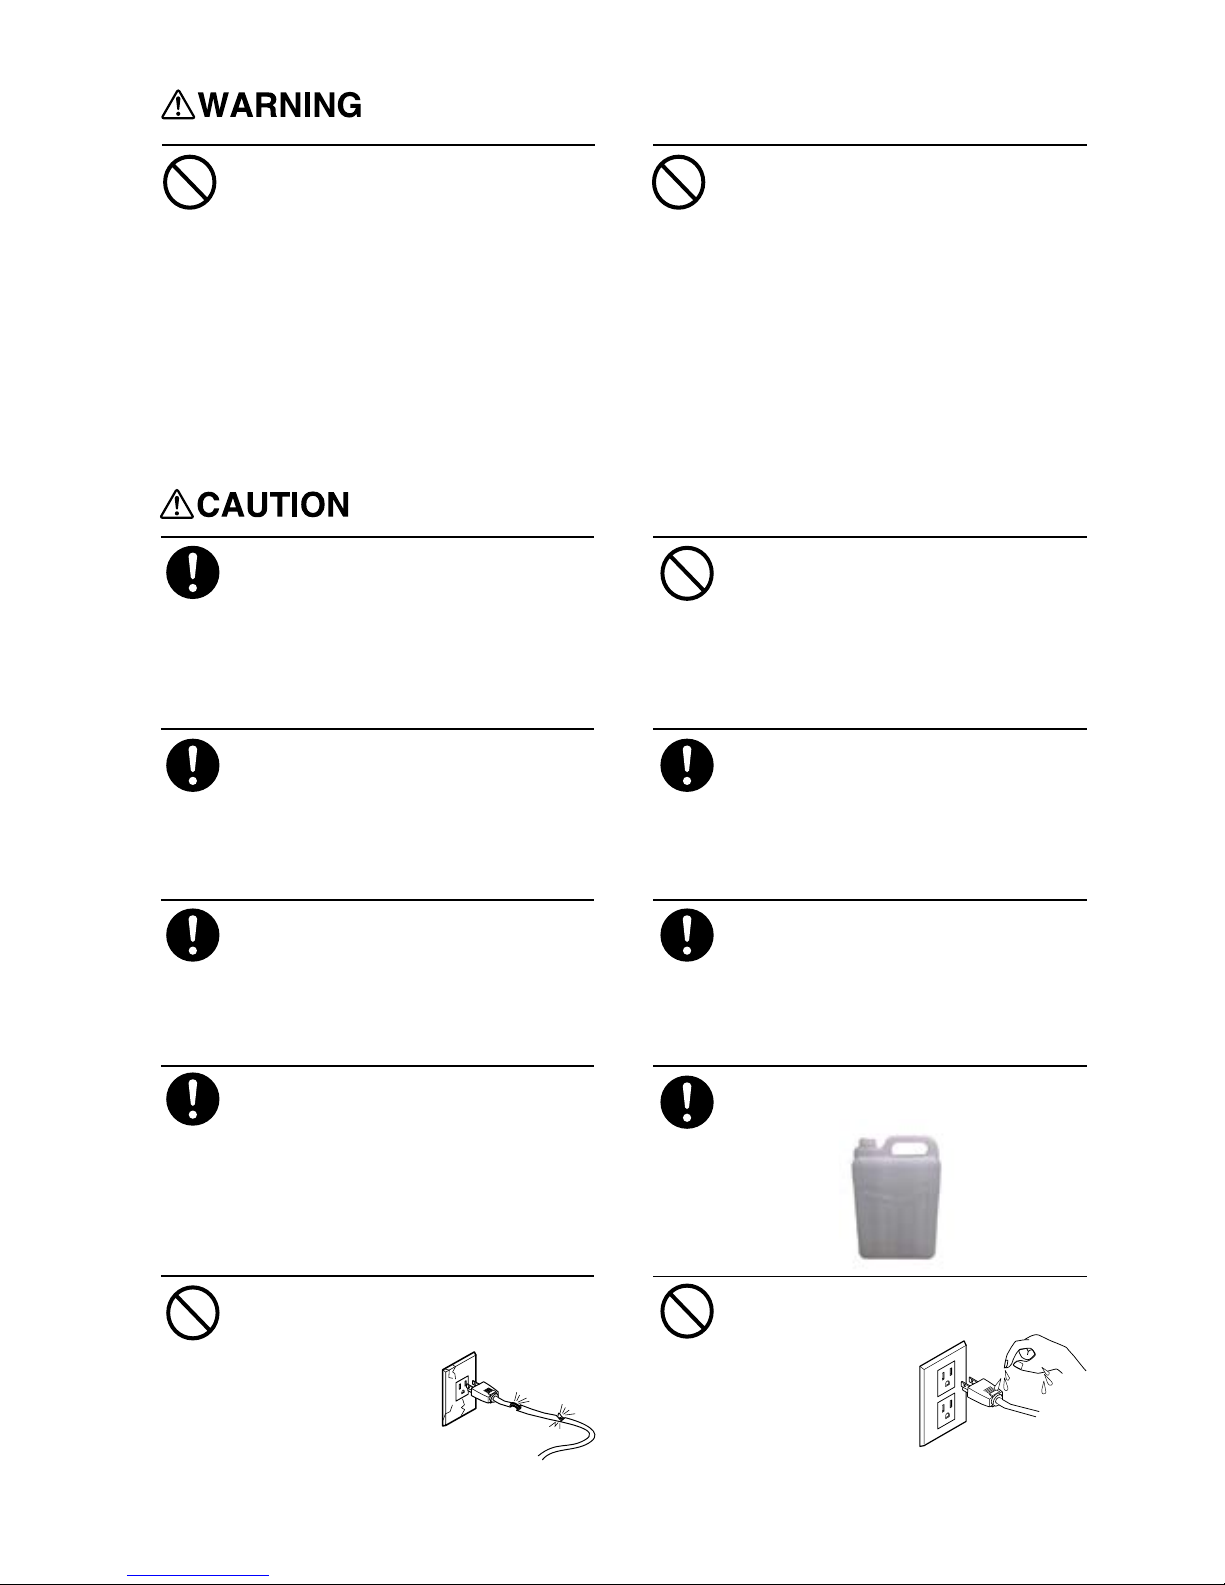
Do not use this printer under
the following environment: open
fires,electric spark, static
electricity,high temperature or any
place close to heat.
Otherwise it may cause fire.
Do not put cartridge, cleaning solution
or waste inks under the following
environment:
·
close to open fires
·
high temperature
or any place close to heat
·
close to bleacher, chemicals or
inflammable and explosive materials
Otherwise it may cause fire.
Keep your working environment well
ventilated.
Otherwise it may affect your health
or cause fire.
Do not drop any ink or cleaning solution
on your skin or eyes. Do not eat, drink,
smell the ink and cleaning solution.
All these behavior are harmful to your
health.
If the ink or cleaning solution is
splashed into your eyes, wash your eyes
immediately with plenty of water at
least 15 minutes and get
medical attention.
If ink or cleaning solution is splashed
into your skin, please wash your skin
with water or soap immediately and get
medical attention.
Get medical attention immediately if
you have any ink or cleaning solution
by mistake.
If you feel bad while smell the ink or
solution, please go to the place where
is well ventilated. If feel dizzy or
blurred, please get medical attention
immediately.
Collect the waste ink via our wasteink-collecting container.
Keep the cartridge away from children.
The fire or illness may caused if
waste ink leak or evaporate.
Do not use broken or loose plug or
power supply.
Otherwise may
cause fire or
electric shock.
Do not pull in or pull out the plug
while your hands are wet.
Otherwise fire or
electric shock may
occur.
3
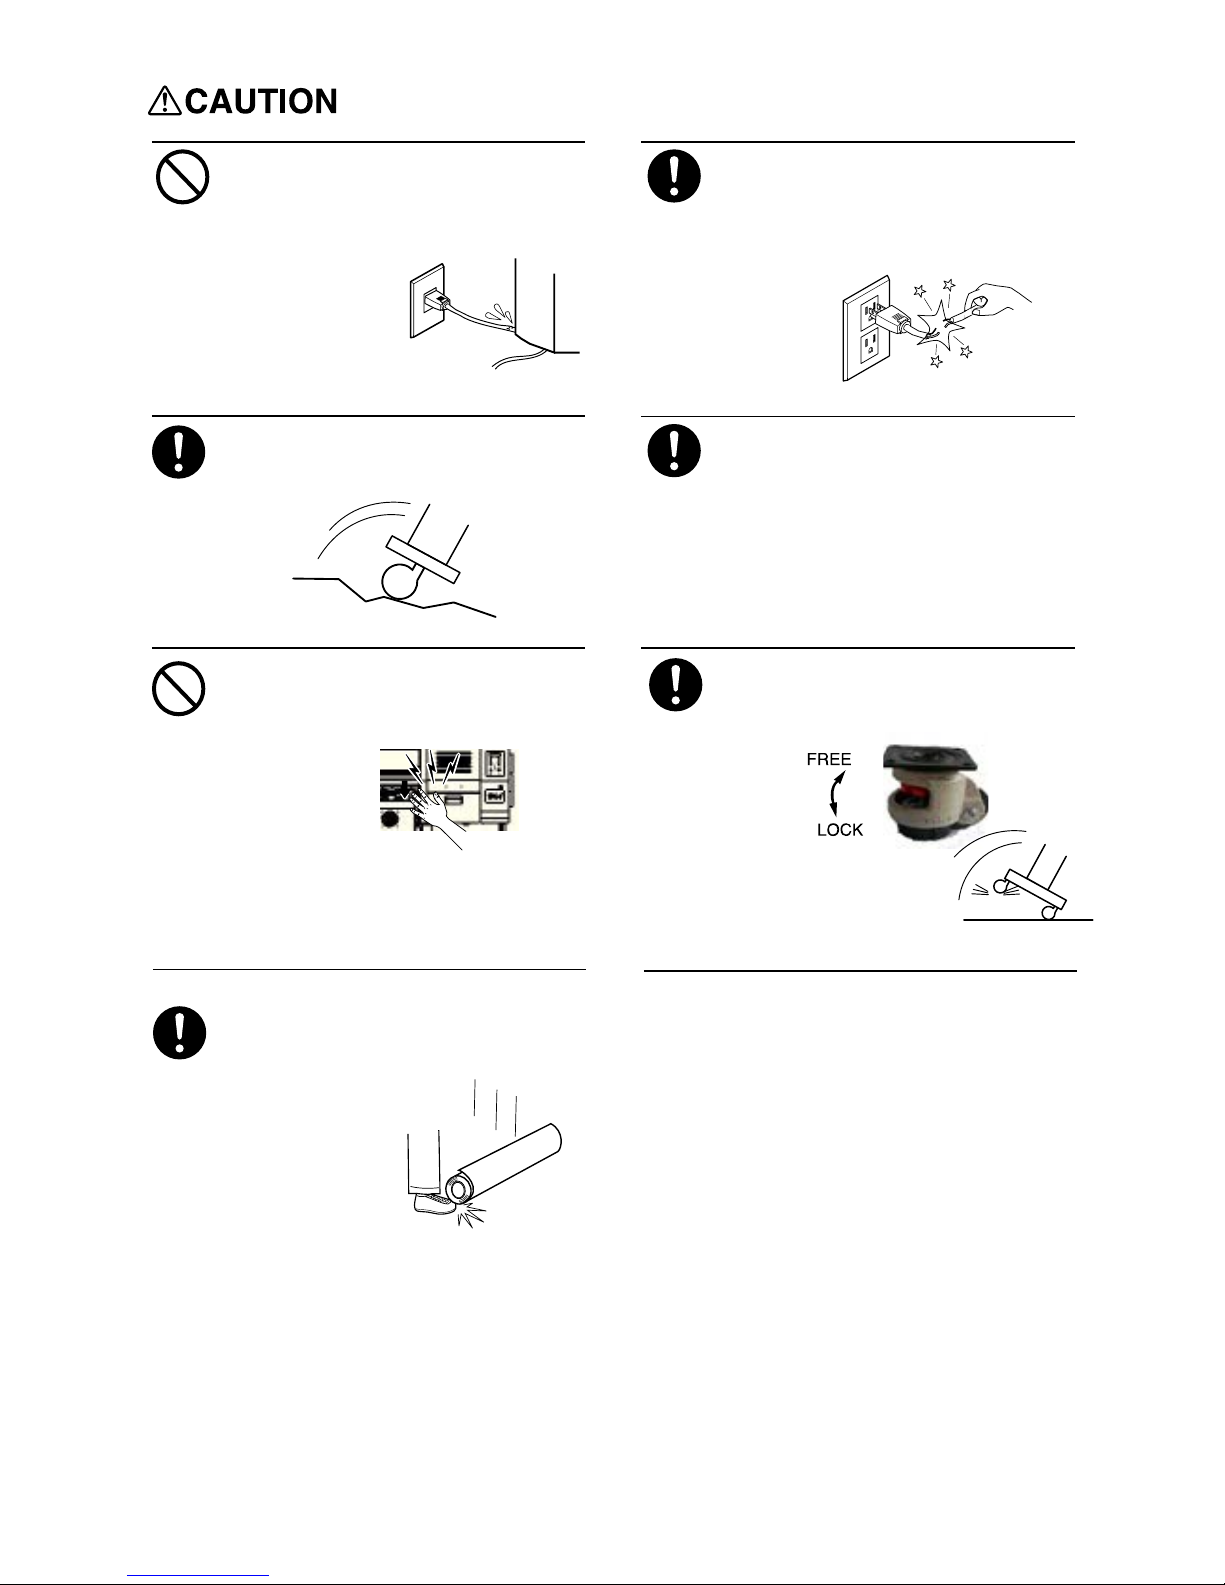
Do not damage or modify the power cord,
and do not over fold, twist, pull,
bend or pinch the power cord, even put
heavy items on it.
otherwise the
power cord will
be damaged,and
may cause fire or
electric shock.
When pull out the plug please seize hold
of the plug not the power cord.
otherwise plug might be damaged and fire
or electric shock may occur.
Suggest at least 4 people should
take part in the process of tearingoff package, assembling or moving the
printer.
Otherwise the printer mightl fell off
or broken.
When put the printer on its stand please
mind your finger.
Otherwise it may
cause damage.
Please untangle the lock of castor first
when you move printer.
Roll should be positioned on its
predetermined place.
Otherwise the roll
may fall off.
4
Install it on the flat floor to avoid
roller falling off or damage.
Otherwise it
may cause
damage.

Accessories
5
Three core power cord 5M:1
Disk:1
RIP:1 {optional} Waste-ink bottle:1 User manual:1 Instruction of hoisting:1
USB cable:1
Keys:2
Bellows tube:1
1.Accessories checking
O rings:4 Cartridge:8 Funnel:4 Pump tube:1
Manual HC model
feeding(left):1
Manual HC model
feeding(right):1
Left feeding
bracket:1
Right feeding
bracket:1
Ring:2
Square tube:1
Hardware
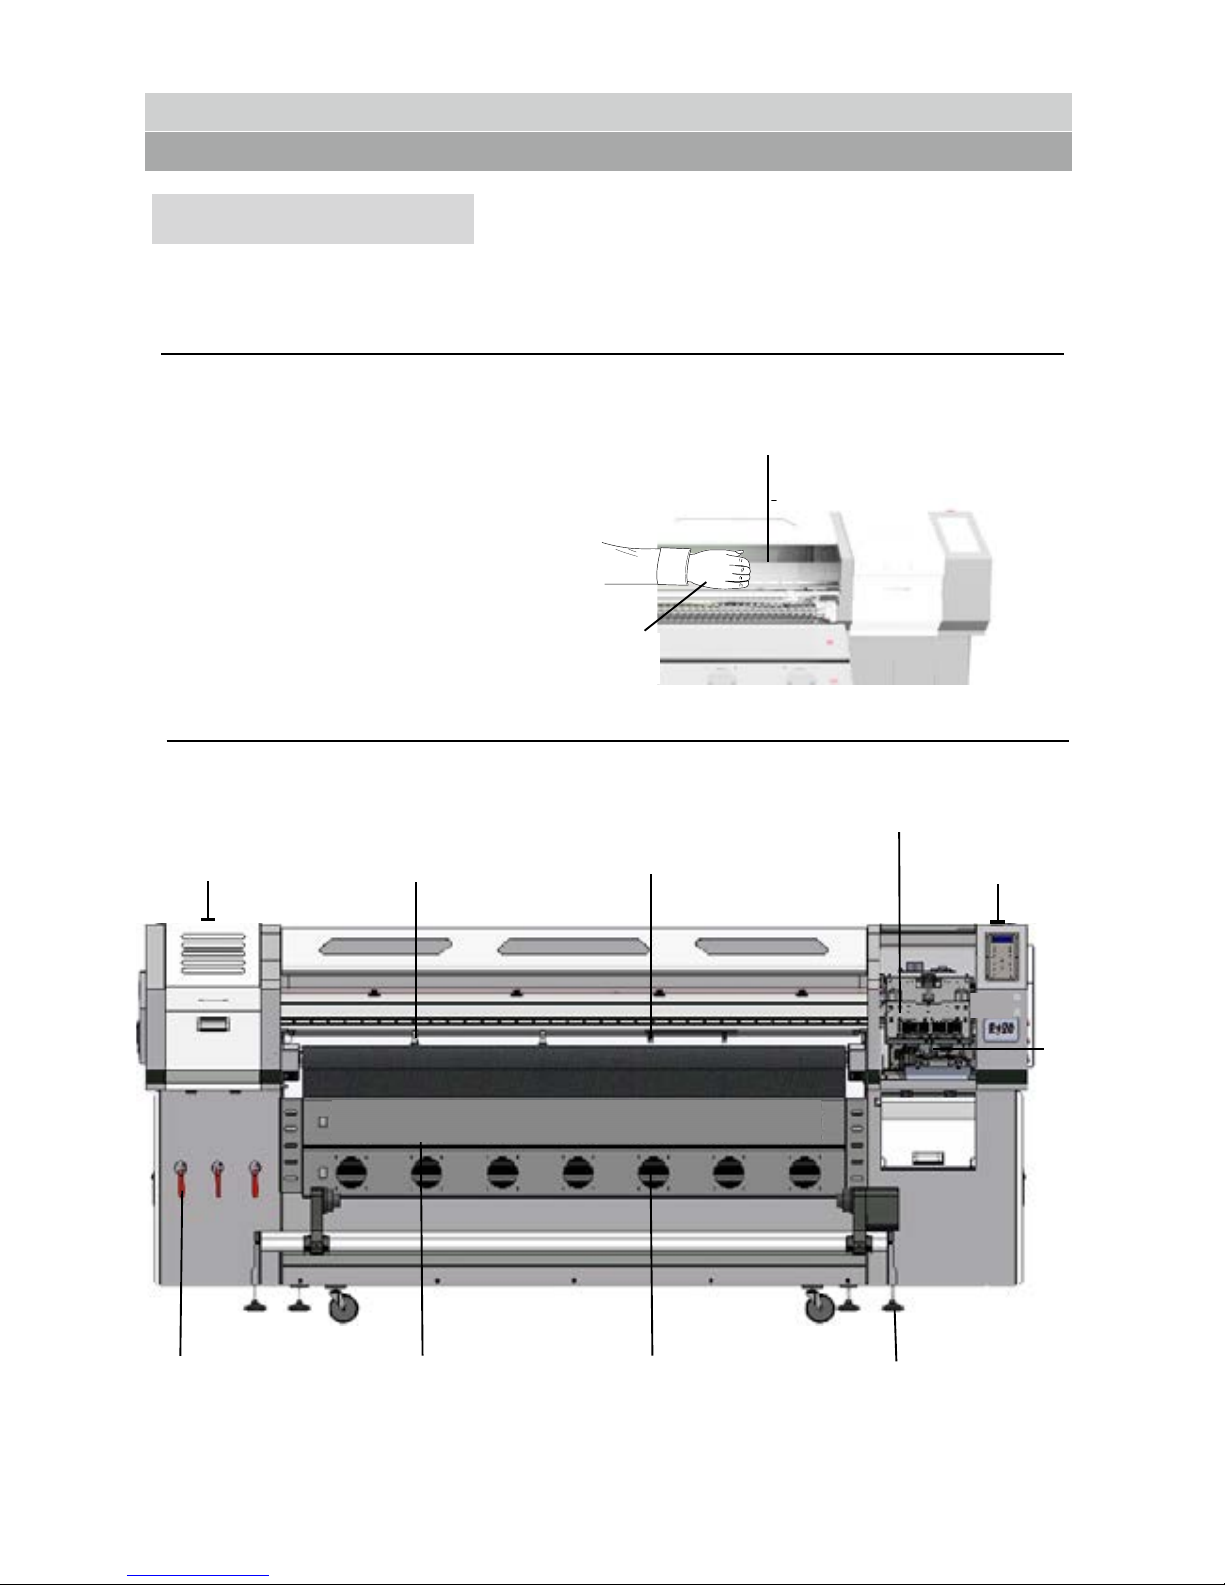
Main View
NOTICE
DO NOT touch the rail or put
hand into the right cabin
unless adjust the printhead
height.
DO NOT touch the area in right
picture, or your finger will be
polluted by ink and make worse
printing quality.
Guide rail(carriage rail,please keep clean and
clear,put on ubricating oil regularly)
Do not put
into hand.
6
Parts name
4.Carriage(adjust
the height
automatically)
6.Cleaning
station
8.Drying system
7.feet cup
10.Suction control
valve(could adjust the
suction separately)
1.Emergency
stop(cut off
power when
emergency)
9.Infared heating
system(optional)
(available at adjusting
by manual and
automatically)
5.Emergency
stop(cut off
power when
emergency)
2.Front guide
device(guide the
plate movement)
3.Positioning
device(fixed the
plate position before
printing)
7
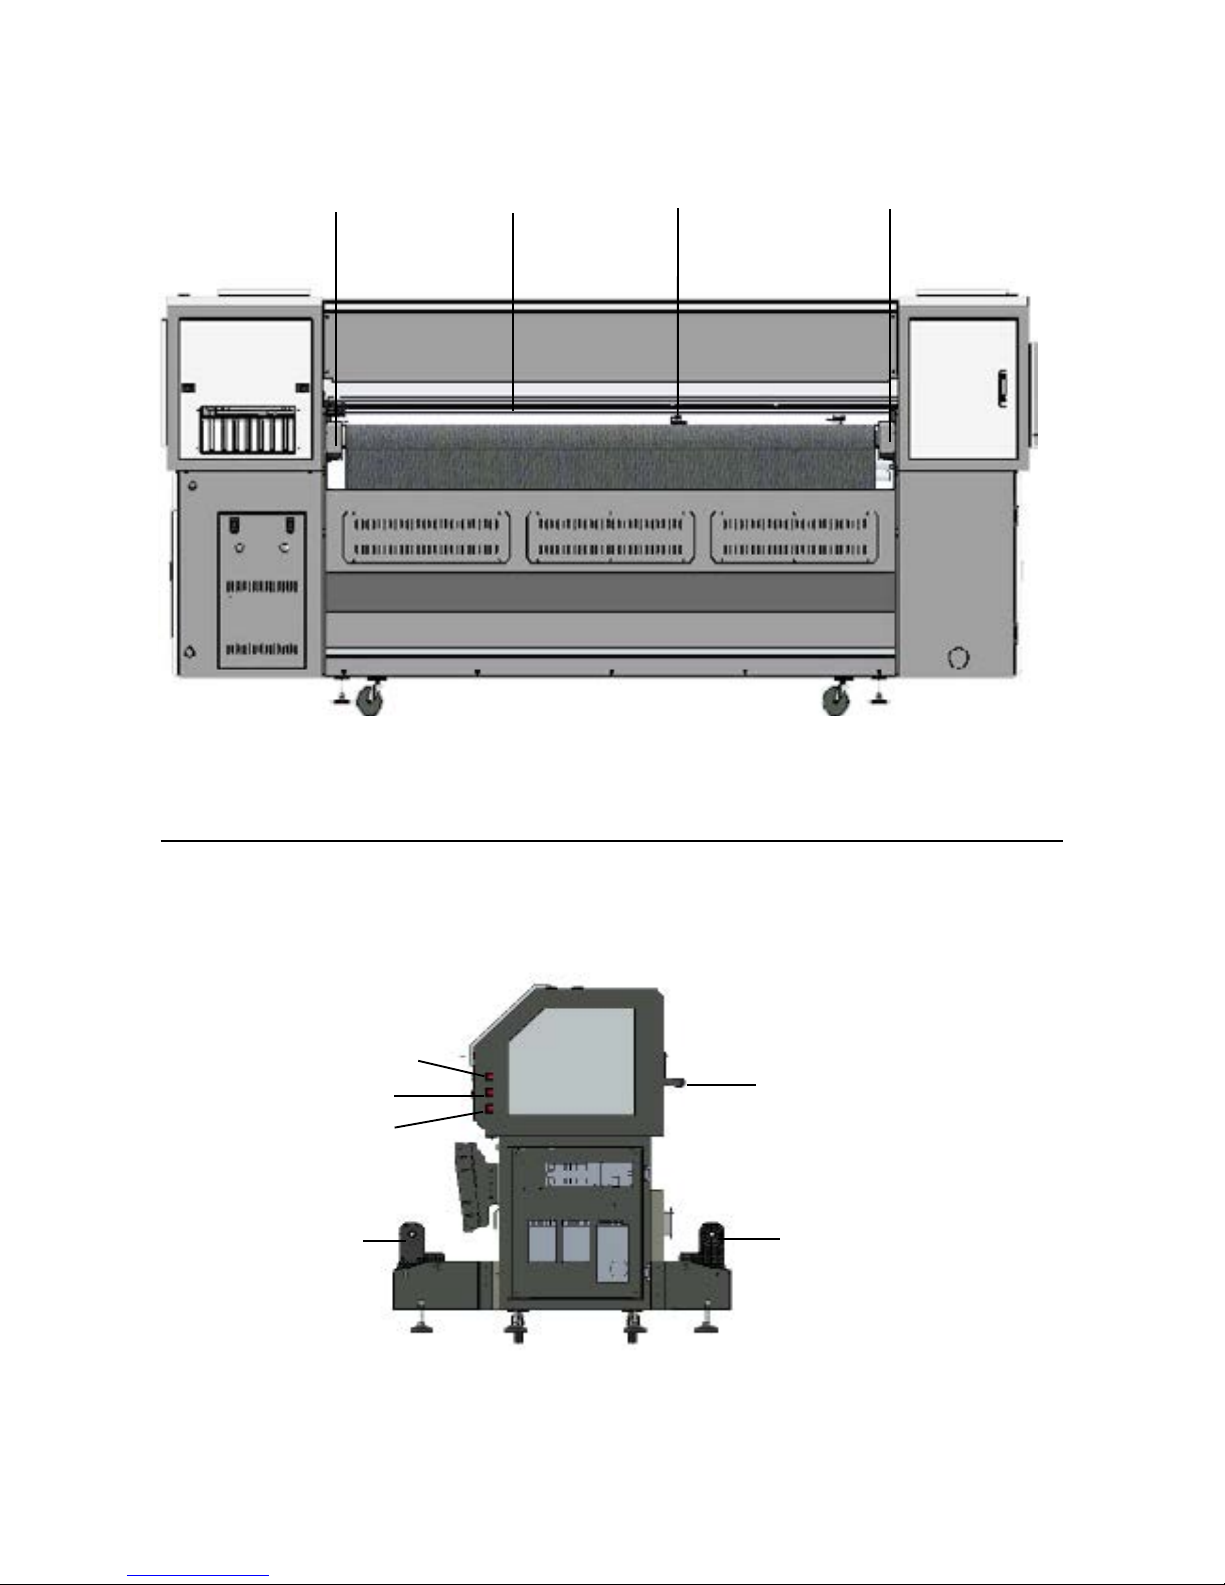
Back View
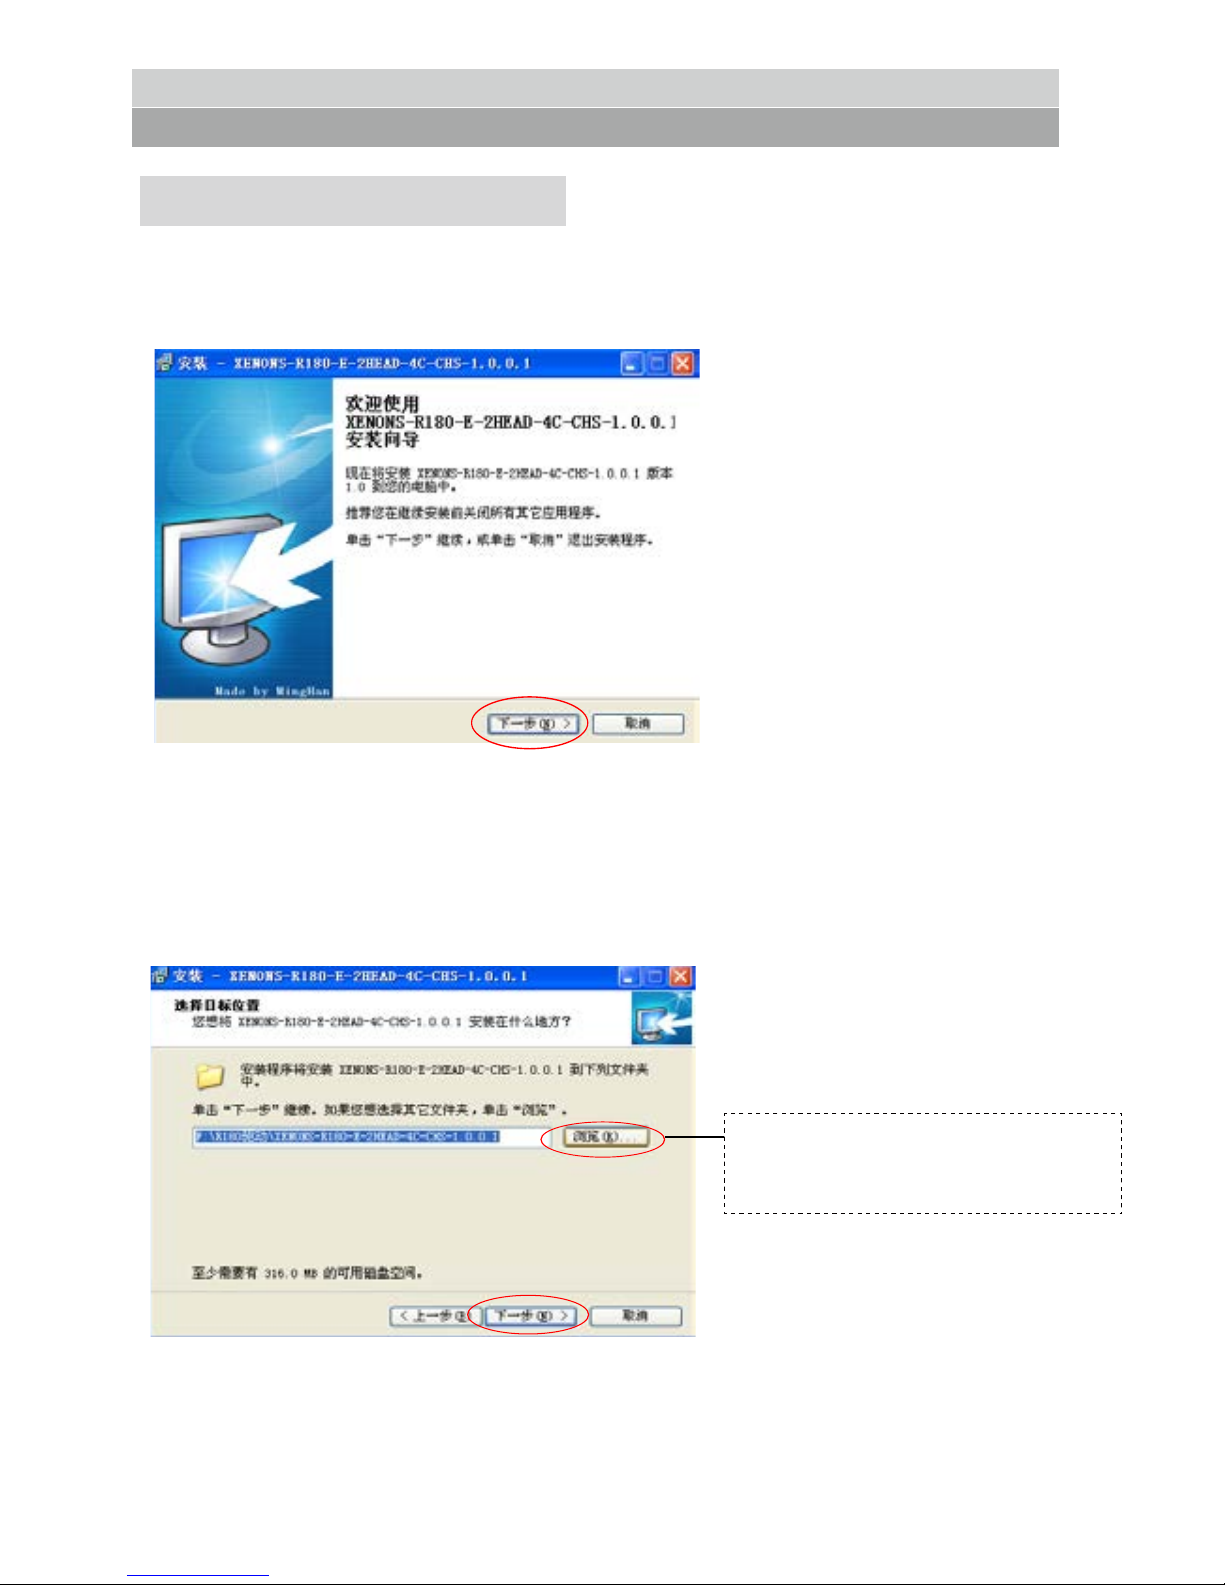
Right View
19.Media pressing level
15.Power switch
16.Led switch
17.Vacuum fan switch
18.Stacker
20.Feeding system
Notice:if there are abnormal circumstances like abnormal noise, please contact
your local agent or log-in our company website for consultation. Do not try to
handle it by yourself, or you must suffer the consequences.
13. Back guide
device(guide the
plate movement)
11.Convey belt tension
device(adjust the
tension of convey net)
14.Convey belt
tension device(adjust
the tension of convey
net)
12.media
pressing
level(press the
printing media)
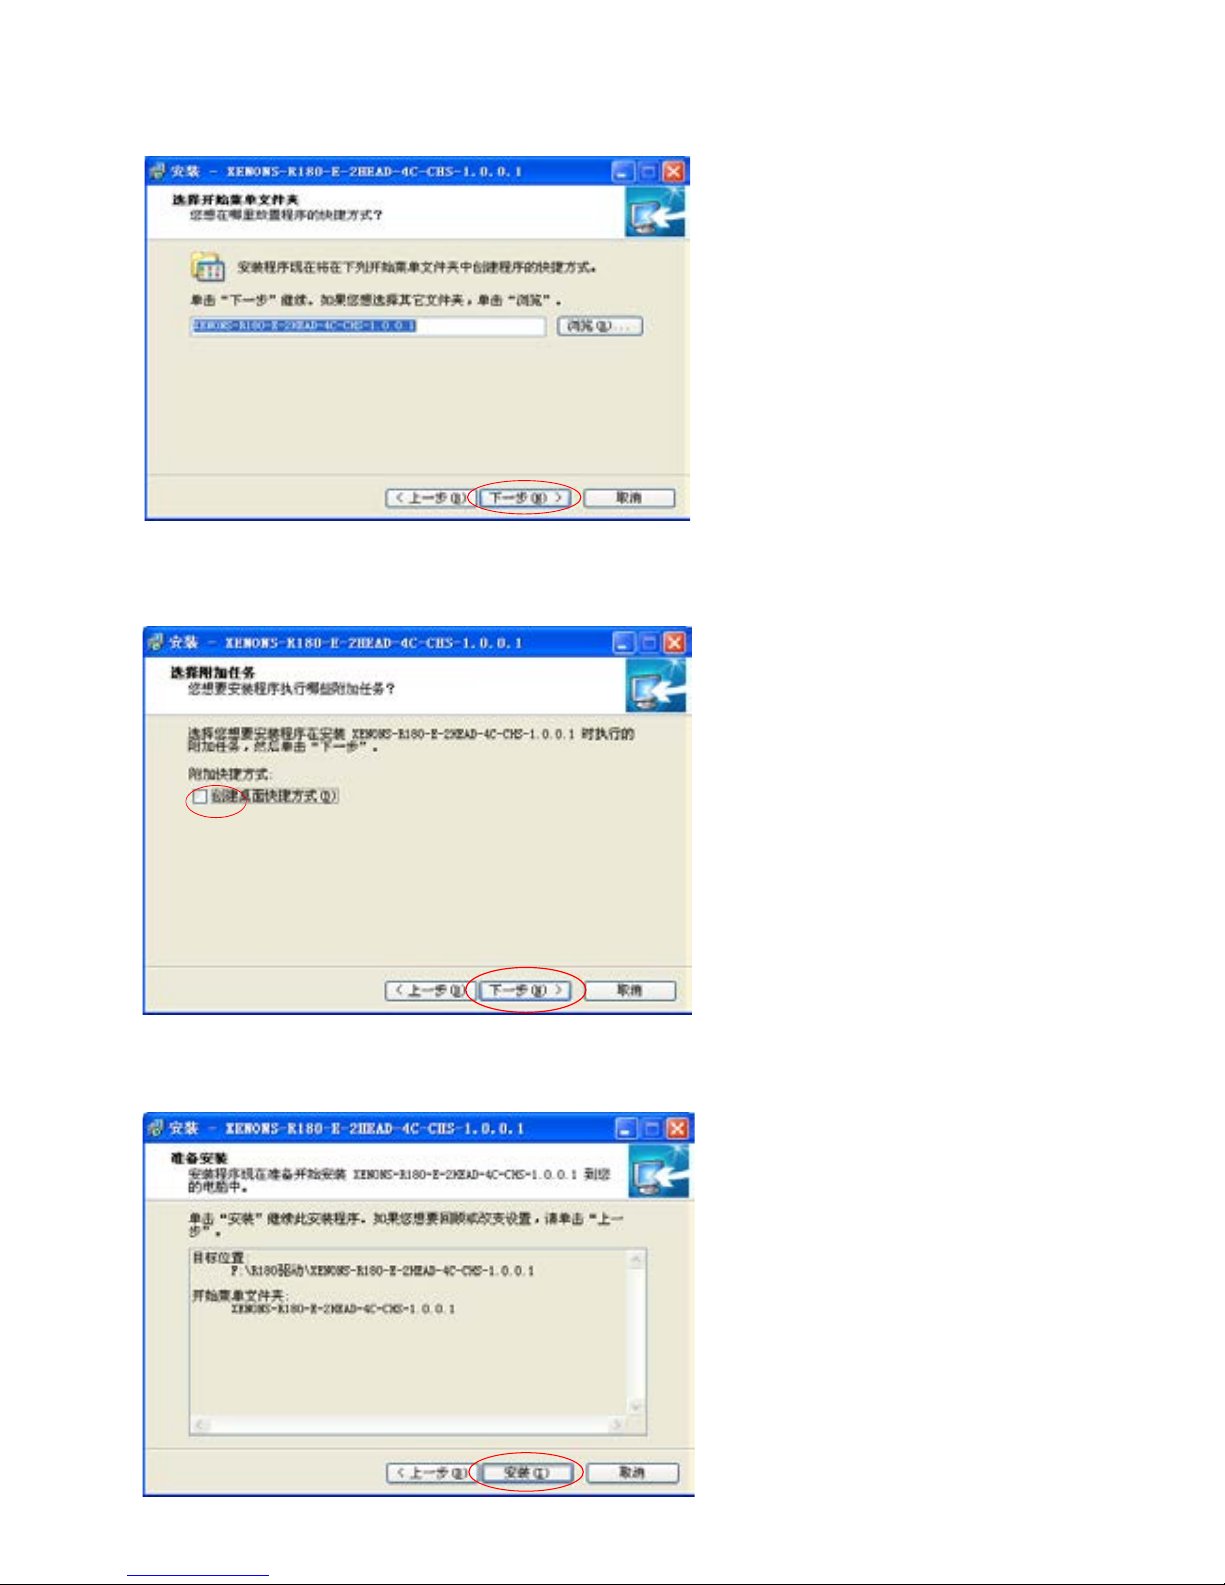
Print Preparation
1.Software installation
1)Double-click software installation package and installation interface pops up.
2)Click “browse” to choose installation location, and then click “next”.
8
Please do not install printer
driver on C drive in computer.
3)If selected shortcut installation location, then just click next.
4)Choose whether to create a shortcut.
9
5)Installation interface pops up and click “install”.
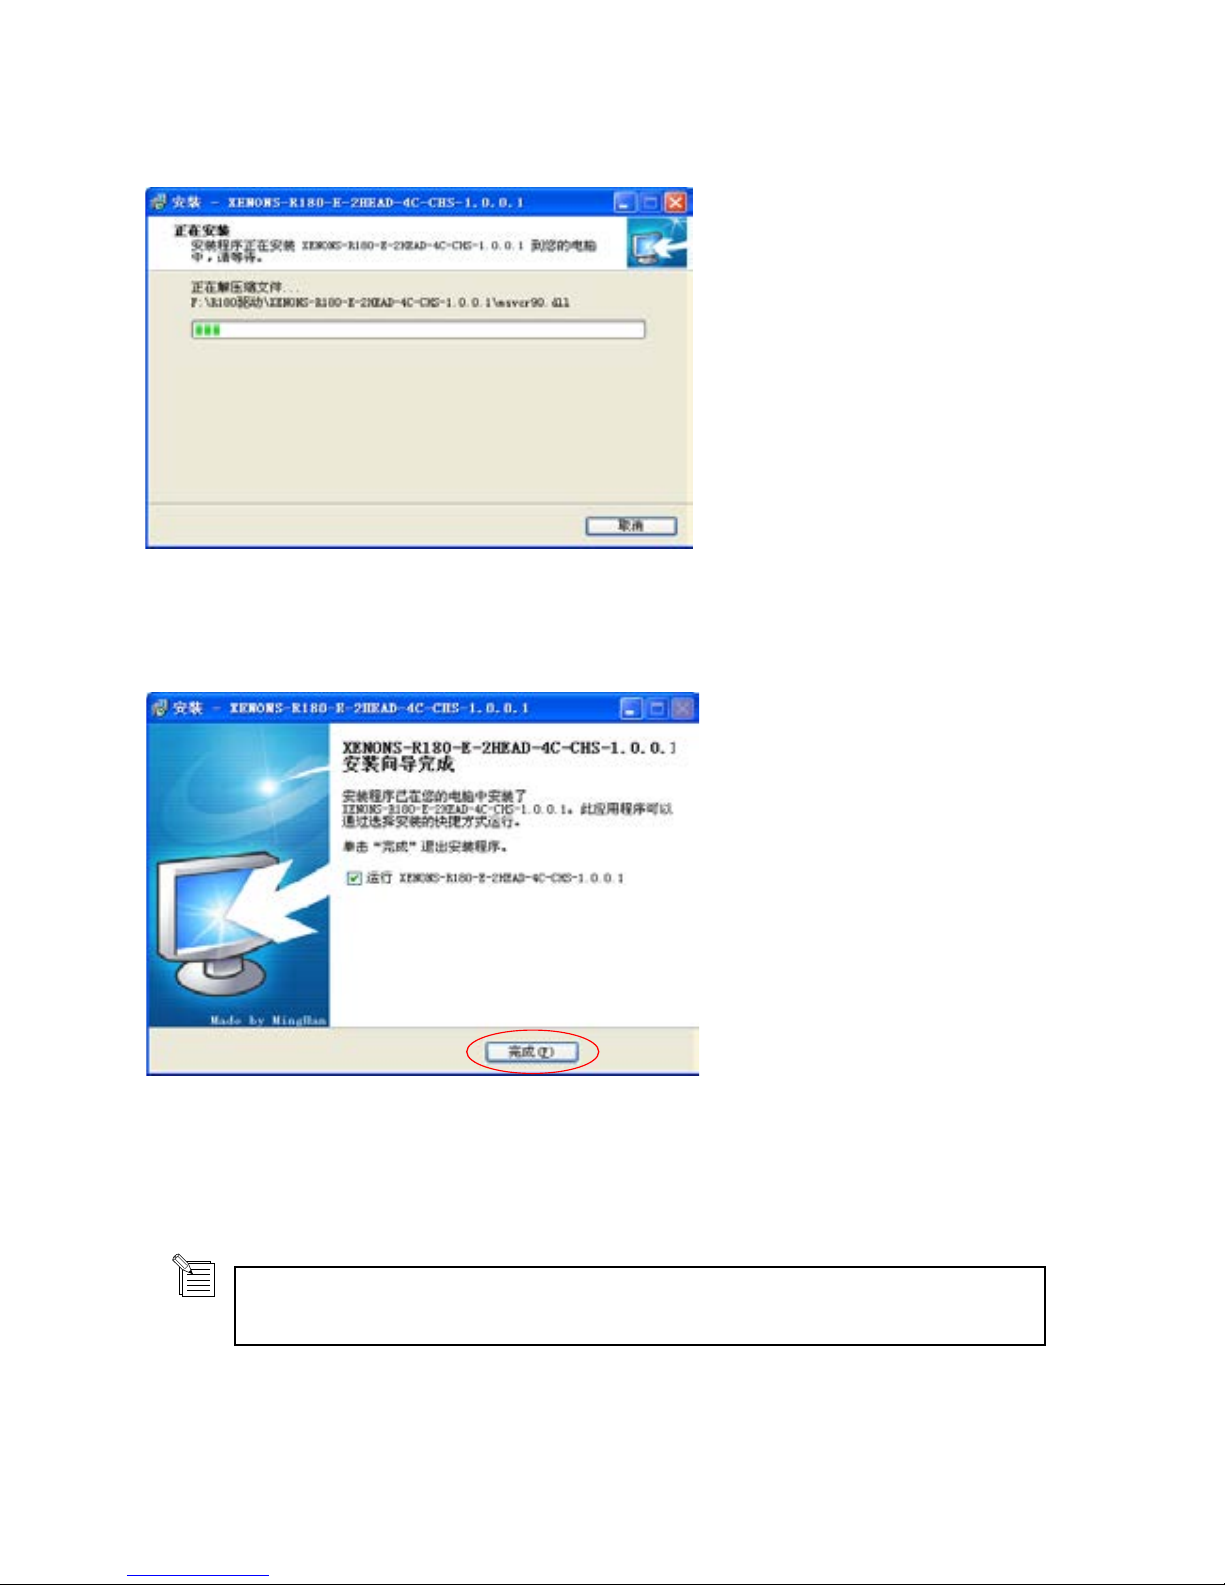
6)Installation progress displays.
7)Click “finish”.
10
Before printing, please install print driver and USB3.0 driver and then the machine
can be used.USB3.0 driver installation steps, please refer to page 11-16.
 Loading...