

WowWee Group 8015 User Manual
Item No. 8015
User Manual
Introduction
Congratulations on choosing the Robosapien Blue™, a sophisticated fusion
of technology and personality. With a full range of dynamic motion, interactive
sensors and a unique personality, Robosapien Blue™ is more than a mechanical
companion; he’s a multi-functional, thinking, feeling robot with attitude!
Explore Robosapien Blue™ ’s vast array of functions and programs. Mold his
behavior any way you like.
Be sure to read this manual carefully for a complete understanding of the many
features of your new robot buddy.
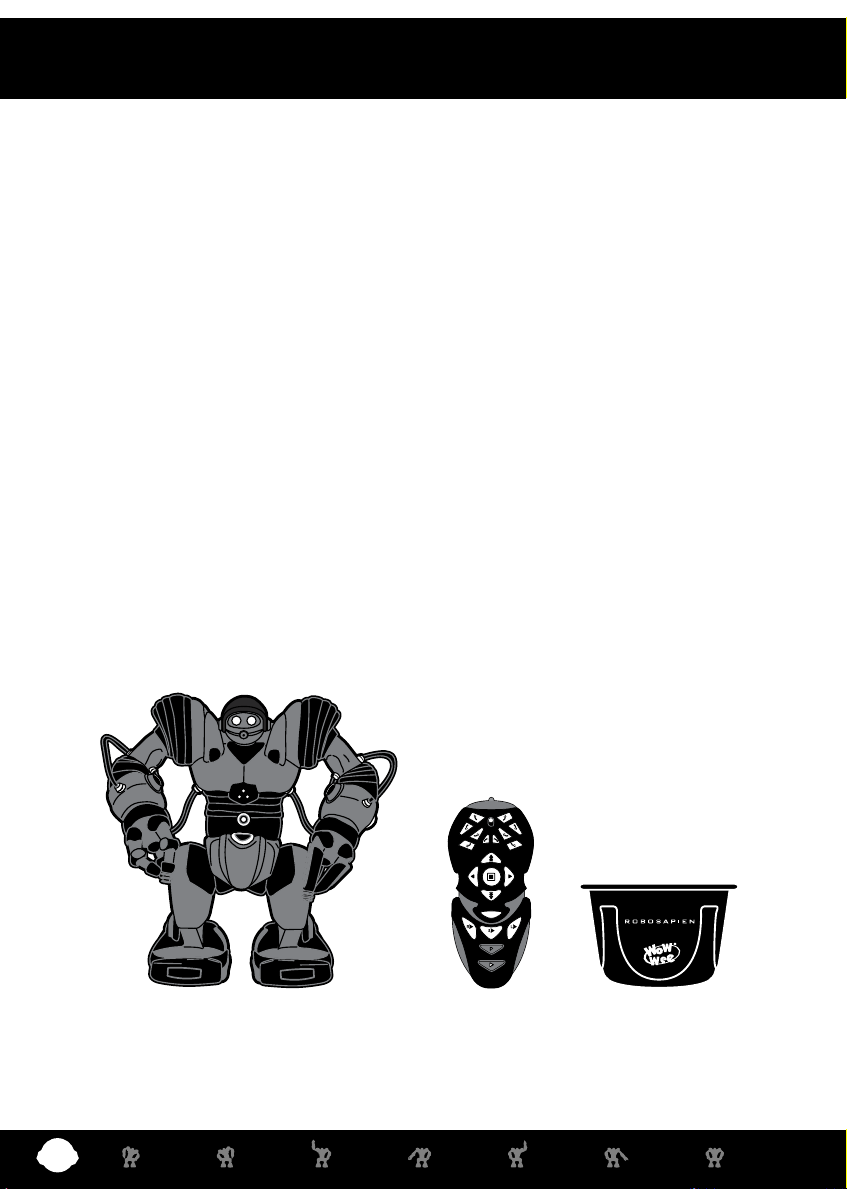
Product Contents:
Robosapien Blue™ x1
Infra-red Remote Controller x1
Pick Up Accessory x1
Robosapien Blue™
For more information visit: www.wowwee.com
THUMP
THUMP
SWEEP
SWEEP
SWEEP
SWEEP
THUMP
THUMP
LEAN
LEAN
PICK UP
PICK UP
HIGH 5
HIGH 5
STRIKE 1
STRIKE 1
STRIKE 1
STRIKE 1
LEAN
LEAN
THROW
THROW
BURP
BURP
SLEEP
LISTEN
SLEEP
LISTEN
STRIKE 2
STRIKE 2
STRIKE 2
STRIKE 2
B
B
U
U
L
L
L
L
P
P
D
D
E
E
O
O
T
T
Z
Z
S
S
E
E
R
R
R
E
S
E
T
T
P
P
E
E
T
T
S
S
N
N
R
R
U
U
T
T
STRIKE 3
STRIKE 3
R
E
S
R
E
A
T
O
R
B
B
A
A
C
C
K
K
S
S
P
P
S
S
O
O
T
T
O
O
E
E
P
P
SELECT
SELECT
RIGHT
RIGHT
SONIC
SONIC
DANCE
DANCE
D
D
E
E
M
M
O
O
EXECUTE
1
1
E
E
D
D
EXECUTE
ALL DEMO
ALL DEMO
WAKE UP
WAKE UP
POWER OFF
POWER OFF
Remote
Controller
PICK UP
PICK UP
TALK BACK
TALK BACK
THROW
THROW
WHISTLE
WHISTLE
T
U
U
R
R
N
N
S
S
T
T
E
E
P
P
STRIKE 3
STRIKE 3
LEFT
LEFT
2
2
O
O
M
M
Pick Up
Accessory
P. 1
Content
Introduction & Contents P.1-2
Battery Details P.3
Robosapien Blue™ Overview P.4
Robosapien Blue™ Operation Overview P.5
Controller Index P.6
RED Commands - Upper Controller P.7
RED Commands - Middle & Lower Controller P.8
GREEN Commands - Upper Controller P.9
GREEN Commands - Middle & Lower Controller P.10
ORANGE Commands - Upper Controller P.11
ORANGE Commands - Middle & Lower Controller P.12
Programming Mode - Touch Sensors P.13
Programming Mode - Sonic Sensor P.14
Programming Mode - Master Command P.15
Troubleshooting Guide P.16
Warranty P.17
App Functionality P.19
P. 2
Battery Detail
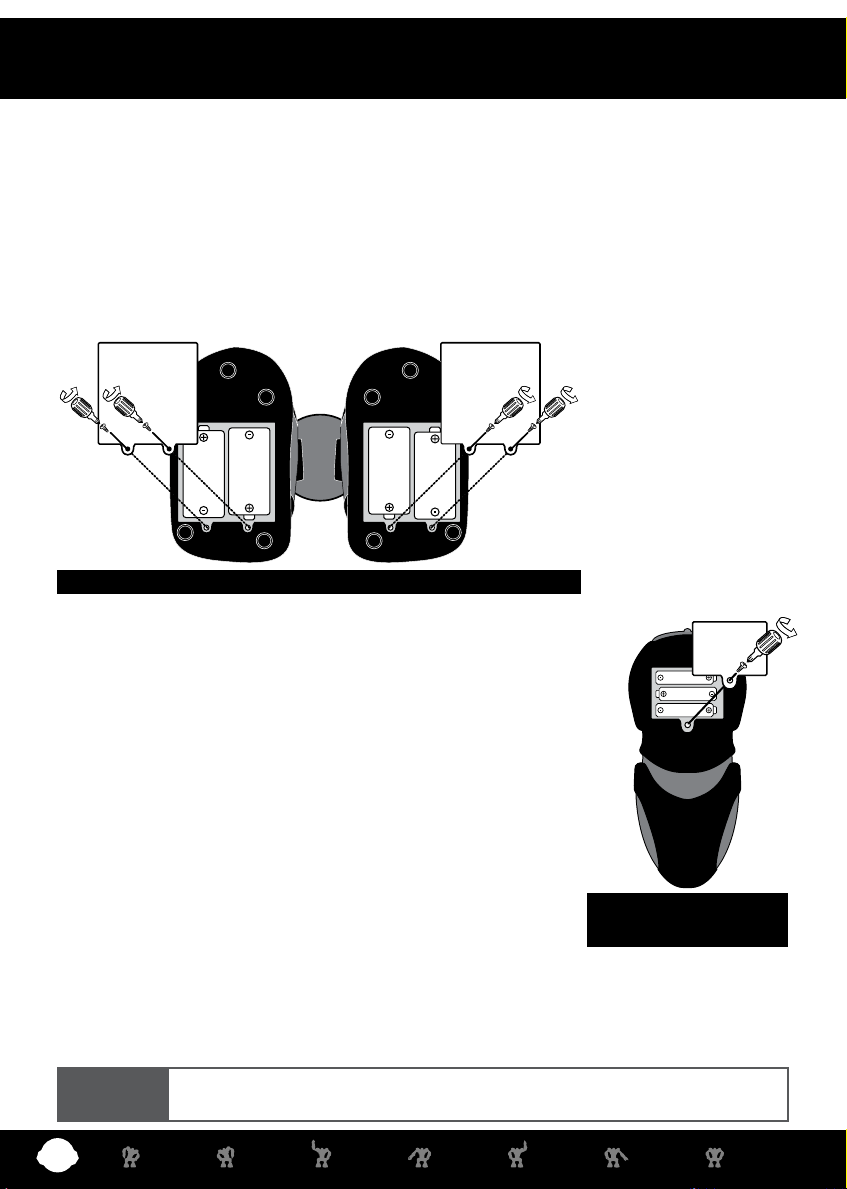
BATTERY REQUIREMENTS:
Your robot is powered by 4 x “D” size Alkaline batteries (2 batteries in each foot - not included).
Your remote controller is powered by 3 x “AAA” batteries (not included).
BATTERY INSTALLATION:
• Be sure the robot power button is in the OFF position (OUT) before installing or changing batteries.
• Remove the battery covers with a Phillips/crosshead screwdriver as shown (not included).
• Install recommended batteries as shown, making sure battery polarity is correct (batteries not included).
• Replace battery doors and carefully tighten all screws.
1.5V
"D"
LR20
UM1
1.5V
"D"
LR20
UM1
1.5V
"D"
LR20
UM1
1.5V
"D"
LR20
UM1
Robosapien Blue™ : Base of feet
IMPORTANT BATTERY INFORMATION:
• Use only fresh batteries of the required size and recommended type.
• Do not mix old and new batteries, different types of batteries [standard
(Carbon-Zinc), Alkaline or rechargeable] or rechargeable batteries of
different capacities.
• Remove rechargeable batteries from the toy before recharging them.
1.5V "AAA"
LR03 UM4
1.5V "AAA"
LR03 UM4
1.5V "AAA"
LR03 UM4
• Rechargeable batteries are only to be charged under adult supervision.
• Please respect the correct polarity, (+) and (-).
• Do not try to recharge non-rechargeable batteries.
• Do not throw batteries into the re.
• Replace all batteries of the same type/brand at the same time.
• The supply terminals are not to be short-circuited.
• Remove exhausted batteries from the toy.
• Batteries should be replaced by adults.
• Remove batteries if the toy is not going to be played with for some time.
Remote Controller:
Bottom view
LOW BATTERY INDICATORS:
When Robosapien Blue™’s batteries grow weak, your Robosapien Blue™ will move and walk very slowly.
- When this occurs, power robot OFF and replace all batteries.
When the remote controller’s batteries grow weak, the indicator light will shine very dimly.
- When this occurs, replace all the batteries in the remote controller.
NOTE
P. 3
• Robot will just stop when battery power gets VERY low. Power off and replace all batteries.
• Some lighting or sunlight can interfere with infra-red signals.

Robosapien Blue™ Overview
Always point the Controller towards
6. Palm Lights
(Both hands)
Light up when you
move an arm or when
you press STOP.
5. Hand Sensors
(Both hands)
Sense touch at the tips
of the longest ngers.
1. Infra-Red Receiver
Robosapien Blue™’s head.
2. Eye Lights
Blink and move when he executes a command.
Look in Robosapien Blue™’s eyes to see what
he is “thinking”.
3. Sonic Sensor
Senses sounds when in
LISTEN mode.
4. Foot Sensors (Both feet)
Sense any touch to the front or back of the foot.
NOTE:
Always point the Controller
at Robosapien Blue™’s head.
P. 4
™
Robosapien Blue
Operation Overview
Robosapien Blue™ has 67 easy
to access command functions.
The command functions feature:
Direct Control, Combination Actions,
Actions with Attitude, Demo Modes
and Programming mode to build your
own dynamic sequence of motions!
Explore the unique multi-level remote
control for hours of fun and action!
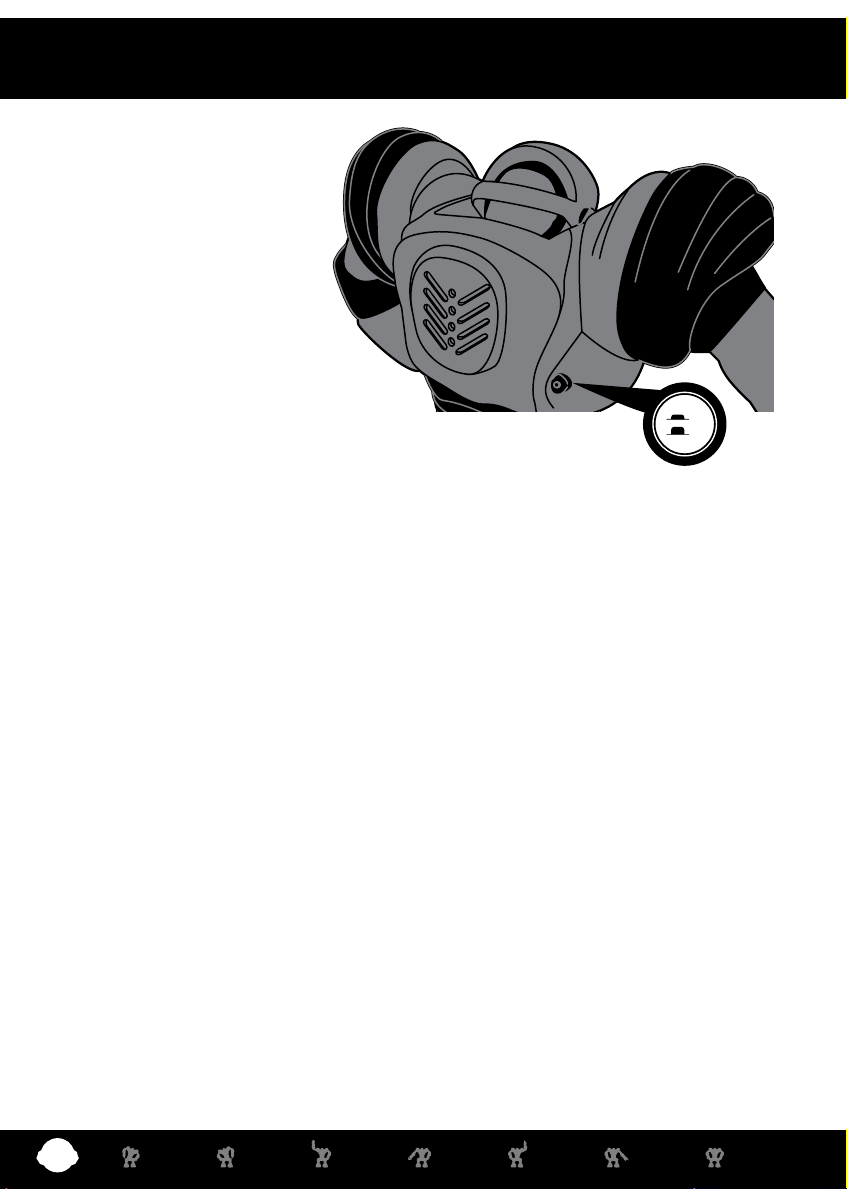
ON
OFF
Where is Robosapien Blue™’s power switch?
• The power switch is located on the robot’s back, below the right shoulder blade.
• Press once to turn ON. Robosapien Blue™ will awaken with a yawn, a stretch and then say
“Uh-huh.” Robosapien Blue™ is now ready for your commands.
How do I access the levels of commands on the Controller?
• By using the SELECT button! The Select buttons works just like the CAPS LOCK on a computer
keyboard. Every controller button can do at least three different things. Pressing the Select
button once (controller displays a green light) activates all the GREEN commands on the remote.
Pressing the Select button twice (controller displays an orange light) activates all the ORANGE
commands.
What are the RED command buttons for?
• The red commands on the upper sections of the controller directly control Robosapien Blue™’s
movements (arms and legs). For further information see page 7.
• The red commands on the lower section of the controller are used for programming your
Robosapien Blue™ - for detailed information see page 13 to 15.
What are the GREEN command buttons for?
• The green commands on the upper sections of the controller execute combination actions
(Pick Up, Throw). For further information see page 9.
• The green commands on the lower section of the controller execute your Programmed sequences
- for detailed information see page 13 to 15.
What are the ORANGE command buttons for?
• The orange commands on the upper sections of the controller access “attitude actions”
(ie.,”High 5”, “Burp”). For further information see page 11.
• The orange commands on the lower section of the controller execute three pre-programmed
demo sequences - for detailed information see page 12.
P. 5
 Loading...