

WowWee Group 0850 User Manual
USER MANUAL
ITEM NO.: 0850THE ULTIMATE TABLET STAND
INTRODUCTION
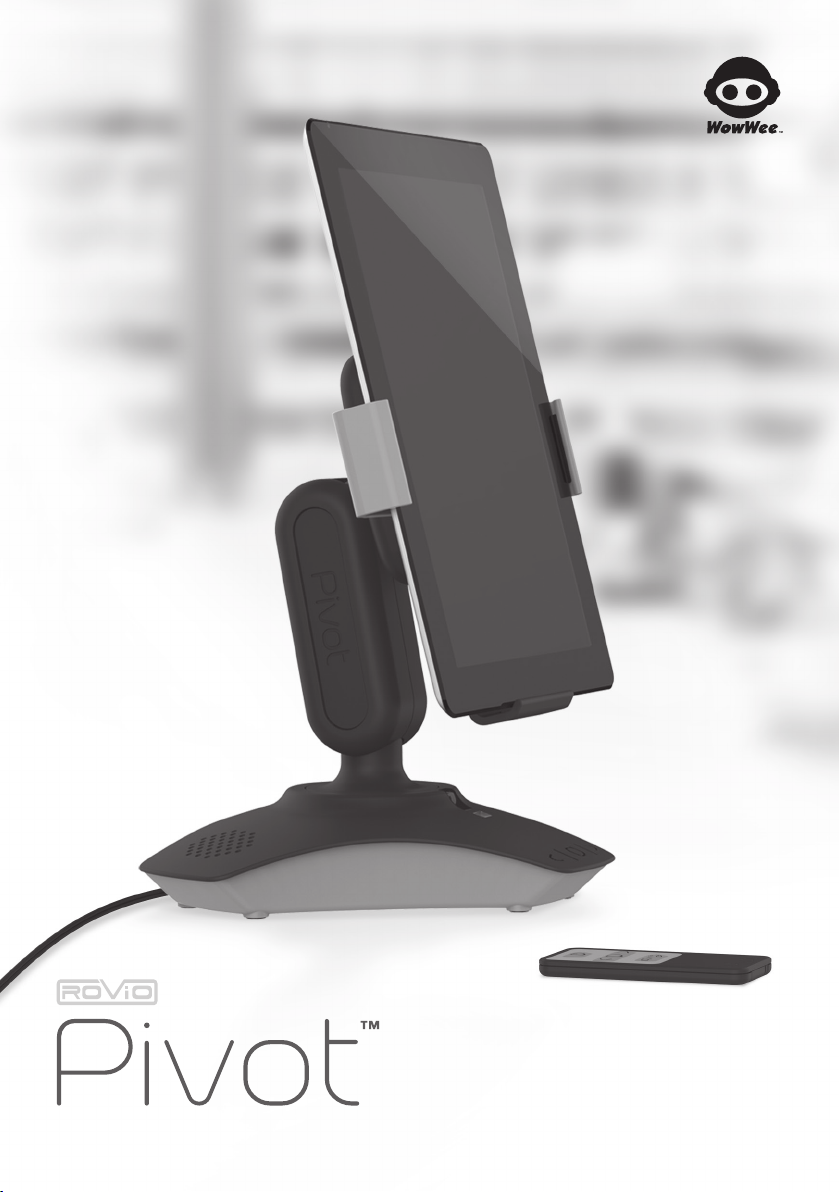
Thank you for purchasing Rovio Pivot™ from WowWee™!
Rovio Pivot™ is a multi-functional tablet stand that serves a variety of consumer needs including
remote video conferencing, as well as a built-in entertainment system.
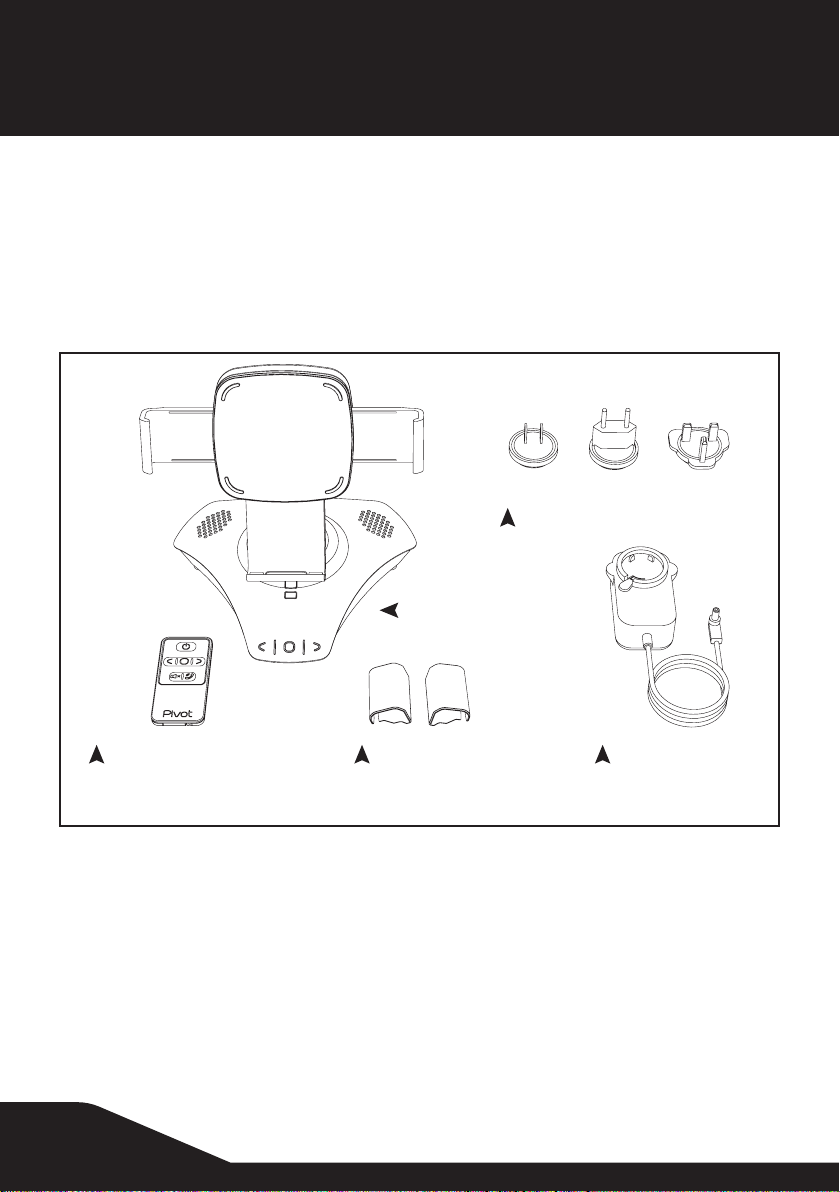
Package contents
• 1 x Instruction Sheet
US EU UK
Interchangeable Plugs*
1 x Rovio Pivot™
1 x Remote Controller
* Number of plugs may vary depending on region.
Please note the following when operating Rovio Pivot™:
• Do not immerse Rovio Pivot™ or any parts in water or any other form of liquid.
• Do not drop, throw, or kick Rovio Pivot™ as this might damage mechanical functions.
• Do not manually turn Rovio Pivot™ in either direction while it is moving.
2 x Grip Adapters
1 x 5V AC/DC
Power Adapter
1
BATTERY INFORMATION
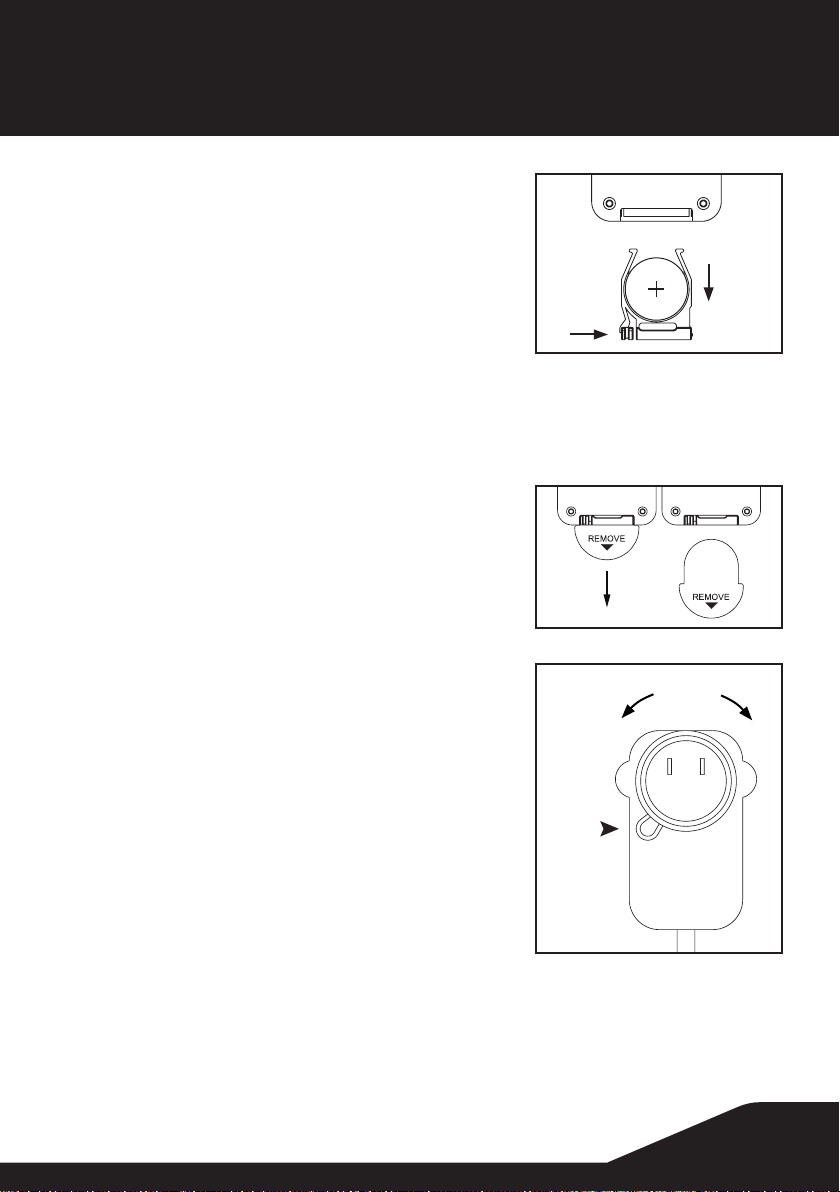
Installing or changing batteries in the Remote Controller:
1. To change the batteries, turn to the back of the Remote
Controller. The Remote Controller requires 1 x “CR2032
3V” size battery (included).
2. Remove the Battery Holder by pressing the latch located
on the left, towards the right and pull downwards as
shown in diagram.
3. Insert the battery according to the diagram. Ensure that
the positive and negative polarities match the illustration shown.
4. Push the Battery Holder all the way back into the Remote Controller. A soft click indicates that
the Battery Holder has been securely attached.
NOTE: Out of the box, you will notice a clear plastic strip
extending from within the battery compartment of
the Remote Controller.
Activate the Remote Controller by removing and
discarding this insulation tab by pulling in the
direction shown.
The Remote Controller functions without this tab.
2.1
CR2032
3V
2.2
Installing or changing the Interchangeable Plugs:
1. To change the Interchangeable Plugs, rst press and hold
on the Lock Release Button.
2. Then twist plug as shown in diagram to release.
3. Position desired plug in position and twist in the opposite
direction to lock. A soft click indicates that the plug has
been securely attached.
TIP: Positioning steel pins to the top of the adapter will
facilitate assembly.
NOTE: Rovio Pivot™ must only be used with the transformer
included.
Press
Lock
Release
Button
IMPoRtant BatteRY InFoRMatIon:
• Use only fresh batteries of the required size and recommended type.
• Please respect the correct polarity, (+) and (-).
• Do not try to recharge non-rechargeable batteries.
• Do not throw batteries into re.
• The supply terminals are not to be short-circuited.
• Remove exhausted batteries from the unit.
• Batteries should be replaced by adults.
I
S
W
T
T
L
n
e
p
O
o
c
k
2
QUICK OVERVIEW
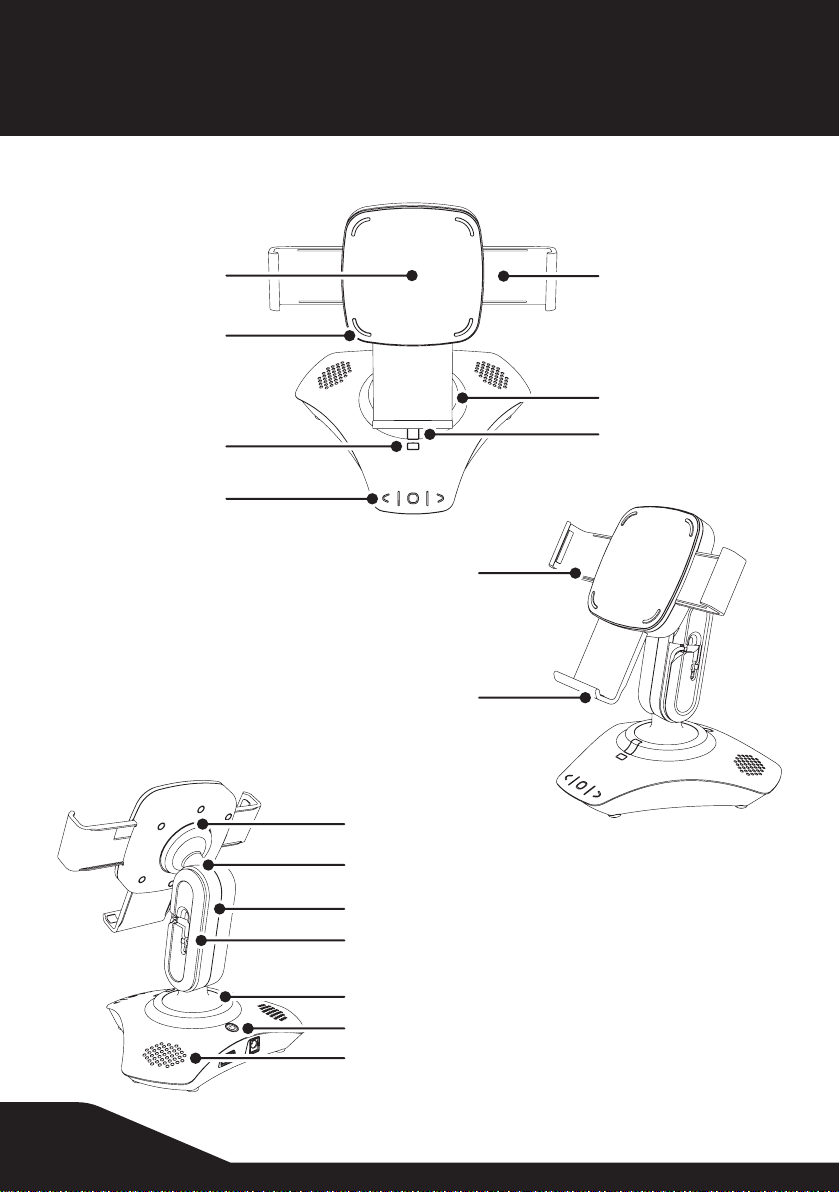
ROVIO PIVOT™
MOTORIZED BASE
Stand Head
Device Support Pads
Status Indicator
(RGB LED)
Touch-Sensitive
Control Panel
Adjustable Clamps
Device Rest
IR Sensor
Device Support Pads
Cable Access
Adjustable Rotation Joint
3
Adjustable Tilt Joint
Neck
Smart Device Cable
Stand Head Swivel Joint
Power Button
Speakers
 Loading...