

WORLD TECH ELITE MINI ORION Instruction Manual
LIVE FEED PICTURE / VIDEO CAMERA
2.4GHz 4.5CH RC DRONE
INSTRUCTION MANUAL

INTRODUCTION
SAFETY & PRECAUTIONS
Thank you for purchasing this amazing World Tech Toys product. This drone is suitable for indoor
and outdoor flight. Please carefully read the entire manual before operating this drone and keep it
for reference in the future.
1. Important Instructions
This product is not a toy but a precision piece of equipment with integrated technologies
of mechanics, electronic, air dynamics and radio frequencies. In order to avoid accidents,
the operator must read these instructions carefully. Use safety precautions when operating,
if operated incorrectly, serious physical injury and/or property loss may occur.
This product is suitable for operators with previous hobby flying experience, age 14 and up.
Only fly in a safe environment that is legal for remote control flying.
We do not take any responsibility for the operation and control of this device
and related safety responsibilities.
(1)
(2)
(3)
(4)
2. Safety Instructions
Operate far away from obstacles and crowds.
This drone has uncertain flying speed and conditions which present potential danger.
Fly away from people and animals, high buildings, high voltage wiring, etc. Avoid bad weather
conditions, wind, rain, thunder, and other conditions to ensure a safe and fun flying environment.
Avoid high temperatures.
This drone is made of metal, carbon fiber, plastic, electronic components and
other materials. Keep away from any heat source and avoid using in high temperatures
such as hot sunny days to avoid transformation and broken parts resulting from the heat.
(1)
(2)
3. Flight Environment
The inside of this drone is integrated with precision electric and mechanical parts,
avoid water and wet environments. Water can enter the aircraft and result in part breakdown
and accidents may occur.
(1)
(2)
(3)
(4)
(5)
3. Attention Before Flying
It is recommended that the flying area is at least an area of 25ft x 25ft x 15ft.
Be sure that the transmitter and drone batteries are fully charged.
Be sure that the throttle is at its lowest position to avoid premature flight.
Before playing turn on the drone first, then turn on the transmitter. Incorrect
operation may result in failure and the possible influencing of other devices in area.
Ensure that all plugs and wires are secure and in place, rocking during flight
may loosen over time.

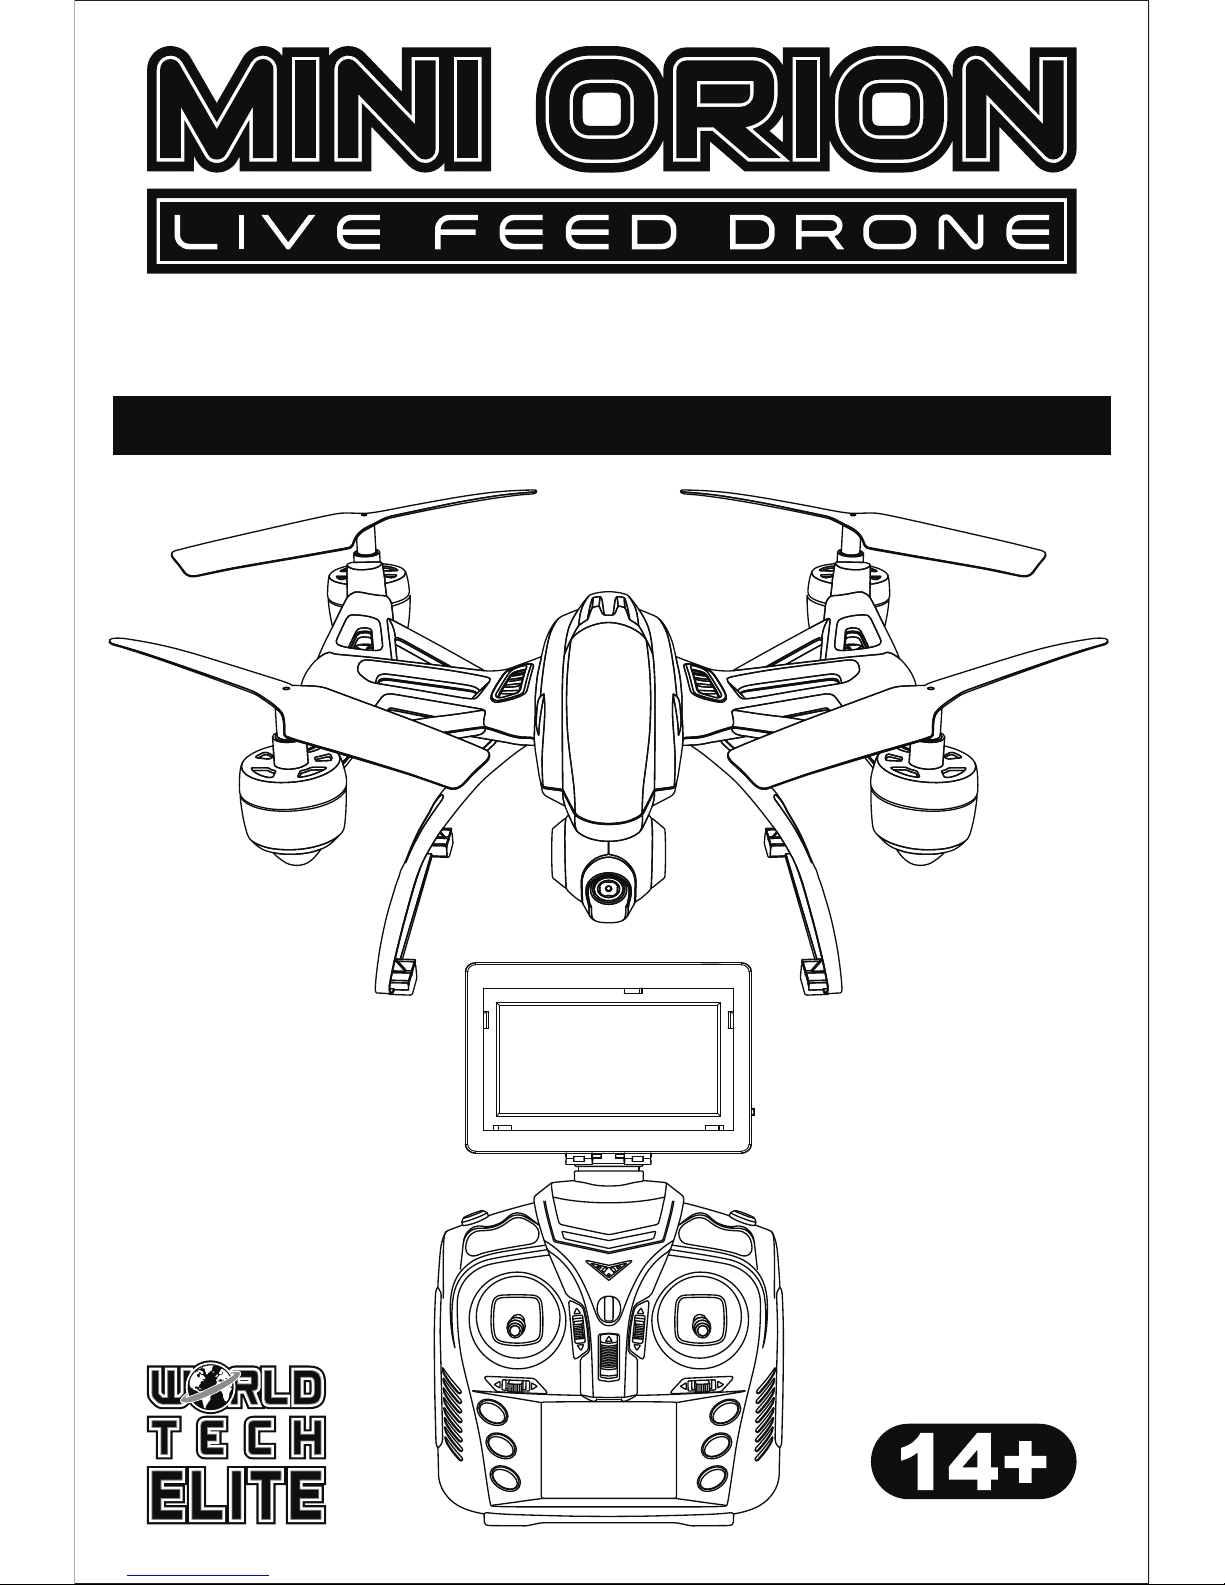
DRONE DIAGRAM
TRANSMITTER DIAGRAM
Rear Rotor Blades
Front Rotor Blades
LED Lights
Landing Skid
Live Feed
Picture/Video Camera
Battery Bay
Antenna
Power Indicator
Flip Stunt Mode
Forward/Backward Trim
Forward/Backward
[Left/Right Sideways Flight]
Left/Right Sideways Trim
Easy Mode
Photo Button
Video Record Button
Speed Modes
Throttle Trim
Left/Right Turning Trim
Return Assist
Light
Autopilot
Ascend/Descend
[Left/Right Turning]
Power Switch
Live Feed Screen
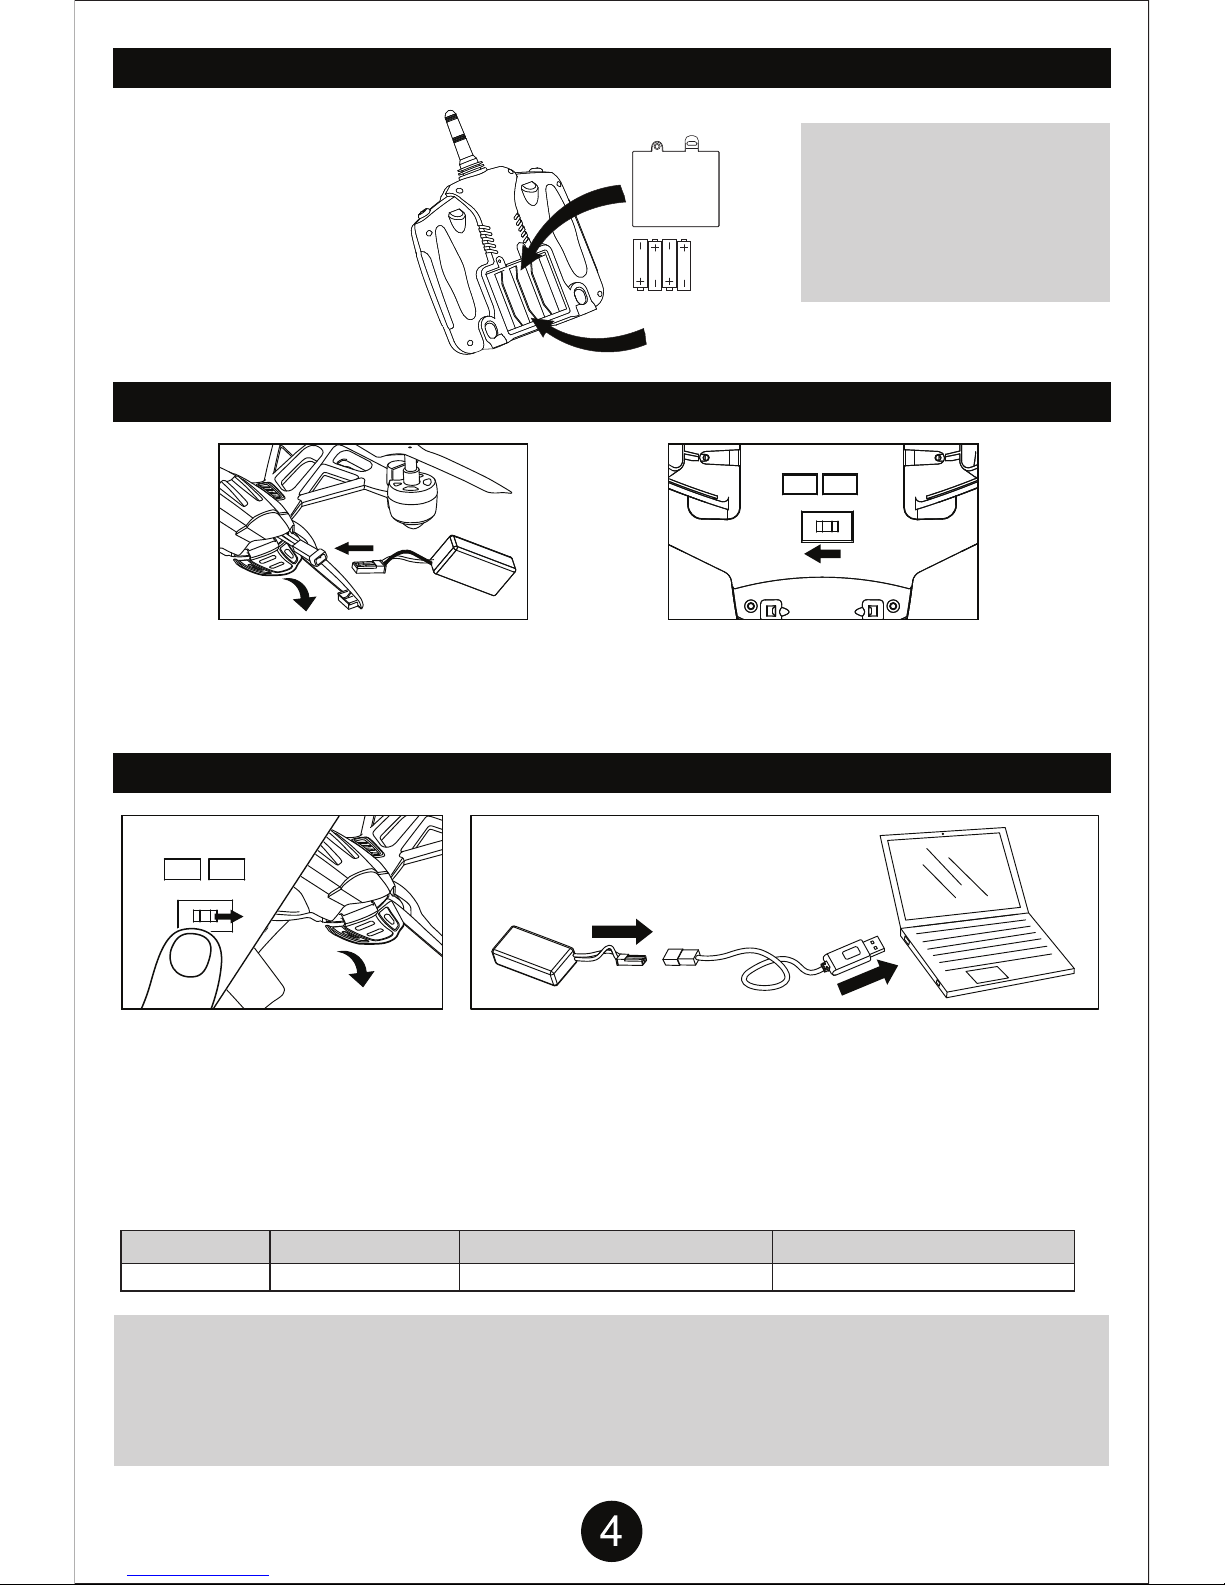
First remove the screw on the
battery cover and remove the
battery cover itself. Then
install 4 AA batteries. Make
sure they are installed with the
correct polarity. Replace the
battery cover and screw.
CAUTION:
1. Make sure the polarity of the
batteries are correctly installed.
2. Do not mix old and new
batteries.
3. Do not mix different types
of batteries.
INSTALLING THE TRANSMITTER BATTERIES
INSTALLING THE DRONE BATTERY
Battery Type Battery Specification Usage Duration
Charge Time
BATTERY PACK SPECIFICATIONS
CAUTION WHILE CHARGING:
Do not charge with batteries still installed. Do not charge battery unsupervised. Do not immediately charge after
use. Do not overcharge battery. Ideal charge time is 60-70 minutes. Overcharging can cause a catastrophic
failure. Always charge on dry and ventilated areas away from any heat source or flammable materials. Always
use the original USB charging cable provided. Promptly change and replace old or defective batteries.
Li-Ion Battery 3.7V 600mAh
Flight Duration 6 minutes Charging Time 60-70 minutes
CHARGING THE DRONE BATTERY
Switch off the power and open the
battery compartment. Disconnect
the battery cable from the drone and
remove the battery from the drone
before charging.
WIFI F/C
ON OFF
WIFI F/C
ON OFF
Plug the included USB charging cable to a computer. The LED light on
the USB charger will turn on. Connect the battery pack and the LED light
will turn off. The LED light will turn back on when the battery is fully
charged. A full charge will take approximately 60-70 minutes.
DO NOT CHARGE THE BATTERY OVERNIGHT
DO NOT CHARGE THE BATTERY WITHOUT SUPERVISION
Open the battery compartment as
shown. Connect the red plug on the
battery to the power port inside. Insert
battery into compartment and close
the cover.
Locate the On/Off Switch on the
underside of the drone. Switch to the
ON position to power on the drone.
Battery Cover
4 AA Batteries
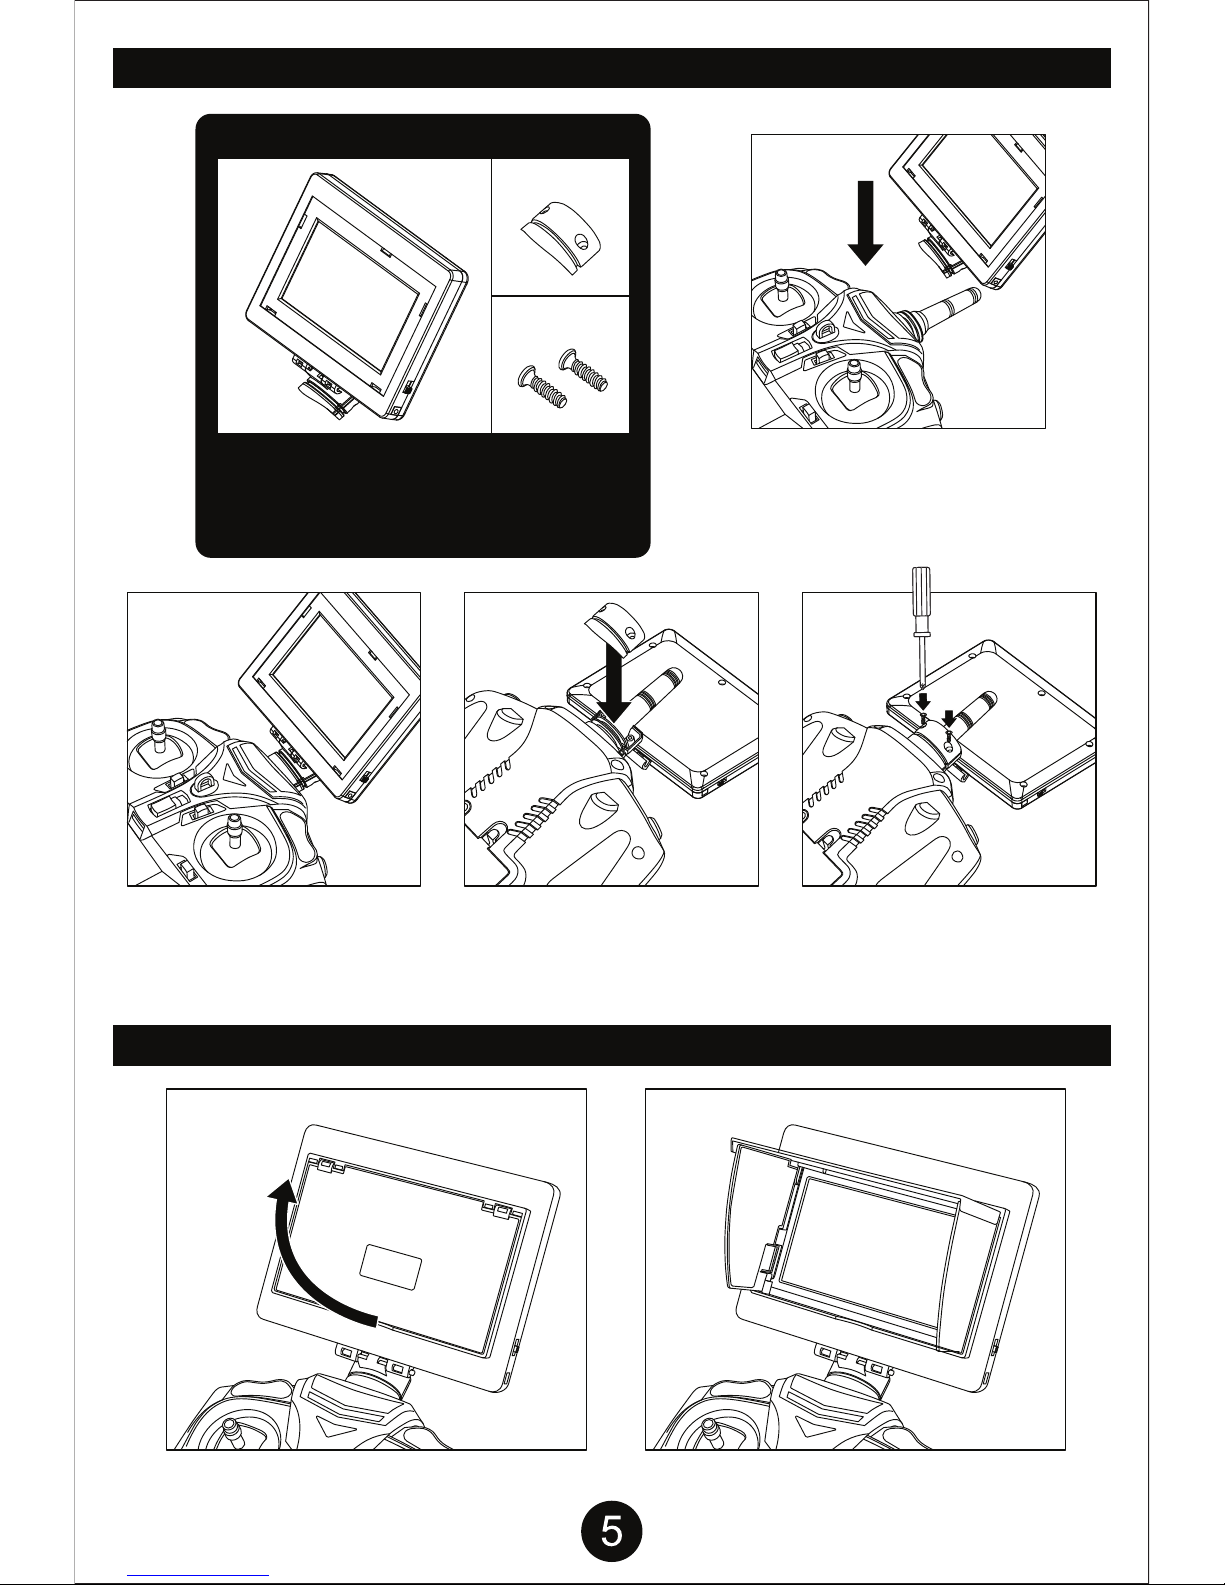
INSTALLING THE LIVE FEED SCREEN
LIVE FEED SCREEN SUN SHADE
Live Feed Screen Parts
Take the Live Feed Screen
Part A and slide it onto the
antenna from the front of the
transmitter as shown above.
Flip the Transmitter over and
slide the Live Feed Screen
Part B onto the opposite side
of the Part A as shown above.
Take the 2 screws and firmly
screw Part B into Part A.
A B
SCREWS
OFF ON
A
OFF ON
1.
B
3.
OFF ON
2. 4.
Follow the steps below to install the live
feed screen onto the transmitter. Ensure
that screen is secure to avoid damage to
your screen or transmitter.
 Loading...