

Woodhaven 3220 User Manual
Parts List:
Please identify and verify that you have all of the
hardware shown below prior to assembly.
Parts listed below are not shown in the hardware
drawings. Refer to photos in the instructions:
Part Description Quantity
3220B Oval Jig Base . . . . . . . . . . . . . . . . . . . . . . 1
4024 24” Double Track . . . . . . . . . . . . . . . . . . 1
3220P Pivot Assembly . . . . . . . . . . . . . . . . . . . . 2
3200D Pencil Holder . . . . . . . . . . . . . . . . . . . . .1
3200P Router Plate . . . . . . . . . . . . . . . . . . . . . . . 1
3200S Plate Spacer . . . . . . . . . . . . . . . . . . . . . . . 1
4973 Router Plate Hardware . . . . . . . . . . . . . 1
3220
Oval Jig
Owners Manual
Please Read Carefully!
Part# Description Qty.
SFP008 1” Screw 4
Part# Description Qty.
BUSH1250 1/4” Spacer 4
Part# Description Qty.
NUT015 1/4-20 Nut 2
Part# Description Qty.
MF020 1-1/4” Screw 2
Part# Description Qty.
MF010 3/4” Screw 4
Part# Description Qty.
5760B Oval Nut 2
Part# Description Qty.
WB002 Washer 2
Part# Description Qty.
5863 Ratchet Handle 2
BEFORE BEGI N N I NG
Identify a nd ver i f y t hat you have all t he pa r t s l iste d. Rea d t he
instructions at least once, fa m il ia r i zi ng you rsel f wit h the p arts before
begin n i ng. You'll need a #2 & #3 Phillips sc rewd r iver for as sembly.
DETERM I N E USE
The the Ova l Jig Base mu st be mou nt ed at one of three
differe nt height s i n relat ion to t he top of the work: 1. Top of Oval
Jig Base at the same heig ht as t he t op of the work. 2. Top of Oval
Jig Base 1/2" above the work. 3. Top of Oval Jig Base 1" above
the work. Keep i n mi nd t h at the h ig her a bove the work you mount
the Oval Jig Base, t he longe r bit you’ll need to make t he cut .
Option A: Oval Jig Base is mou nt ed d i r ect ly on (1/2" above)
the work, for example a solid table top. O r mou nt th e Ova l
Jig Base to a 1/2" plywood base (it will then be 1" above
the work) and then mount t he ply wood to t he work.
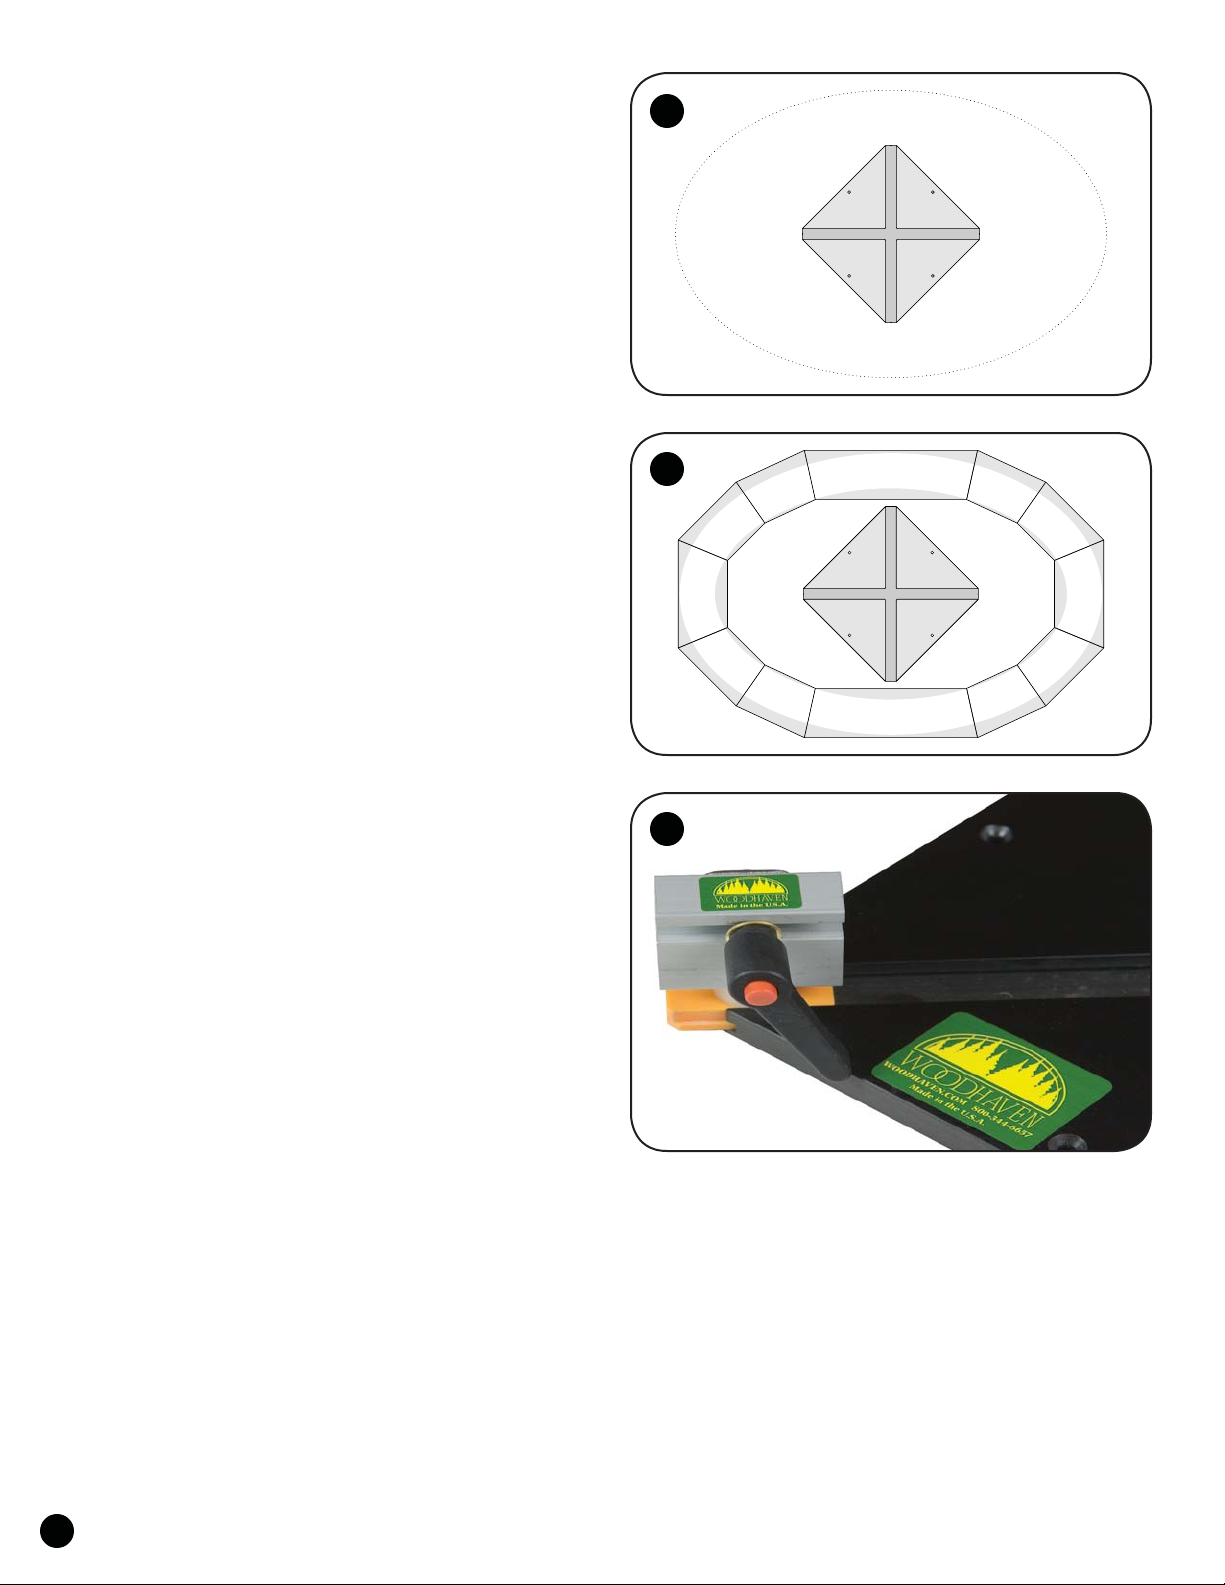
Option B: Oval Jig Bas e (and/or plywood base) and
work are mounte d on a bench a nd t he work su rrounds
the Oval Jig Base, for exa mple a seg ment ed op en frame.
Oval Jig Base must be mou nt ed eit he r even wit h t he to p
of work, 1/2" above the work or 1" above the work.
ASSEMBLY
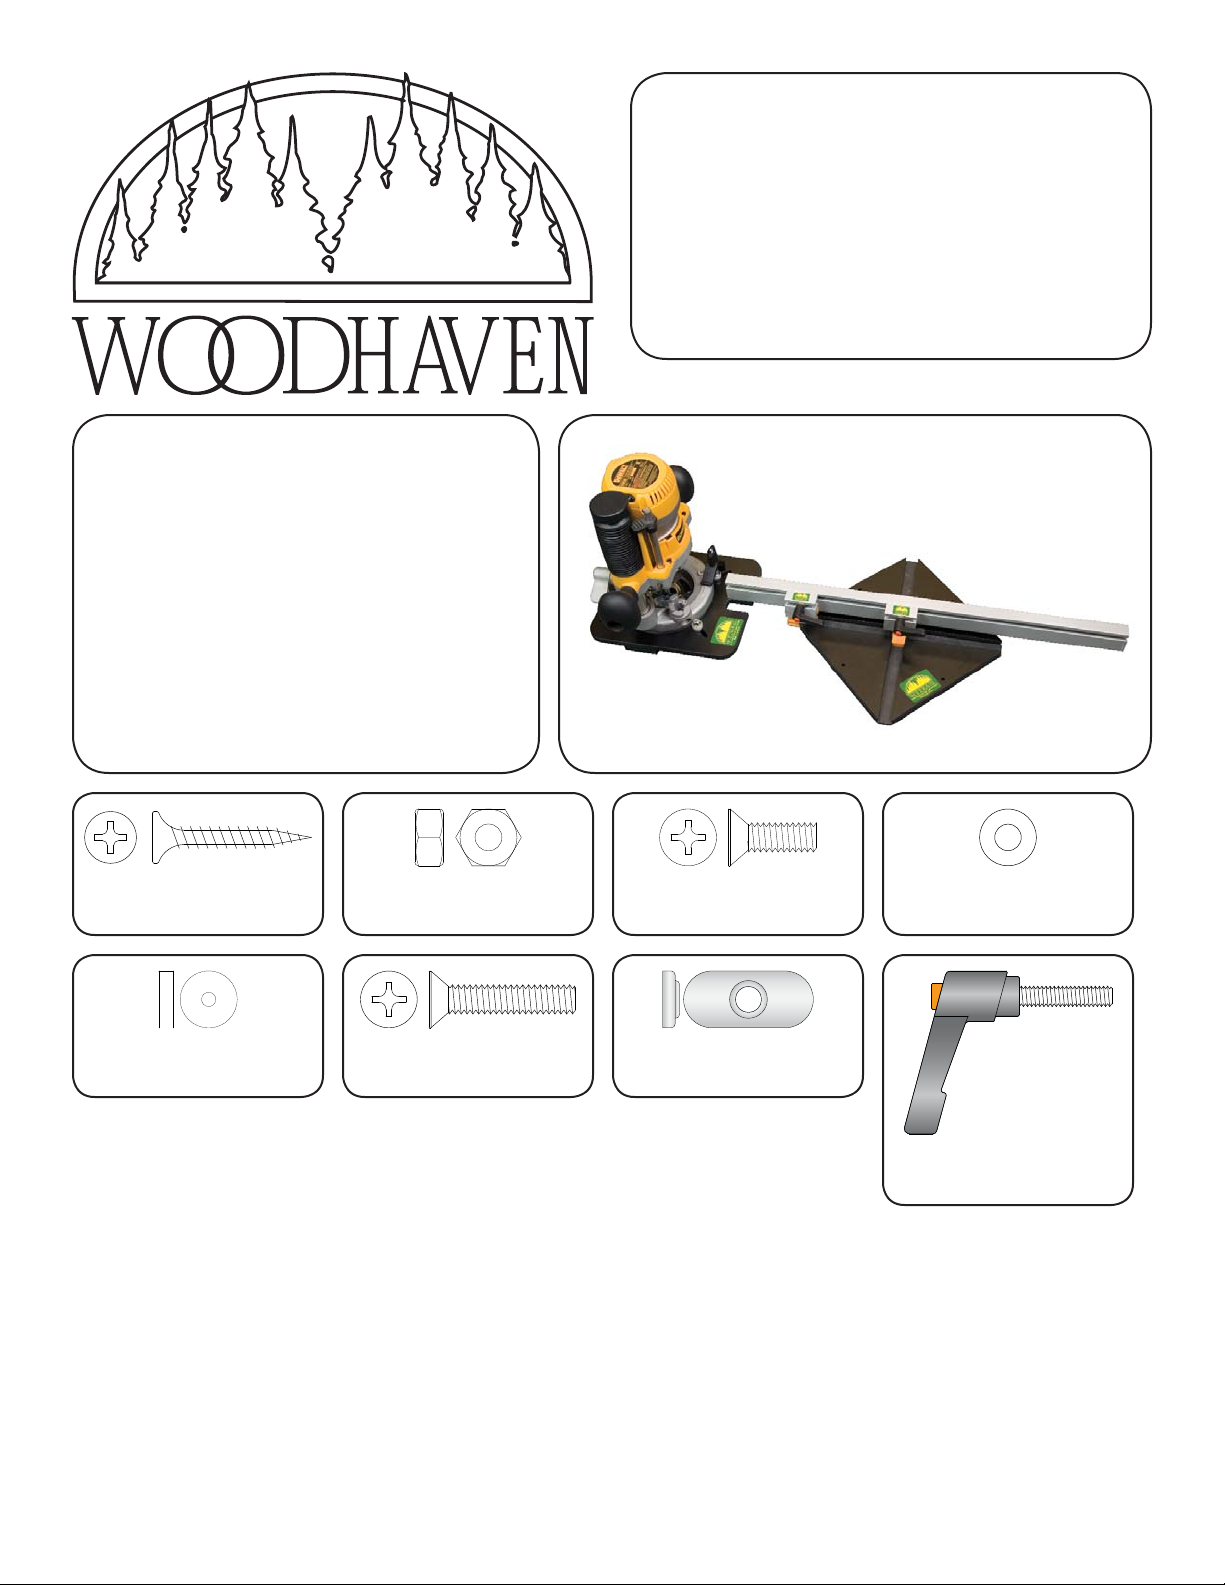
Mark the c ent er of you r work, or c ent er t he O va l Jig
Base on square piece of 1/2" plywood to serve as a base.
There a re sm al l ce nte r m a rk s on ea ch side of the O va l Jig
Base to help alig n it on the c ent er of th e work. At t ach t he
Oval Jig Base to the work/plywood base with 1" screws
(STP008). Slide a plastic g lide of ea ch pivot assembly (3220P)
in to each of t he T-slots in the Ova l Jig Base. See f ig. 1.
A
B
1
1
 Loading...