

Wolverine F2D Super Plus User Manual
F2D Super Plus
Film to Digital Converter
v2.0
User Manual
4-in-1
Table of Contents
Introduction ... 1
Before Using the Converter ... 1
Having Difficulty Using This Product ... 4
Package Contents ... 5
Ordering Accessories ... 5
Functions of Keys ... 6
Connect F2D Super Plus to TV Screen ... 7
Getting Started... 8
1. Attach Power ... 8
2. Use Built-in Memory ... 8
3. Use Optional SD/SDHC Memory Card ... 8
4. Format/Delete All Internal Memory or the SD/SDHC Card ... 9
5. Mode Selection ... 10
6. Set Film Type ... 11
7. Select Proper Adapter or/and Insert ... 11
8. Insert Proper Adapter into Slot ... 14
9. Prepare Film and Feed the Film into Adapter ... 15
10. Edit Image Orientation ... 17
11. Change Image EV (Exposure Value) and RGB Color ... 17
12. Convert Film to Digital File ... 19
13
. Playback and Edit Converted Image Files ... 20
14.
Connect F2D to Computer to Upload Image Files ... 22
15.
Upload Image Files to PC and Delete the Uploaded Files ... 23
Specifications ... 24
One-Year Limited Warranty (United States Only) ... 25
Thank You for Choosing Wolverine and Quick Start ... Back Cover
1
Introduction
Thank you for purchasing Wolverine F2D Super Plus Film to Digital
Converter. You can take stacks of film and convert them into digital
images to preserve them forever. Wolverine has created a simple-to-use
device to convert your film into high mega pixel digital images in
seconds. No computer or software is needed. Plug the F2D Super Plus
into an outlet or an USB port; all images are saved to memory or
optional SD/SDHC memory card. The F2D Super Plus can be
connected with your Windows PCs or Mac computer system to upload
converted and saved digital images through USB ports.
Before Using F2D Super Plus
This section provides important safety information that you should read
before using your F2D Super Plus.
Do not drop or handle too aggressively as it may cause damage to
the device.
Do not allow the device to come into contact with water or other
liquids. In the event that water or other liquids enter the interior,
.
.

2
immediately turn off the device. Continued use of the device may
result in fire or electric shock.
Do not handle the device with wet hands. Doing so may cause
electric shock and damages to the unit.
Do not place the device close to any equipment generating strong
electromagnetic fields. Exposure to strong magnetic fields may
cause malfunction or data corruption.
Do not expose the device to extreme temperatures, humidity or
vibrations, which may cause damages to the device.
Do not open the outer casing. This unit does not require batteries or
contain user serviceable parts.
Do not move or disconnect the device from the computer while the
device is reading/writing data. This may cause damages to the data
and/or the device.
Under no circumstances should user try to repair the device. Doing
so may cause electric shock and void the warranty.
Warranty will be voided if the device is mishandled. Please take
care in handling the device. Wolverine Data is not responsible for
.
.
.
.
.
.
.
3
consequential damages, including loss of data. Always back up all
data. For full warranty statement see the end of this manual.
Wolverine Data has no obligation to repair, replace or issue refunds
without a Return Merchandise Authorization (RMA) number and
the original purchase receipt of the defective product.
Repairs or replacement service will not be offered to products that
were misused, scratched, repaired without authorization, or any
other reasons beyond the range of intended use.
Replacement product may be either new or refurbished, provided
that its functions are at least equal to that of the product being
replaced.
Wolverine Data is not responsible for any data stored on the
returned product, please backup any data prior to ship back the unit.
All out of warranty repairs are subjected to repair fee. Please
contact your dealer or Wolverine Data for current charges.
.
.
.
.
.
4
Having Difficulty Using This Product
Please try the following options:
.
.
.
Call us at 949-458-9888 M-F 9:00-5:00 Pacific Time
We strongly recommend you to visit our web site,
www.wolverinedata.com/support to watch the videos including:
1. F2D Super Plus video manual
2. Easy way to open the super F2D negative adapter
3. How to convert Super 8 and recreate the movie
4. How to release a stuck slide adapter if inserted upside down
E-mail or write to our technical support staff at
support@wolverinedata.com or
our address: 9939 Muirlands Blvd. Irvine, CA 92618
5
Package Contents
F2D Super Plus converter
35 mm slide adapter (#1)
35 mm negative adapter (#2)
Super 8 film insert (#3)
110 negative insert (#4)
USB power adapter
USB cable
cleaning brush
user manual.
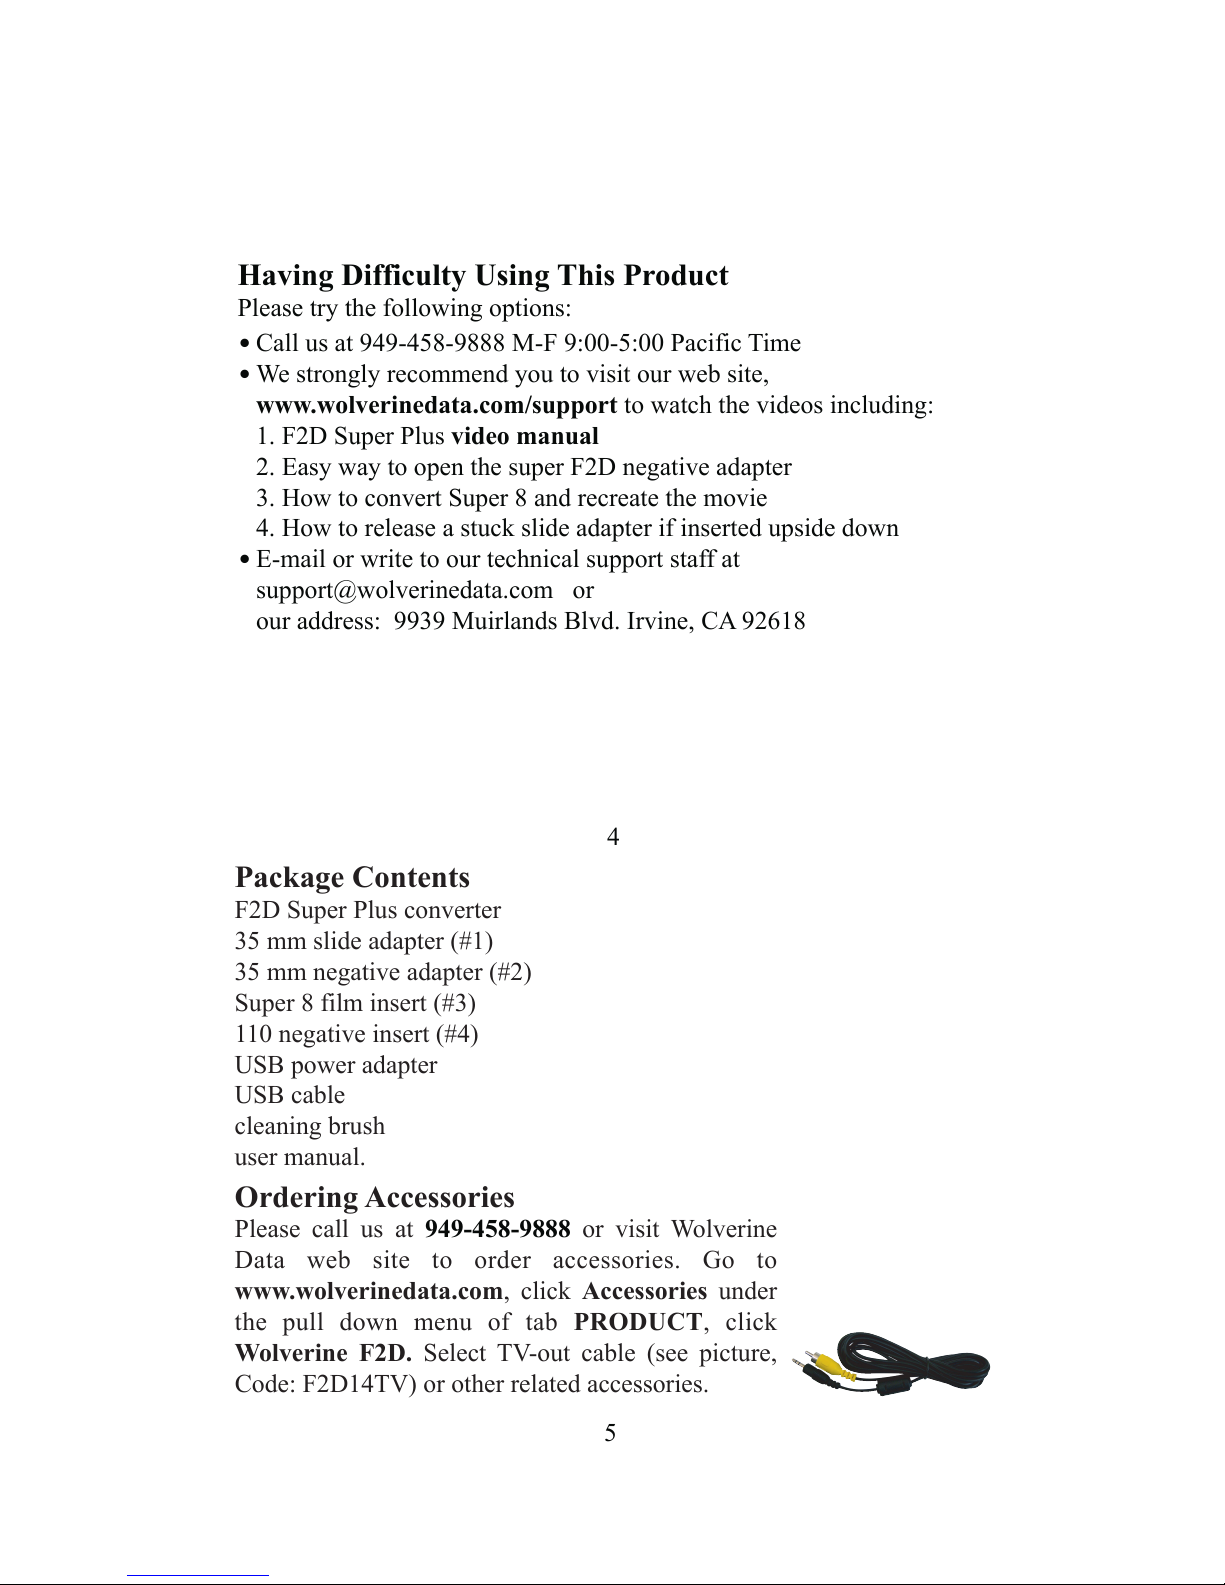
Ordering Accessories
Please call us at 949-458-9888 or visit Wolverine
Data web site to order accessories. Go to
www.wolverinedata.com, click Accessories under
the pull down menu of tab PRODUCT, click
Wolverine F2D. Select TV-out cable (see picture,
Code: F2D14TV) or other related accessories.
6
.
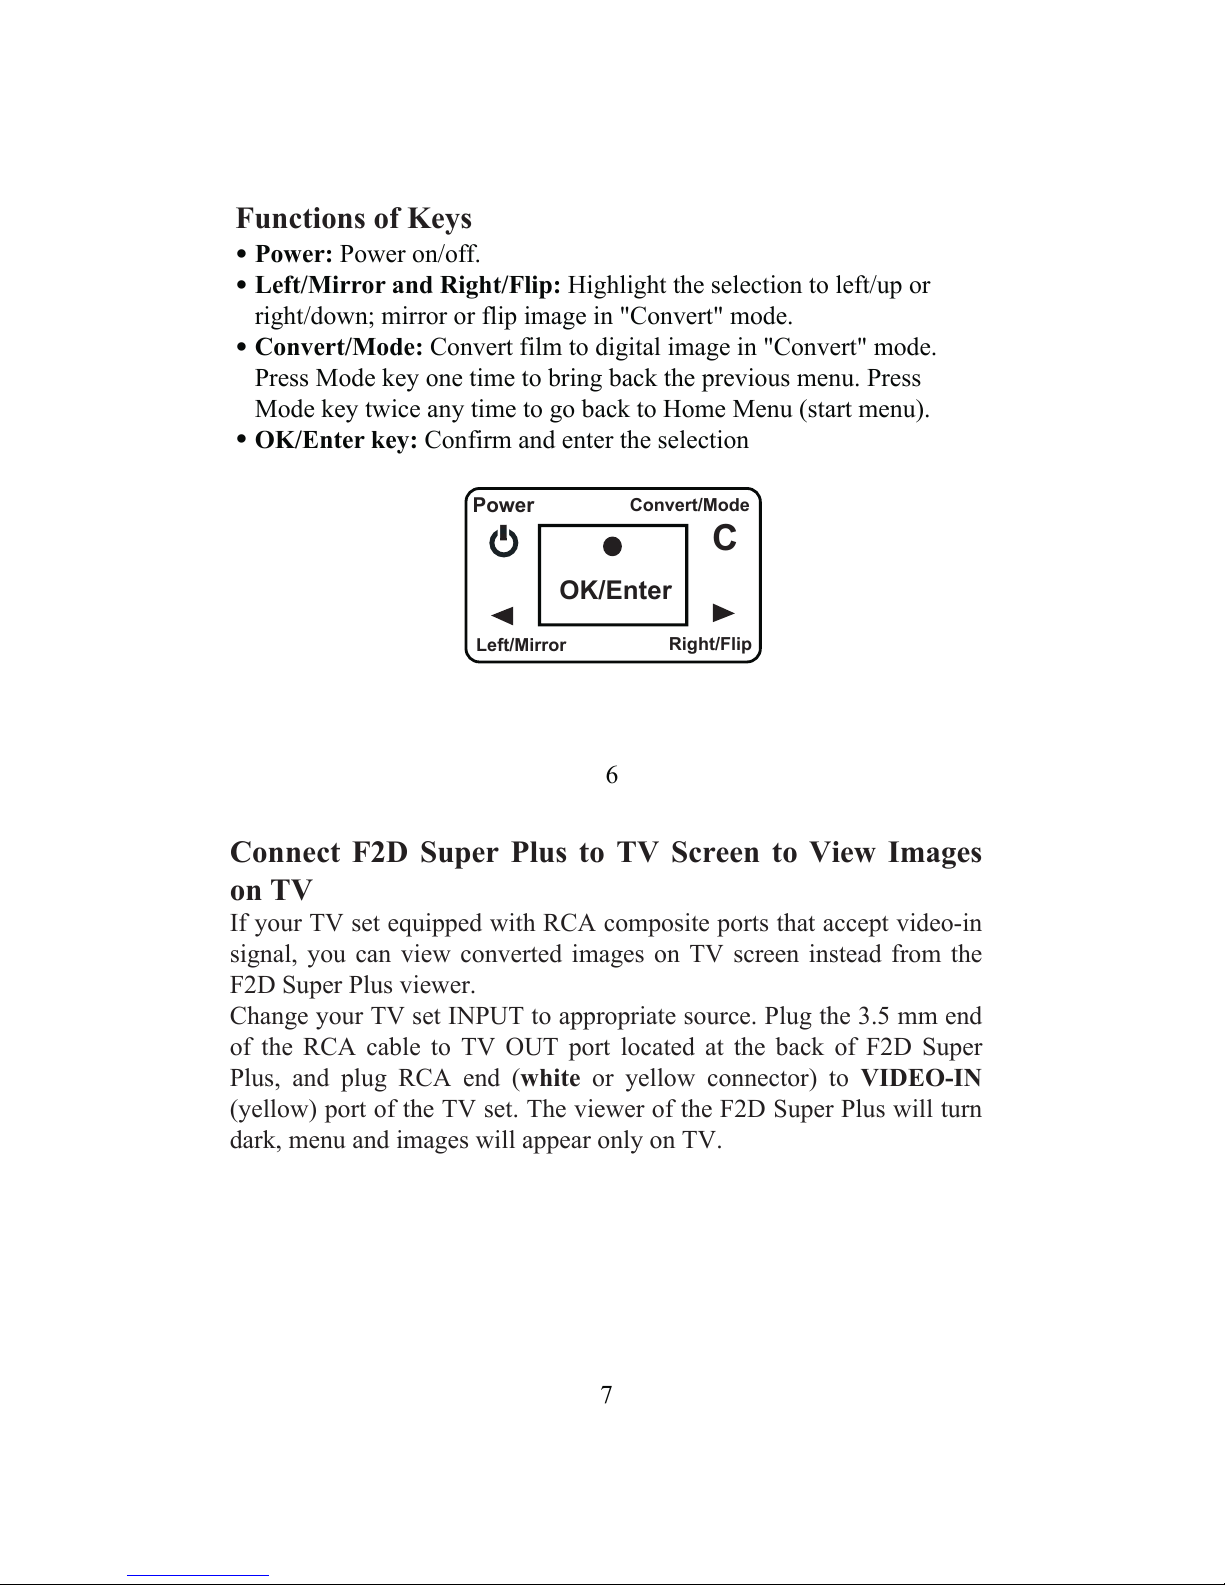
Power: Power on/off.
.
Left/Mirror and Right/Flip: Highlight the selection to left/up or
right/down; mirror or flip image in "Convert" mode.
.
Convert/Mode: Convert film to digital image in "Convert" mode.
Press Mode key one time to bring back the previous menu. Press
Mode key twice any time to go back to Home Menu (start menu).
.
OK/Enter key: Confirm and enter the selection
C
OK/Enter
Power
Convert/Mode
Left/Mirror
Right/Flip
Functions of Keys
7
Connect F2D Super Plus to TV Screen to View Images
on TV
If your TV set equipped with RCA composite ports that accept video-in
signal, you can view converted images on TV screen instead from the
F2D Super Plus viewer.
Change your TV set INPUT to appropriate source. Plug the 3.5 mm end
of the RCA cable to TV OUT port located at the back of F2D Super
Plus, and plug RCA end (white or yellow connector) to VIDEO-IN
(yellow) port of the TV set. The viewer of the F2D Super Plus will turn
dark, menu and images will appear only on TV.
 Loading...