

Wolfgang Puck Cookie Press Set Use And Care Manual
Spritz Cookies Recipe
USE AND CARE
Makes about 6 dozen cookies
INGREDIENTS
3 1/2 cups all-purpose flour
1 teaspoon baking powder
1/4 teaspoon salt
1 1/2 cups unsalted butter
1 cup sugar
1 egg
1 teaspoon vanilla
1/2 teaspoon almond extract
2 teaspoons orange zest
Food coloring, if desired
METHOD
1. Preheat oven to 350°F.
2. Stir together flour, baking powder and salt. Set aside.
3. In a separate bowl, beat the butter with a mixer until softened. Add sugar and mix
until light and fluffy. Add egg, vanilla, almond extract, and orange zest. Beat well.
4. Gradually add flour mixture and beat until well mixed. If desired, you can tint the
dough with food coloring.
5. Follow the instructions in the Using Your Wolfgang Puck Cookie Press section,
positioning the cookies 1 to 2 inches apart. Top with sprinkles or dust with sugar if
desired.
Cookie Press Set
6. Bake at 350°F for 10 minutes.
TIP
To make the sprinkles stick better, brush dough with egg wash before adding the
sprinkles. To make the egg wash, beat 1 egg white with 2 teaspoons water.
To ensure easy passage through the cookie press, do not chill dough.
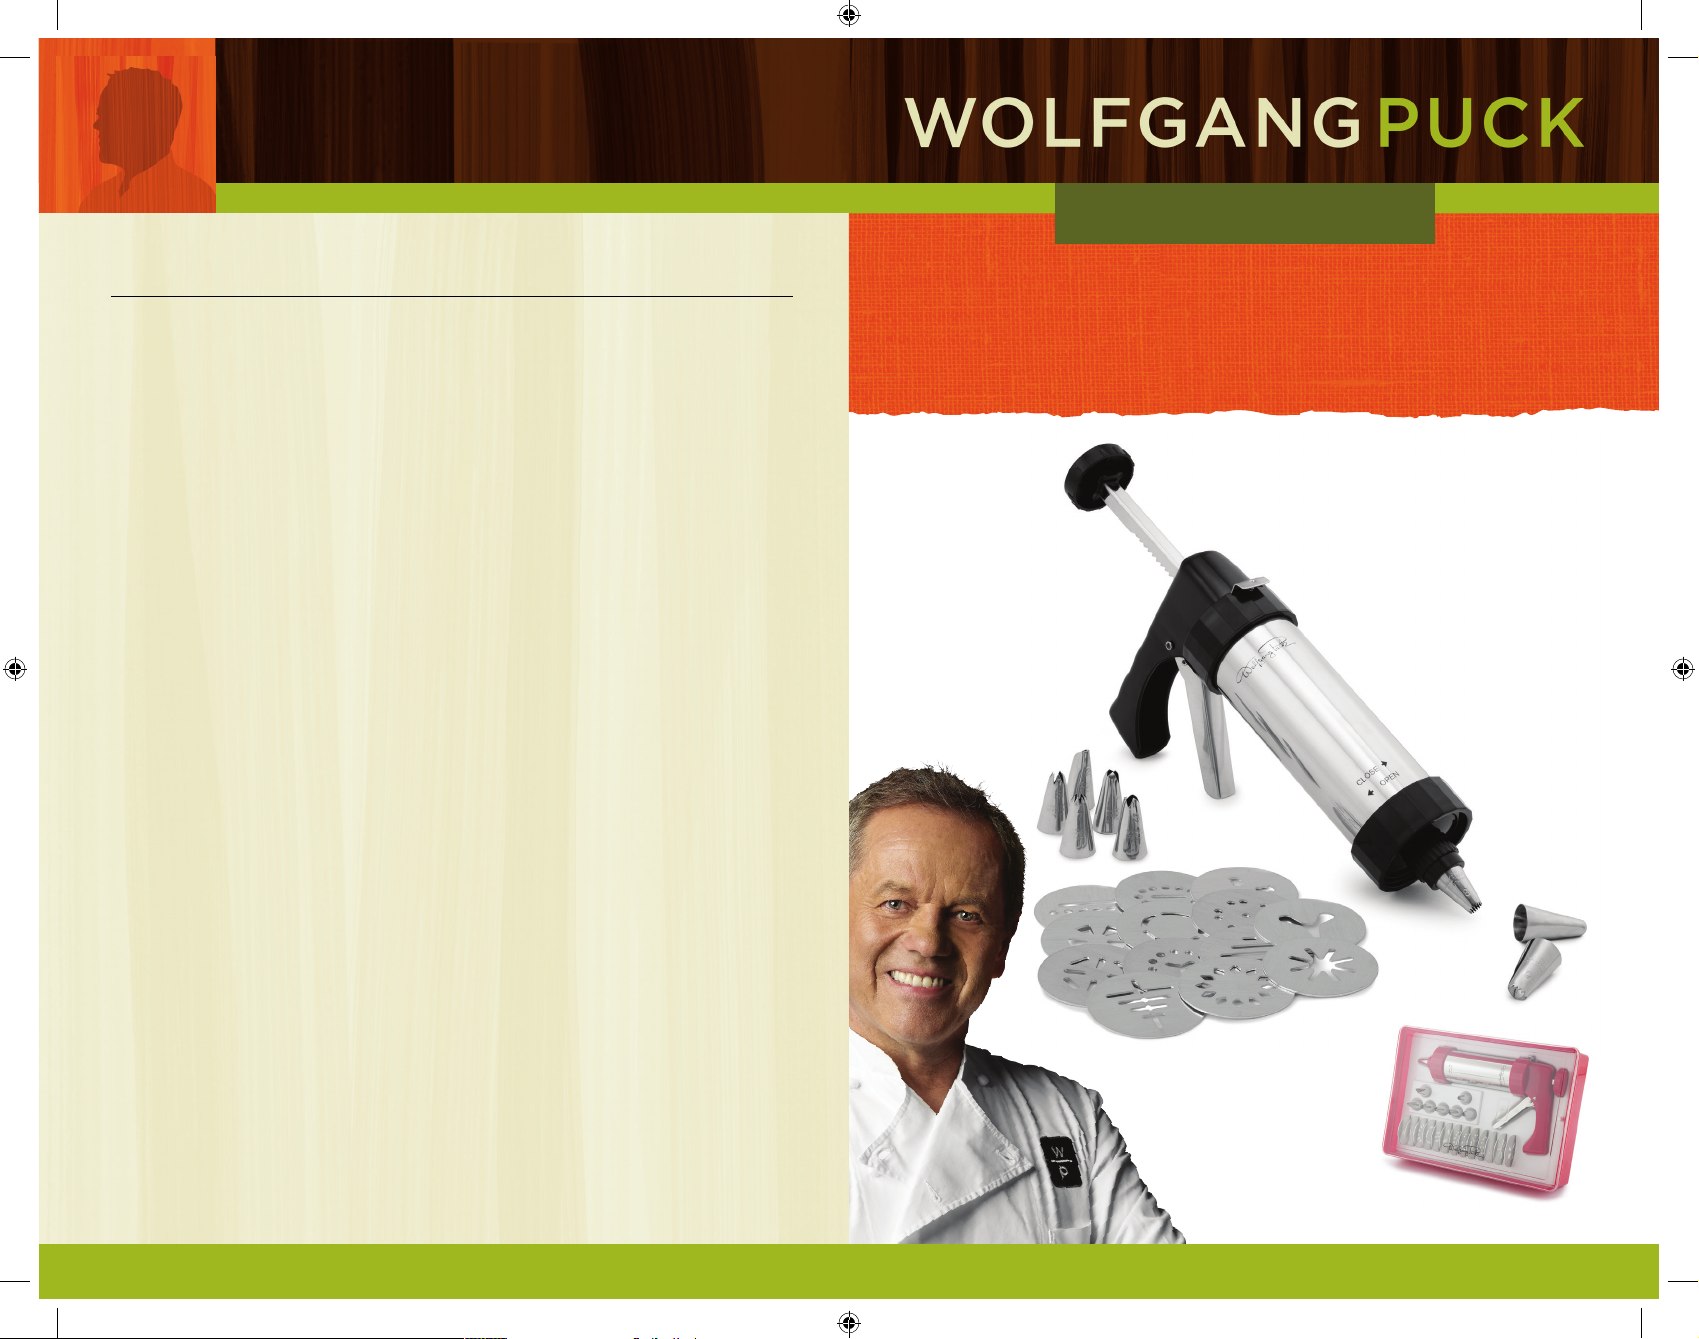
Available in Black and Red
Wolfgang Puck
Cookie Press Set
Use and Care
Set Includes:
Cookie Press, 13 Cookie Disks,
8 Pastry Tips and a Storage Box
Before Your First Use
Remove all packaging material. Wash the cookie press, pastry tips and cookie
discs in warm water with mild dishwashing soap using a sponge or nylon
pad. Rinse and dry thoroughly.
Using Your Wolfgang Puck Cookie Press
Cookie Discs
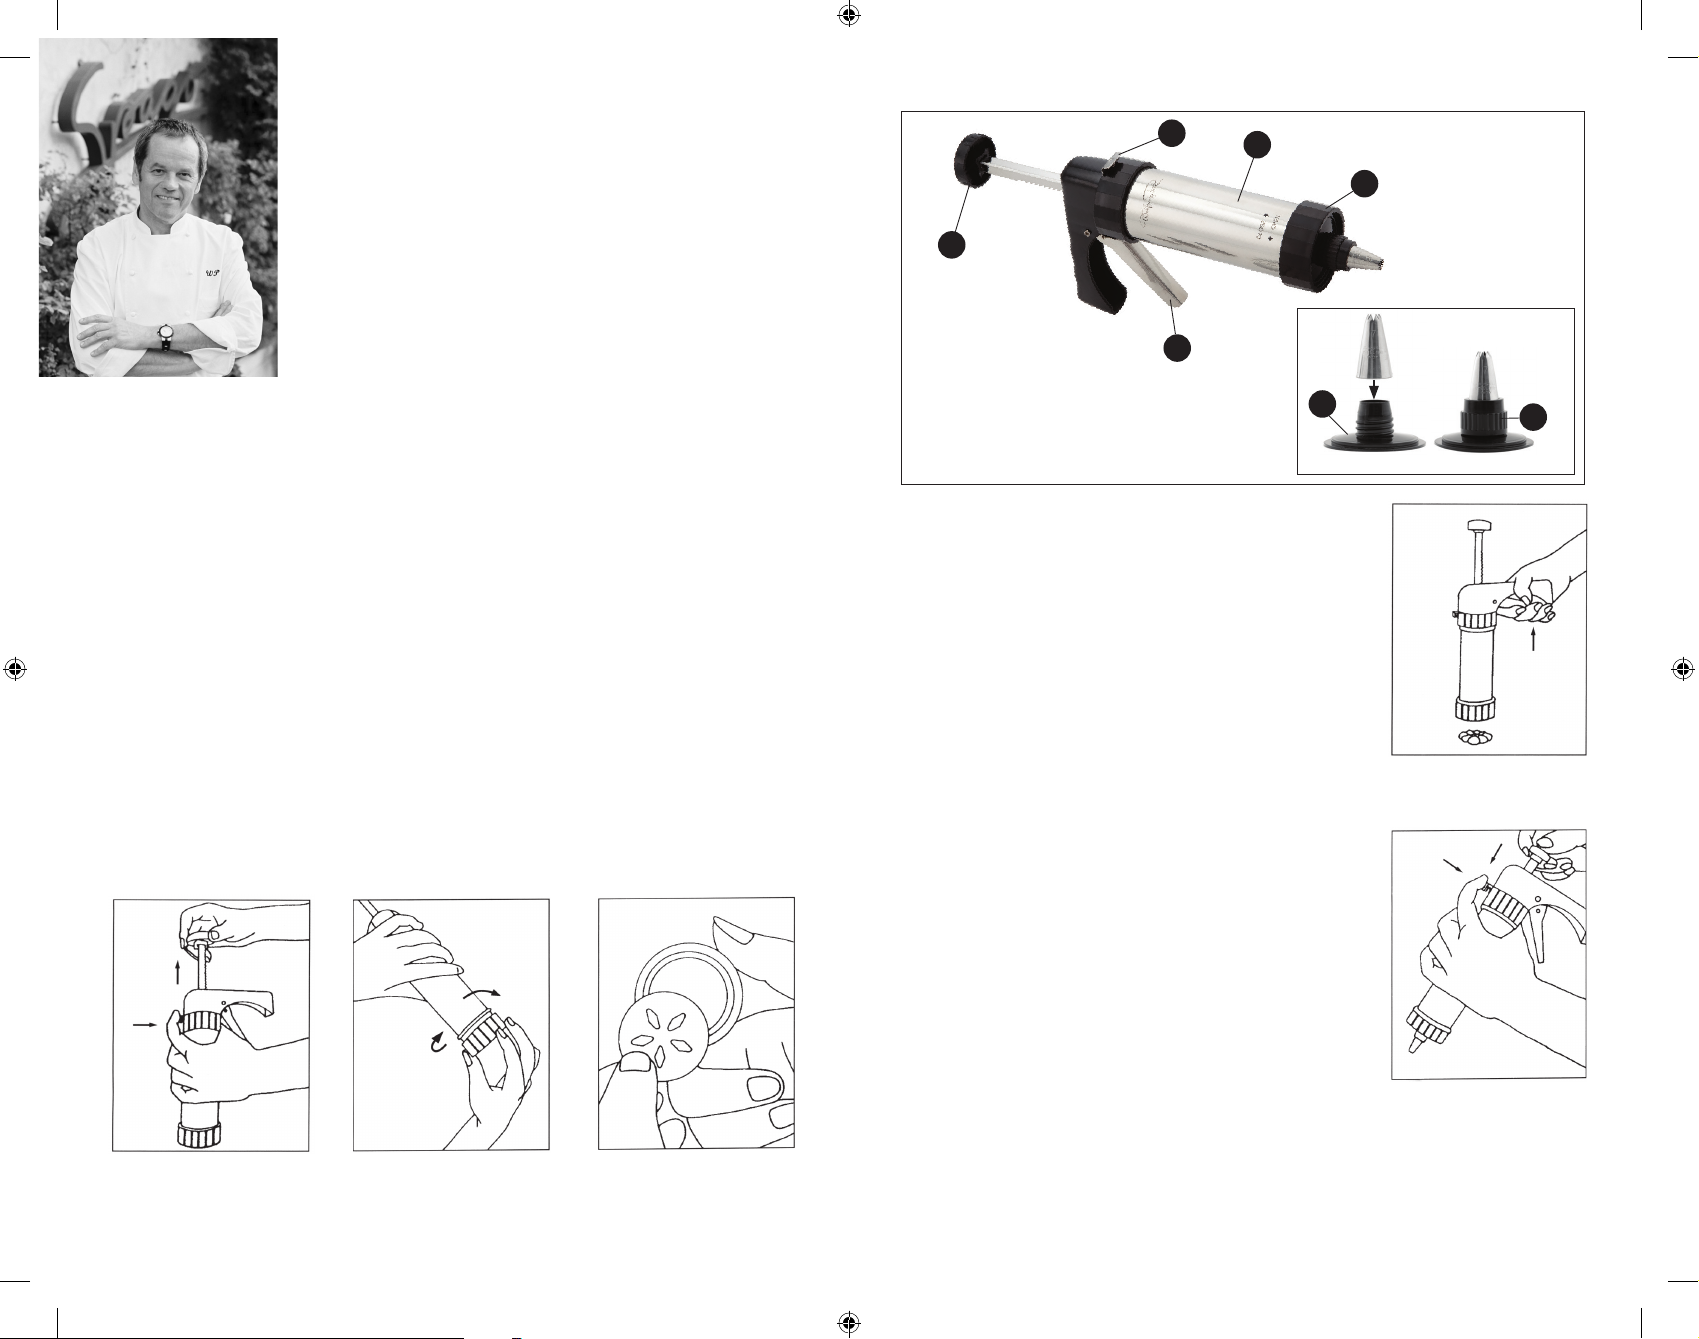
Step 1: Press the locking button in (A) and pull the knob (B) until the rod is
fully extended. See figure 1.
Step 2: Unscrew the bottom ring (C) from the barrel. See figure 2.
Step 3: Roll the cookie dough into a cylinder shape and insert into the
barrel (D). Do not overfill.
Step 4: Insert your desired cookie disc into the bottom ring and screw onto
the barrel. See figure 3.
Step 5: Squeeze the trigger handle (E) until the dough begins to dispense
from the cookie press.
A
D
B
A. Locking Button
B. Knob
C. Bottom Ring
D. Barrel
E. Trigger Handle
F. Tip Holder
G. Screw
E
F
Step 6: Position the cookie press with the bottom
ring (C) resting firmly against an
ungreased, cool baking sheet. The dough
may have difficulty adhering to a greased
or warm baking sheet.
Holding the cookie press upright and steady,
squeeze the trigger handle releasing the
cookie onto the sheet (one click per cookie).
Different disc shapes may require a slightly
different pace. Remove the cookie press in a
straight upward motion. See figure 4.
Pastry Tips
Follow steps 1-2 as directed in the cookie discs
section.
Step 3: Load the barrel with your filling,
frosting, etc. of choice. Do not
overfill.
C
G
Figure 5
Figure 4
Figure 1 Figure 2 Figure 3
Step 4: Select your desired pastry tip and place
onto the tip holder (F). Position the screw
(G) over the tip and tighten. Place the
holder into the bottom ring and screw
onto the barrel. See figure 5.
Step 5: Position the cookie press at an angle and
squeeze the trigger (E) to dispense the
Figure 6
frostings/filling. Repeat at a quick pace to
create a recurring pattern.
To dispense frosting/filling in one continuous strip, press the
locking button in (A) and slowly pressing the knob (B) down. This
method is useful when creating decorative boarders, letters, etc.
See figure 6.
 Loading...