

1
Wolfgang Puck
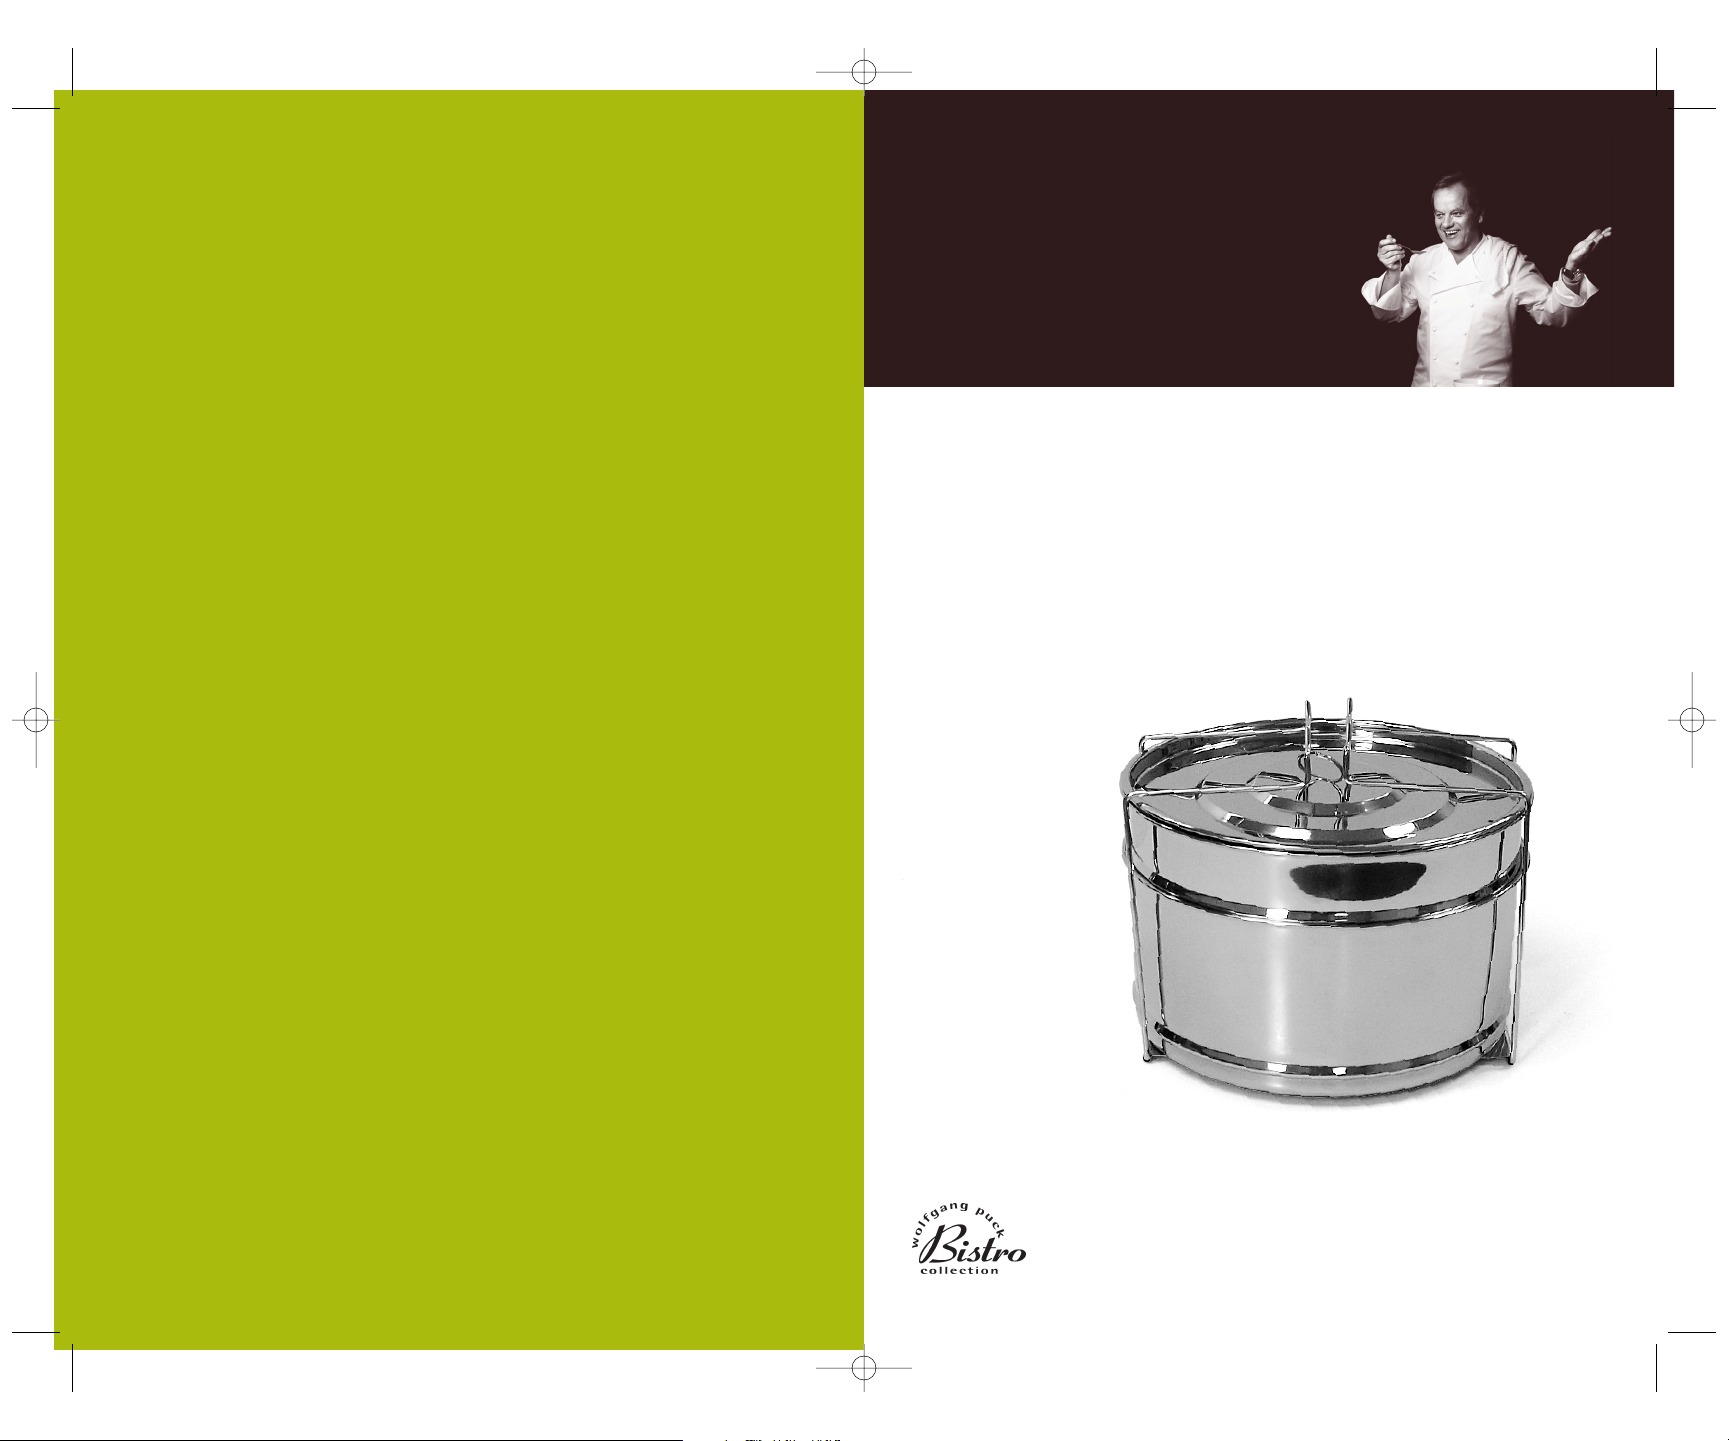
Dessert Maker Insert for the Pressure Cooker
Use and Care
IMPORTANT NOTICE
PLEASE DO NOT RETURN TO STORE.
If you have any problems with this unit,
contact Consumer Relations for service
PHONE: 1-800-275-8273 or
visit our website at wppotsandpans.com
Please read operating instructions
before using this product.
Please keep original box and packing materials
in the event that service is required.
W.P. APPLIANCES, INC. Toll Free (800) 275-8273
Model BPCR05US1 Printed in China REV 1.0
All trademarks, service marks and trade names (collectively the “Marks”) are proprietary
to Wolfgang Puck World Wide.
HSN DessertMaker Manual 4/25/07 11:15 PM Page 1
1
Table of Contents
About Wolfgang Puck 1
Use & Care 3
About Your Dessert Maker 4
Know Your Dessert Maker 5
Recipes 7
Limited Warranty 18
Contact Information back cover
Wolfgang Puck,
owner of the famous
Spago restaurants and
one of the most influential
chef-restauranteurs in
America, is credited with
reviving California’s rich
culinary heritage. His
cooking innovations,
a result of blending fresh
California ingredients with his classical French techniques, are enjoyed
by world leaders, stars and fellow chefs alike. He established other
trend-setting restaurants like Postrio in San Francisco, Chinois on
Main in Santa Monica, Vert and Trattoria del Lupo, and his latest creation,
Cut, a gourmet steakhouse in the Beverly Wilshire Hotel. Home chefs
can also share Mr. Puck’s talents through his cookbooks and, of
course, through his appliances!
HSN DessertMaker Manual 4/25/07 11:15 PM Page 1

Use & Care
Carefully unpack your dessert maker insert and remove all packing
material. To remove any dust that may have accumulated during
packaging, wash all parts in warm, soapy water. Dry thoroughly.
After each use, wash your dessert maker insert in warm, soapy water
and dry thoroughly.
About Your Dessert Maker
Your Wolfgang Puck Dessert Maker is specially designed for use with the
Wolfgang Puck Electric Pressure Cooker/Stockpot, Model BPCR0005.
Use the small or large inserts to make delicious moist desserts, such as
steamed puddings, coffee cakes and cheesecakes. Start with the recipes
included in this booklet, and then use these as a guideline to experiment
with your own recipes. If desired, the Dessert Maker can be used in other
large stockpots you own.
All the pieces are designed to nest inside each other for storage.
To store, place the Cooking Rack inside the Large Insert, top with the
Small Insert and then the Insert Lid. Lastly, place the assembled pieces
on top of the Locking Storage Handle and pull the handles up and
around to secure in place.
3
4
HSN DessertMaker Manual 4/25/07 11:15 PM Page 3

5 6
Know Your
Dessert Maker
Small Insert
Large Insert
Cooking Rack
Insert Lid
Locking Storage Handle
HSN DessertMaker Manual 4/25/07 11:15 PM Page 5

Recipes
Pressure Cooker Cheesecake
4 - 6 Servings
INGREDIENTS
2 packages (8-ounces each) cream cheese
3/4 cup sugar
2 large eggs
1 tablespoon lemon juice
1 teaspoon vanilla
2 tablespoons flour
1 cup sour cream
Paper towel
METHOD
1 Using a pencil, trace the base of the SMALL insert onto
parchment paper.
2 Spray interior of SMALL insert with cooking spray. Place the
parchment circle in the base of the insert. Spray parchment paper
with cooking spray.
3 With a food processor or mixer, mix the cream cheese and sugar
together until very smooth and creamy.
4 Add eggs one at a time and mix thoroughly. Add lemon juice, vanilla
and flour. When completely incorporated, add the sour cream.
5 Scrape cheesecake batter into prepared pan. Top insert with a paper
towel, and place lid on the insert.
6 Pour 2 cups of water in the pressure cooker removable pot. Place
the rack in the pressure cooker; place the covered insert on the rack.
7 Lock pressure cooker lid in place. Select Soup function, and set
timer for 30 minutes.
8 When cooking cycle is complete, let pressure release naturally. When
cooking cycle is complete and all pressure is released, open lid.
9 Remove cheesecake from pressure cooker. When the cheesecake is
cooled to room temperature, keep covered and refrigerate for at
least 3 hours before serving.
10 To serve, invert cheesecake onto a platter and peel off the
parchment.
Recipe courtesy Debra Murray, Wolfgang Puck HSN Host
7 8
HSN DessertMaker Manual 4/25/07 11:15 PM Page 7

109
Blackberry Cream Cheese
Coffee Cake
8 - 10 Servings
INGREDIENTS
1 cup fresh or frozen blackberries
1/2 cup sugar
2 teaspoons quick cook tapioca
2 teaspoons orange zest, divided
1 box pound cake mix (1 lb size)
1 package (8 ounces) cream cheese, (softened)
2 large eggs
1/4 cup milk
METHOD
1 Spray interior of LARGE insert with cooking spray.
2 Toss berries with sugar and tapioca and 1 teaspoon orange zest.
Place in the bottom of the stainless insert.
3 In a food processor or mixer, beat softened cream cheese and pound
cake mix until creamy. Add milk, eggs and remaining orange zest.
Mix for 1 - 2 minutes, or until batter is smooth.
4 Scrape pound cake batter over berries in prepared insert. Top insert
with a paper towel, and place lid on the insert.
5 Pour 2 1/2 cups of water in the pressure cooker removable pot.
Lower insert into cooking pot.
6 Lock pressure cooker lid in place. Select Soup function, and set
timer for 35 minutes.
7 When cooking cycle is complete and all pressure is released,
open lid.
8 Use two forks to pull the insert up and remove from pressure cooker.
Let cool for 20 minutes. Invert onto cake stand. This cheesecake is
beautiful, moist and delicious! Serve warm or cold.
Recipe courtesy Debra Murray, Wolfgang Puck HSN Host
Chocolate-Chocolate Chip
Steamed Pudding
8 Servings
INGREDIENTS
1 cup semi sweet chocolate chips (divided)
1/2 cup (1 stick) unsalted butter
1/2 cup granulated sugar
1/2 cup light brown sugar
2 large eggs
2 cups self-rising flour, divided
1 teaspoon vanilla
2 teaspoons fresh orange zest
METHOD
1 Spray interior of SMALL insert with cooking spray.
2 In a microwave-safe dish, place 1/2 cup of chocolate chips and
microwave on high for 30 seconds or until melted.
3 With a food processor or mixer, mix the sugar and butter together
until creamy. Add eggs, one at a time, and 1 cup flour. Mix in the
melted chocolate, and then add the remaining flour, vanilla and
orange zest.
4 Scrape ingredients into prepared insert. Sprinkle with remaining
chocolate chips. Top insert with a paper towel, and place lid on
the insert.
5 Pour 2 cups of water in the pressure cooker removable pot. Place the
rack in the pressure cooker; place the covered insert on the rack.
6 Lock pressure cooker lid in place. Select Soup function, and set
timer for 15 minutes.
7 When cooking cycle is complete and all pressure is released,
open lid.
8 Use two forks to pull the insert up and remove from pressure cooker.
9 Serve the chocolate pudding warm dusted with powdered sugar,
topped with whip cream, and sprinkled with fresh raspberries.
Recipe courtesy Debra Murray, Wolfgang Puck HSN Host
Garnish:
Powdered sugar
Whipped cream
Berries
HSN DessertMaker Manual 4/25/07 11:15 PM Page 9

1211
Chocolate Lover’s Chocolate
Cheesecake
6 - 8 Servings
INGREDIENTS
For the Crust:
1 tablespoon unsalted butter, softened
3 tablespoons chocolate cookie crumbs
For the Filling:
12 ounces cream cheese, softened in microwave 1 minute
1/2 cup light brown sugar
3 large eggs
1 large egg yolk
2 teaspoons excellent quality pure vanilla extract
1 teaspoon espresso powder
4 ounces excellent quality bittersweet chocolate,
melted in microwave for 1 minute
For Serving:
Shaved chocolate curls
Softly sweetened whipped cream
Fresh raspberries
METHOD
1 Butter the SMALL insert generously. Sprinkle with cookie crumbs
and tilt and tap pan to distribute around bottom and sides. Set aside.
2 In a mixing bowl, combine cream cheese and sugar. Whisk until
smooth, taking care to scrape bowl and ensure a smooth mixture.
Add remaining ingredients and whisk until combined. Pour into
prepared insert.
3 For easy removal, make an aluminum foil “cradle” with a .25” strip
of foil, folded in half lengthwise. Center pan on strip of foil. Add lid
and bring strips up and around pan, folding ends together to make
a handle.
4 Pour 2 cups of water into pressure cooker removable pot. Place a
folded kitchen towel in bottom to cushion pan. Carefully lower pan
into cooking pot.
5 Lock pressure cooker lid in place. Select Soup function and set timer
for 25 minutes.
6 When cooking cycle is complete, allow pressure to release naturally.
Unlock lid, tilting it away from you to avoid steam. Carefully remove
pan using foil handles.
Chocolate Cheesecake (cont.)
7 Chill cheesecake for at least 6 hours or overnight. (Cheesecakes taste
better if they age a bit and will stay fresh and delicious for
up to 10 days, refrigerated).
8 To remove cheesecake from pan, cover a large plate with plastic
wrap. Center over cheesecake and invert it upside down onto plate.
Place a hot, wet towel over the bottom of pan for a few seconds.
Now pick up pan and plate together and lightly tap both on side a
few times on the counter. This will break the suction that is keeping
the cake in place. Turn again so pan is upside down on plate. Lift off.
Repeat if cake will not come out. When it does, invert plate upside
down onto desired serving plate to have the pretty side of the cake
showing. It takes longer to explain this process than it does to
actually do it. Once you do it and see how beautifully the cake comes
out, you will never want to use a springform pan again.
9 To serve, cut cheesecake using dental floss held tightly between
your fingers to make as many cuts as desired. Press down to bottom
of cake, release one side of the floss and pull it through. Wipe off
floss and repeat. Serve with chocolate curls, whipped cream and
fresh raspberries, if desired.
Recipe courtesy Marian Getz, Wolfgang Puck Chef
HSN DessertMaker Manual 4/25/07 11:15 PM Page 11

1413
Silky Vanilla Crème Caramel
The pressure cooker makes unbelievably silky custards and desserts,
such as this wonderful Crème Caramel and cheesecakes because the
temperature does not go above 250 degrees inside. Once you taste
and feel the silky texture of desserts made in the pressure cooker,
you will never bake them again.
6 Servings
INGREDIENTS
For the Caramel:
1/2 cup granulated sugar
1/4 cup light corn syrup
1 drop fresh lemon juice or vinegar
For the Vanilla Custard:
1 cup whole milk
1 cup heavy cream
2/3 cup granulated sugar
1/8 teaspoon kosher salt
1 teaspoon excellent quality pure vanilla extract
2 large eggs
3 large egg yolks
METHOD
1 Combine all ingredients for the Caramel in a 4-cup microwavable
glass measuring cup. Stir until all sugar is moistened.
2 Microwave on HIGH 3 minutes. Watch carefully. Once bubbles start
piling up in cup, it goes very quickly. Watch for the color to change.
The desired color is light amber. When you see this, carefully remove
cup from microwave. Swirl carefully; when color becomes
a medium amber color, quickly pour into either the large or small
ungreased inserts.
3 Pick up pan, using caution, and carefully tilt and twirl pan to
distribute the very hot caramel over sides and bottom half of pan.
Set aside to cool and harden.
4 In a mixing bowl, combine all ingredients for the Vanilla Custard and
whisk until smooth.
Crème Caramel (cont.)
5 Pour custard mixture into the caramel-lined pan.
6 For easy removal, make an aluminum foil “cradle” with a .25” strip
of foil, folded in half lengthwise. Center pan on strip of foil. Add lid
and bring strips up and around pan, folding ends together to make
a handle.
7 Pour 2 cups of water into pressure cooker removable pot. Place a
folded kitchen towel in bottom to cushion dessert during cooking.
Carefully lower pan into cooker using the aluminum foil handle.
Press foil down on lid.
8 Lock pressure cooker lid in place. Set timer for 20 minutes.
7 When cooking cycle is complete, let pressure release naturally.
When all pressure is released, open lid.
9 Carefully remove pan using the foil “cradle”.
10 Chill dessert for 1 hour or longer, if desired. To serve, invert onto
large plate with a lip or rim on it. Lift off pan, letting the now fluid
caramel drip onto dessert. Serve with fresh berries and whipped
cream, if desired.
Recipe courtesy Marian Getz, Wolfgang Puck Chef
HSN DessertMaker Manual 4/25/07 11:15 PM Page 13

1615
Recipe Notes Recipe Notes
HSN DessertMaker Manual 4/25/07 11:15 PM Page 15

17 18
Limited Warranty
This warranty covers all defects in workmanship or materials in the
mechanical and electrical parts, arising under normal usage and care,
in this product for a period of 12 months from the date of purchase
provided you are able to present a valid proof-of-purchase. A valid
proof-of-purchase is a receipt specifying item, date purchased, and
cost of item. A gift receipt with date of purchase and item is also an
acceptable proof-of-purchase. Product is intended for household use
only. Any commercial use voids the warranty.
This warranty covers the original retail purchaser or gift recipient.
During the applicable warranty period within normal household use,
we will repair or replace, at our discretion, any mechanical or electrical
part which proves defective, or replace unit with a comparable model.
To obtain service under the terms of this warranty,
call Toll Free (800) 275-8273.
THIS LIMITED WARRANTY COVERS UNITS PURCHASED AND USED
WITHIN THE UNITED STATES AND DOES NOT COVER:
• Damages from improper installation.
• Defects other than manufacturing defects.
• Damages from misuse, abuse, accident, alteration, lack of proper
care and maintenance, or incorrect current or voltage.
• Damage from service by other than an authorized dealer or
service center.
This warranty gives you special legal rights and you may also
have other rights to which you are entitled which may vary from
state to state.
Recipe Notes
HSN DessertMaker Manual 4/25/07 11:15 PM Page 17
 Loading...