

2. Quick Start Guide
If you are familiar with computer networking, this Quick Start Guide is the
fastest way for you to establish your wireless network.
If you need more information than this Quick Start Guide can provide you,
the next chapter, Step-by-Step Installation Guide, will run you through the
necessary steps.
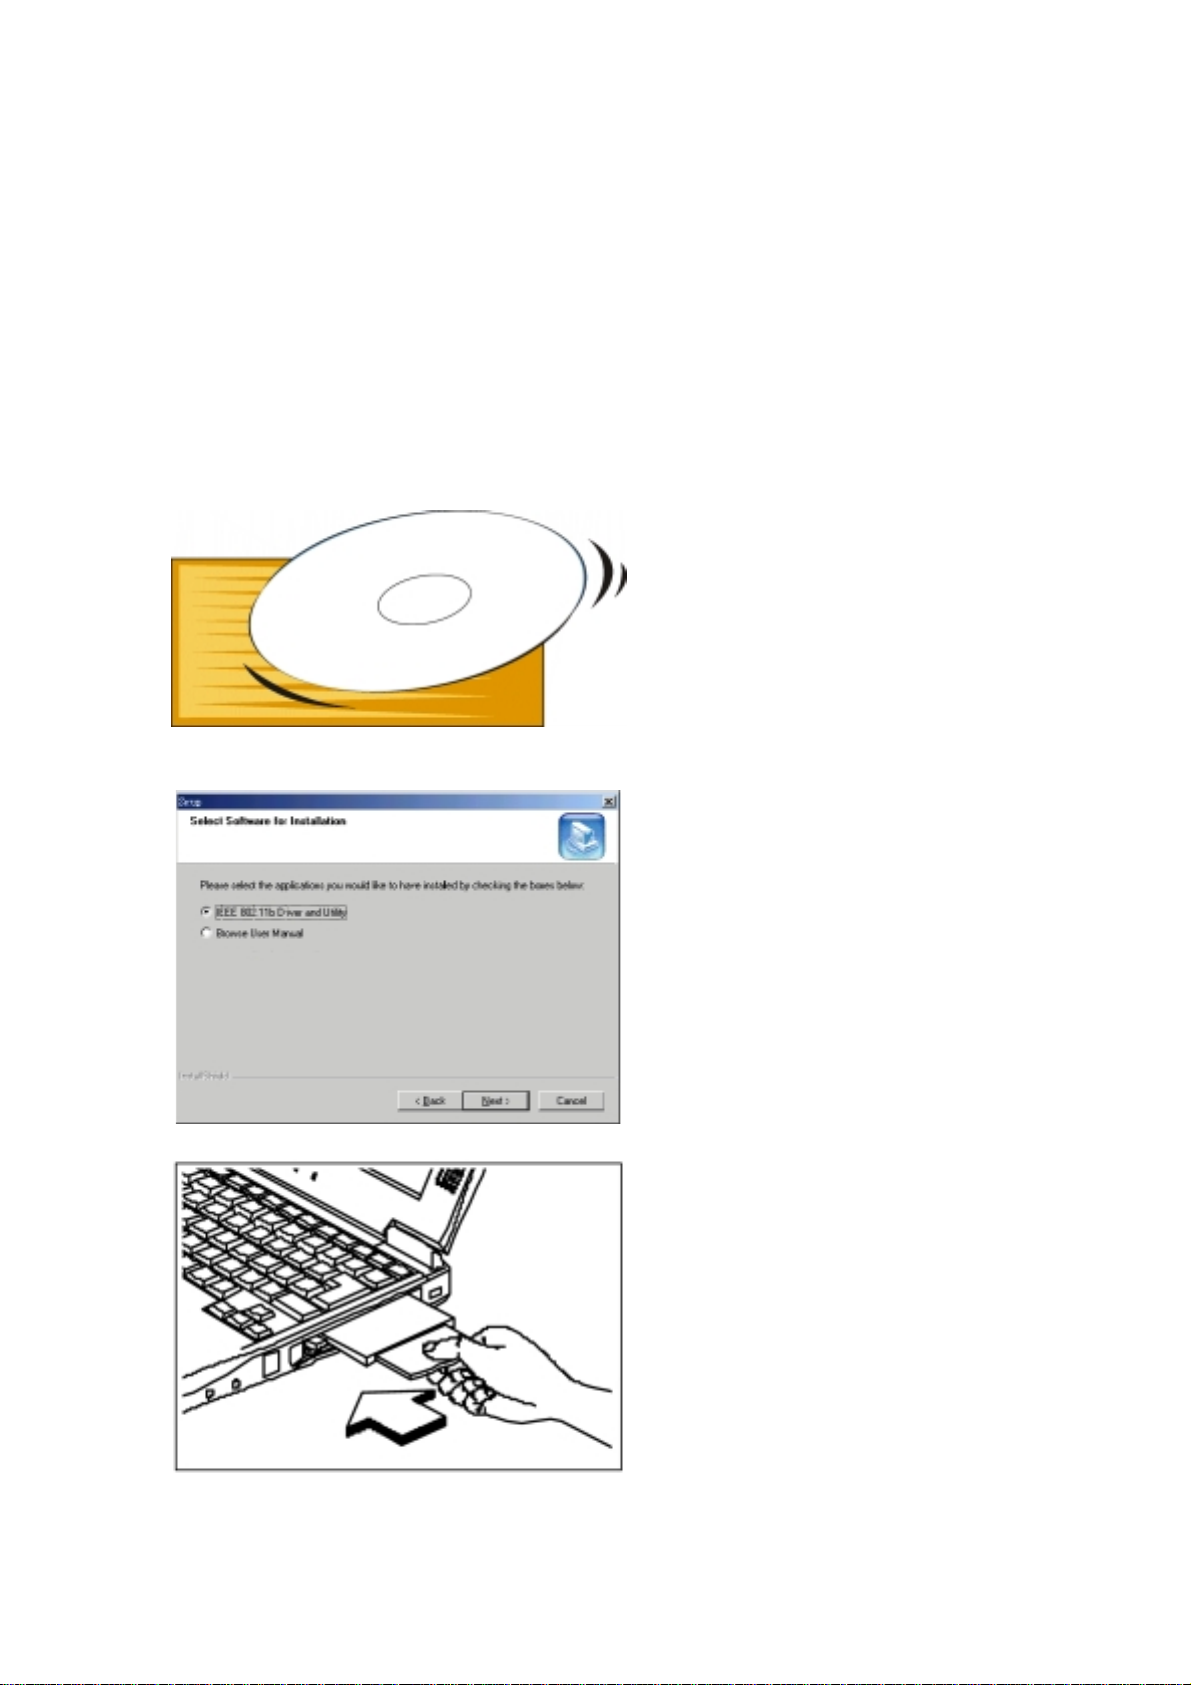
1.
2.
Insert the CD provided into
your CD ROM drive and it
will automatically start the
setup program.
3.
Follow the installation
wizard to complete the
software installation
process; restart your
notebook when the
process is finished.
Insert the IEEE802.11b
WLAN PC Card into the
PCMCIA slot of your
notebook after restarting
the notebook.
9
4.
5.
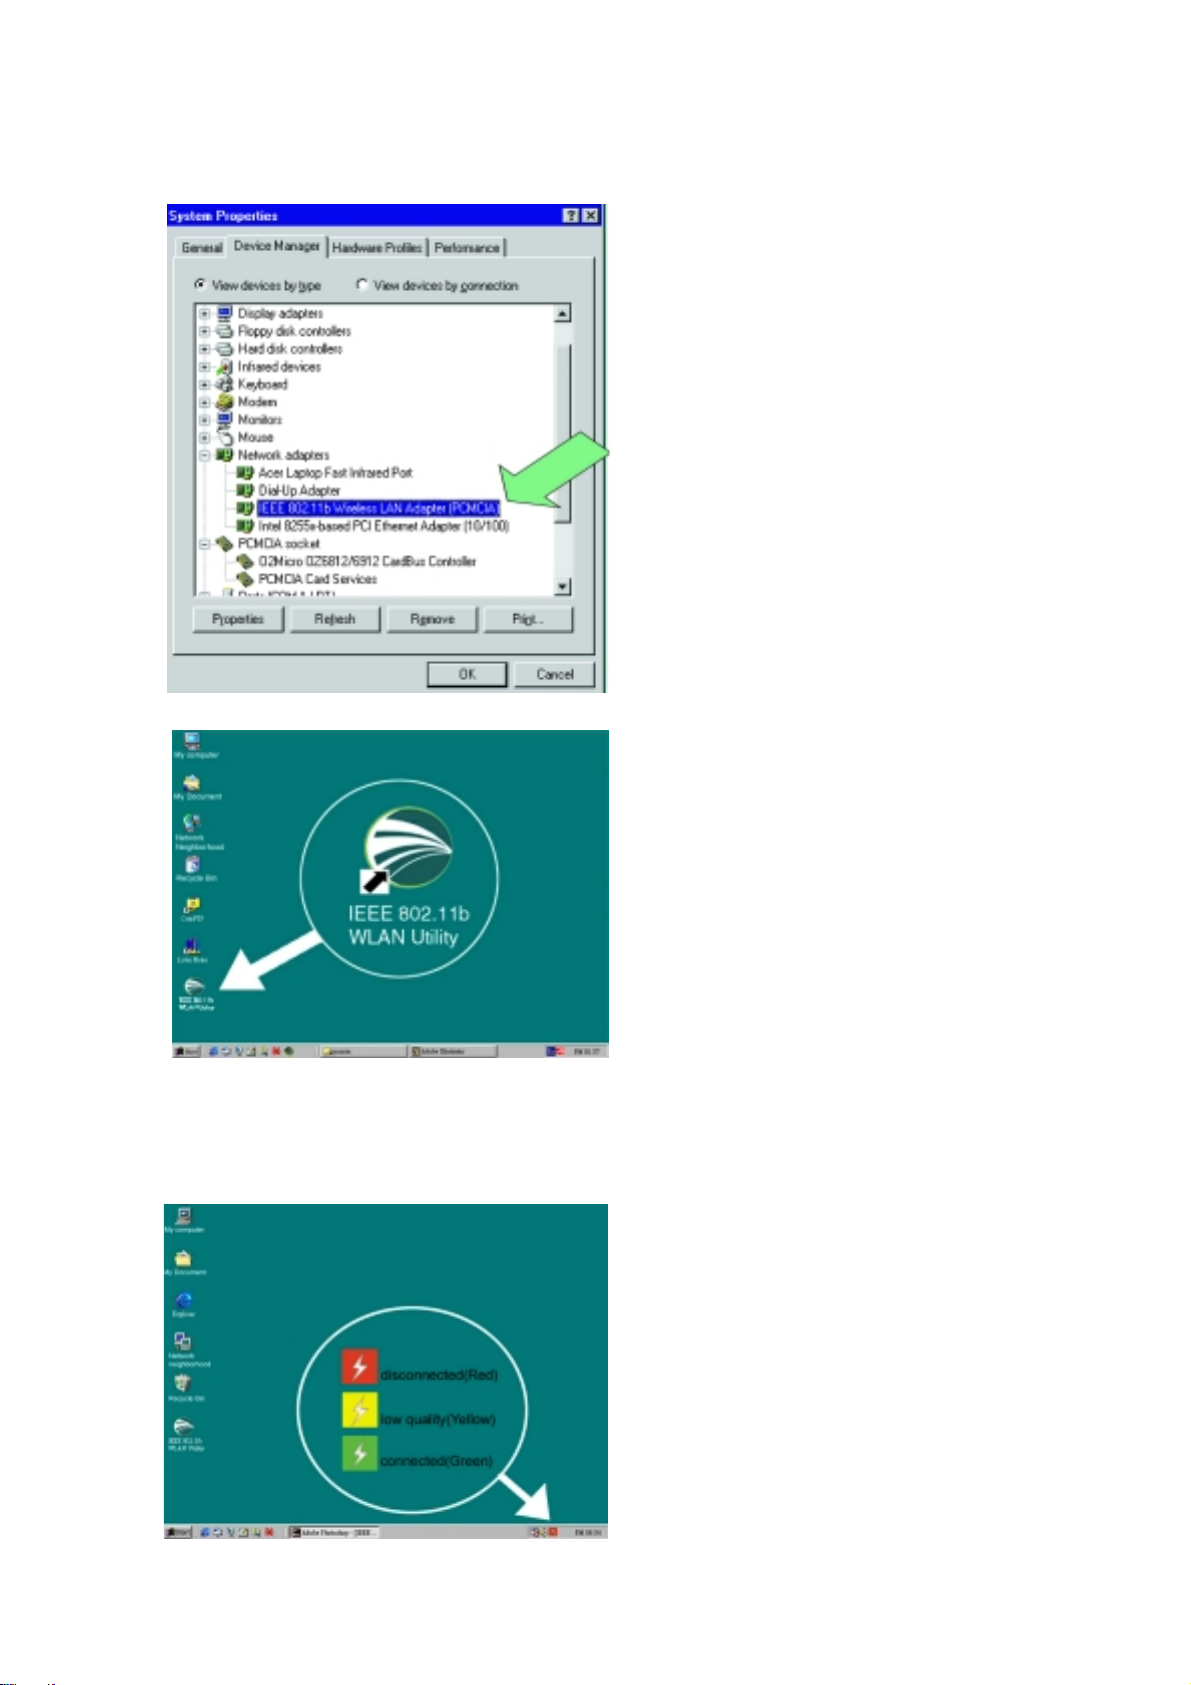
The operating system will
detect the IEEE802.11b
WLAN PC Card and install
the proper drivers
automatically.
You may check the status by
the following procedures:
My Computer#Control
Panel#System#Device
Manager#Network Adapters
6.
Double click the WLAN
icon on the desktop after
the installation, and you
will find a small icon in the
toolbar at the bottom of the
screen.
This icon indicates the
communication status: if it
is green, it means well
connected— please go on
to step 8; if it is red, it
means connection failed—
please go on to step 7.
10
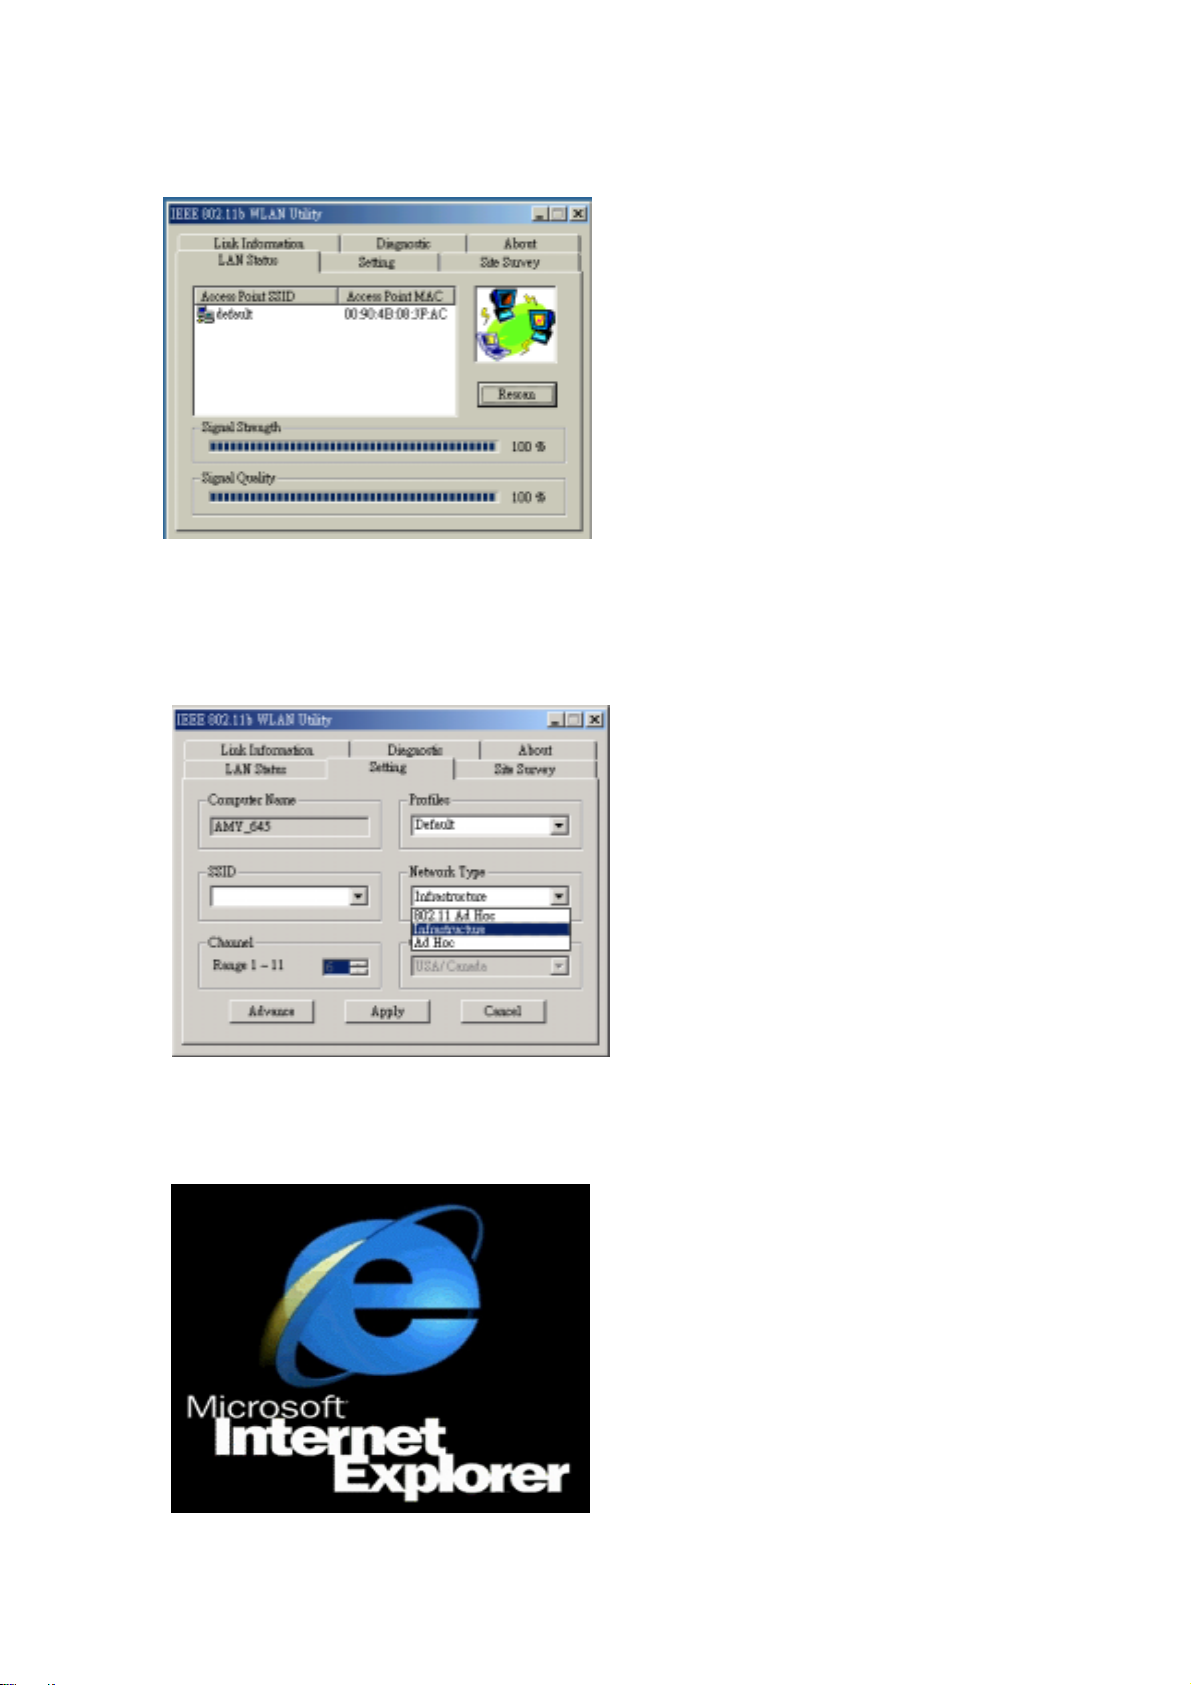
7.
8.
9.
Double click the status
icon and then click “LAN
Status” tab. Please push
the “rescan” button and
then return to the main
screen. If the status turns
green, then go on to step
8. If it remains red, please
repeat the installation
process from step 1.
Double click the status
icon and then select the
“Setting” tab. Please
choose “Infrastructure”
mode and type a name in
the SSID column (This
SSID should be the same
as the network ID of your
Access point). Or, if you
would like to connect with
other stations without an
Access Point, please
select “802.11 Ad Hoc”
mode or “Ad-Hoc” mode
(we recommend “802.11
Ad Hoc” for compatibility
with all IEEE802.11
protocol compliant
products).
Click “Apply” and enjoy
surfing the Internet.
11

3. Step-by-Step Installation Guide
3.1 Over View
This chapter introduces you to a step-by-step process in installing your
IEEE802.11b WLAN PC Card and its driver.
To establish your wireless network connection, the following steps should
be executed.
A. Install the software by using the installation CD. (See 3.2)
B. Install (insert) the wireless LAN card. (See 3.3)
C. Set basic parameters. (See 3.4)
D. Install the required network protocols to communicate with your
network—mainly, the TCP/IP protocol and NetBEUI Protocol.
As this product is designed to run under Microsoft Windows compatible
operation systems*, it is recommended that people who are familiar with
the installation procedures for network operating systems under Microsoft
Windows operate the installation process.
*Compatible Microsoft Windows operation systems include Windows 98SE,
Windows Me, Windows NT4.0 with Service Pack 3 or later and Windows 2000.
12
3.2 Install the IEEE802.11b WLAN Utility/ Driver
Please install the IEEE802.11b WLAN Utility/Driver first before
inserting the IEEE802.11b WLAN PCMCIA Card.
Insert the IEEE802.11b WLAN installation CD into your CD-ROM drive.
The setup program will then automatically start. You can select the
following applications you want to install.
A. Install IEEE802.11b Driver and Utility
B. Browse User Manual
Make sure you have selected “Install IEEE802.11b Driv er and Utility”; then
click “Next”.
13
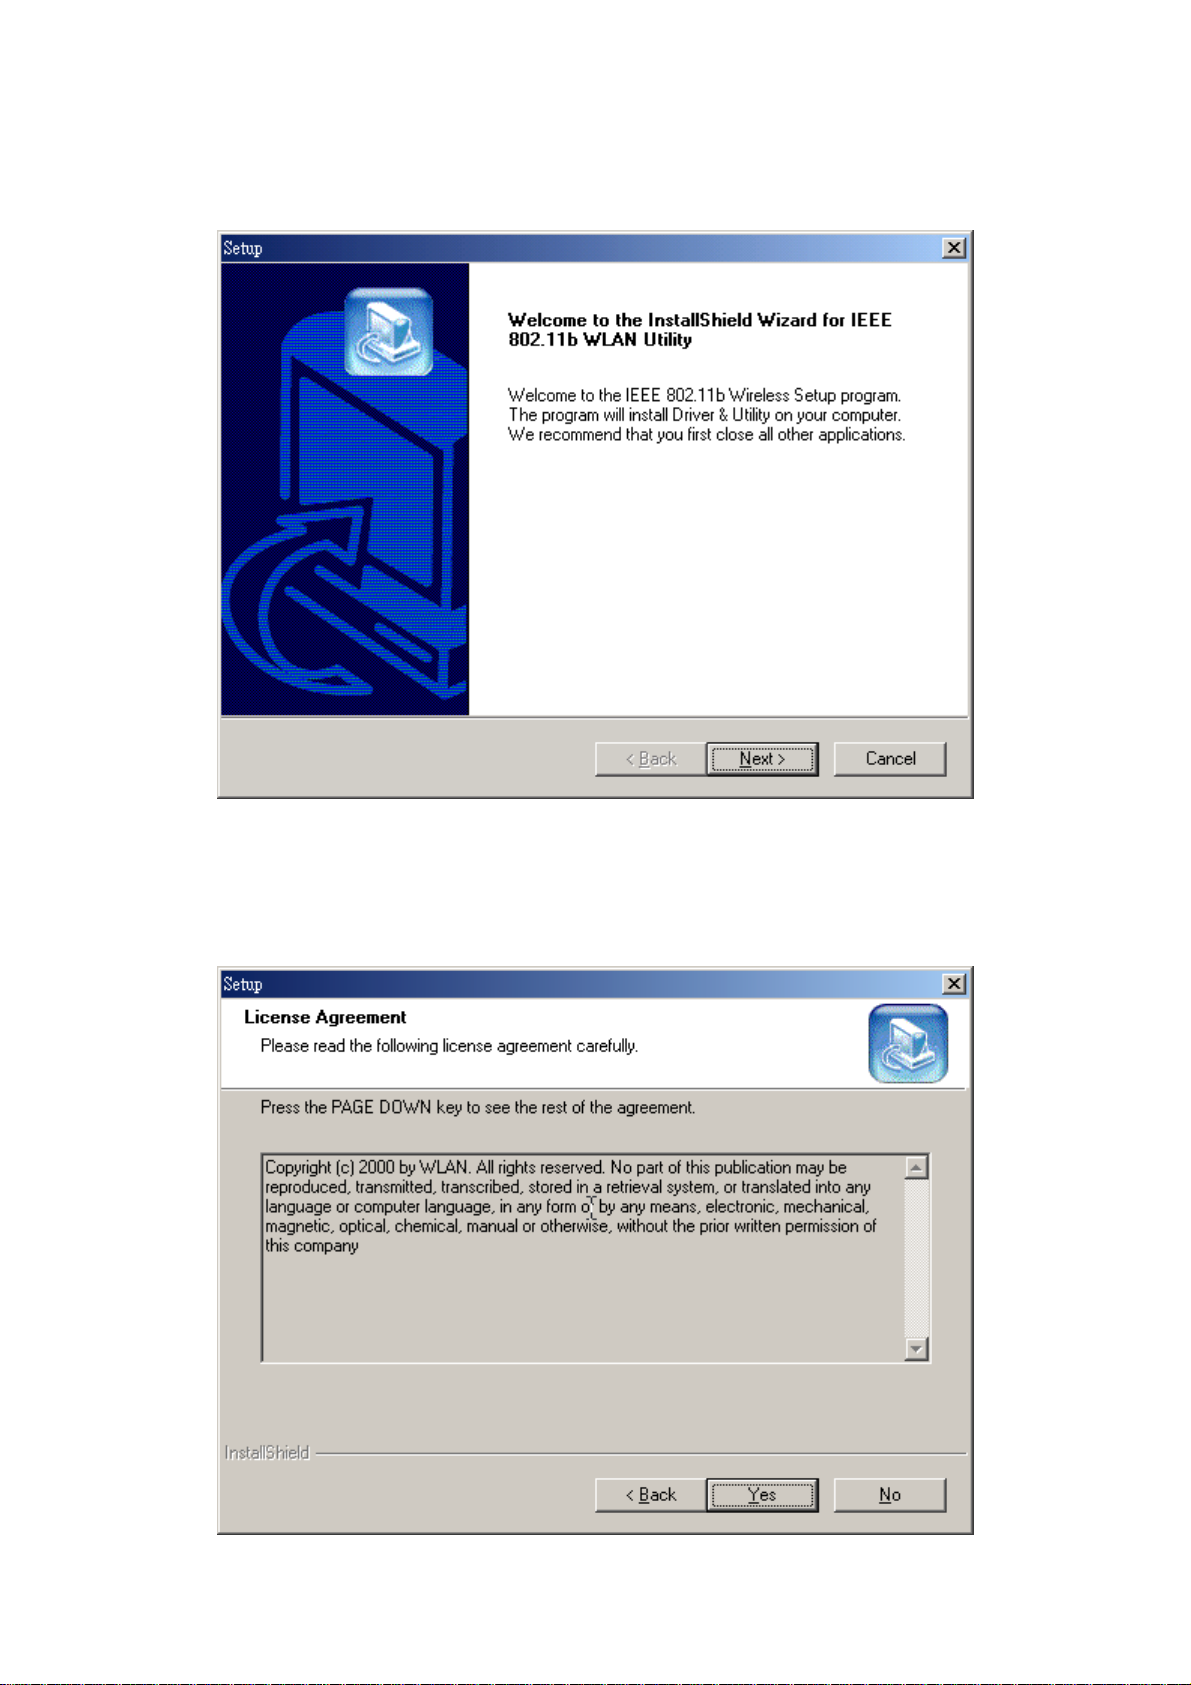
1. When the “Welcome” screen appears click on ”Next”.
2. Please carefully read the “Software License Agreement“. If you
accept the contract, click “Yes“ to move to the next screen. If not,
click “No“ to exit.
14
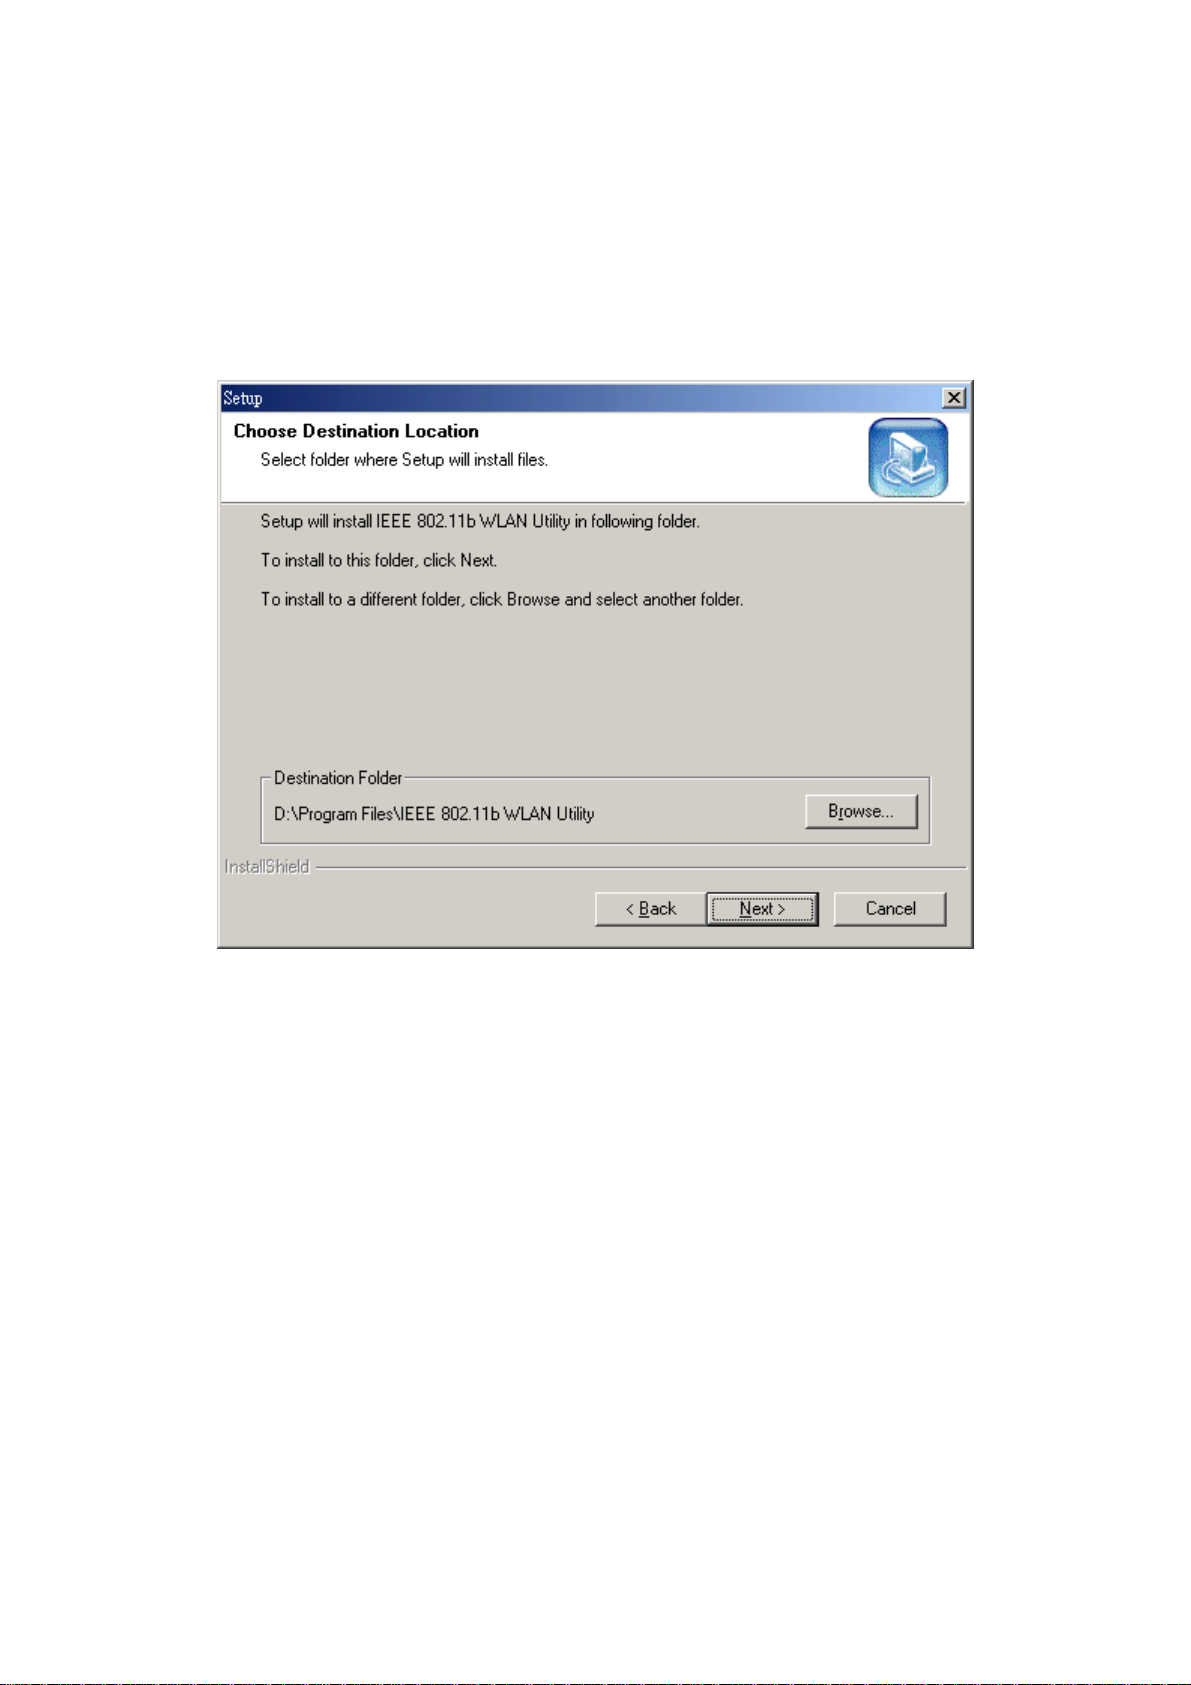
3. The default destination folder is displayed in the setup dialog box. To
change the default folder you can click “Browse” to set the
destination folder. Click “Next” to go to the next screen.
15
 Loading...