

Wishhouse Wishhouse Walkie Talkie User Manual
M-8
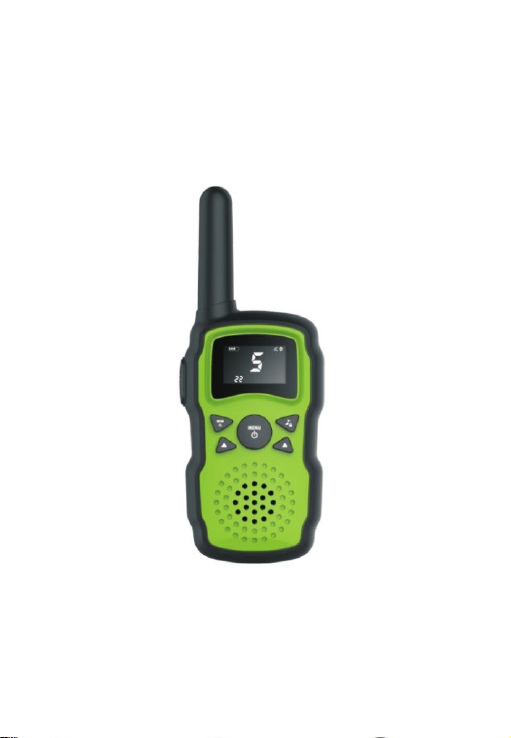
Walkie Talkie
User Guide
1
12
2
13
11
3
4
10
9
5
6
7
8
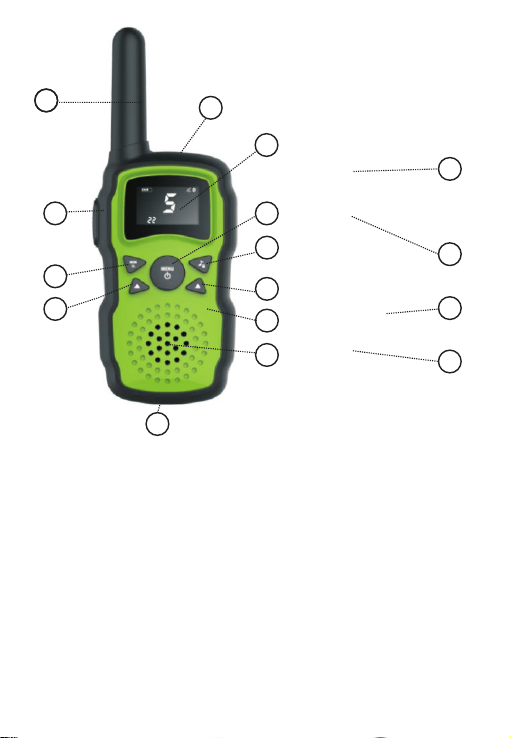
. Antenna
1
2. Backlit LCD Display
3. Menu/Power Button
Call/Lock Button
4.
13. Wrist Strap Connection
14. Belt Clip
15. Battery Compartment
16. Battery Door Latch
5. Down Button
6. Microphone
7. Speaker
8..External Speaker/
Microphone/Charge Jack
9. Up Button
10.Scan/Lamp Button
11. PTT(Pull to talk) Button
Lamp
12.
14
15
16
Features
• 8/22 Channe ls
• 121 Privacy C odes
(38 CTCSS codes/83 DCS codes)
• Hands-Fre e Operation
(VOX)
• Scan
Channels,privacy codes
• Backlit LCD D isplay
• Call Alert
Ten selectable tones
• Button Lock
• Speaker/M icrophone /
Jack/Char ge Jack
• Roger Beep
Selectable On/Off
• Battery/P ower Saver
• Keystroke Tones
• Battery Lev el Indicato r
• Low Battery Au dible Alert
• Auto Squelch
• Belt Clip
Product Features
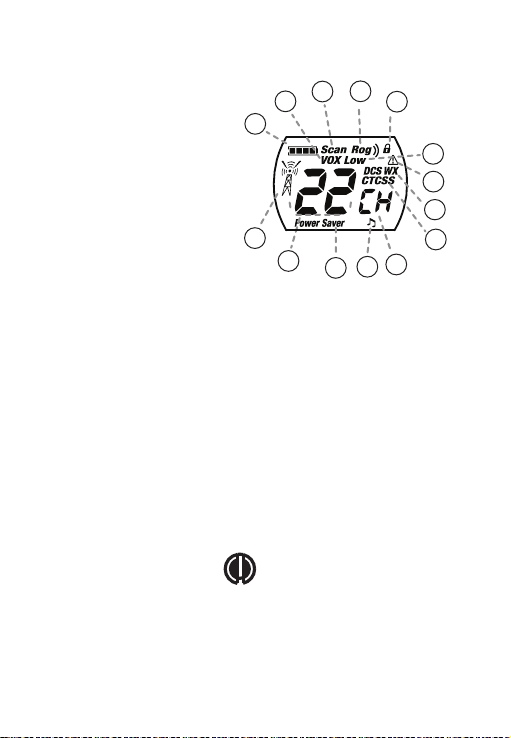
Backlit LCD Display
1
13
1. Batt ery Lev el Indi cat or
2. VOX Ic on
3. Scan I con
4. Roge r Beep Ic on
5. Lock I con
6. Low Po wer Ico n
7. DCS/ CTCSS I cons
8. We ather I con
9. We ather Al ert Ico n
10. DCS /CTCS S Priva cy
Code Nu mbers
11. Po wer Sav er Icon
12. Cha nnel Nu mbers
13. Rec eive/ Transm it Icon
14. Key Ton e Icon
Maximum range may vary and is based on
unobstructed line-of-sight communication
under ideal conditions.
2
5
4
3
6
9
8
7
12
11
10
14

Installing Batteries •
To install or replace batteries:
1. Remove belt clip by releasing belt clip
latch and sliding clip up.
2. Pull up on the battery door latch to remove the
battery compartment cover.
3. Insert the supplied three AA rechargeable
batteries or non-rechargeable alkaline bat te ri es .
Position batteries according to polarity markings.
4. Replace battery compartment cover and
belt clip.
• Do not attempt to charge alkaline batteries.
• Do not mix old and new batteries.
• Do not mix alkaline, standard (carbon-zinc), or
rechargeable (Ni-Cd, Ni-MH, etc.) batteries.
For charging radio(s).
1.To charge a single radio, simply insert the
connector directly into the charge jack located on
the top of the radio.
The radio will display flashing battery icon w hi le
charging.
Recommends your radio be turned off while being
charged.
Non- rechargeable alkaline batteries can also be
used in your radio.
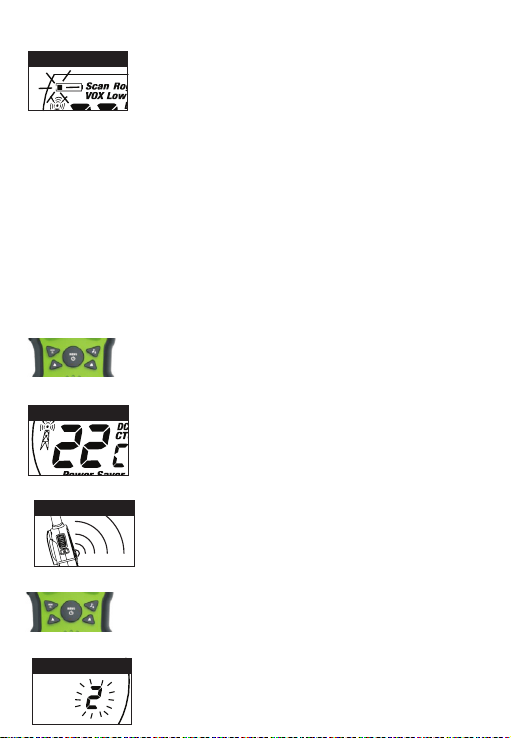
Quick Start
1. Pres s and hol d the Men u/P ower bu tton
to turn o n your ra dio.
2. Pres s the Men u, Pres s the U p or Down
butto n to sele ct a chan nel .
Bot h radio s must be t uned to t he same
cha nnel/ priva cy code t o commu nicat e.
3. Pres s and hol d the Talk but ton whi le
speak ing int o the mic rop hone.
4. When f inish ed talk ing , relea se the Talk
butto n and lis ten for a r esp onse.
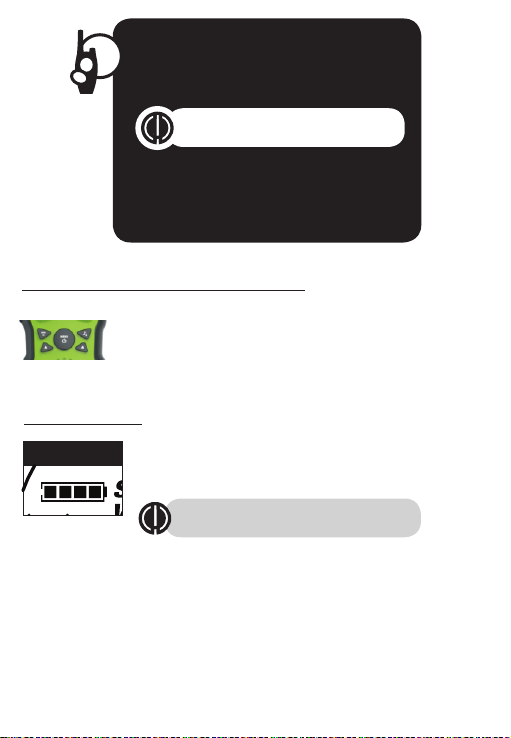
Turning on Your Radio
Press a nd hold t he Menu /Po wer but ton unt il you he ar
a serie s of audi ble ton es in dicat ing the r adio is o n.
Your r adio is n ow in S tandb y mode, ready t o rec ei ve
trans missi ons. Th e rad io is alw ays in St andby m ode
excep t when th e Talk, Cal l or Mo de/Po wer but tons
are pre ssed.
Battery Low
Battery Charge
Status
•
When ba ttery p ower is l ow, t he fina l bar in th e Batte ry
Low ico n will bl ink and a n aud ible to ne will s ound tw ice
befor e the rad io shut s off . Your batt eries s hould b e
repla ced or re charg ed, i f using r echar geabl e bat te rie s.
The r adio will display flashing battery icon
while charging.
•
Auto Battery Save
Battery Low
Commu nicat ing wit h Ano ther Pe rson •
To Select a C hanne l •
Channel Number
Liste ning fo r a Respo nse •
Listening
To Adjust Vo lume •
Volume Level
If ther e are no tr ansmi ssi ons wit hin 10 se conds ,
the rad io will a utoma tic ally sw itch to B atter y Sav e
mode an d the Pow er Save r ico n will fl ash in th e
displ ay. Thi s will no t aff ect the r adi o’s abili ty to
recei ve inco ming tr ans missi ons.
1. Pres s and hol d the PTT b utt on.
2. With t he micr ophon e abo ut two in ches (5 c m) from
your mo uth, sp eak in a no rma l voice .
3. Rele ase the Talk but ton whe n you are
finis hed tal king an d lis ten for a r espon se.
You ca nnot re cei ve inco ming ca lls whi le
press ing the Talk but ton.
Both ra dios mu st be tun ed to t he same
chann el/pr ivacy c ode t o commu nicat e.
With th e radio o n, sele ct an y of the 22 c hanne ls by
press ing Menu an d the Up or D own but ton.
Both ra dios mu st be tun ed to t he same c hanne l to
commu nicat e.Cha nne ls 1 thro ugh 22 are F RS only .
Relea se the Talk b utton t o rec eive in comin g
trans missi ons. Your r adio is a lways i n
Stand by mode w hile th e Talk or C all but tons ar e
not pre ssed.
Press t he Up or at the st andby m ode.
A doubl e beep so und is us ed to i ndica te
the min imum an d maxim um vo lume le vels
(1 thro ugh 8).
Down bu tton
 Loading...