

Page 1
Installation and Operation
Manual
CCD
Camera
2
DOOR
UP TO
MONITOR
2
www.doss.com.au
Page 2

Introduction
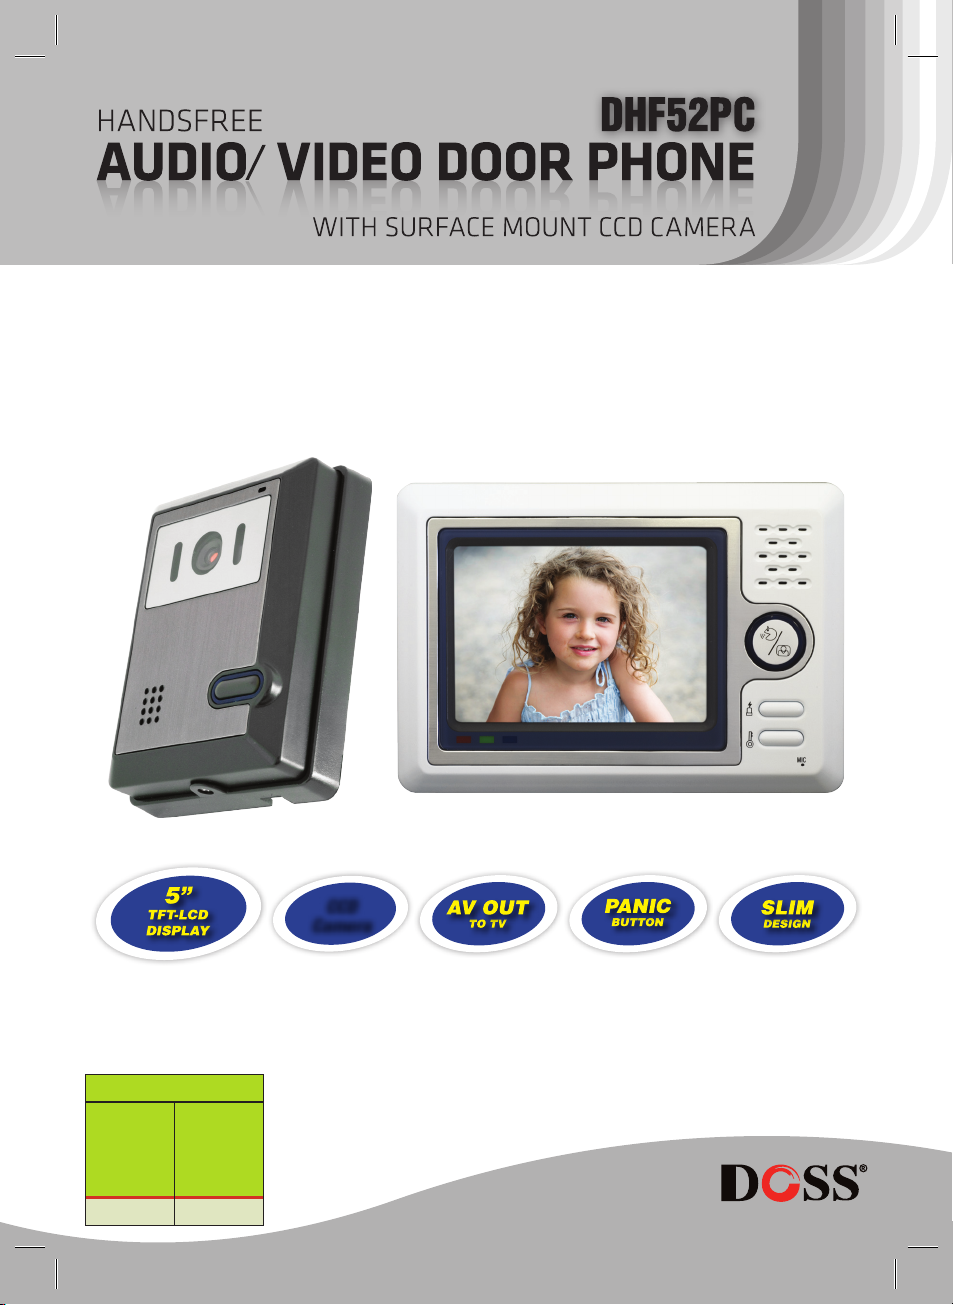
Handsfree Video Doorphone
The DOSS DHF52PC provides audio/visual communication between the indoor monitor and the
outdoor camera. The DHF52PC is an easy to install and inexpensive video intercom system.
Now you can communicate with whoever is at the door without having to open it!
The DHF52PC has a 5” TFT-LCD colour monitor with a simple one button control. Visitors
press the doorbell on the camera and the monitor will ring to let you know someone is at the
door. Their image appears immediately on the monitor and you can speak with them with the
touch of a button. The intercom camera can even see people in the dark. Control the bell volume
and the screen brightness to your liking with easy knob controls located on the monitor.
You can now conveniently identify visitors before answering your door with the intercom
system. This system will increase your home or business security.
Applications & Benets:
Immediately increase the overall security of your home or business, keep annoying solicitors
away, children won’t have to open the door to strangers while you are away, decrease vandalism,
deter potential crime, you don’t have to get up to answer the door, unlock the door remotely for
guests (optional).
Calling:
Visitors press the CALL button on camera unit, the visual image of the visitor appears on the
monitor inside with a electrical doorbell chime sound.
Conversation:
After identifying the visitor visually, talk to the visitor shown on the screen by pressing the
CALL/ MONITOR button and have a conversation just as you would on a normal speaker phone
(hands-free operation).
Monitoring:
Simply press the MONITOR button to identify visitors at the door without them being aware that
they are being watched or to monitor the immediate area around the doorway. This allows you to
monitor the visitors at your door, even though they may not have pressed the call button. This can
help to avoid the risk of opening the door to strangers or to observe the area if you suspect foul
play.
Page 3

Contents
Features 1
System Outline 2
Installation instructions 3
Preparing for installation 3
Warnings 3
Monitor & Camera Installation 4
One-to-One Installation 5
One-to-Two Installation 5
Two-to-One Installation 6
Two-to-Two Installation 7
Basic Operations 8
Answering Calls 8
Monitoring Outdoors 8
Adjusting Volume and Brightness 8
Panic and Door Lock Buttons 8
One-to-One Operating Instructions 9
Two-to-One Operating Instructions 10
Two-to-Two Operating Instructions 11
Specications 12
Page 4
Features
Video Door phone Kit
■
Easy installation and operation
■
Ideal solution for home video security
■
See who’s at the door before opening it!
■
CCD Camera
■
Large 5” colour screen
■
IR illumination on camera
■
Video and two way intercom
■
Door lock control
■
Mounting hardware supplied
Colour Monitor
■
5” colour TFT-LCD Screen
■
High resolution: 640*480 pixels
■
Handsfree operation
■
Door lock control
■
Panic button to deter would-be intruders
■
External video and audio output
■
Volume and brightness controls
■
Auto off
■
Slim and stylish design
■
185 (W) x 130 (H) x 27 (D) mm
Video Camera
■
CCD Camera
■
Surface mount colour camera
■
6 IR LEDs for night viewing
■
Lens with vertical adjustment
■
Handsfree operation
■
Built-in microphone
■
Weatherproof casing
■
127 (H) x 95 (W) x 35 (D) mm
1
Page 5
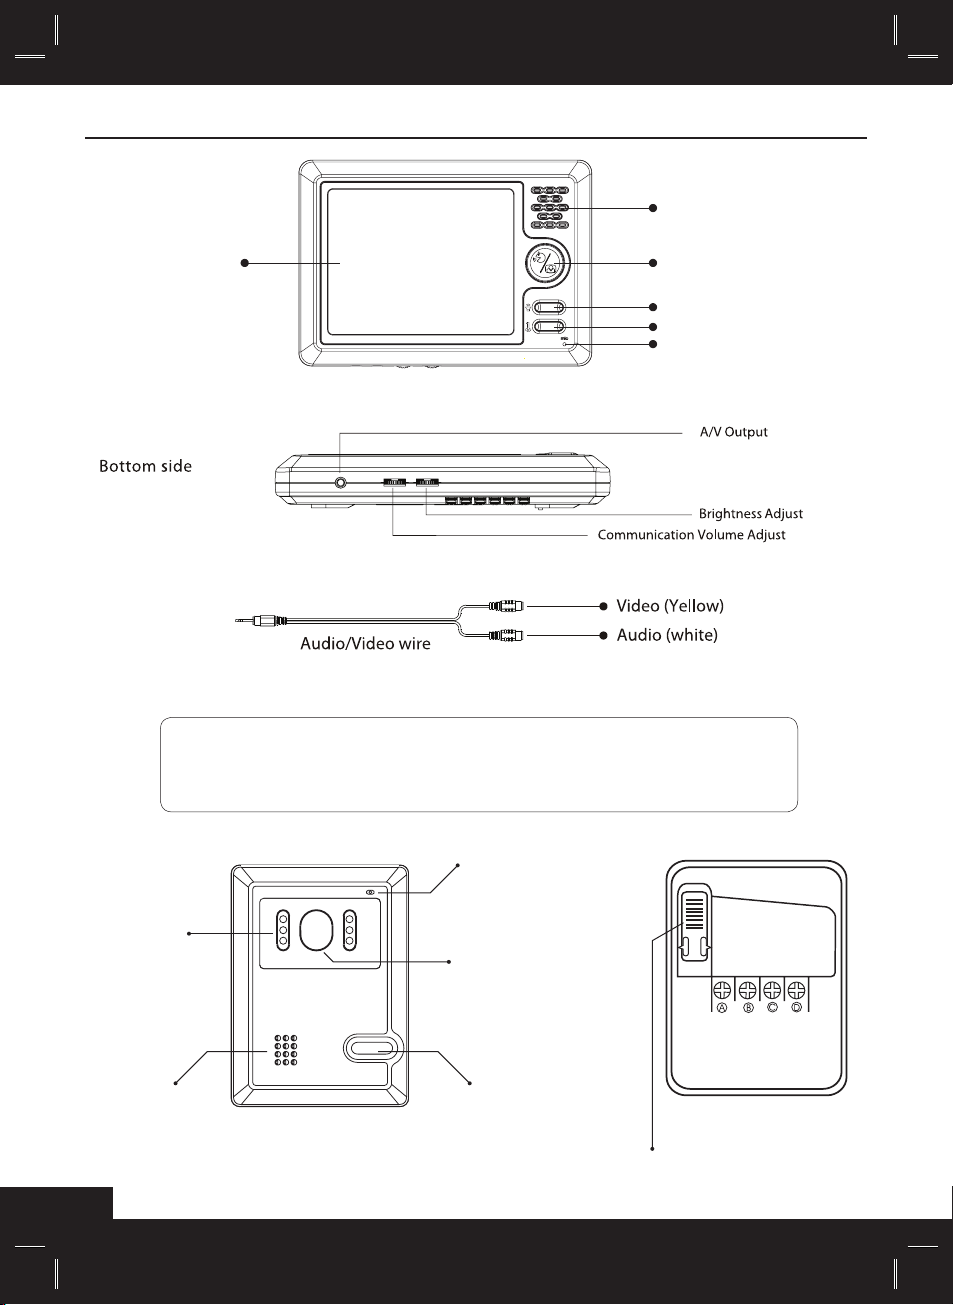
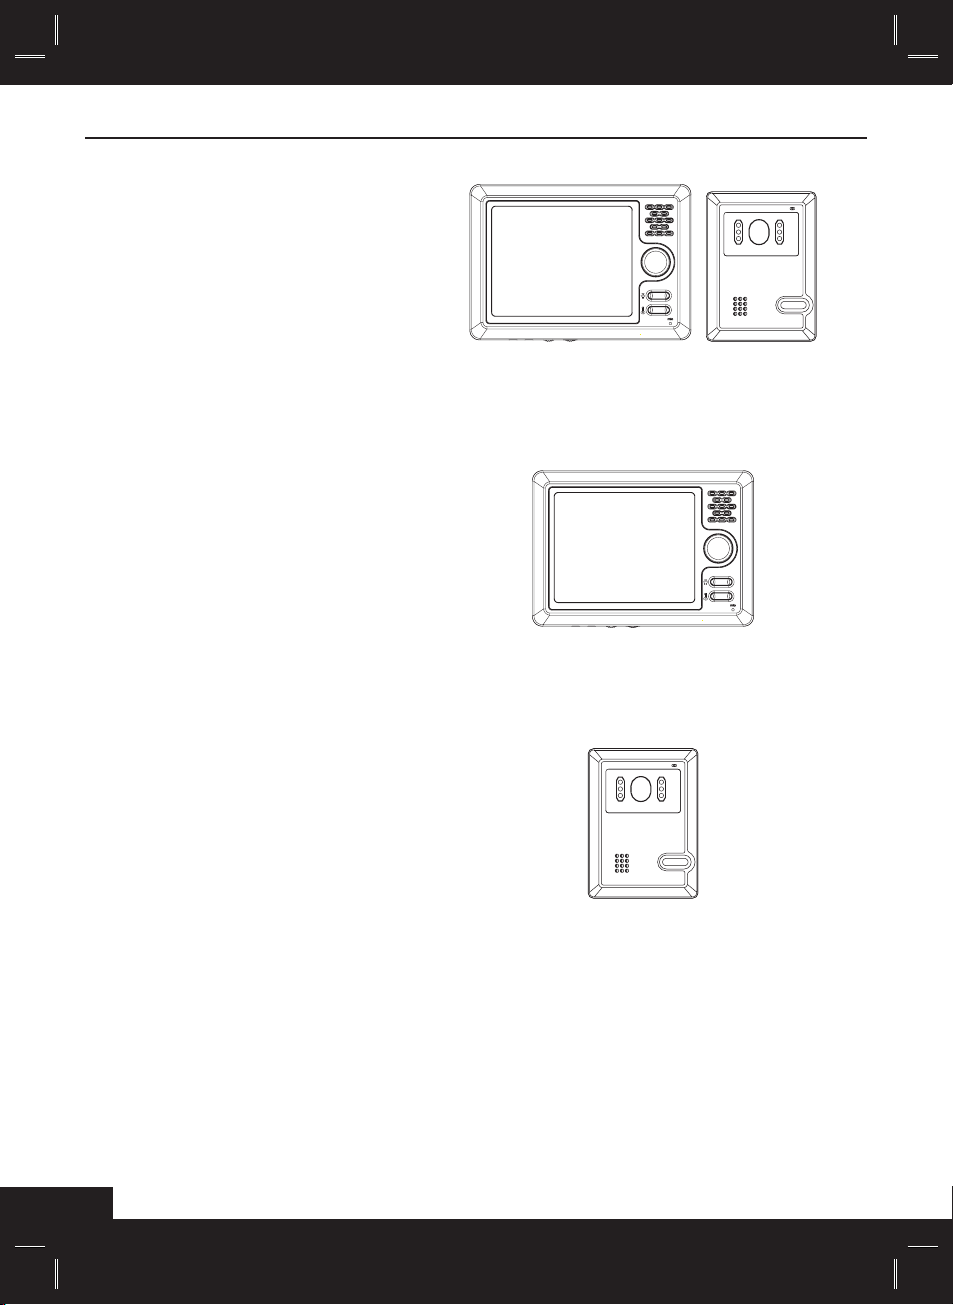
System Outline
Monitor
Loudspeaker
5” TFT-LCD display
■ Use the supplied AV lead to be able to connect your camera to any TV or external display. On your
monitor, connect the 3.5mm jack to the output labelled “AV Out”. Using the two RCA leads, connect the
yellow lead for video, white for audio.
■ You will still be able to view the camera on your monitor.
Handsfree/ Monitor button
Panic button
Unlock door button
Microphone
Camera
IR LEDs
Loudspeaker
2
Microphone
Lens
Call button
Camera height adjustment
Page 6
Installation Instructions
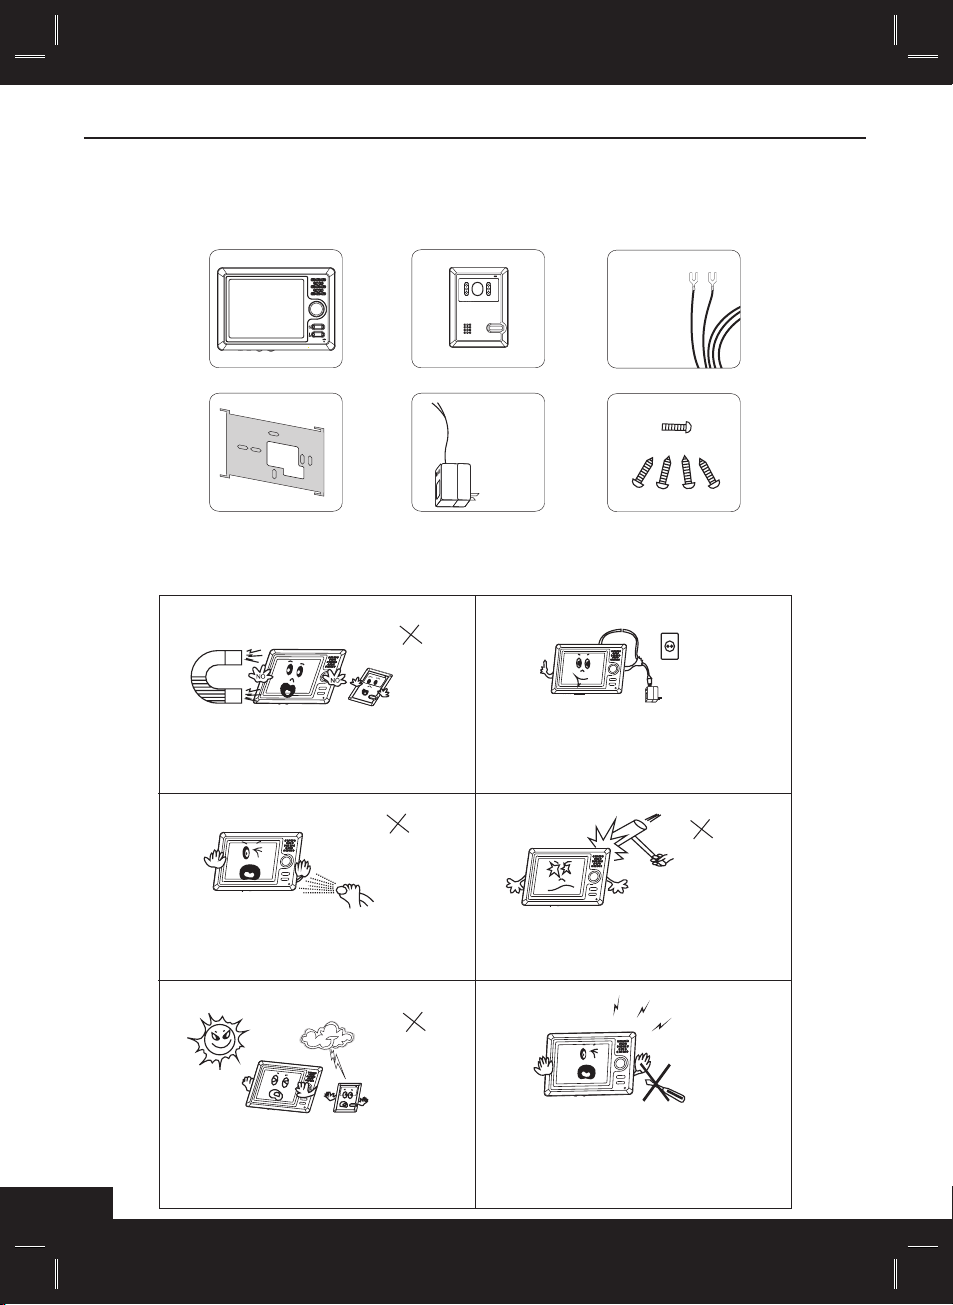
Preparing for installation
Before you being the installation of your system, please ensure you have the following parts on
hand.
Monitor Camera Cable
Warnings
wall mount
Do not plac e the monitor near strong
magnetic elds, such as near T Vs, video
recorders etc.
Protect the monitor from water.
ScrewsPower supplySupport for
Turn off power if monitor is not going to
be used for a long period of time.
Do not apply shock to the monitor.
Do not plac e either the monitor or the
camera under direct sunlight, or under
strong weather conditions.
There is high voltage inside your
system, do not attempt to disassemble
it by yourself. Your unit should only be
serviced by a qualied technician.
3
Page 7

Monitor Installation Instructions
Follow the diagram below to install your monitor.
The optimum height for
the monitor installation is
between 145 cm and 160
cm based on the centre of
the LCD screen.
Using 2 screws x the wall plate to the wall and attach
the monitor the bracket.
Camera Installation Instructions
Follow the diagram below to install your camera.
Positioning
4
Optimum height
Increasing the vertical angle
Decreasing the vertical angleHorizontal angle
You can adjust the vertical angle of the camera
lens using the slider located on the back.
1. Unscrew the bottom of the
camera to detach the mounting plate.
2. Using two screws, x the camera plate to the
wall and re -attach the camera unit.
Page 8

One to One Connection Instructions
Follow the diagram below to setup your intercom.
WA R N I NG
■ Make sure power is disconnected to the unit before you connect the monitor to the camera!
One to Two Connection Instructions
Follow the diagram below to setup your intercom.
5
Page 9

Two to One Connection Instructions
Follow the diagram below to setup your intercom.
6
Page 10

Two to Two Connection Instructions
Follow the diagram below to setup your intercom.
7
Page 11

Basic Operation
Answering calls
Visitor presses
the “Call” button
on the camera
■ When you press the “Handsfree” button and communicate with your visitor for more than 2 minutes, the
monitor will turn off automatically. To resume your communication, re-press the “handsfree” but ton.
■ When the visitor presses the “Call” button on the camera, the monitor will turn on showing you the
visitor s picture, if the call is unanswered within 60 seconds, the monitor will auto turn off.
The picture of your visitor
is displayed on the monitor
screen
Monitoring outdoors
Adjusting volume and brightness
■ Use the control dials located on the bot tom of the monitor to adjust the br ightness or volume levels.
Press the “Call/
Monitor” button
Press the “Handsfree” button
on your monitor to initiate your
conversation. Next press the
“Unlock” but ton to have the
door automatically open.
You can view what
is going outside for
approx. 60 seconds
Panic and Door lock buttons
■ PANIC BUTTON
Pressing and holding down the panic button will emit a loud alarm from the outside camera as a
deterrent to unwanted visitors.
■
DOOR LOCK BUTTON
If you have installed the door-lock feature, you can unlock the door by pressing the unlock button.
8
Page 12

One to One Operation Instructions
9
Page 13

Two to One Operation Instructions
10
Page 14

Two to Two Operation Instructions
11
Page 15

Specications
Monitor
Camera
DC 13.5 V 1.5Amp
12
Page 16

Page 17

www.doss.com.au
 Loading...