

Winsport Karella E-MASTER Instruction Manual
E
Instruction manual
Before use, please read the operating instructions carefully and keep it!
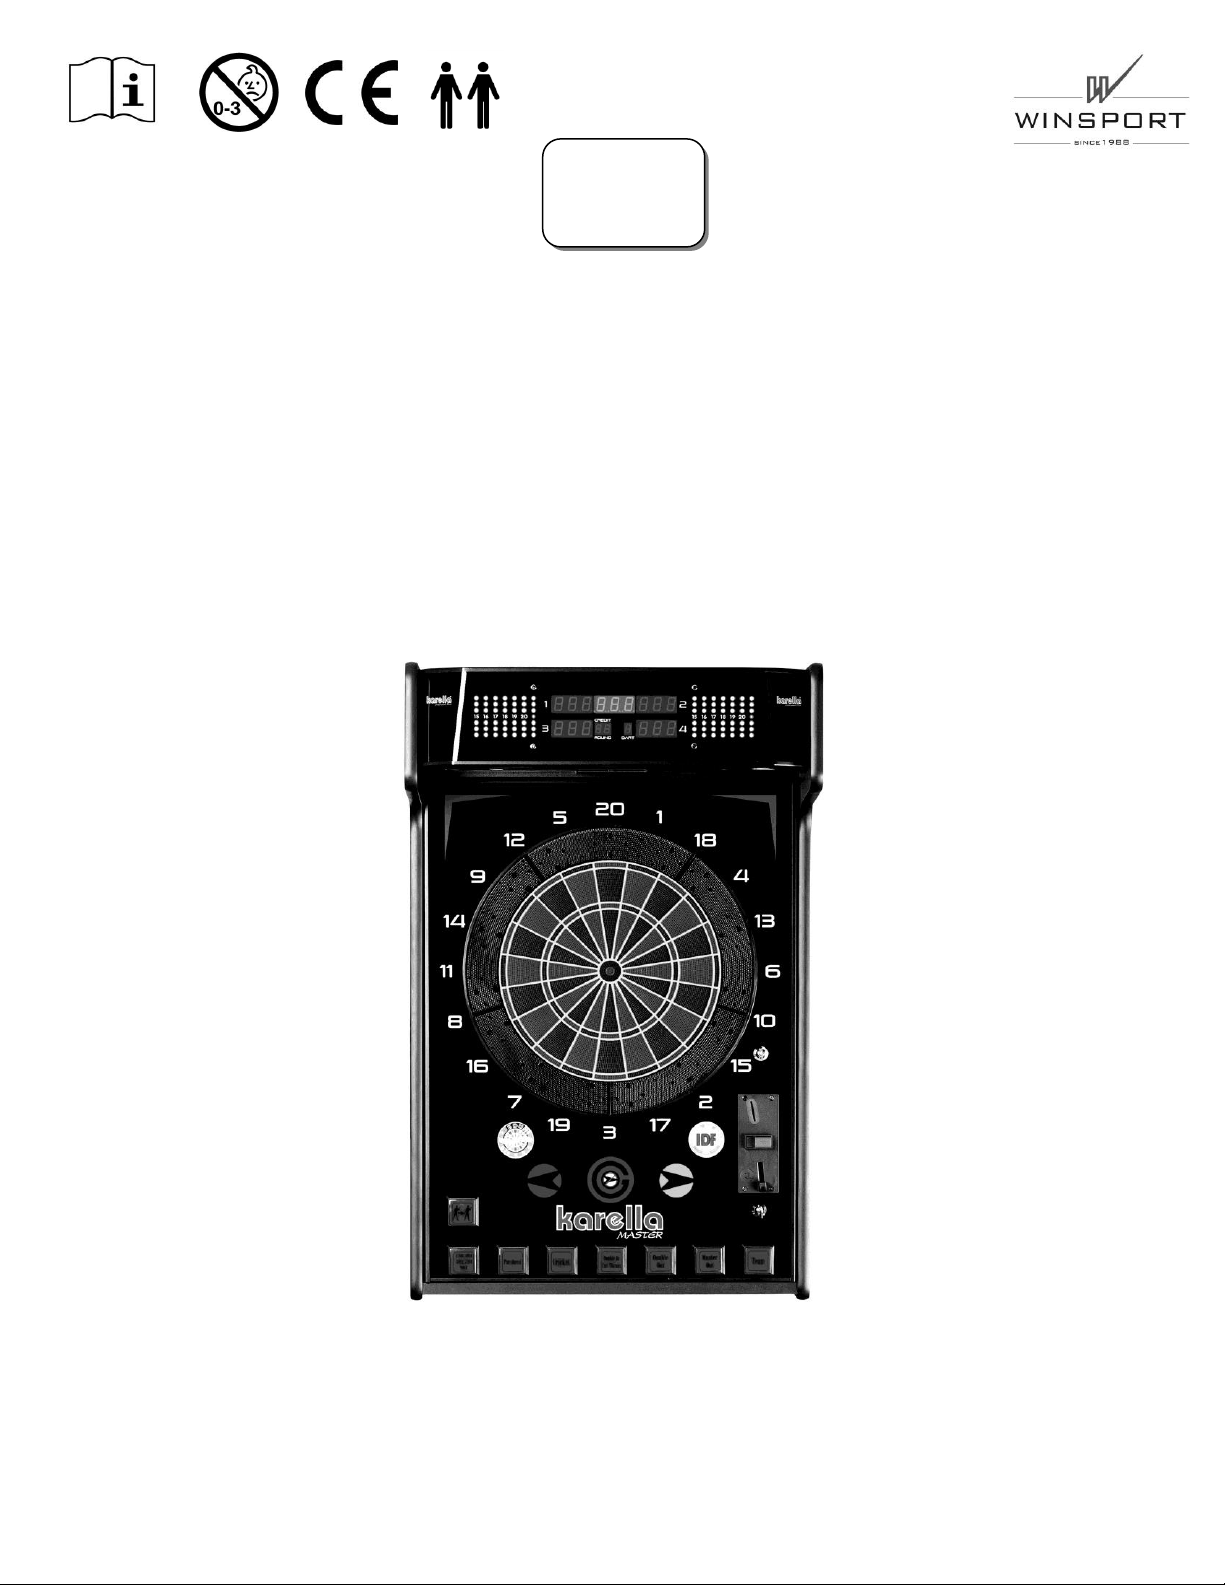
Karella
E-MASTER
Stand: 16. Mai 2019
Operating manual
E E
Height: 97,5cm
Width: 62,0 cm
Depth: 46,5cm
Weight: approx. 45,0 kg
Height: 210,0 cm
Width: 60,0 cm
Depth: 60,0 cm
Weight: approx. 8,0 kg
ATTENTION: PLEASE READ CAREFULLY PRIOR TO COMMENCING THE ASSEMBLY AND
USE OF THE UNIT.
It is not a toy! Danger for children – Choking hazard. Small parts.
With not appropriate use for article of every kind all guarantee claims go out!
CONGRATULATIONS FOR THE PURCHASE OF YOUR KARELLA DART MACHINE.
Before you mount device and use it, please read the following instructions first and keep it.
Only so you can use the device safe and with high reliability.
Familiarize yourselves in particular with the safety regulations.
IMPORTANT: The assembly may only be done by adults.
Use this device exclusively for the supposed purpose.
Technical advice:
If the power cord is connected to a socket, the unit is automatically powered. To operate the appliance,
please switch the main switch of the appliance to 'ON'.
Mains voltage: 110 - 240V
Max. Power Consumption: 120 W
/ 50 Hz
AC
MAX
Within the device there are no voltage potential which could endanger life, all of the circuits use a
voltage potential of 5 Volts or 12 Volts.
Dimension wall unit
Dimensions base-underframe (optional)
CAUTION: Electric shock due to cable damage – If you notice any visible damage to your E-
Master or power cord, do not use it.
Do not touch the cable until the plug has been disconnected from the socket.
Replace damaged cable completely.
It is forbidden to mend the defective cable with insulating tape. Repairs are only allowed by qualified
personnel.
Always route cables without tripping hazards and always choose extension cables long enough.
Cable must always be placed splash-proofed.
Never touch the mains plug and socket with wet hands. Only connect the device to AC power. The
specified voltage on the identification plate must match the voltage of the power source.
8111.01 REV_DA_16052019
2

Operating manual
Winsport accepts no liability for damage that should be caused by disregarding these instructions.
We reserve the right to technical innovations or deviations in color and design.
Please keep the original packaging for possible later returns.
Please observe the following safety instructions to ensure a long life and optimal function of your
dartmachine:
(8) Before each use, you should check all parts for their function and should not use this device in the
(1) Do not try to open the unit by force. It contains no parts or components to which the user will be able to
repair. Consult a specially trained professional if there is a need for a repair.
(2) Slots and other openings on the top, sides, and bottom of the cabinet supports the ventilation system.
To ensure the unit is working properly and does not overheat, these openings must not be blocked or
covered.
(3) No sharp objects should be pushed through slots in the interior of the apparatus, as they could touch
live parts. It could cause a short circuit followed by a fire.
(4) The appliance must not be installed or located close to the heat source.
(5) No liquid may be poured over the apparatus. If this happens anyway, the device must be checked by a
specialist.
(6) Never expose the unit to rain or high humidity.
7) If you pass on the dartboard to another person, make sure that this person knows the contents of the
set-up and operating instructions.
case of faults occurring
CAUTION: Always unplug the power cord before cleaning the device.
CAUTION: Missing or modified safety devices.
Safety devices are for your protection. Never change or bypass safety devices.
ACCESSORIES & SPARE PARTS
Only use original accessories and original spare parts, they guarantee the safe and trouble-free operation of the
device. Information about accessories and spare parts can be obtained from your dealer.Li
DELIVERY
During unpacking, check the contents of the device for completeness. If there are no accessories included or
transport damages, please inform your dealer.
8111.01 REV_DA_16052019
3

Operating manual
Content
1. ASSEMBLY INSTRUCTIONS ...................................................................................... 5
1.1. Wallmounting ........................................................................................................................ 5
1.1. Mounting with stand (optional) .............................................................................................. 6
1.2. Put up the start-line ad adjusting the height .......................................................................... 7
2. DETAILS AND STARTING UP .................................................................................... 8
2.1. Detail view of the device ........................................................................................................ 8
2.2. Disassembly and maintenance of the dartboard................................................................... 9
2.3. Start up................................................................................................................................. 10
2.4. Delete credits ....................................................................................................................... 10
2.5. Keys ............................................................................... Fehler! Textmarke nicht definiert.
2.6. Display ................................................................................................................................. 11
2.7. Coin validator ....................................................................................................................... 11
2.8. Overview .............................................................................................................................. 12
2.9. Testmenu ............................................................................................................................. 12
2.10. Sound ................................................................................................................................... 15
2.11. Main bookkeeping ................................................................................................................ 15
2.12. Secundary bookkeeping ...................................................................................................... 15
2.13. Turniermodus ....................................................................................................................... 16
2.14. Werkseinstellungen / Reset ................................................................................................. 16
2.15. Setup Menu .......................................................................................................................... 17
2.16. Sound Volume adjust........................................................................................................... 21
3. GAME RULES ........................................................................................................... 22
Attention: The manual is intellectual property of Winsport e.K. Reproduction of the entire manual or individual
passages is only permitted with the written permission of Winsport.
8111.01 REV_DA_16052019
4
Operating manual
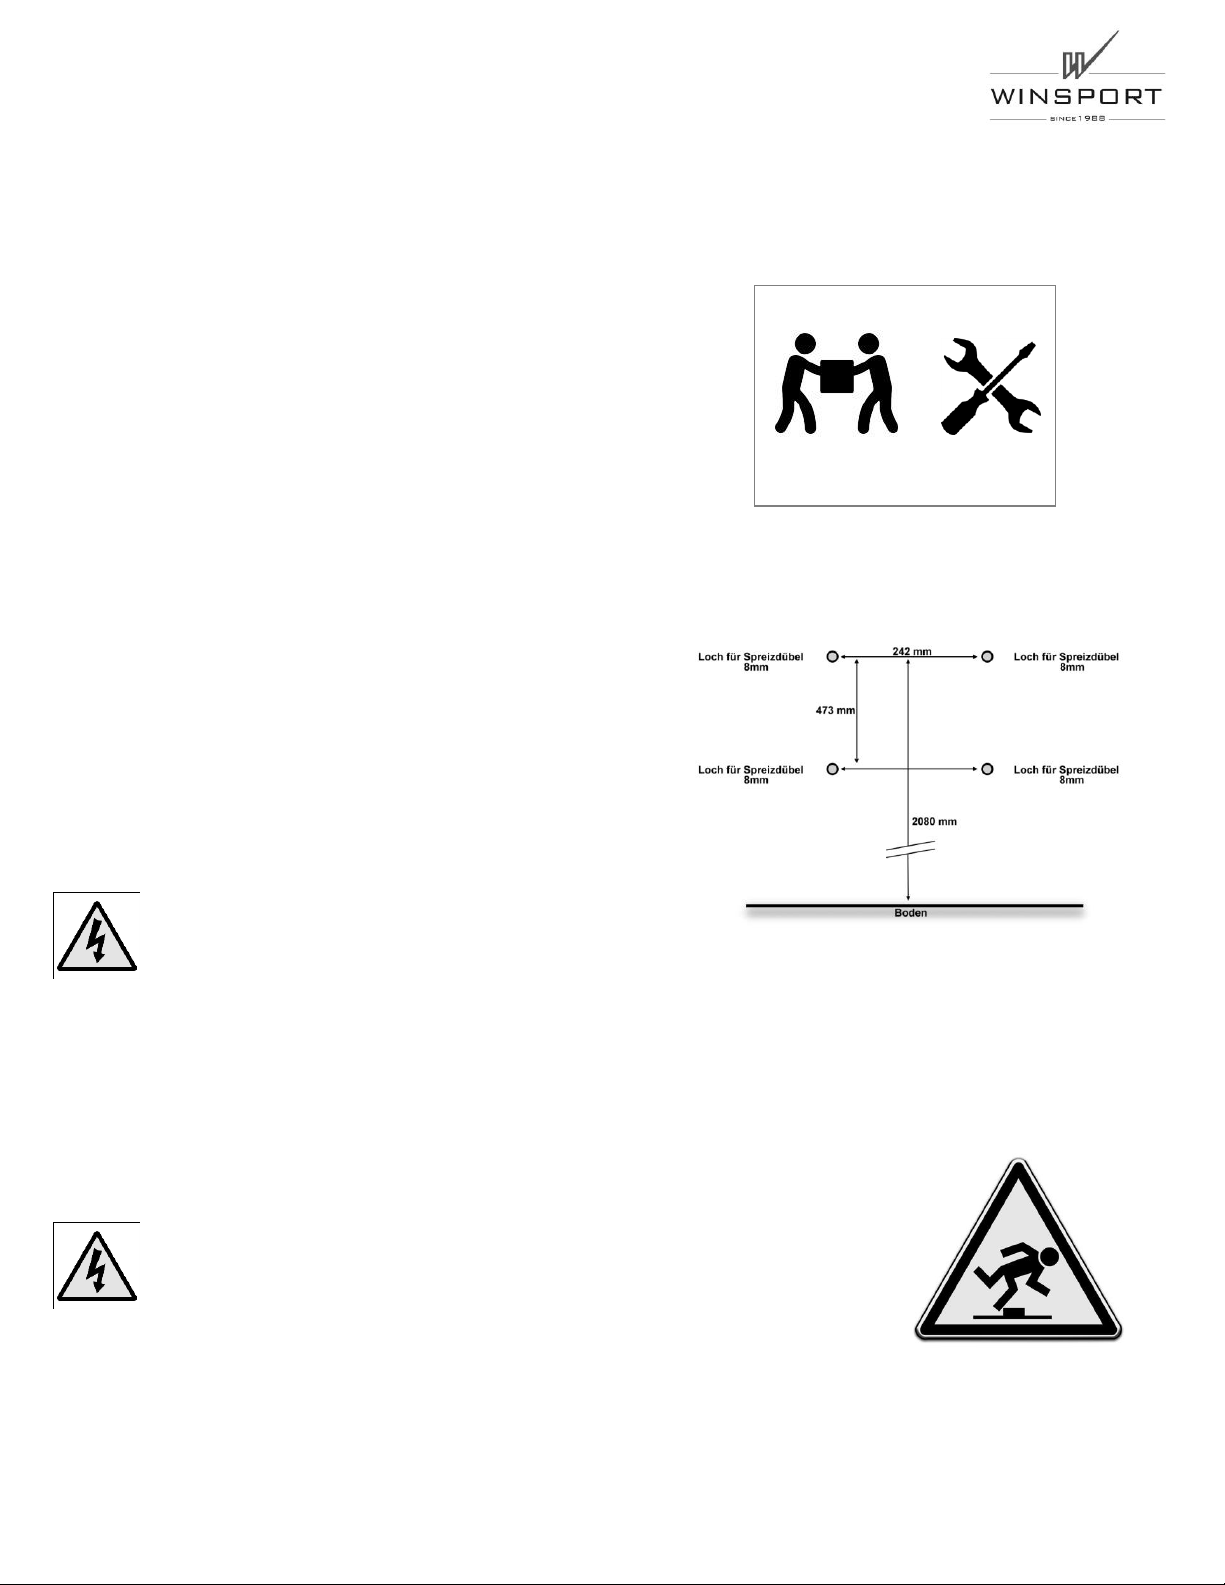
Note: 2 people needed to
mount the device.
1. Assembly Instructions
Please read the instructions carefully before you start assembling! Always mount the dartboard with at least two
adults!
!
1.1. Wallmounting
Step 1
Open the device and remove the accessory set.
Loosen the safety screw and remove the Wall bracket from
the back of the device.
Step 2
Attach the wall bracket with the supplied our dowels (Ф 8 mm)
and screws (6 x 50 mm) on the wall. The position of the drill
holes can be found in the sketch beside.
Step 3
ATTENTION: Please carry out this procedure with
two peoples – never alone!
Hang the device in the wall bracket and fix the device with the
safety screw on the wall bracket.
Stept 4
After the device has been properly installed, the device can be
connected to the power supply.
ATTENTION: The power cable must not cause tripping hazards.
Always use appropriate cable extensions, if the distance to the socket
should be too big!
8111.01 REV_DA_16052019
5
Operating manual
Note: 2 people neede to
mount the device.
1.1. Mounting with stand (optional)
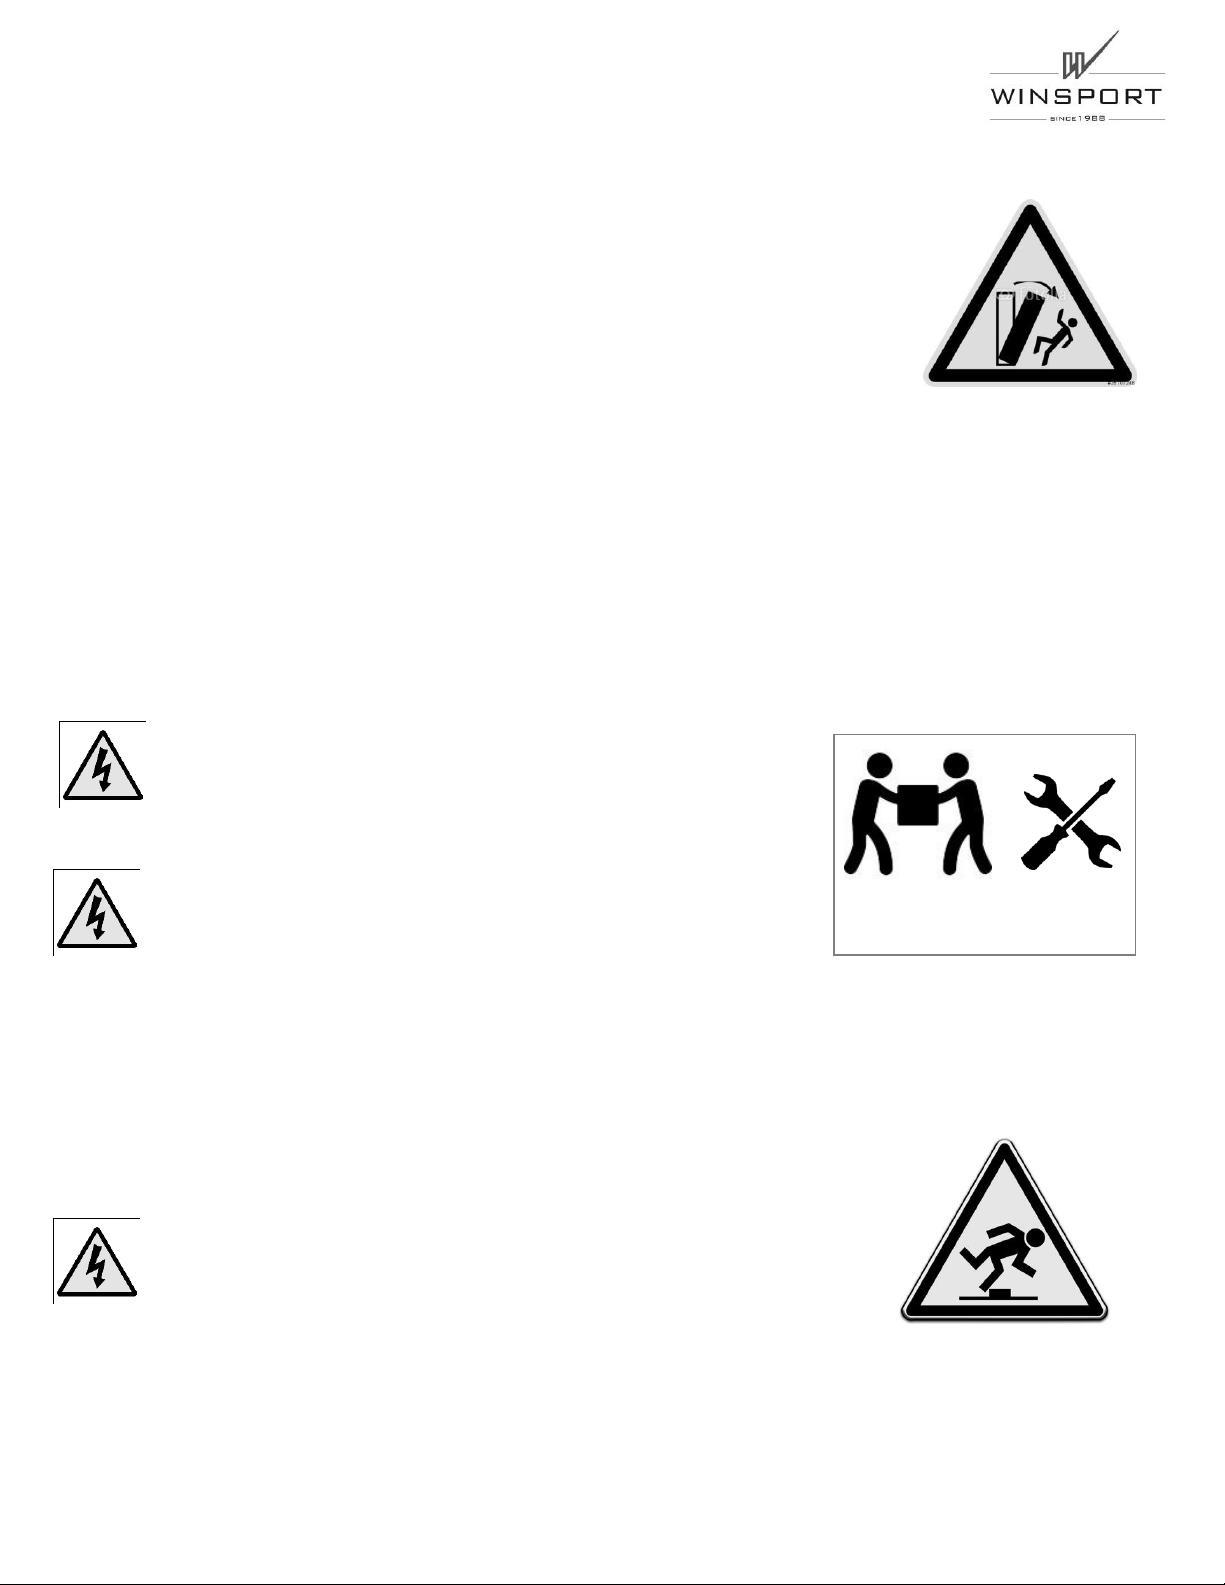
ATTENTION: For safety reasons, it is absolutely necessary to secure the unit against
falling over by attaching it to the floor or wall.
Step 1
Open the device and remove the accessory set.
Loosen the safety screw and remove the Wall bracket from
the back of the device.
Step 2
Take the two lower parts # 1 and connect them to the cross brace # 2. Use the supplied screws and nuts for this.
Step 3
Now insert the upper part # 3 on the two cross-beams and screw them together with the screws and nuts
provided.
ATTENTION: Before you hang up the device to the stand-foot,
make sure that the device stands on his final place.
Step 4
ATTENTION: Please carry out this procedure with two people
– never allone!
Hang the device in the holder of the stand and secure the device to the pedestal-bracket with the safety screw.
To ensure a secure footing, place the device on a firm and level floor, so that the device is in the balance.
Step 5
After the device has been properly installed, the device can be connected
to the power supply.
ATTENTION: The power cable must not cause tripping hazards.
Always use appropriate cable extensions, if the distance to the socket
should be too big!
8111.01 REV_DA_16052019
6
Operating manual
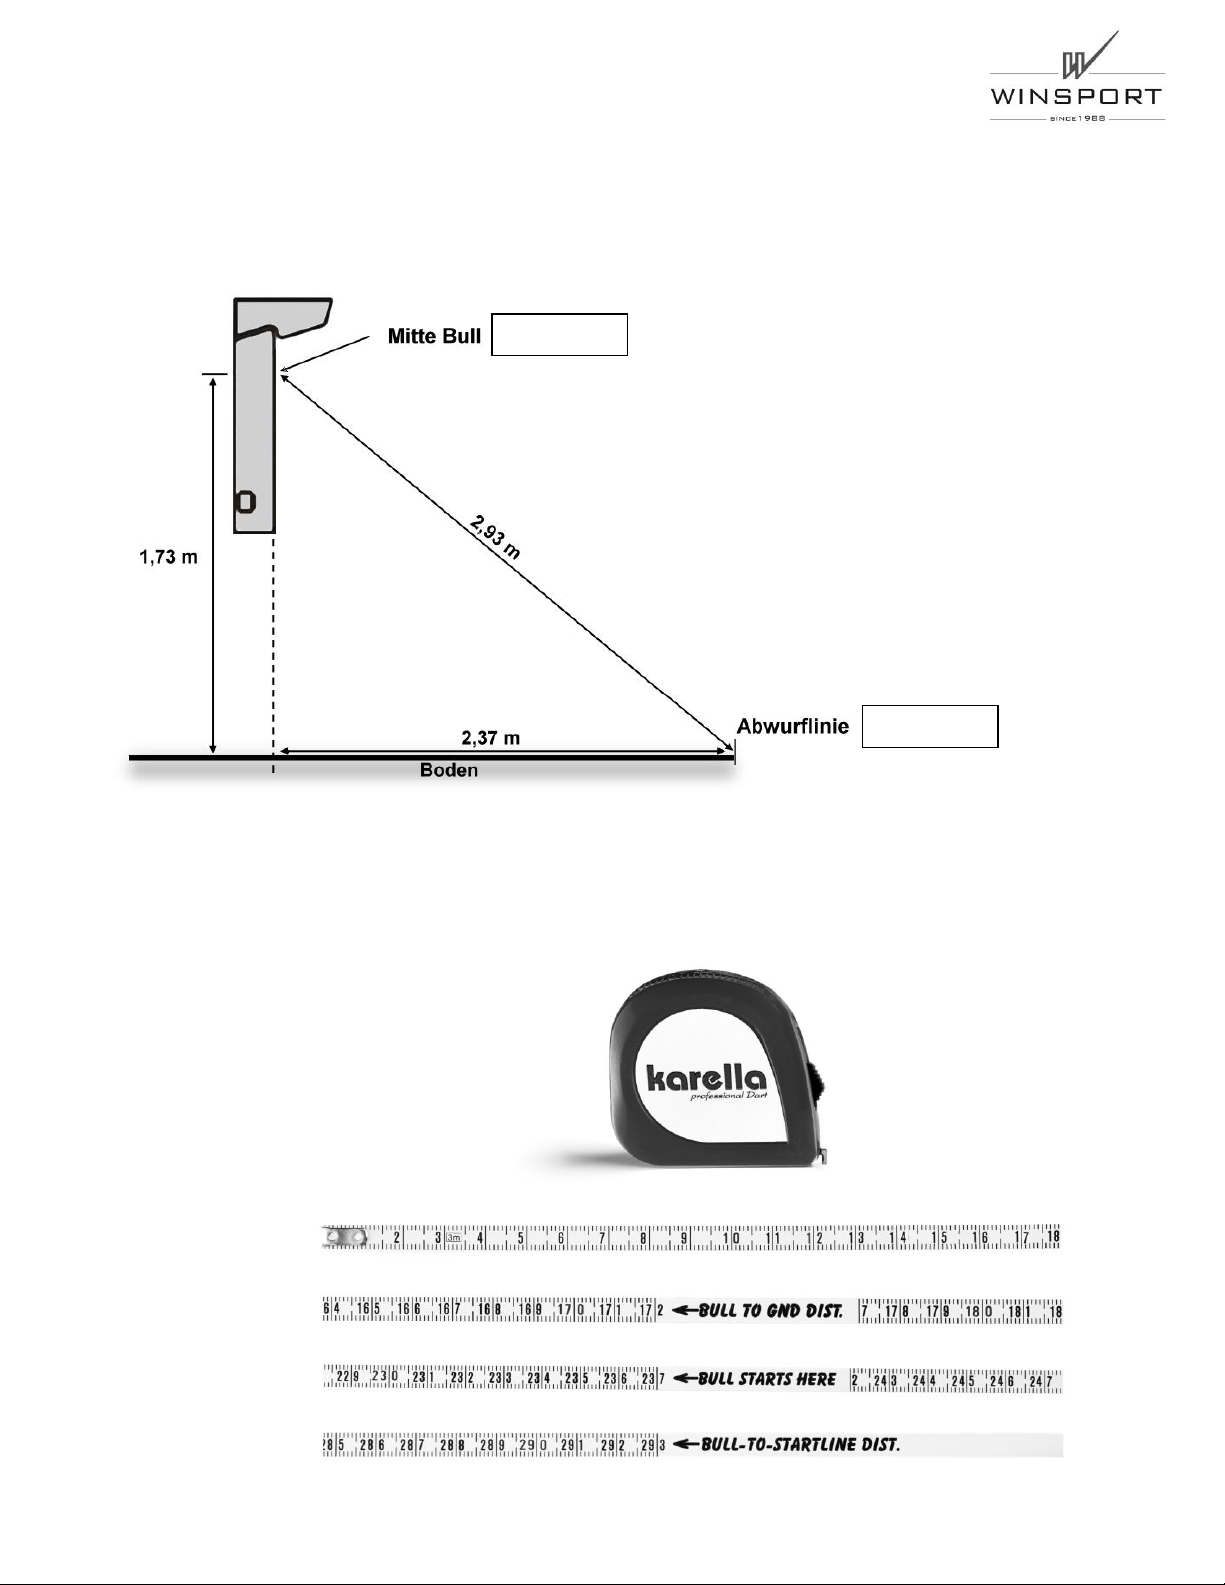
The distances are additionally marked in the
enclosed measure-tape, so that a correct
installation is facilitated.
Start-line: The distance between the throw-off line
and Bull's Eye (not the wall!) should be 2.37m on
the ground or 2.93m diagonal from the startline.
Bull´s Eye
Start-line
1.2. Put up the start-line ad adjusting the height
High of the Bull’s Eye: The distance from the Bull's Eye to the ground should be 1.73m.
2.
8111.01 REV_DA_16052019
7
 Loading...