

Wincor Nixdorf ND77 User Manual

ND77
ND77
Modular POS Printer
User Guide

Your opinion: (ND77)
Wewouldliketoknow
your opinion on this publication.
Please send us a copy of this page
if you have any constructive criticism on:
- the contents
-thelayout
- the product.
We would like to thank you in advance
for your comments.
With kind regards,
Wincor Nixdorf International GmbH
RD PD1
Wernerwerkdamm 16
Gebäude Nr. 36
D-13629 Berlin
Fax: +49 30 3864 3075
ND77, User Guide, Order No. 01750055814A

ND77
Modular POS Printer
User Guide
Edition July 2002

Copyright © Wincor Nixdorf International GmbH, 2002
The reproduction, transmission or use of this document or its contents is not permitted
without express authority.
Offenders will be liable for damages.
All rights, including rights created by patent grant or registration of a utility model or design,
are reserved.
Delivery subject to availability; technical modifications possible.

Contents
Manufacturer’s Certification .................................................................... 1
General Licence .......................................................................................... 1
FCC-Class A Declaration ............................................................................ 1
Tested Safety .............................................................................................. 2
Important Notes........................................................................................... 2
Introduction ............................................................................................... 4
About this manual........................................................................................ 4
Care of the ND77 ........................................................................................ 4
Recycling the ND77 POS Printer ................................................................ 6
Warranty ...................................................................................................... 7
Installation ................................................................................................. 9
Before Switching On ................................................................................... 9
Unpacking and Checking the Printer ........................................................ 9
Setting up the device ................................................................................ 9
Cabling of the ND77................................................................................ 10
DIP switches ........................................................................................... 10
Interfaces ................................................................................................ 10
Securing the data communication cable................................................. 11
Connecting to the mains power supply.................................................. 11
Disconnecting cables ............................................................................. 12
Connection to the POS system ................................................................. 12
Connecting peripherals ............................................................................. 13
Cash drawer........................................................................................... 13
Customer display .................................................................................... 13
The operator control panel ........................................................................ 14
Power ON/OFF ....................................................................................... 14
Receipt feed button ................................................................................. 14
Journal feed button ................................................................................. 15
LEDs ....................................................................................................... 15
Operation of the ND77 POS printer....................................................... 17
Document processing ............................................................................... 18
Changing the receipt and journal paper .................................................... 19

Changing the receipt roll .........................................................................19
Removing remaining receipt paper .........................................................20
Inserting the receipt roll ...........................................................................20
Changing the journal roll............................................................................23
Removing the journal paper ....................................................................23
Inserting the journal paper.......................................................................23
Changing the ribbon cassette .................................................................... 26
Notes on the automatic document detection...........................................28
DIP switches ..............................................................................................29
Self Test.....................................................................................................32
Replacing the print head............................................................................35
Adjusting the paper end detectors .............................................................37
Printing with the ND77 ...............................................................................39
Software Stamp Printing..........................................................................39
Logo printing............................................................................................ 40
Graphics printing .....................................................................................40
Appendix...................................................................................................41
Technical Data ..........................................................................................41
Dimensions with covers open .................................................................42
Paper Specification.................................................................................... 43
Receipt - and Journal paper (single ply) .................................................43
Document paper ......................................................................................43
Print areas (Paper Roll Width 69.5 mm) .................................................44
Interfaces ...................................................................................................45
Cash drawer connector ...........................................................................45
Serial interface to the customer display .................................................46
Serial system interface ............................................................................46
Power supply cable .................................................................................48
Error messages via blink codes ...............................................................49
LED “ERROR” ......................................................................................... 49
Recoverable errors ..................................................................................49
Unrecoverable errors...............................................................................50
All LED.....................................................................................................51
Control Sequences ....................................................................................53
Mounting the spacer in the paper compartment of ND77 .........................55
Print areas (Paper Roll Width 57.5 mm) .................................................57

Manufacturer’s Certification
General Licence
The device complies with the requirements of the EEC directives
89/336/EEC with regard to “Electromagnetic compatibility” and
73/23/EEC “Low Voltage Directive”(in case the device has its own
power connection). Therefore, you will find the CE mark on the
device or packaging.
FCC-Class A Declaration
This equipment has been tested and found to comply with the limits for a
Class A digital device, pursuant to part 15 of the FCC Rules. These limits
are designed to provide reasonable protection against harmful interference when the equipment is operated in a commercial environment. This
equipment generates, uses, and can radiate radio frequency energy and,
if not installed and used in accordance with the instruction manual, may
cause harmful interference to radio communications.
Operation of this equipment in a residential area is likely to cause harmful
interference in which case the user will be required to correct the interference at his own expense.
Le présent appareil numérique ne génère pas de bruits radioélectriques
dépassant les limites applicable aux appareils numériques de la “Class A”
prescrites dans le Règlement sur le brouillage radioélectrique édicté par le
ministère des Communications du Canada.
GB - 1

Tested Safety
The ND77 has been provided with the symbol for
UL and cUL.
ImportantNotesManufacturer’sCertification
Important Notes
The accessory printer ND77 is for use with UL listed POS systems
and/or UL listed computers. The printer complies with the relevant safety
regulations for information technology equipment. Should you have any
doubts about the permissibility of installation in a certain environment
(e.g. electricity systems, no use of PEN conductors! ), please contact the
Wincor Nixdorf Customer Service.
o lf the printer is brought into the room of operation from a cold environ-
ment, dewfall (condensation) can occur. Before turning on the printer,
it must be completely dry; it is therefore necessary to observe an acclimatization period of at least two hours.
o When setting up the printer, ensure that there is easy access to the
power socket on the printer and/or to the grounded-contact mains
socket.
o Position the leads and cables so that no one steps on or trips over
them.
o To disconnect the printer from the supply voltage, switch off the prin-
ter and disconnect the power supply plug.
o Make sure that no objects (for example, paper clips) or liquids get
inside the printer. Electric shocks or short circuits can be caused in
this way.
Important Notes Manufacturer’s Certification
GB - 2

o Never plug or unplug data communication lines during thunderstorms.
o Protect the ND77 from vibrations, dust, moisture and heat.
o The printer should only be transported in its original packing and
protective material. This protects the printer against damage from
knocks and bumps.
o Turn off and unplug the printer immediately if an emergency occurs
(for example, if the printer housing is damaged or any foreign substance gets into the printer). Call your Wincor Nixdorf Customer Service.
o Always dispose of used parts, such as printer ribbons, in an environ-
mentally safe manner (see chapter “Recycling”).
The printer may be repaired by authorized qualified personnel only.
Repairs made by an unauthorized service provider could not only
jeopardize the safety of the user, but also lead to cancellation of all
warranty and liability agreements.
Manufacturer’s Certification Important Notes
GB - 3

Introduction
The modular ND77 Pin Printer is a high-performance and economical
POS system printer of receipts, journals and documents, which is easy
to install (plug-in-system), easy to use, and which requires a minimum of
space. The ND77 has no trouble even with documents; it can print documents of up to A5 in size - quickly and easily. Larger documents can be
inserted.
The printer is equipped with connections for a customer display and a
cash drawer, which means that the number of interfaces on the system
unit of your POS can be reduced. Because the industrial standards have
been employed - system interface V.24 - the investment you have made
for your POS system is protected.
With its performance, the ND77 is an essential supplement to your entire
point of sale system!
About this manual
This manual provides you with all the information you require to ensure
that your ND77 Printer operates without a single hitch. lt tells you everything you need to do before switching on the printer, how to connect additional devices, and which adjustments might be necessary from time to
time to ensure that your ND77 operates reliably. We therefore ask you to
read the appropriate sections of this manual before using your printer.
If you have an ND77 without journal station or without bon station please
skip the according hints.
Care of the ND77
Clean your printer at regular intervals with a commercially available
cleaner for sensitive surfaces. Never use acidic solvents.
GB - 4
Introduction Care of the ND 77
Before cleaning make sure that the power is switched off, the power supply
plug is disconnected and that no moisture gets into the printer.
To clean the inner housing use a soft brush or a small vacuum cleaner.
Please make sure that there is no remaining paper in the carrier area.
Carefully clean the cutter area to remove paper dust. Make sure the ribbon is free of paper dust. Always keep the area of carrier-home sensors
clean (see picture below).
Clean the deflection prism located on the document plate (see figure below) with a soft cloth.
Carrier-home
sensor
deflection prism
Introduction Care of the ND77
GB - 5

Recycling the ND77 POS Printer
Environmental protection does not
begin when it is time to dispose
of the technical device; it begins
during the manufacturing process.
Your ND77 Printer has been manufactured without the use of CFCs
and CCHS, and produced mainly
from reusable components and
materials. The processed plastics
can, for the most part, be recycled.
Even the precious metals can be
recovered, thus saving energy and
valuable raw materials. Recycling
At present, there are still some parts that are not reusable. Wincor
Nixdorf (WN) guarantees the environmentally safe disposal of these parts
in a Recycling Center, which is certified according to ISO 9001.
So please do not just throw your ND77 on the scrap heap when it has served its time. Make use of our environmentally sound and up-to-date recycling methods!
The operation of your printer also generates waste material that should be
disposed of in an ecologically sound manner. Wincor Nixdorf provides
a recycling box that you can place on your company premises. The low
price you pay for the box also includes collection and complete recycling
of the ribbons. For more information, please contact the branch office
responsible for your area.
Should you have any questions regarding Wincor Nixdorf and environmental protection please contact WN under the following fax number:
+49 (0) 5251 8-26709
Recycling Introduction
GB - 6

Warranty
Wincor Nixdorf guarantees a limited warranty engagement for 12 months
beginning with the date of delivery. This warranty engagement
covers all those damages which occur despite a normal use of the product.
Damages because of
- improper or insufficient maintenance,
- improper use of the product or unauthorized modifications of the
product,
- inadequate location or surroundings
will not be covered by the warranty.
All parts of the product which are subject to wear and tear such as the
printhead or the ribbon cassettes are not included in the warranty
engagement.
Please order spare parts at the Wincor Nixdorf customer service. Warranty
In case your ND77 works faulty and you are going to send it to the
Wincor Nixdorf Customer Service, make sure to remove the printhead before. Our Service then will replace your printer with a faultless ND77 in
which you only have to insert your printhead again. How to easily do this is
described on the pages 35 and 36 in this manual.
Thus you ensure a quick and low-cost repair of the printer.
Introduction Warranty
GB - 7

Warranty Introduction
GB - 8

Installation
Before Switching On
Unpacking and Checking the Printer
Unpack the printer and see if the contents of the box matches the particulars on the packing list.
If any damage has occurred in transit, or if there is any discrepancy between the package contents and the packing list, please inform your
Wincor Nixdorf outlet immediately.
Keep the original packing and protective material in case you need to
transport the printer in the future to protect against knocks and bumps.
Setting up the device
Set up the ND77 where it will not be exposed to extreme environmental
conditions such as vibrations, dust, moisture, heat and strong magnetic
fields. Put the printer on level area.
Pull out the shipping restraint and click it into the slots at the underside of
your printer.
Shipping
Restraint
Deposit the shipping
restraint at the underside
of the printer
GB - 9
Cabling of the ND77
Installation Before Switching On
The printer should be installed in the following order:
Plug in and secure the data communication cable.
Plug in the power supply cable into the HOSIDEN power cord
receptacle on the printer
Plug in the other end of the cable into the power cord receptacle of the BEETLE system
or
plug in the power cable of an external power supply unit into the
grounded-contact mains supply socket.
DIP switches
You can change the settings of your printer by using the DIP switches. For
detailed information see the section on “DIP switches”.
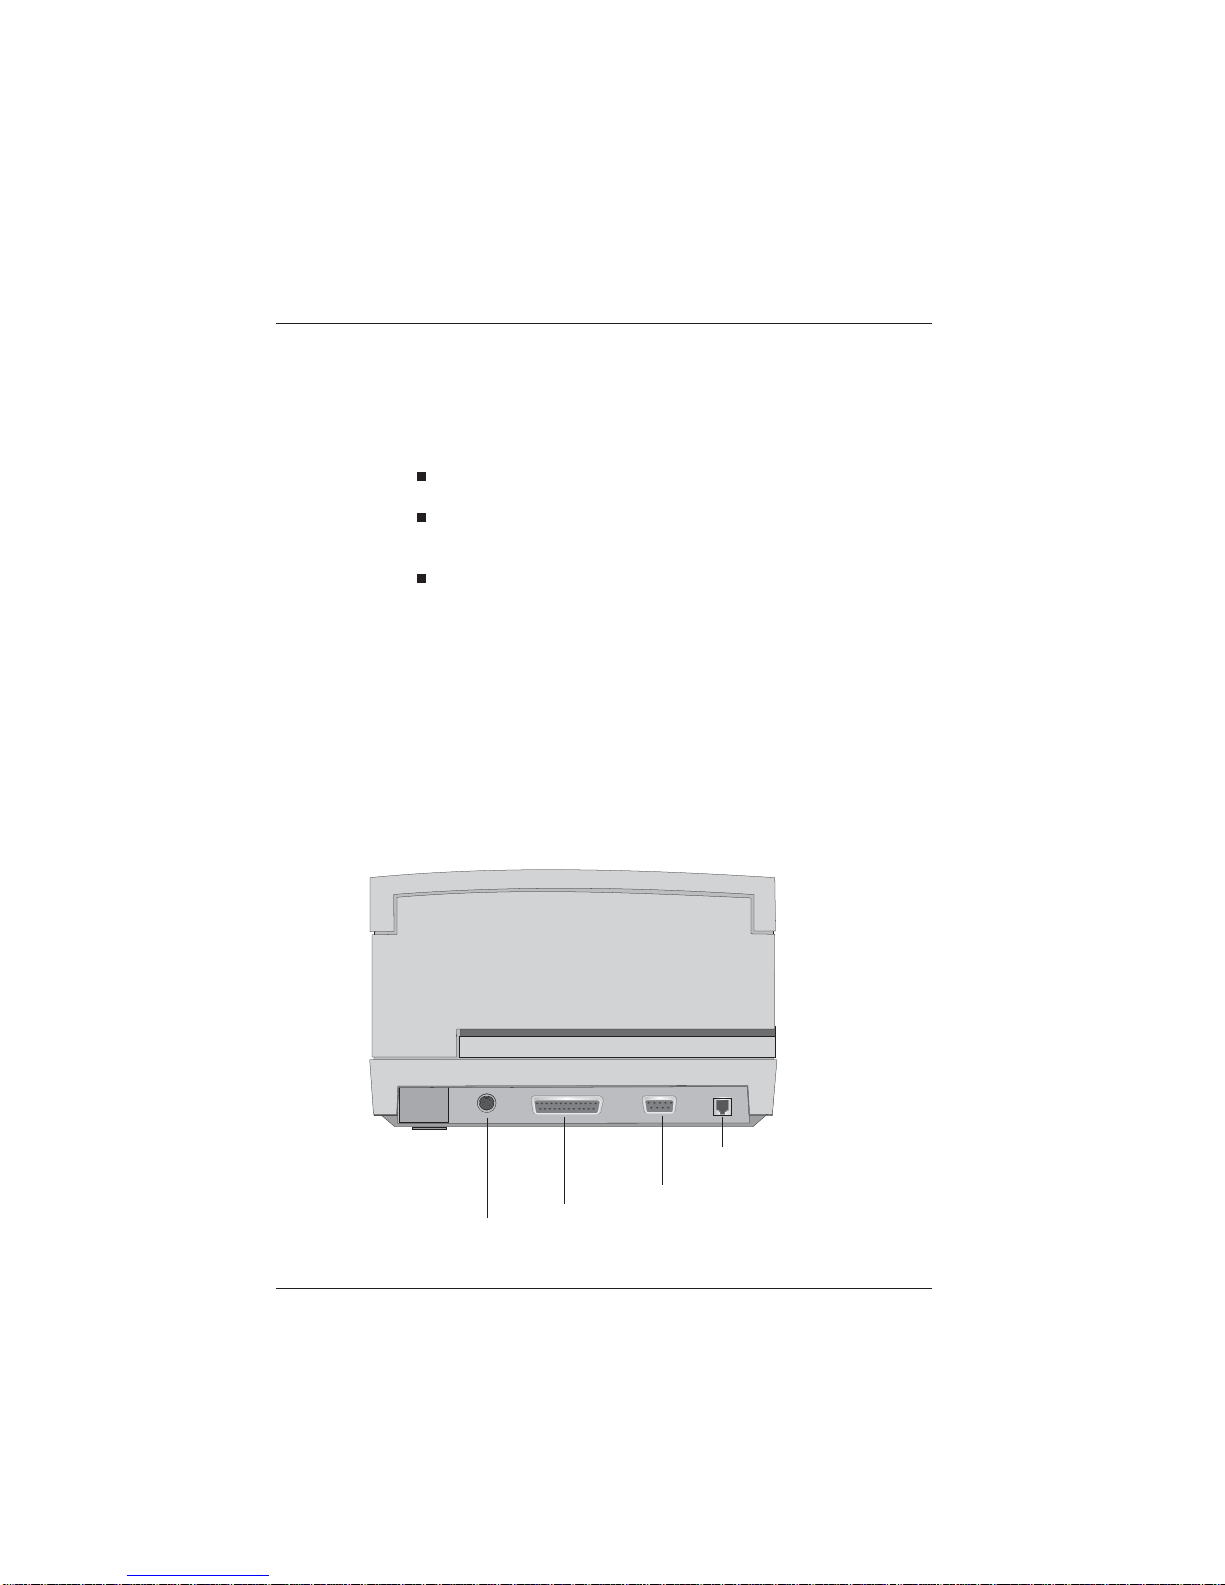
Interfaces
RJ12-Plug cash drawer
Interface customer display
V24-System interface
24V Voltage in (HOSIDEN connector)
Before Switching On Installation
GB - 10
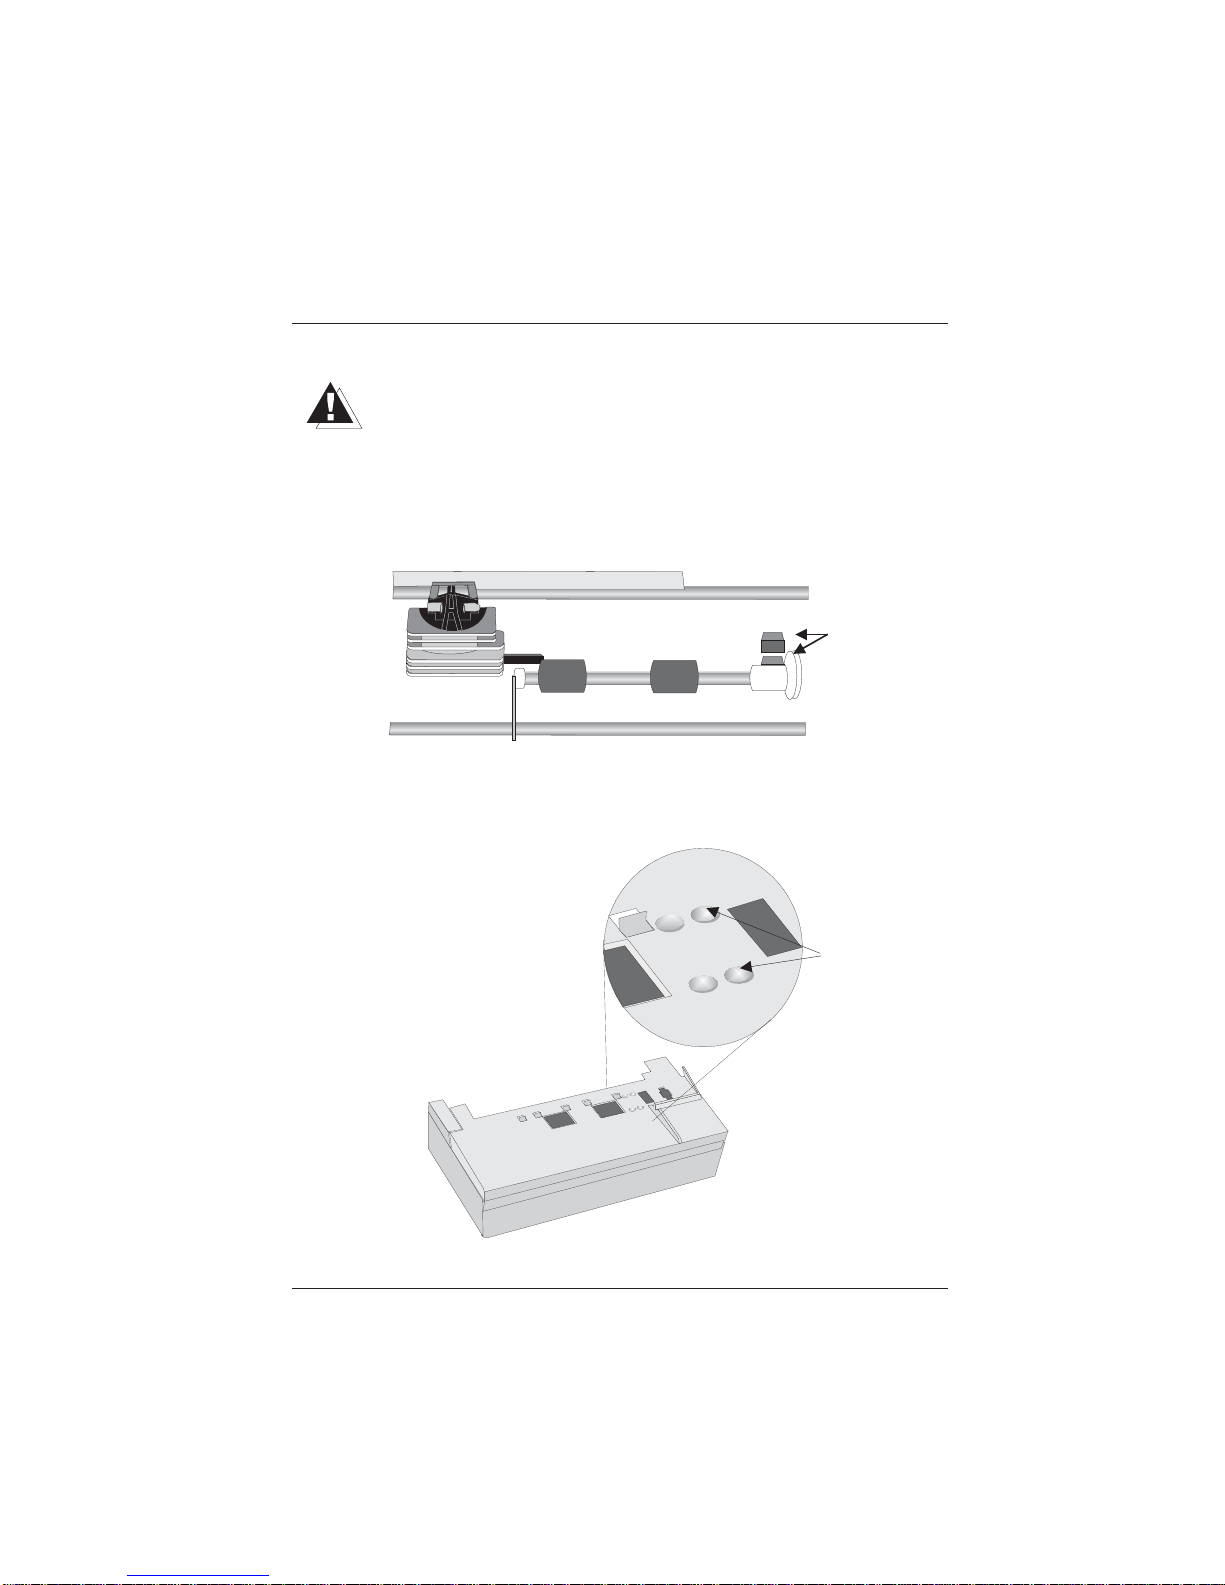
Securing the data communication cable
The interface connectors are secured
manually turning the screws.
The interface connectors with screws made
of metal can be secured with a screw driver.
Screws made of plastic must be secured
manually only.
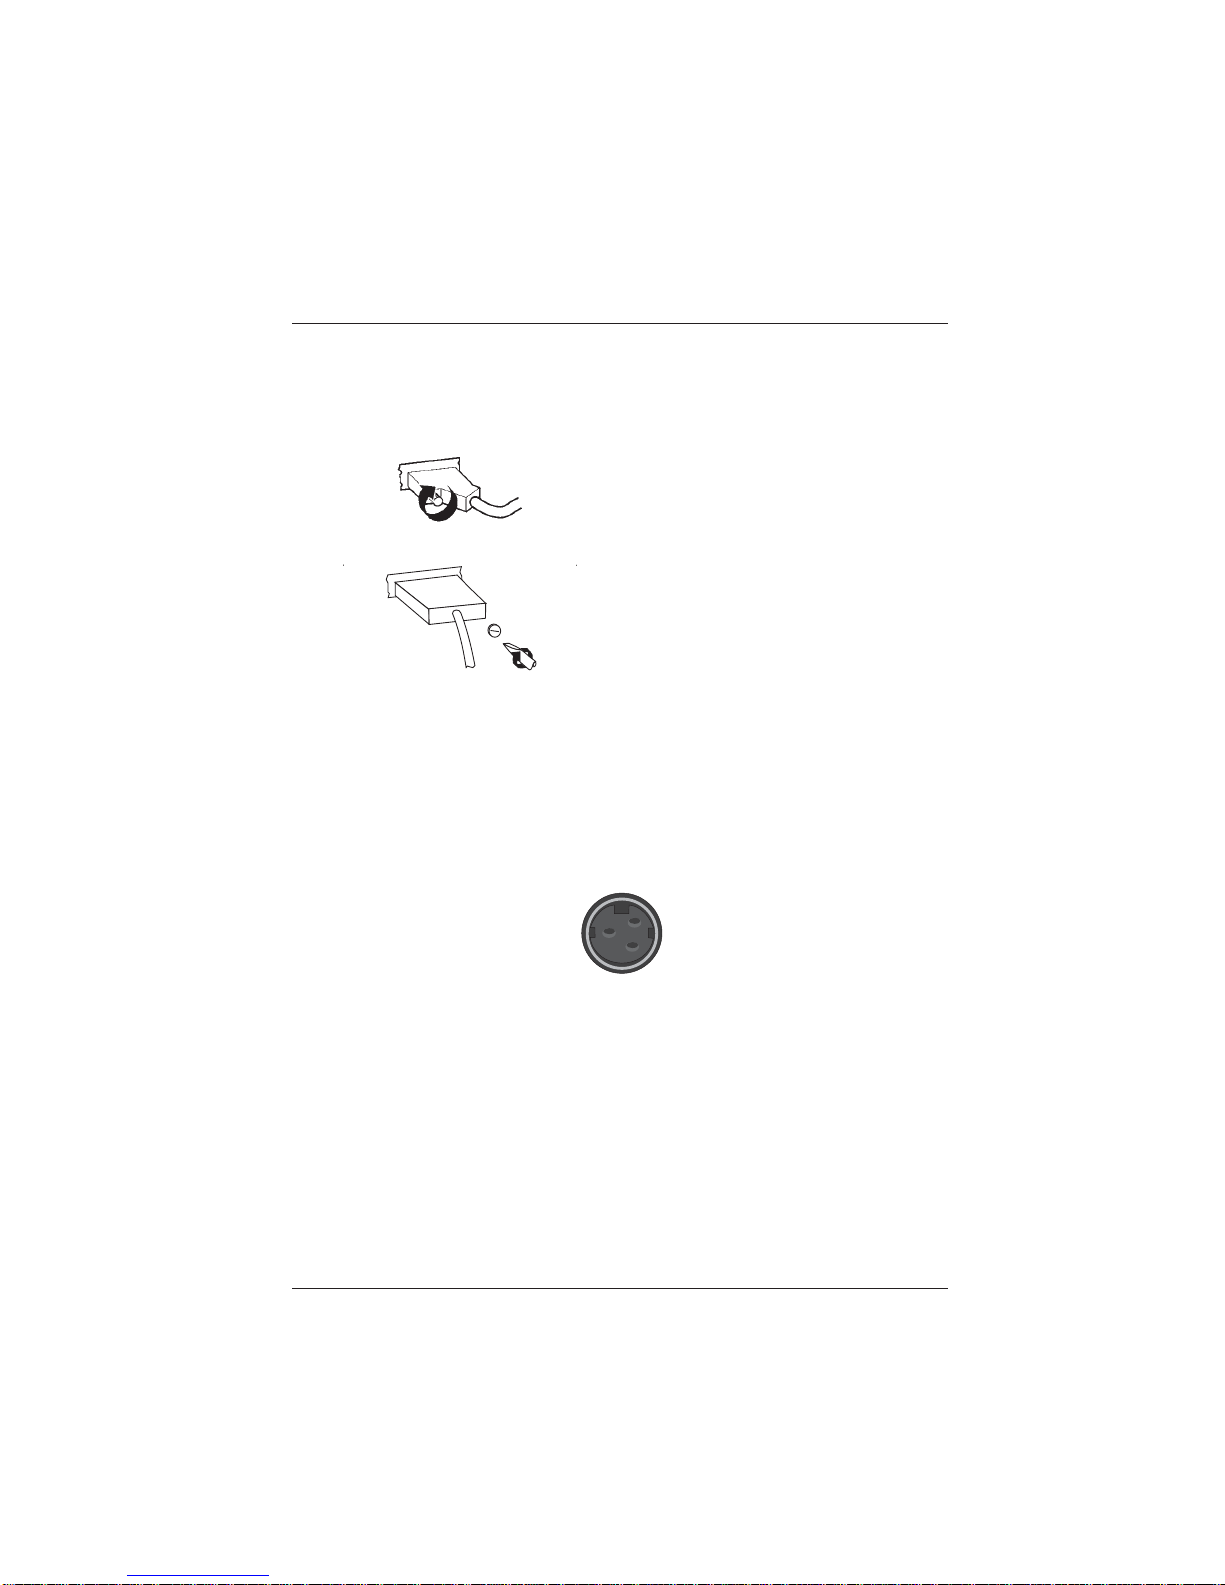
Connecting to the mains power supply
You will find a 3pin HOSIDEN socket for the power supply at the back of
the ND77 housing .
Connect the ND77 with the POS system via the power supply cable.
When using an external power supply unit connect the cable for power
supply with the ND77 and plug in the power cable of the unit into a grounded-contact mains supply socket.
Installation Before Switching On
GB - 11
Disconnecting cables
Never unplug a cable by pulling at the cable itself; always take hold of the
actual plug body. Follow the procedure described below when disconnecting cables:
Switch off all power and device switches.
Unplug all data communication cables from the data networks.
Unplug all power plugs from the grounded-contact mains power
sockets.
Unplug all cables from the devices.
Connection to the POS system
Connectionto the POS system
The accessory printer ND77 is for use with UL listed POS systems and/or
UL listed computers!
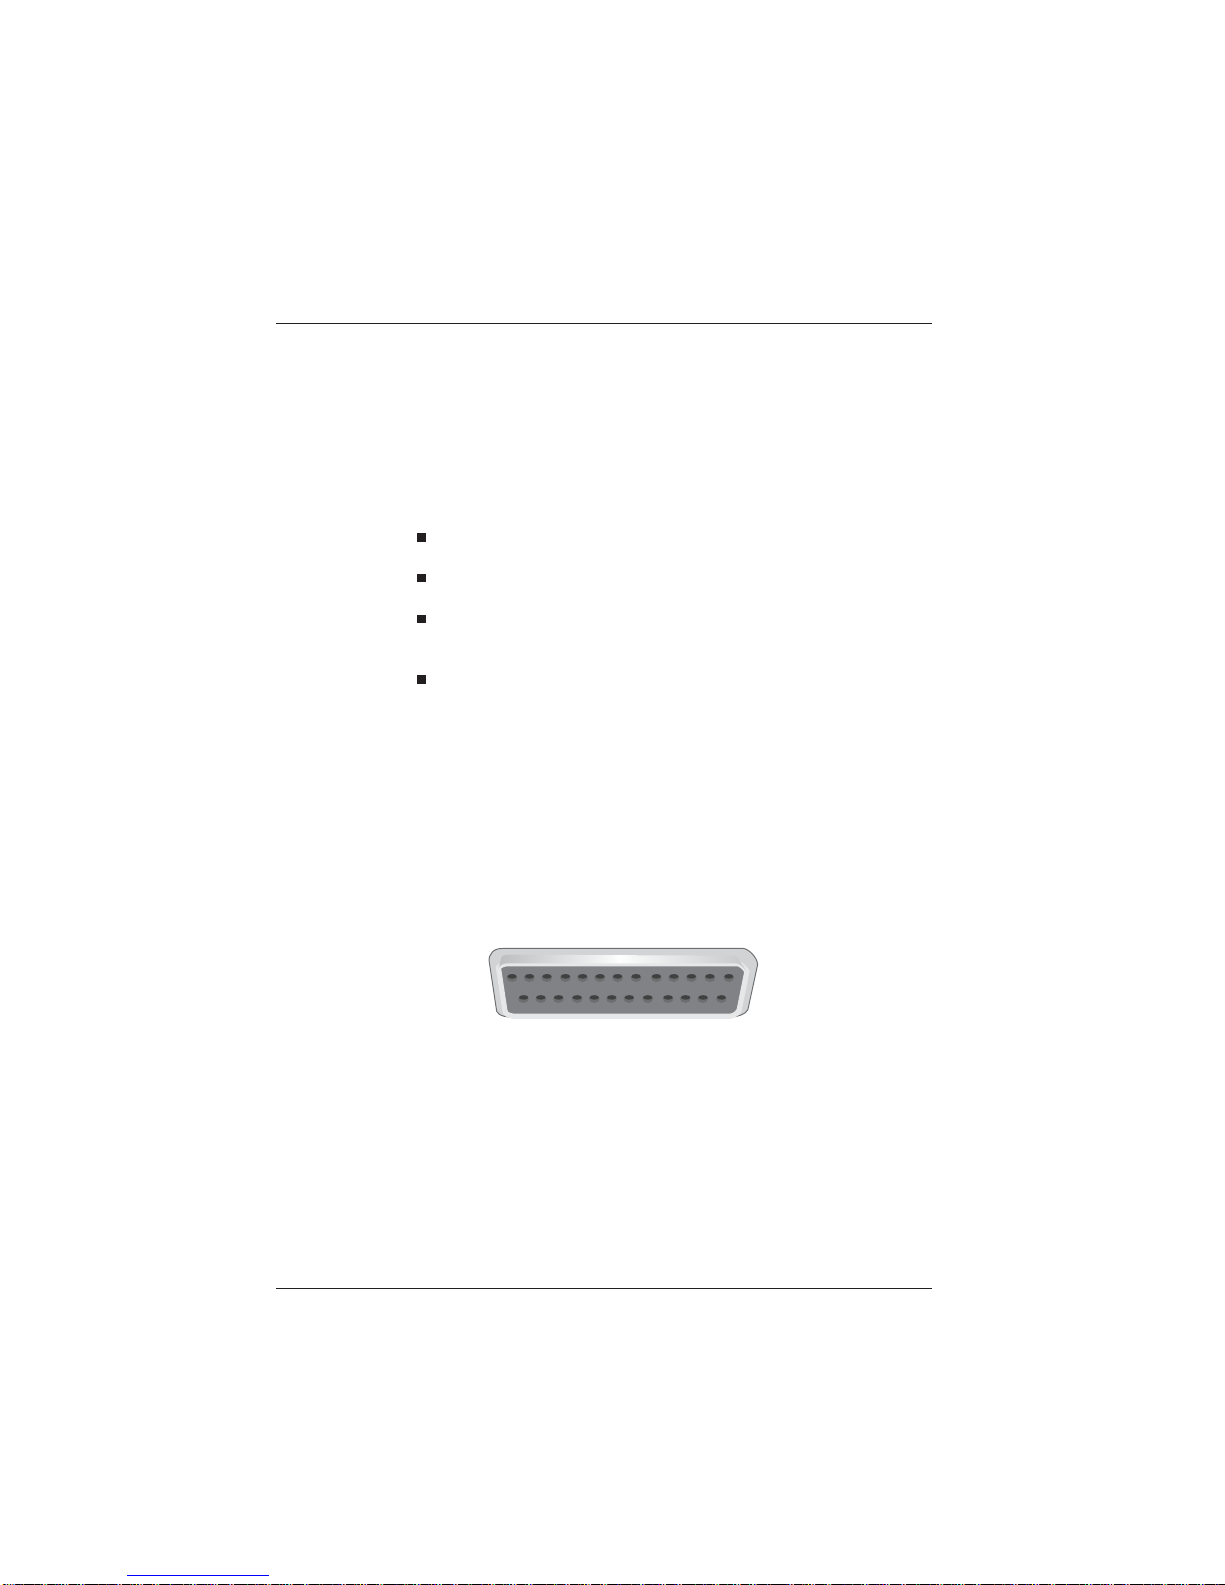
The ND77 can be connected to the V.24 interface (serial interface) of the
POS system.
ConnectiontothePOSsystem Installation
GB - 12

Connecting peripherals
Cash drawer
Connectingperipherals
The ND77 has a RJ12 jack for connecting a cash drawer. To prevent malfunctions, make sure that the connector is plugged firmly into the socket.
Power is supplied to the cash drawer via this socket.
When connecting cash drawers, the construction level 1 (Release 4) for
the KA16 or KA17 is absolutely necessary! The construction level is noted
on a label on the bottom of the cash drawer.
Customer display
The customer display is connected to the serial interface. The interface
connection on the ND77 is a 9pin D-sub connector.
To prevent possible malfunctions, make sure that the connector for the
customer display is plugged firmly into the socket. The power is supplied
via this jack.
Installation Connecting peripherals
GB - 13
 Loading...