

Page 1

Quickstart and
Recovery Guide
Quickstart and
Recovery Guide
Congratulations and thank you for purchasing
your WinBook notebook.
Follow these easy step-by-step instructions
for quick installation and recovery of your
WinBook notebook.
© 2007. WinBook is a registered trademark of Micro Electronics, Inc. All trademarks or registered
trademarks are property of their respective corporations.
Creating the XP Recovery Media
1. The first time the computer boots up there will
be a prompt to create a recovery set. To run the
Recovery Media Creator manually at a later time,
click the Windows Start button, click on All
Programs, click on System Recovery, and then
click Recovery Media Creator.
2. Select Yes and then click OK to begin creating the
recovery media.
3. The Recovery Media Creator will provide impor-
tant information and end user license agreements
regarding the recovery process. Follow the on-
screen prompts to begin recovery creation.
4. Depending on the optical drive, the Recovery Media
Creator will present options for writing the recov-
ery set to recordable CD or DVD media. Select a
media type and follow the on-screen prompts.
Insert blank media as requested by the program.
NOTE! The Recovery Media Creator program only supports
writing to CD-R and DVD+R media. The recovery media
creator program does not support writing to re-writable
media such as CD-RW, DVD-RW or DVD+RW. A “no valid
media has been inserted into the optical drive” error
will appear if unsupported media is used.
5. After each recovery CD/DVD is created, the pro-
gram will automatically verify the integrity of the
burn. If the check fails, the program will prompt
for a new piece of media until the burn is success-
ful. Once the complete set has been successfully
validated, the program will end.
6. Please label the recovery discs appropriately
and keep them in a safe place for future use.
Remember, only one set of recovery discs can
be created. Once this is done, this option will
disappear. Please contact technical support for
any further recovery media needs.
Reinstalling XP
1. There are two ways to run the recovery — from the
recovery partition on the hard drive or from the
recovery media.
If reinstalling from the recovery partition —
restart the computer and tap F10 when prompted
to start the recovery. The recovery can also be
started from Windows by clicking the Windows
Start button, clicking All Programs, clicking System
Recovery, and then click System Recovery. Select
Yes and the computer will reboot into the recovery
partition.
If reinstalling from the recovery disc — Insert the
recovery media and restart the computer. Press the
R key on the keyboard when prompted to start the
recovery.
2. Please read the recovery agreement and then
select “I agree” to continue. Choosing “I disagree”
will cancel the recovery and restart the computer
back into Windows.
3. Select one of the recovery options and then click
Next.
• Non-Destructive System Recovery — This option
will attempt a repair installation of Windows
without removing data files and software. If this
option is unsuccessful and there is data that
needs to be recovered please try the System
Recovery — No Format option next.
• System Recovery No Format — (To access this
option click the Advanced Options button). This
option will recover Windows to its factory origi-
nal condition while saving all of the data files
to a folder on the hard drive. Any software and
settings will need to be reinstalled. All current
files are moved to C:\My Old Disk Structure.
• System Recovery Quick Format — (To access
this option click the Advanced Options button).
This option reinstalls Windows to its factory
original condition. All data files and software
will be deleted from the hard drive except for
what came on the computer from the factory.
4. The next screen explains that Windows XP has an
option to repair itself by going back to a point
where the operating system was working properly.
This option runs from within Windows. Click Yes to
continue reinstalling Windows with the option pre-
viously selected or click No to restart the computer
into Windows and run Windows System Restore.
5. Change the recovery discs as needed.
6. Once the recovery process has been completed
“Restart” will be displayed. Please remove the
recovery disk and click “Restart”. The computer
will now restart to complete the process.
Note: If the “Please Wait” warning is displayed for more
than one minute, please press CTRL+ALT+DEL to restart
the computer.
XP Recovery/Reinstall
Creating the Vista Recovery Media
Vista Recovery/Reinstall
1. There are two ways to run the
recovery — from the recovery
partition on the hard drive or
from the recovery media.
If reinstalling from the re-
covery partition — restart the
computer and tap F8 as it is
booting. Choose the “Repair
Your Computer” option from
the Advanced Boot Options
menu. The recovery can also
be started from Windows by
clicking the Windows Start but-
ton, clicking All Programs, and
then click Recovery Center.
Select the Recovery option and
then Yes to restart the com-
puter now.
If reinstalling from the recov-
ery disc — Insert the recovery
media and restart the com-
puter. The computer should
automatically start from the
recovery media.
2. At the “Welcome to System
Recovery” screen, click Next.
3. Select one of the two options
and then click Next.
Recovery with automatic
data backup — This option
will recover Windows to its
factory original condition
while saving all of the data
fi les to C:\Backup. This option
should be attempted if there
is data on the drive that may
be recoverable.
Full factory recovery — This
option reinstalls Windows to
its factory original condition.
WARNING! All data fi les and
software will be deleted from the
hard drive except what came on
the computer from the factory.
4. After confi rming the chosen
option Windows will be rein-
stalled. Click Finish when
the recovery is complete to
restart the computer.
Reinstalling Windows Vista
This computer has a program installed that will allow one set of system recovery CD’s or
DVD’s to be made should corrupted software or a problem with the hard disk drive occur.
This recovery set will restore this computer to the factory shipping hard drive image. It will
not recover any programs or data fi les that were installed by the end user.
1. Click on the Windows Start
button, click on All Programs,
and then click Recovery Center.
NOTE! Windows may warn you
that an unidentifi ed program
(Recovery Manager) wants to access
your computer. Please click “Allow”
if this message appears.
2. Click on the Factory Recovery
external media option. If the
Factory Recovery external media
is not an option then the recovery
media has already been created.
3. Click Next.
4. Insert a blank CD-R, DVD-R or
DVD+R and then click Next.
CDRW and DVDRW media is not
supported. A “Media Invalid”
error will appear if CDRW or
DVDRW media is inserted.
5. The recovery center will detect
the type of media that you in-
serted and prompt you with how
many discs it will require. Select
one of the two options and then
click Next.
6. If more than one (1) disc is re-
quired, insert the next disc when
prompted and then click Next.
7. Please label the recovery discs
appropriately and keep them in
a safe place for future use. Re-
member, this option can only be
performed once.
WinBook
GL Series
Page 2
6
5
4
3
2
1
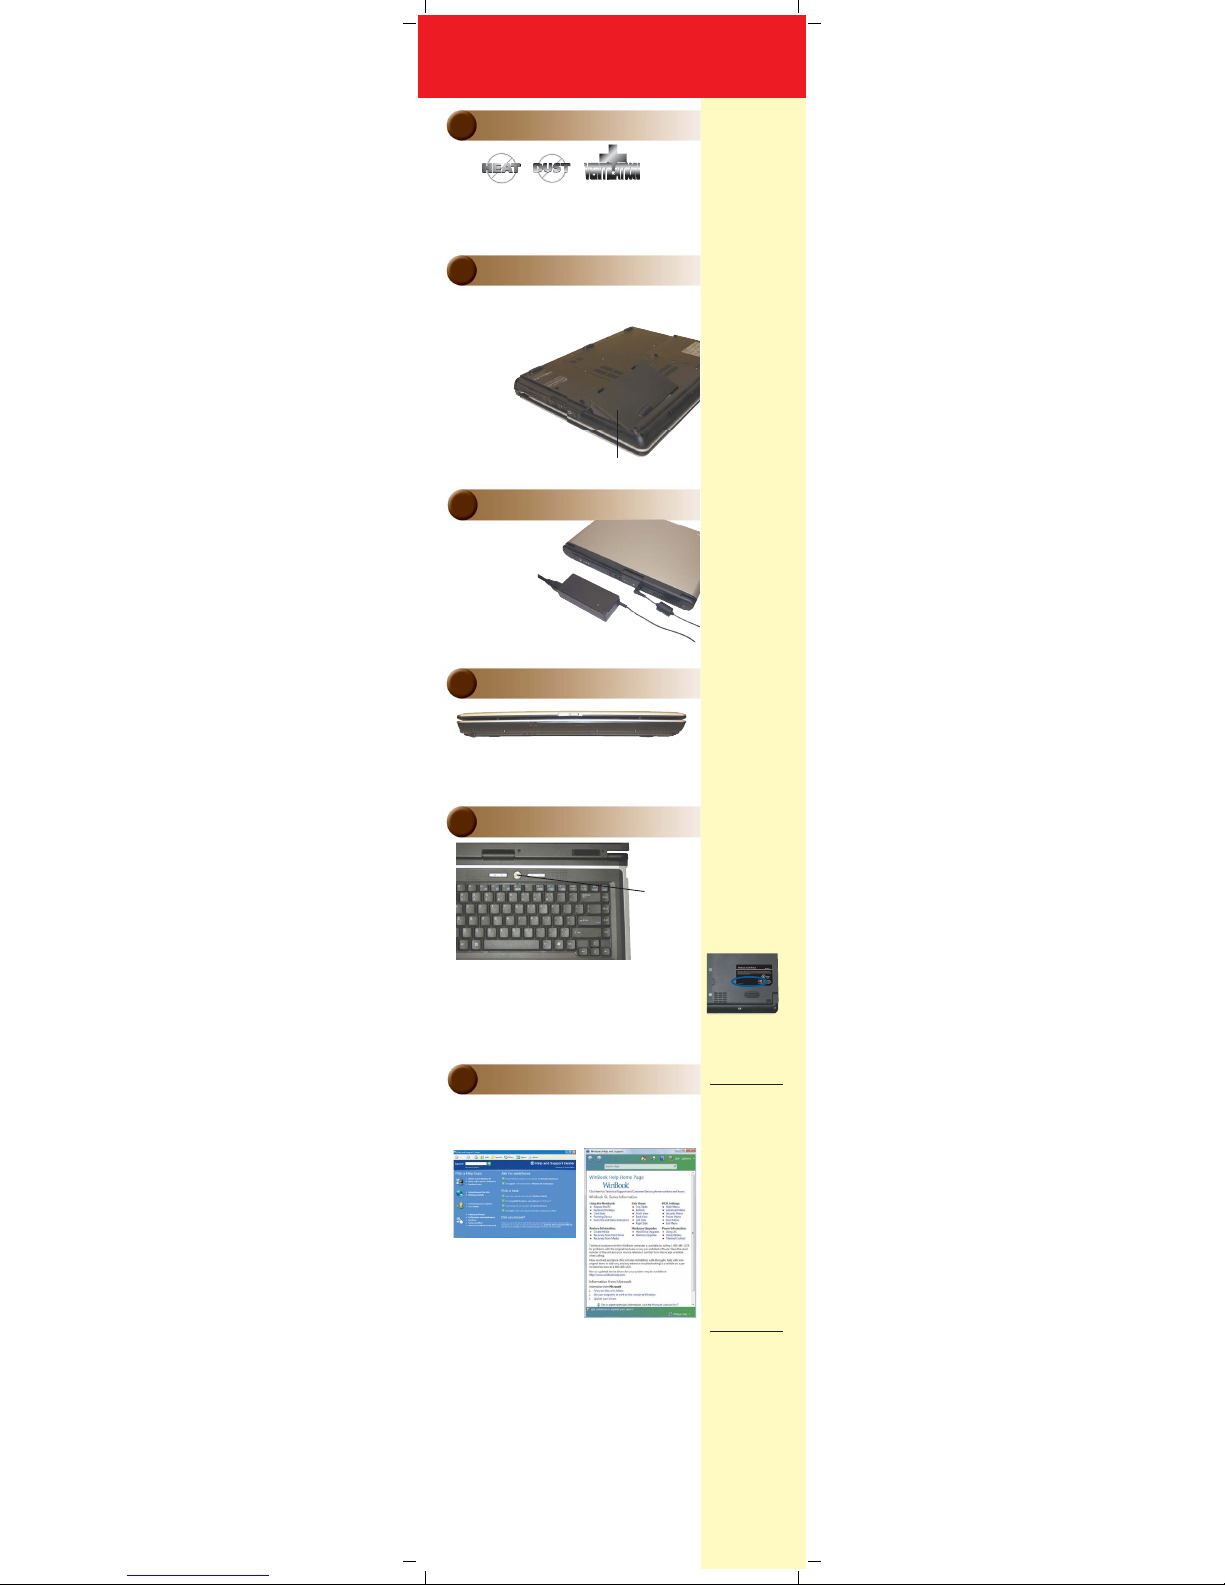
Prepare your work space
Read First
Don’t attempt to install any additional hardware into your new system
until your system has been turned on for the first time and the setup
process has been completed.
Power up and Windows setup
Locate the power button above the keyboard. Press and hold
the power button until the power light comes on.
Windows Setup
Follow the screen prompts for setting up Windows XP or Vista.
Power
Button
Open the display
• Move the display latch button to the right to release the LCD
screen from the locked position.
• With one hand holding the base securely, use the other hand to
gently lift up the LCD screen to a comfortable viewing angle.
Connect the AC Adapter
The first time you use your
WinBook, use the AC
power adapter to fully
charge the battery.
• Connect the AC power
cable to the AC adapter.
• Connect the AC adapter to the
DC-IN jack of the notebook.
• Connect the plug end of the AC
power cable to an electrical outlet.
Install the battery
The battery should be installed before starting your
WinBook for the first time. Remove the battery pack
from the box and install it into the system by following these instructions:
• Carefully turn the unit upside down.
• Line up the battery for
insertion into the
battery bay
channel.
• Gently angle
the battery in
towards the
front of the unit
and lower until an
audible click indicates
the latch has secured the
battery into the bay.
• Don’t place your WinBook near a sunlit window. Excessive
heat will shorten the life of a computer.
• Don’t use your WinBook in areas of excessive dust, humidity
or temperature.
Battery
Finding help resources
Do
Don’t
WARNING
Your WinBook notebook computer has
been designed to be
expandable. There
are a number of
components that
can be installed by
the user. Before
opening access
panels, you should
be aware that you
can injure yourself
and damage your
computer if you
do not perform
the operations correctly. If you are not
comfortable with
upgrading components on your own,
have an authorized
service technician
perform upgrades
for you.
• Don’t supply power
to the notebook
until all cords are
connected.
• Save this
Quickstart Guide,
all manuals, and
any other software
CDs for future reference. Save the
carton and the
packing materials
in case you ever
have to store or
ship your system.
• Use a quality surge
protector or power
strip to guard
against power
surges.
What is the model
number of my
WinBook notebook
computer?
Carefully turn the
notebook over and
view the label on the
bottom of the unit.
The model number is
composed of the first 4
digits of the unit serial
number. (Example:
GL30XXXXXXXX)
The second method
is to view the General
System Properties
dialog box within
Windows. To access
the system properties
window perform the
following steps:
1. ‘Left click’ on the
Start Menu button
found in the lower
left hand corner of
the display.
2. ‘Right click’ on
the My Computer
icon to bring up an
action list, then
‘left click’ on properties to open up
the General System
Properties window.
3. The series designa-
tor is located to
the right of the
WinBook logo.
Windows Vista
1. ‘Left click’ on the
Start menu button
found in the lower
left hand corner of
the display.
2. Left click All Programs, Accessories,
System Tools, and
then System Information.
3. The series designator is located next
to ‘System Model’ on
the right side of the
System Information
window.
Windows XP
© 2007 WinBook is a registered
trademark of Micro Electronics,
Inc. All trademarks or registered
trademarks are property of their
respective corporations.
4/07
T12JG
www.ipsgproducts.com
Additional assistance can be found at:
www.winbookcorp.com
Tech Support — 1-800-468-1225, M-F, 9am-9pm
Customer Service — 1-800-468-1633, M-F, 10am-7pm
For help with any questions about Windows, refer to the Help
and Support Center within Windows.
Using the Help and Support
Center
Obtaining access to the Help and
Support Center is just a key press
or mouse click away. From the
Windows desktop, press the [F1]
key in order to bring up the Help
and Support Center. Alternatively
you can click once on the Start
menu and then select Help and
Support. Once activated, the Help
and Support Center window will
open up as depicted above.
Windows XP Help screen Windows Vista Help screen
 Loading...