

Page 1
Care – 25
DANGER: The build-up of any dust, lint or foreign
carbon monoxide and soot. This condition, if
velop, can lead to bodily injury
kept clean.
CAUTION: Danger of property damage, bodily
Caring for Your Furnace
How to Care for Your Furnace (continued)
CLEANING THE BURNER COMPARTMENT
Because cold air is attracted to the flame during furnace
operation, a buildup of lint from carpeting, bedding, dust, etc. in
the burner area will occur. It is necessary to clean this area
regularly. Use a vacuum cleaner with a narrow attachment to
reach small areas. Be careful in and around the pilot. A change
in its adjustment could be made if moved during cleaning. A
properly adjusted burner with nearly all gases will produce a flame
which has clear blue cone having a bluish-red or bluish-violet
outer mantle.
Installing Your Blower Accessory
Blower Accessory 2901 and 2907
This blower accessory is installed on the furnace top and
increases circulation of warm air through the heated space. A
115V electrical outlet adjacent to the furnace is required. For
automatic setting, you must select the "HI" or "LOW" fan switch
position. When the furnace heats up, the automatic fan switch will
be activated and the fan will operate. The blower accessory will
not operate if the fan switch is set in the "OFF" (center) position.
Be sure this accessory is of the type and design required for use
with your furnace.
1. Turn off electric power supply at the disconnect switch, fuse
box or service panel before installation or service to the
blower accessory.
2. Label all wires prior to disconnection when servicing. Wiring
errors can cause improper and dangerous operation. Verify
proper operation after servicing.
3. Install a 115V electrical outlet as shown in Figure A.
material in the primary air opening of the burner
can interfere with the proper air gas mixture and
can result in a yellow flame which can produce
allowed to de
including death. It is imperative that the burner be
familiar with wiring codes in general, have a competent
electrician do this job.
Drill a 1/8-inch diameter hole in each side of the furnace
face panel through the holes located on the sides of the fan
cabinet. Secure the blower to the furnace with the two
screws provided.
10. Replace the junction box cover, securing it with the screws
previously removed
11. Replace the blower grille, securing it with the screws
previously removed.
12. Set the switch to the desired position. If left in “HI” or
“LOW ” position during the summer months, the blower
could be activated by heat. If this is undesirable, set
the switch to the “OFF” position.
4. Remove the two (2) screws securing the blower grille and
remove the blower grille as shown in Figure B.
5. Remove the two (2) screws securing the junction box cover.
Remove the cover to gain access to the knockout located in
the junction box.
6. Locate the knockout and remove it using a hammer and
screwdriver. Use caution when handling sharp metal edges.
7. Place the blower body on furnace top as shown in Figure B.
8. Route 115V wiring into the junction box through the
knockout.
9. Make wiring connections inside the junction box as shown in
Figures C and D. Follow applicable local and national
electrical codes. All electrical work must conform to your
local codes and ordinances or in their absence, with
National Electrical Code, NFPA 70/ANSI. If you are not
injury or death. Turn off electric power supply at
the disconnect switch, fuse box or service panel
before removing or working on the fan cabinet.
Page 2
26
FIGURE D – Wiring for Model 2907
FIGURE C – Wiring for Model 2901
FIGURE A – Install Electrical Outlet
FIGURE B – Install Blower Body
Installing Your Blower Accessory
Blower Accessory 2901 and 2907 (continued)
Page 3

Accessories– 27
Blower Accessory Replacement Parts
Page 4
Care – 28
28
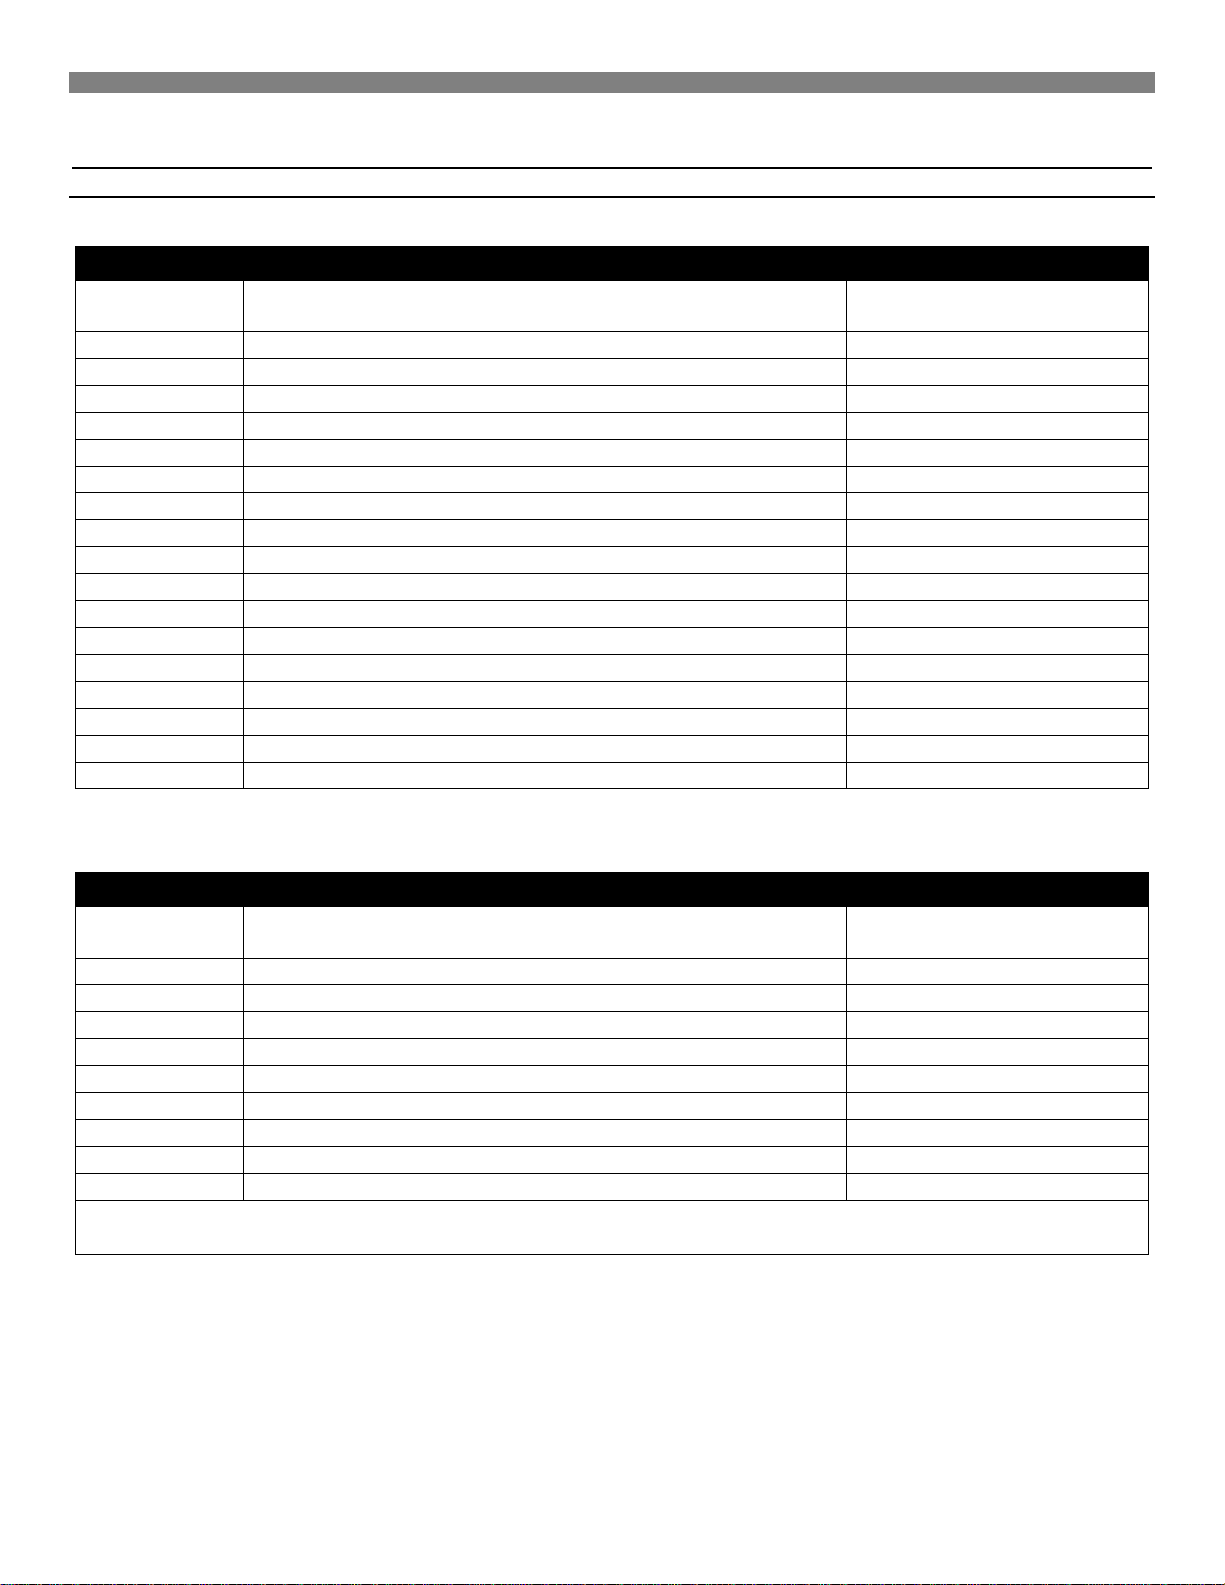
BLOWER ACCESSORY PARTS - MODEL 2901MODEL 2901
1
Screw - #8Ax 3/8 (8)
P013200
2
Blower Grille
9C99
3
Screw - #8Ax 3/8 (8)
P093200
4
Screw - #10 x ½
P141000
5
Toggle Switch
P320911A
6
Wire Bridle
P320912 7 Flat Washer - #10-31 (2)
P127300 8 Machine Nut - #8-32 w/Washer (2)
P041100
9
Blower Body
9C102
10
Motor Mount Grommet (2)
P321078
11
Strain Relief Bushing
P012900
12
Fan Switch
P323097
13
Screw - #8-18 x 1/2”
P138200
14
Motor
P320905
15
Fan Blade
9B99
16
Orifice Plate
9D12-1
17
Junction Box Cover
9B161
BLOWER ACCESSORY PARTS – MODEL 2907
1
Blower Grille
9C99
2
Orifice Plate
9B246
3
Wire Assemblies
P323085/P323086/P323377 4 Blower and Motor
P323423 5 Heat Sensor Wire Assemblies
P274202/P109600
6
Junction Box Cover
9A483
7
Fan Switch
P323080
8
Blower Body
9B249
9
Heat Sensor Switch
P323097
NOTE: Nuts, bolts, screws, and washers are standard hardware items and may be purchased locally.
Blower Accessory Replacement Parts
Blower Accessory 2901 and 2907 (continued)
Ref.
No.
Ref.
No.
Description
MODEL 2907
Description
Part
No.
Part
No.
Use only manufacturer’s authorized parts.
 Loading...