

Willfine 2.8C User Manual
USER’S MANUAL
Scouting Trail Camera

Contents
1. Whole View and Details of Camera
.......................................................................................
- 1 -
Front View of Camera
.............................................................................................................
- 1 -
Camera Screen Display (Test Mode Main Interface)
..............................................................
- 2 -
2. Camera Menu List Introduction
.............................................................................................
- 3 -
3. Quick Start
..............................................................................................................................
- 4 -
Power On Camera
...................................................................................................................
- 4 -
Manual Photographing/ Video Recording
..............................................................................
- 4 -
Enter Menu for Setup Functions
............................................................................................
- 4 -
Power Off Camera
...................................................................................................................
- 4 -
Camera Operation Flow Chart
................................................................................................
- 5 -
4. Detail Setups
...........................................................................................................................
- 6 -
Camera Modes (Default Settings)
...........................................................................................
- 6 -
Photo Settings (Default Settings)
............................................................................................
- 7 -
Video Settings(Default Settings)
.............................................................................................
- 8 -
Camera Settings (Default Settings)
.........................................................................................
- 9 -
Software Upgrade
.................................................................................................................
- 11 -
USB Connection
....................................................................................................................
- 12 -
5. MicroSD Card Selection & Battery Life Test Report
............................................................
- 13 -
MicroSD Card Selection
........................................................................................................
- 13 -
Battery Life Test Report for Reference
..................................................................................
- 13 -
6. Specification
.........................................................................................................................
- 14 -
7. Warranty
...............................................................................................................................
- 16 -
- 1 -
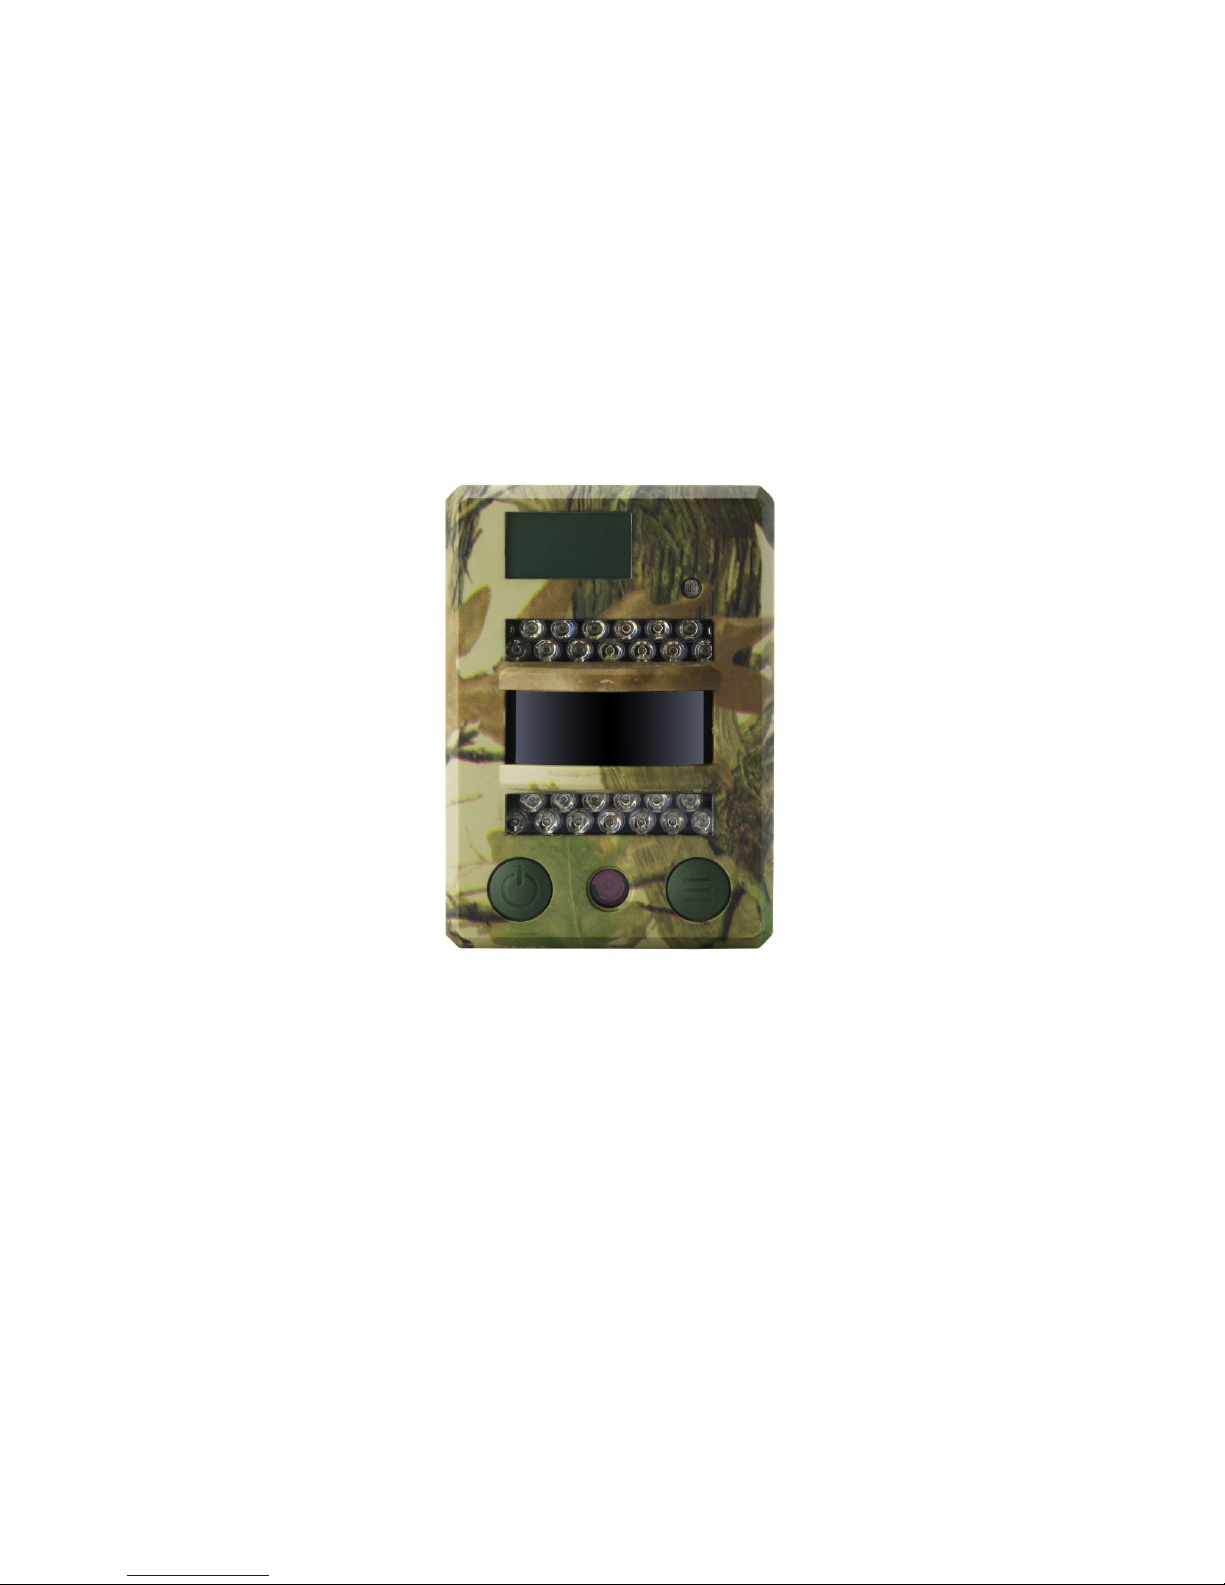
1. Whole View and Details of Camera
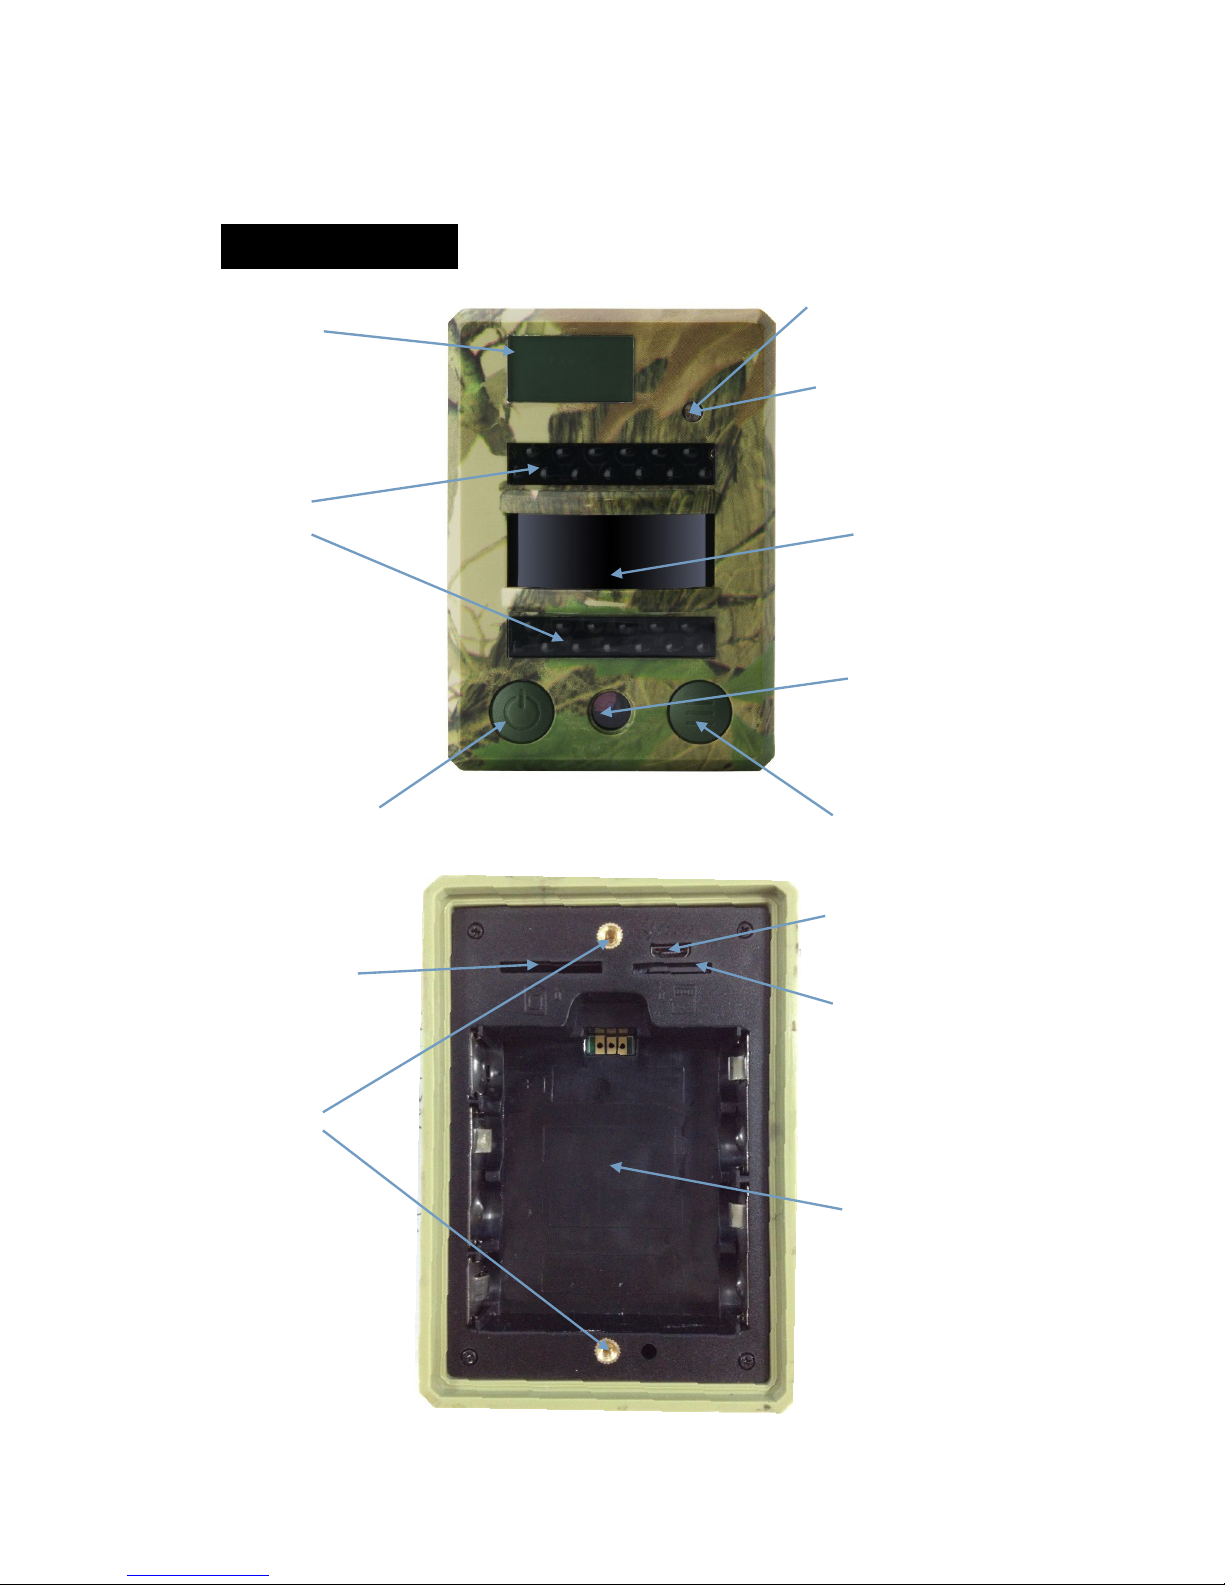
Front View of Camera
Light Sensor
LCD Screen day/night
Indicator Light
13 IR LEDs
13 IR LEDs PIR Sensor
Lens
Power/Navigation Button Menu/OK Button
USB Port/ DC in
SIM Card Slot
Invalid Currently MicroSD Card Slot
Screw Slot
Battery Slot
- 2 -
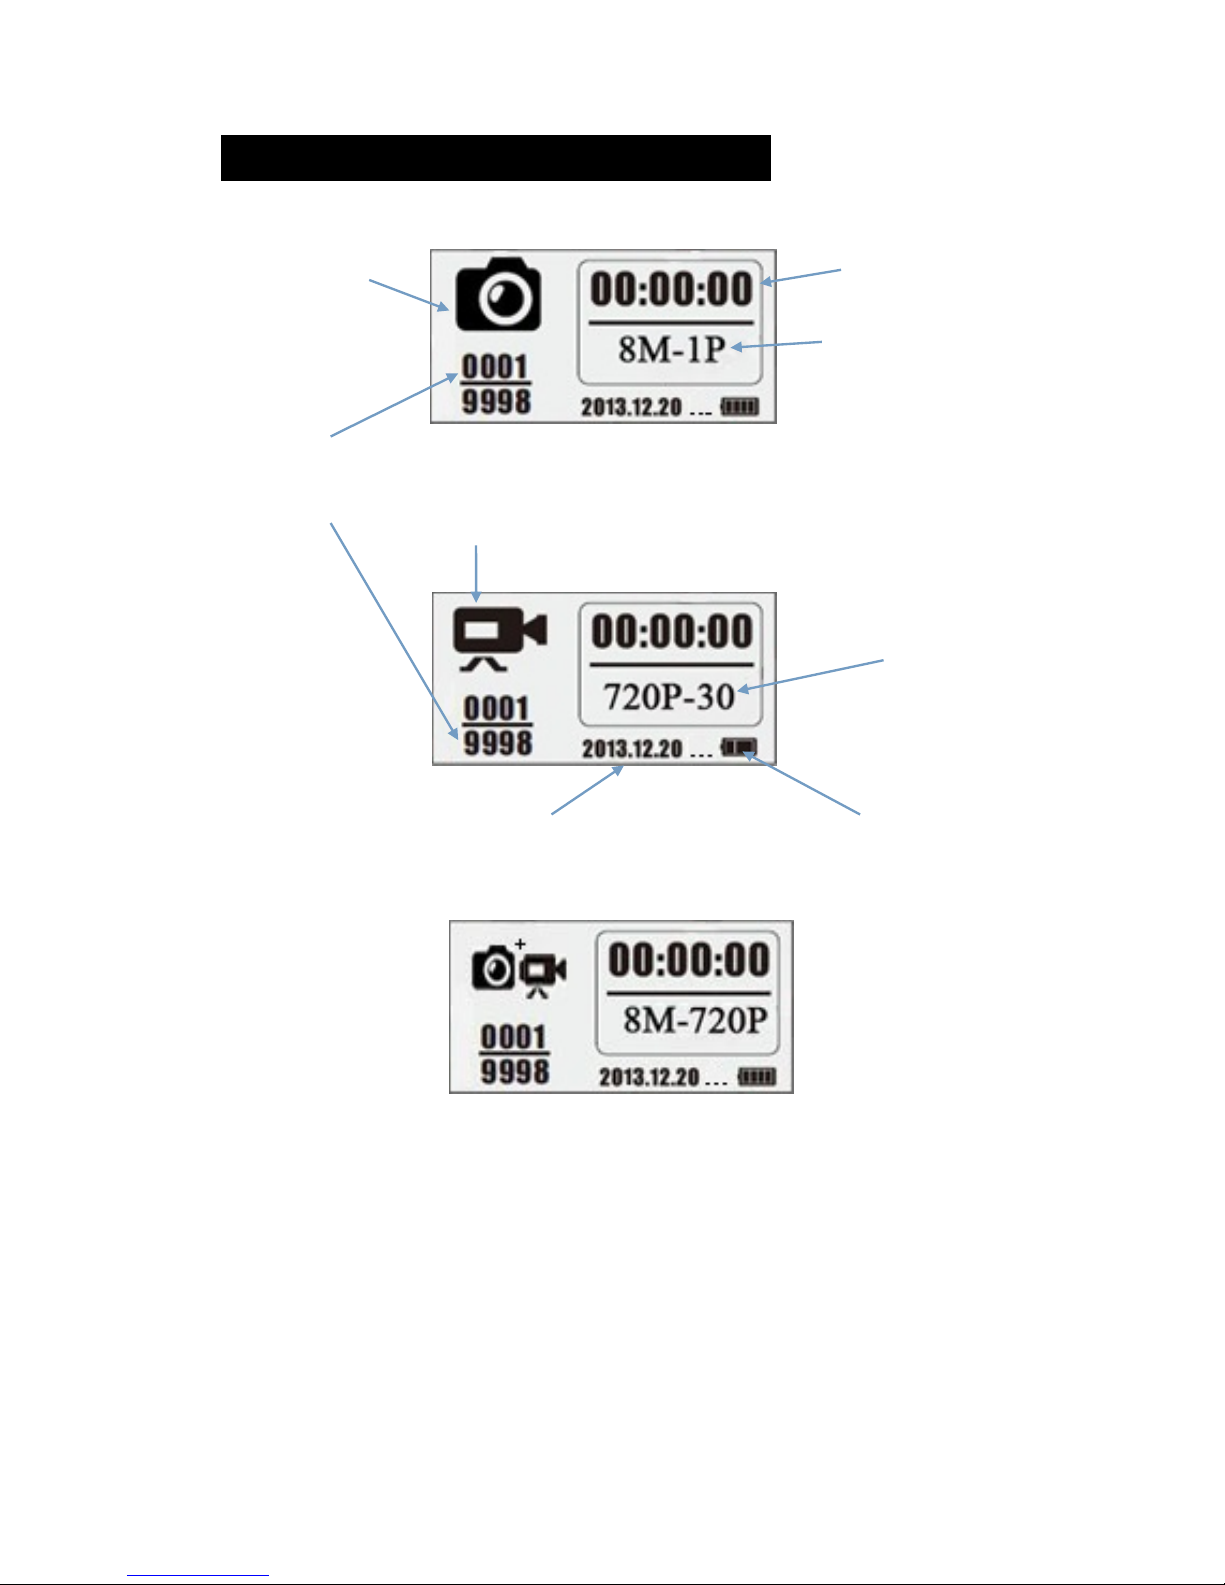
Camera Screen Display (Test Mode Main Interface)
Photo Mode Interface
Photographing hour/min/sec
Photo Resolution
Multi Shot Number
0001: recorded file number of photos & video clips
9998: estimated available file number based on left memory space in memory card
Video Recording
Video Mode Interface
Video FPS
Video Resolution
Year/month/date Battery Left Volume
Photo + Video Mode Interface
Note: camera support camera, video, camera + video three different working modes;
screen display will be different based on different working mode.
- 3 -
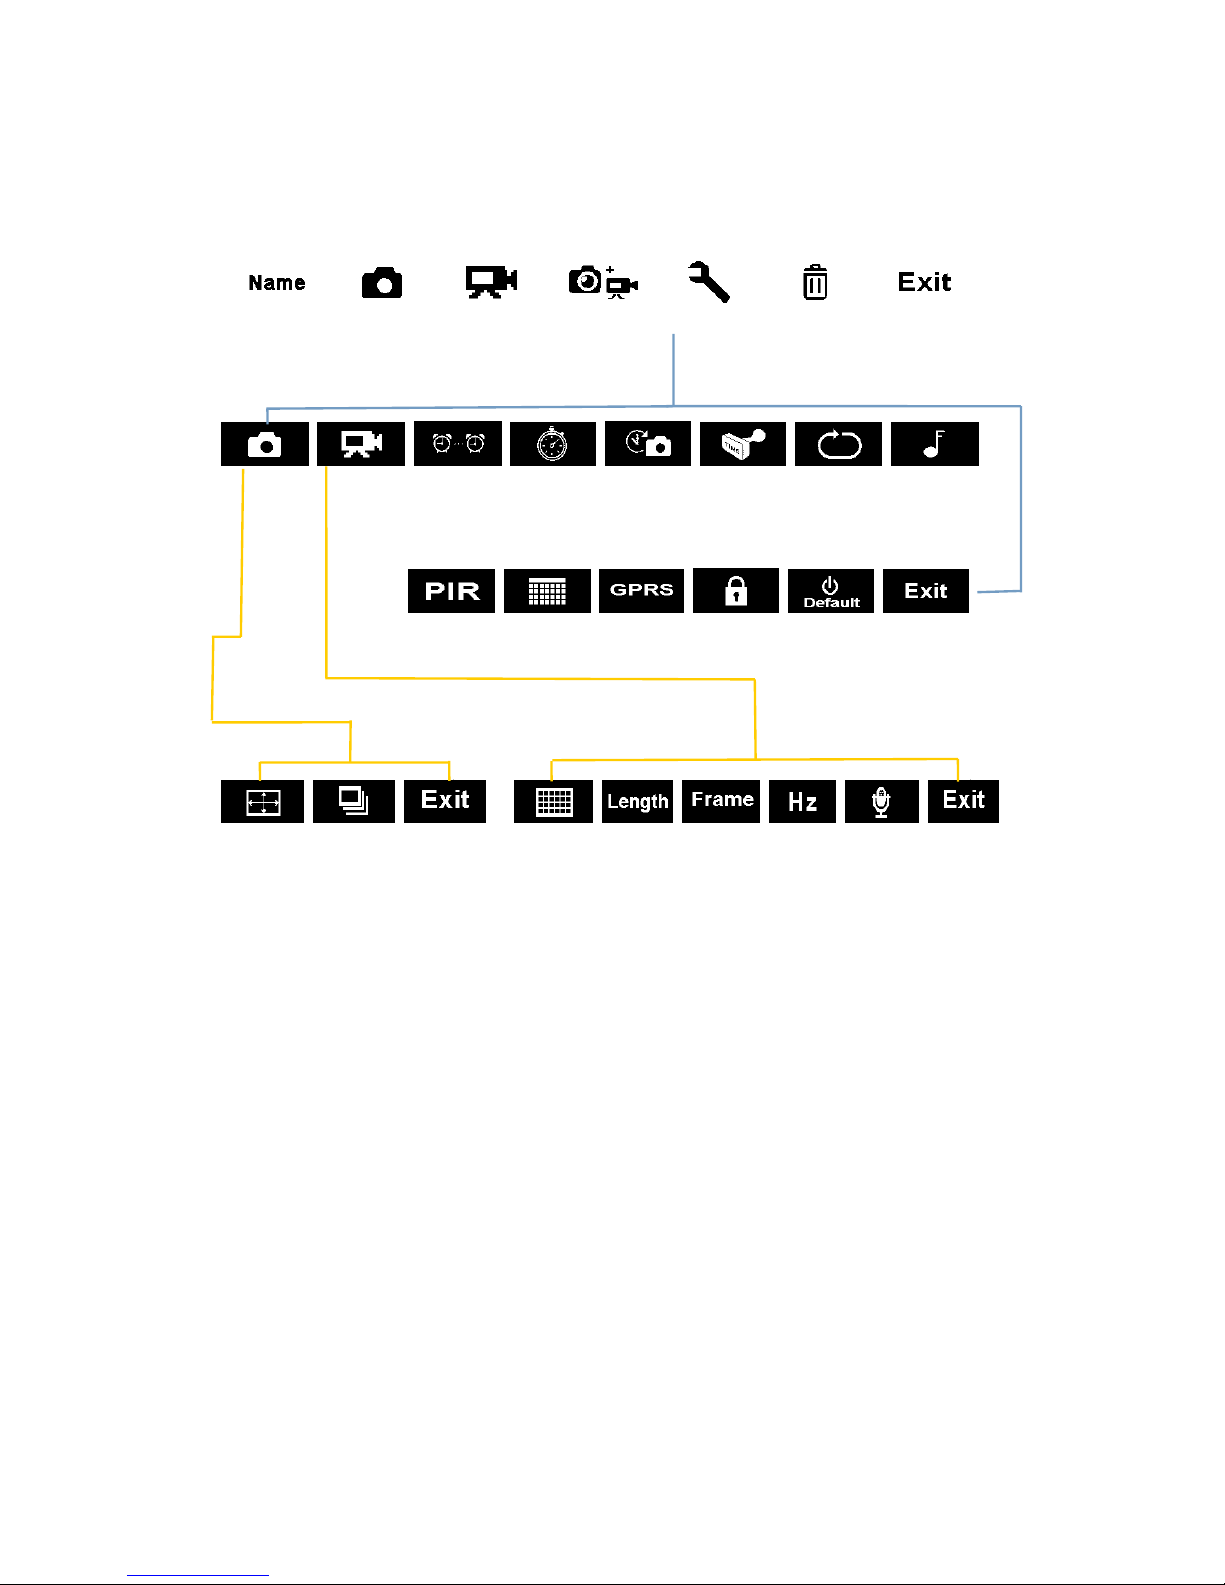
2. Camera Menu List Introduction
1) First Navigation Menu
2) Second Navigation Menu: Settings
:
3) Third Navigation Menu
Photo Settings Video Settings
Back to
Previous Page
Delete
Settings
Photo+Video
Video
Camera ID
Photo
Camera Sound
Stamp
Time Lapse
Video
Photo
SD Cycle
Delay
Timer
PIR Sensitivity
Date/Time
GPRS
ON/OFF
Password
Reset
Back to
Previous Page
Multi Shot
Photo Size
Video
Frame
Video
Resolution
Video
Length
Frequency
Video
Sound

- 4 -
3. Quick Start
1.
Open back cover to insert MicroSD Card and batteries;
Power On Camera
2.
Press and hold Power/Navigation button for 3 sec; camera will enter PIR Auto Working
mode after indicator flashes 5 times;
3.
Press Menu/OK button once to wake up camera LCD screen to enter TEST Mode;
Manual Photographing/ Video Recording
4.
Test Mode Main Interface, press Power/Navigation button again to shoot photos,
videos, or photo + video based on camera settings; stop video recording by pressing again
Power/Navigation button
Enter Menu for Setup Functions
5.
Test Mode Main Interface, press Menu/OK button to enter settings menu; now
button is always for navigation; button is always for OK to save/confirm needed
setup;
6.
Press and hold button for 3 seconds to return Test Mode Main Interface (Camera Modes
Menu) after all settings are done;
7.
Test Mode Main Interface, press and hold button for 3 seconds to enter PIR Auto
Working Mode; (indicator LED will flash 5 times, Screen will be off.)
Power Off Camera
8.
Press and hold button for 5 seconds to turn off camera.
 Loading...