

Wildix WS16POE User Manual
User Manual
Version: 01/01/2011
WS16POE Switch

Web Smart Switch Configure 3
Administrator: Authentication Configuration 5
Administrator: System IP Configuration 6
Administrator: System Status 7
Administrator: Load Default Setting 8
Administrator: Firmware Update 9
Administrator: Reboot Device 10
Port Management: Port Configuration 11
Port Management: Port Mirroring 12
Port Management: Bandwidth Control 13
Port Management: Broadcast Storm Control 14
Port Management: PoE Configuration 15
VLAN Setting: VLAN Mode 16
VLAN Setting: VLAN Member Setting (Port Based) 17
VLAN Setting: Multi to 2 Setting 18
Per Port Counter: Counter Category 19
QoS Setting: Priority Mode 20
QoS Setting: Class of Service 21
Security: MAC Address Configuration 23
Security: TCP_UDP Filter Configuration 24
Spanning Tree: STP Bridge Settings 26
Spanning Tree: STP Port Settings 27
Trunking: Link Aggregation Settings 28
Backup/Recovery 29
Miscellaneous: Miscellaneous Setting 30
Logout: You can click “Logout” to logout. 31
Wildix WS16POE User Manual 2
Web Smart Switch Configure
Please follow the steps to configure this Web Smart switch.
Step 1: Use a twisted pair cable to connect this switch to your PC.
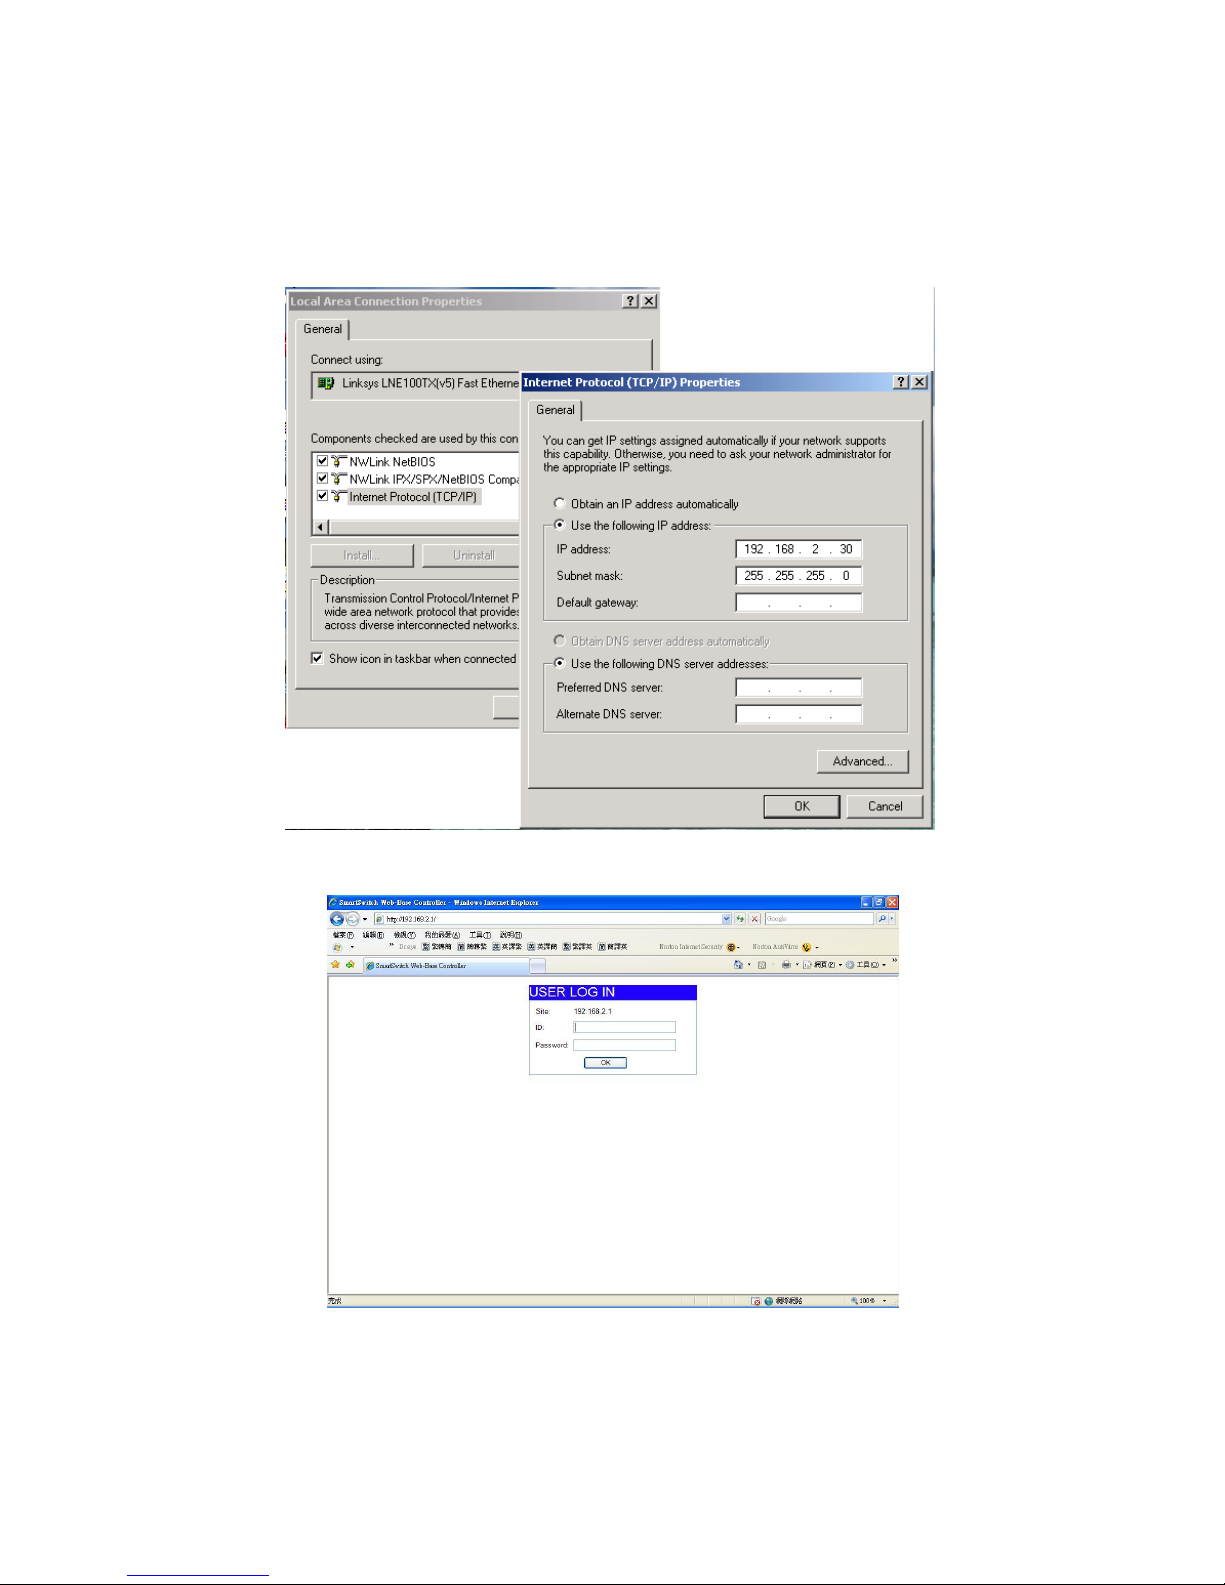
Step 2: Set your PC’s IP to 192.168.2.xx.
Step 3: Open the web browser (like IE…), and go to 192.168.2.1 Then you see the login screen.
ID and the password: admin
Step 4: After the authentication procedure, the home page shows up. Select one of the
configurations by clicking the icon.
- Administrator
Wildix WS16POE User Manual 3
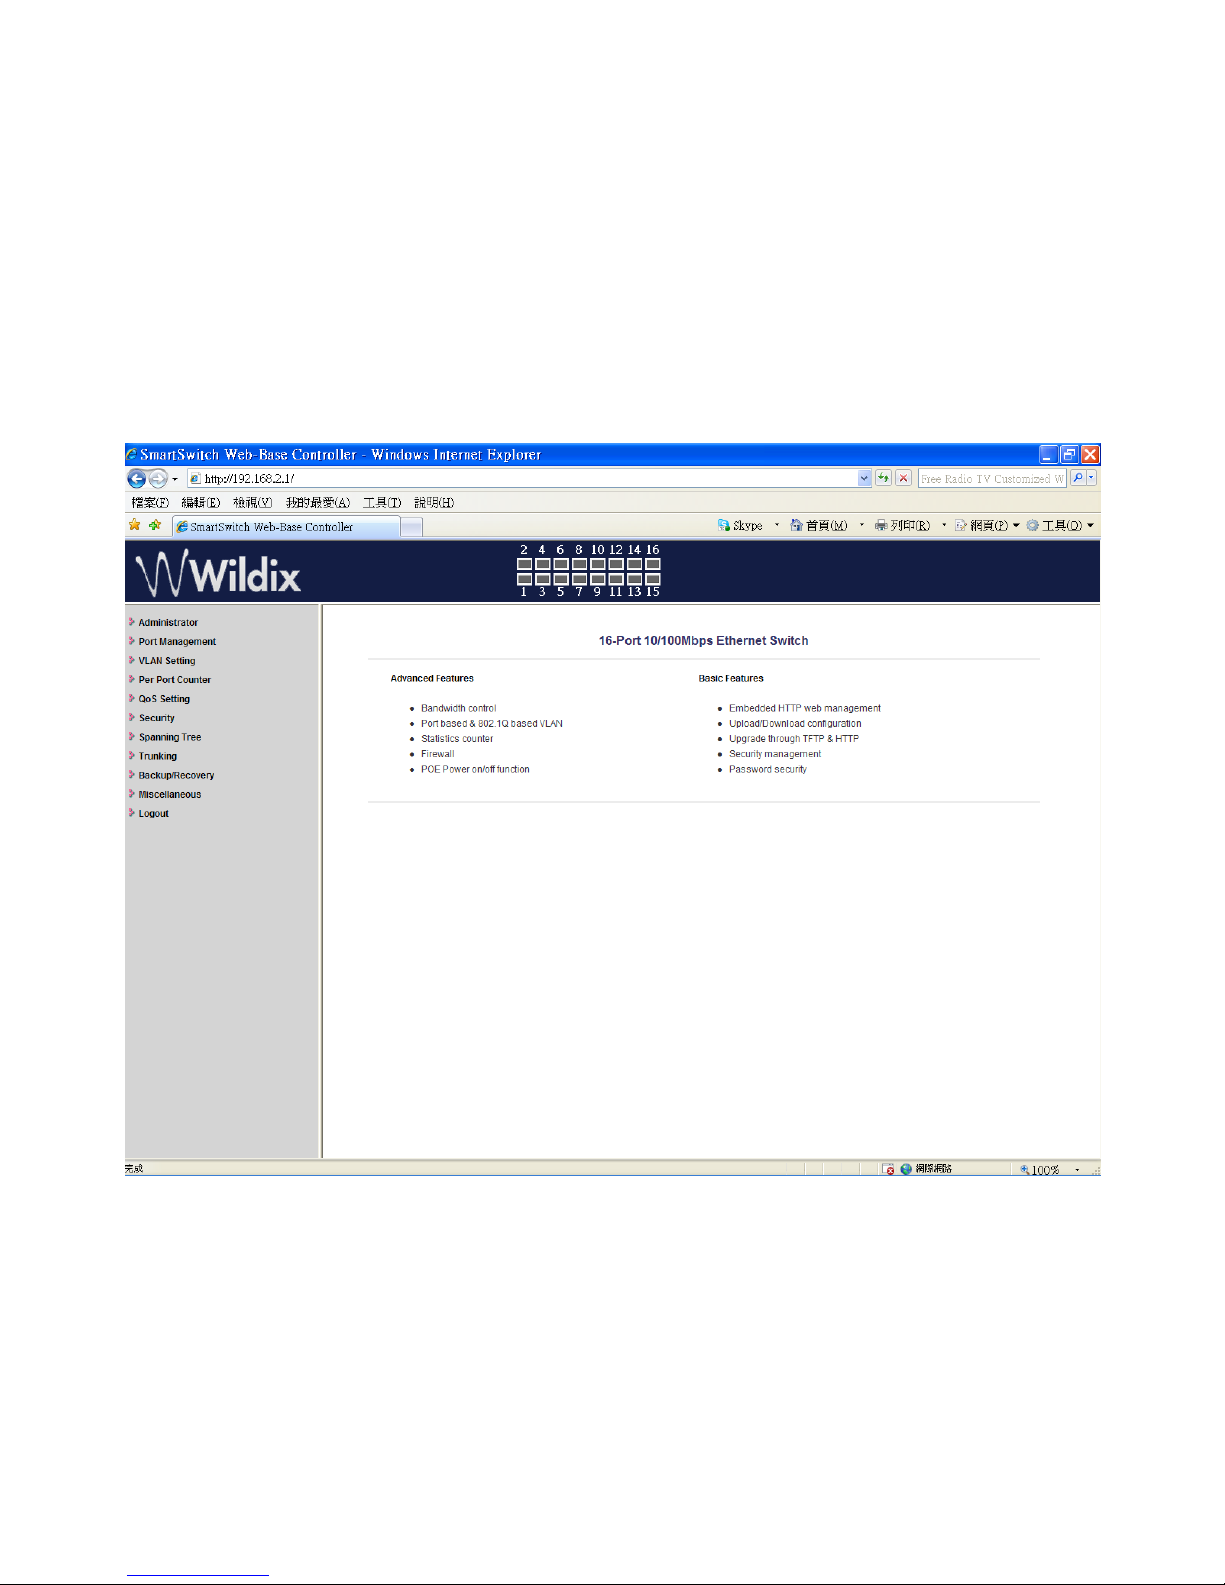
- Port Management
- VLAN Setting
- Per Port Counter
- QoS Setting
- Security
- Spanning Tree
- Trunking
- Backup/Recovery
- Miscellaneous
- Logout
Wildix WS16POE User Manual 4

Administrator: Authentication Configuration
1. Change the user name and the password.
2. Click on “Update” to confirm the change.
You can use the new user name and password.
Wildix WS16POE User Manual 5
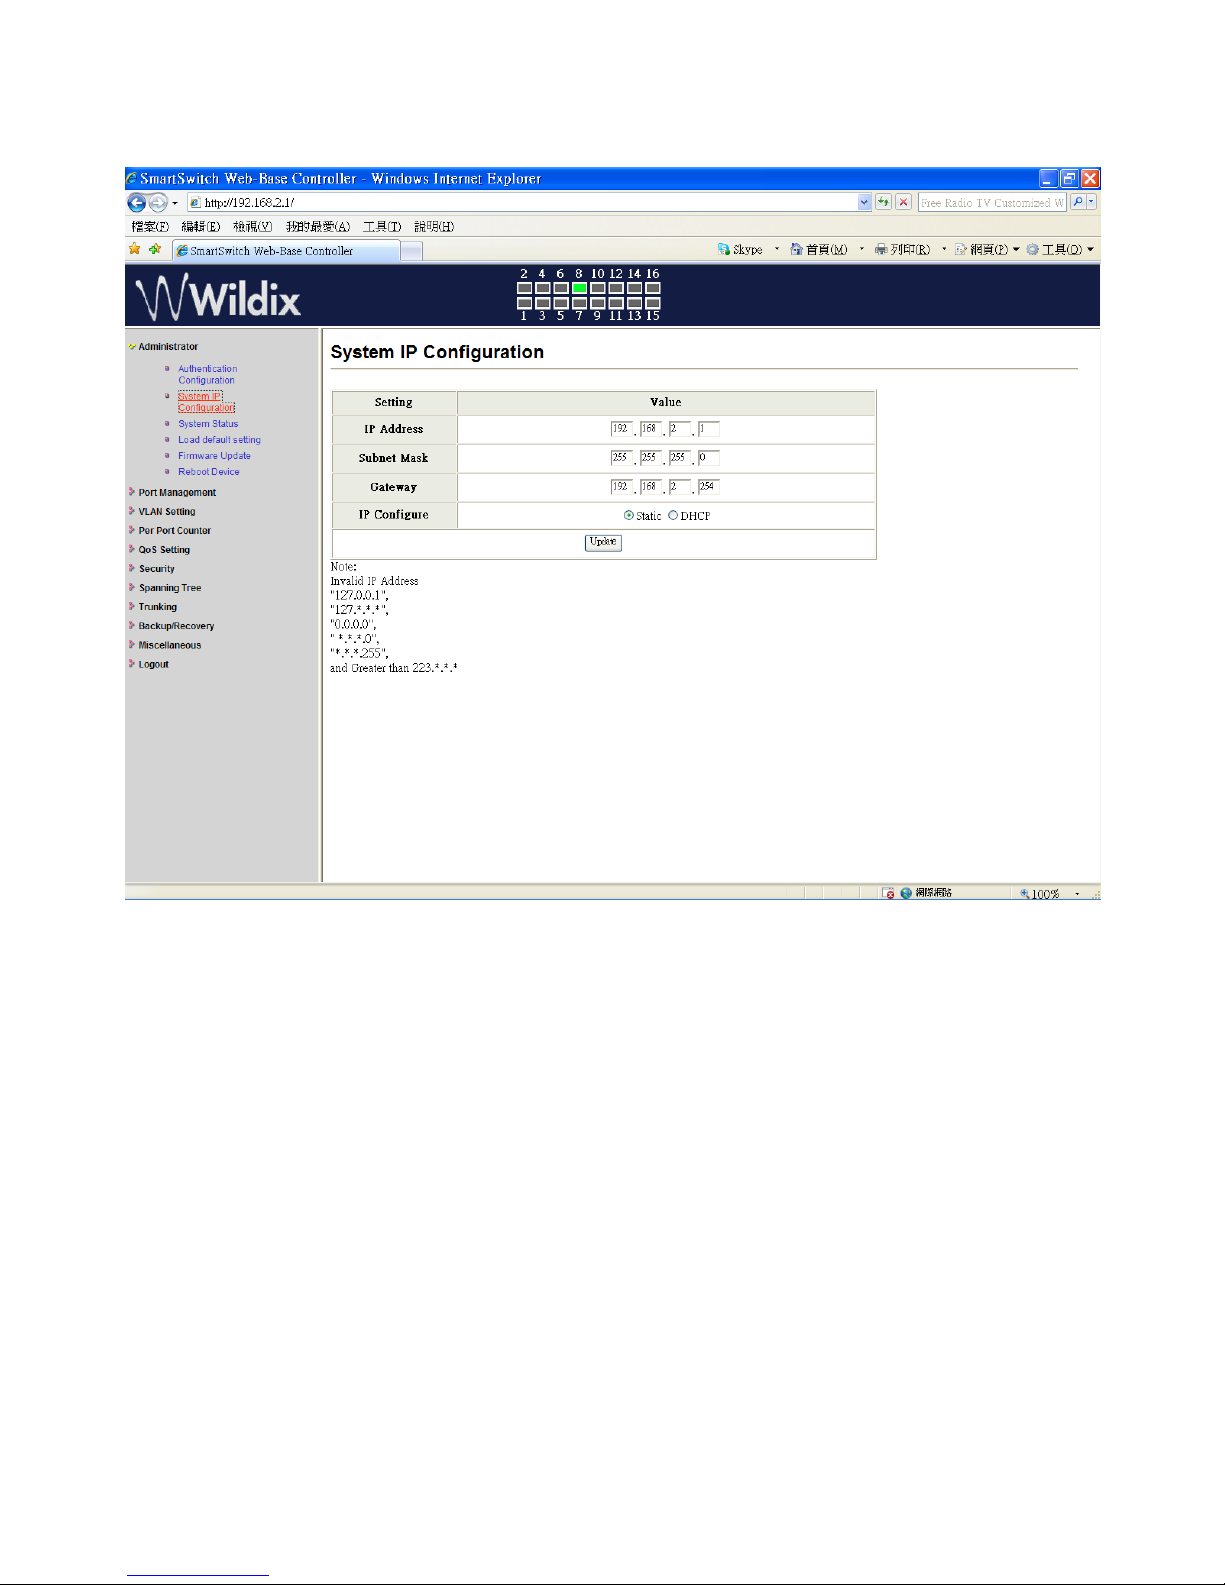
Administrator: System IP Configuration
1. Change the IP address: type the new IP address or select DHCP IP configuration.
2. Click on “Update” to confirm the change.
“Setting Process OK!!” is shown on the screen.
3. Click on "Reboot" to use new setting
The setting of “System IP Configuration” is finished.
Wildix WS16POE User Manual 6

Administrator: System Status
MAC address and system version are shown on the screen.
1. You can enter a new comment for this switch.
2. Click on “Update” to confirm the change.
The setting of “System Status” is finished.
Wildix WS16POE User Manual 7
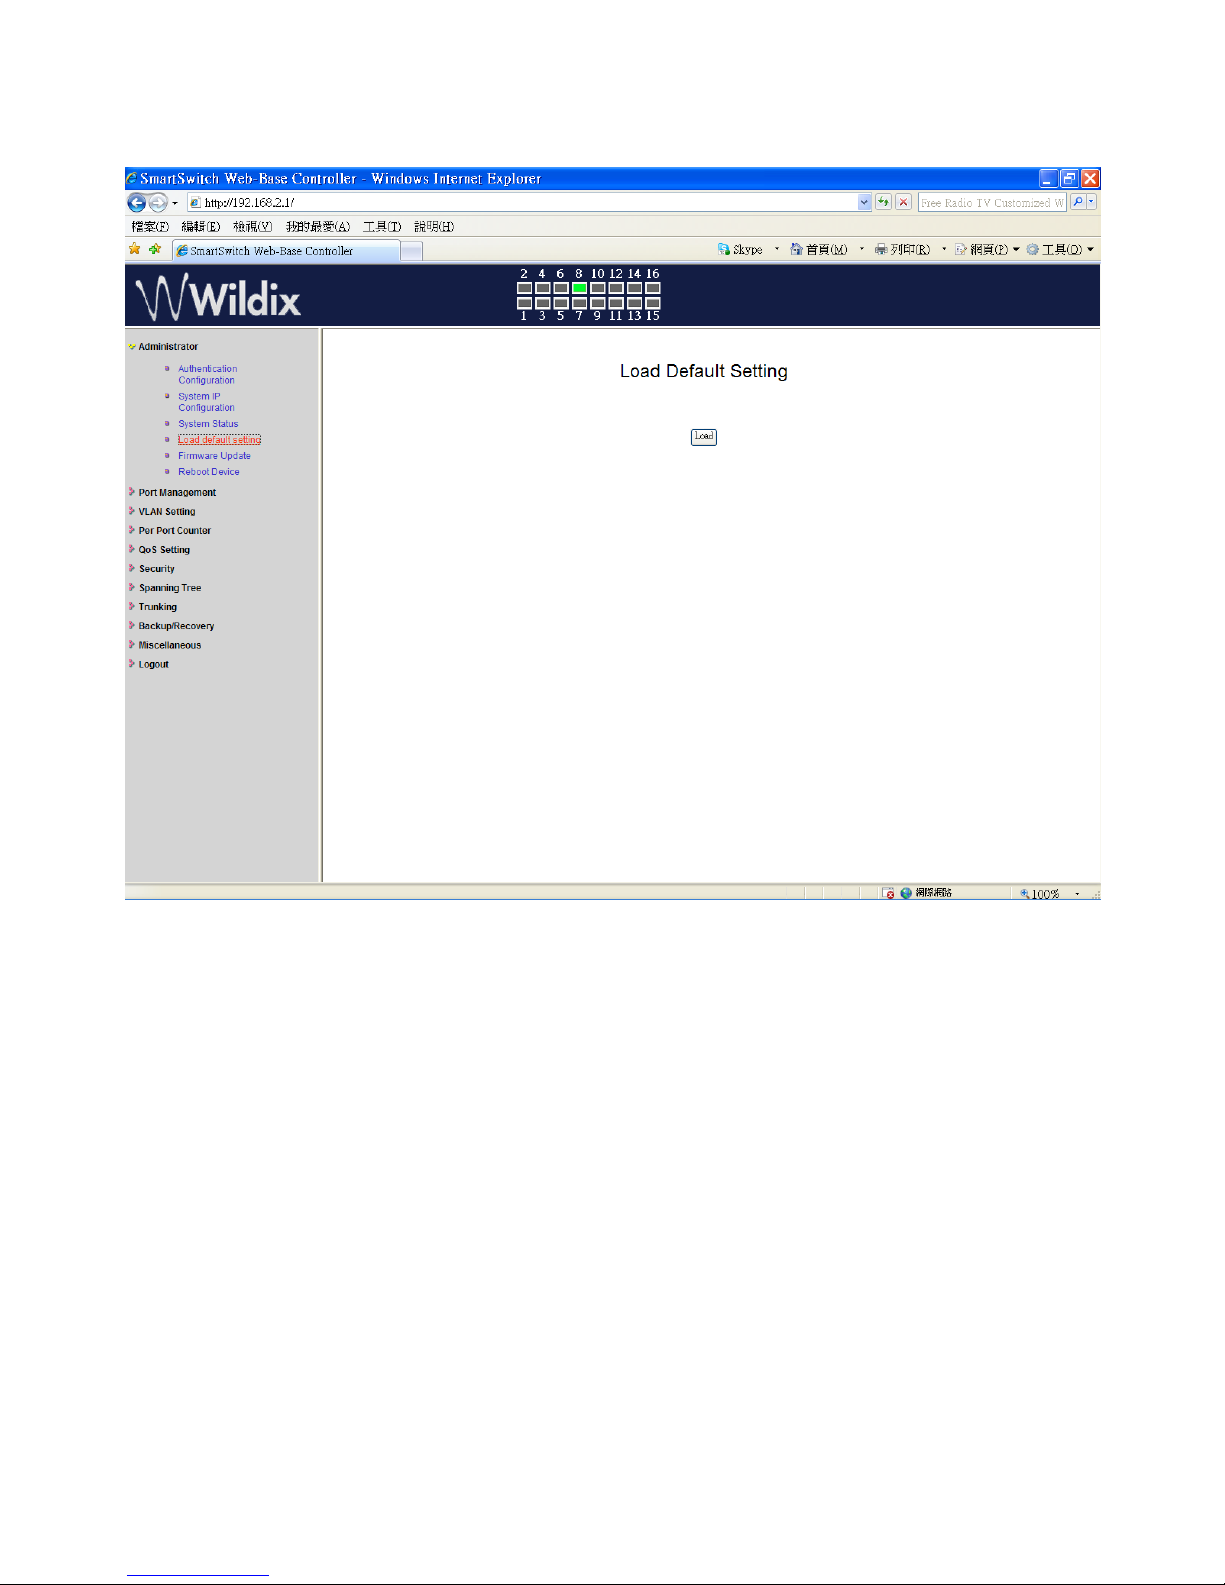
Administrator: Load Default Setting
1. Click on “Load” to go back to the factory default setting.
**Note: Recover switch default setting excludes the IP address, User name and Password.
Wildix WS16POE User Manual 8
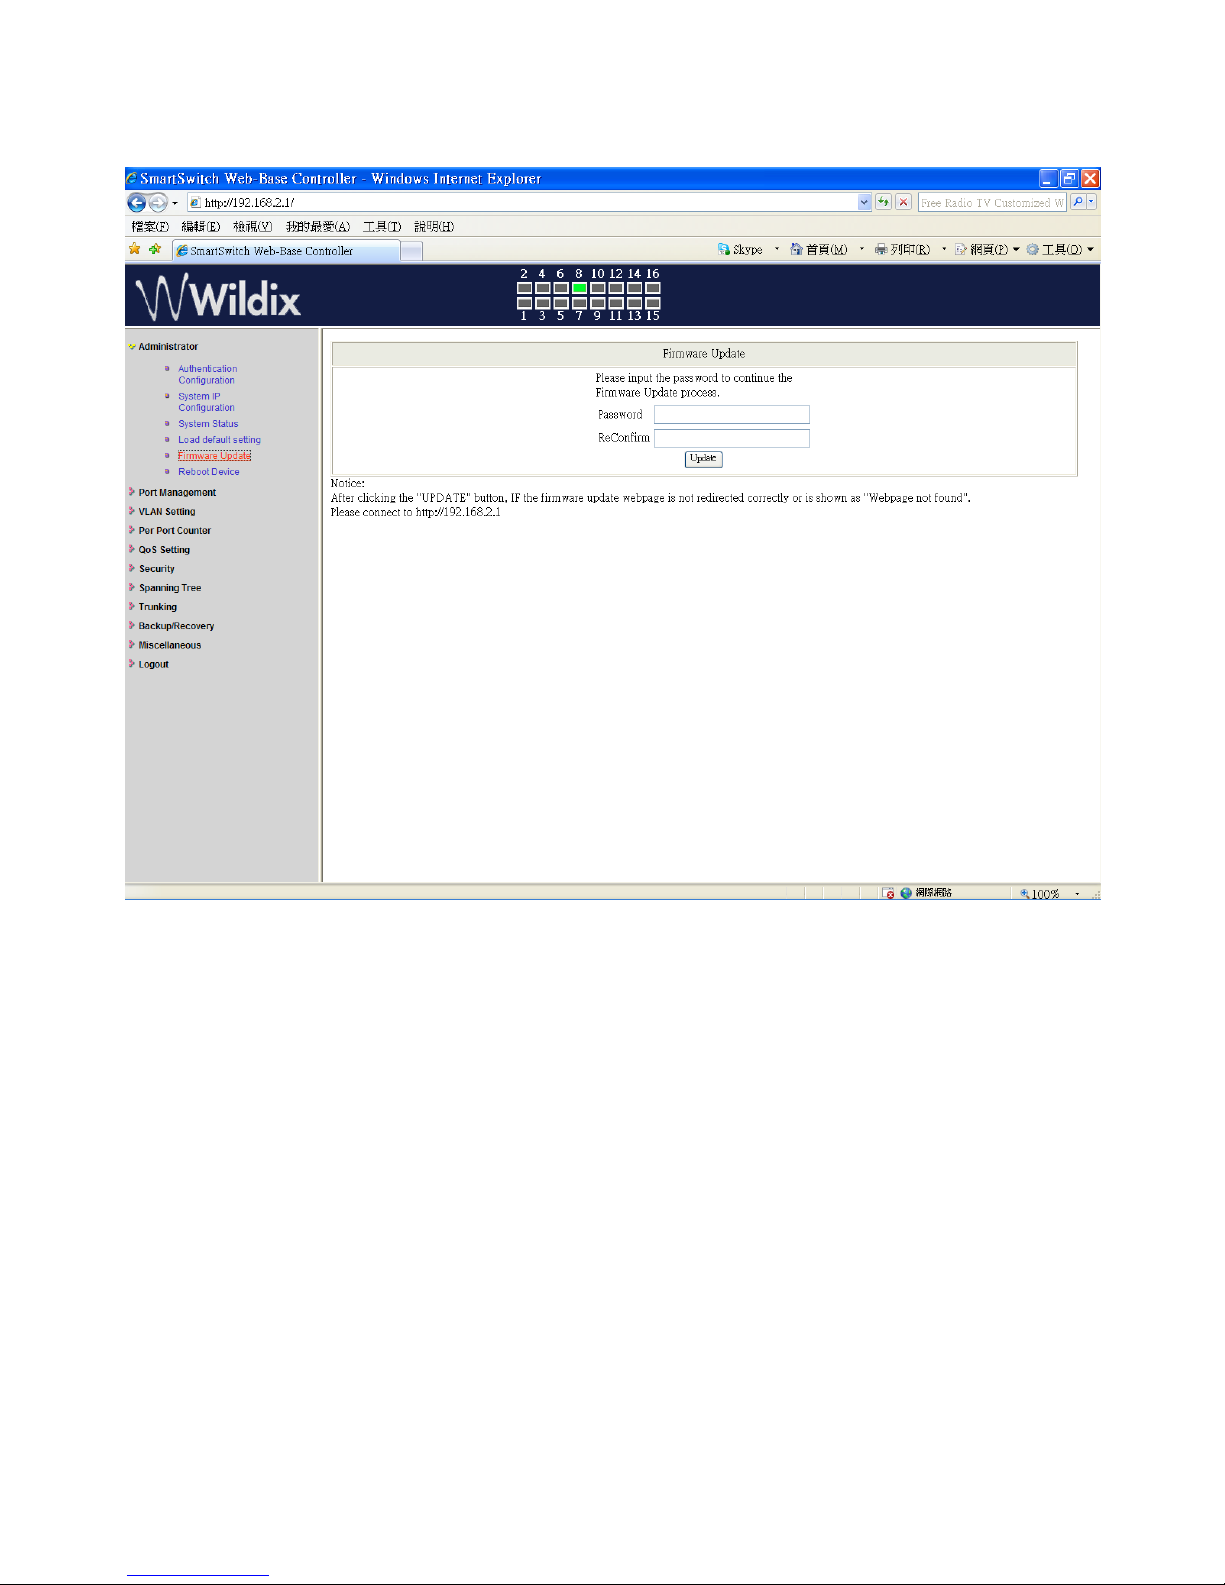
Administrator: Firmware Update
Follow the instruction on the screen to update the firmware.
Please contact your sales agents to get the latest firmware information.
Wildix WS16POE User Manual 9
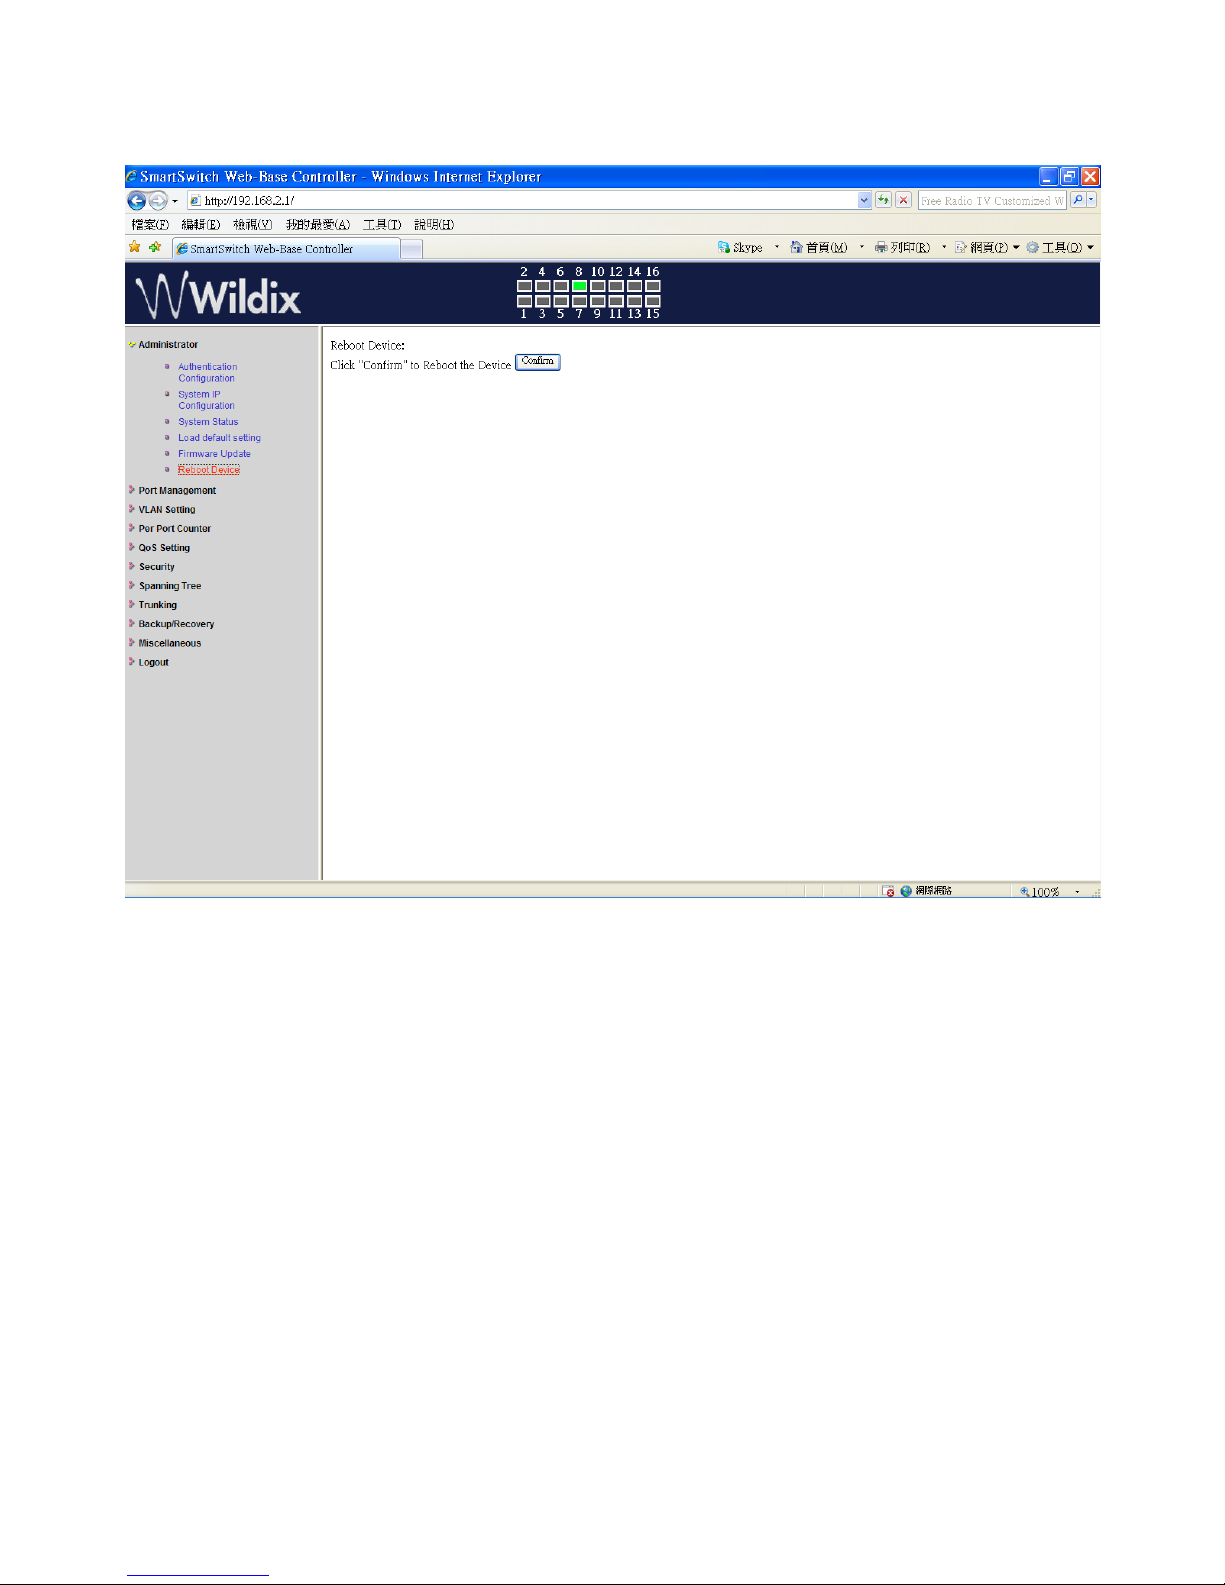
Administrator: Reboot Device
1. Click on “Confirm” to reboot the device.
Wildix WS16POE User Manual 10
 Loading...