

Wilding Wallbeds C90 Installation Instructions Manual
INSTALLATION INSTRUCTIONS
For Wallbed models:
Do-It-Yourself
WARNING! ALL MURPHY/WALLBED SYSTEMS CONTAIN STORED ENERGY. FAILURE TO USE AND
FOLLOW THESE INSTRUCTIONS DURING THE INSTALLATION PROCESS COULD RESULT IN SEVERE PERSONAL INJURY TO USER OR DAMAGE TO PRODUCT. PLEASE CONTACT CUSTOMER
SERVICE AT 866-725-6401 FOR ANY QUESTIONS.
Revision 6/18 BKC90
BOOKLET #C90


ATTENTION
Step 1: Complete first 3 pages to apply
edge taping
INFORMATION ON EDGE TAPE APPLICATION
Measure length to be edge taped and cut the tape 2” longer than dimension.
With a hot iron apply tape slowly making sure the tape fully adheres to the bed part. Leave edge tape
one inch long on both ends.
Once edge tape is securely glued to the bed part use an edge tape trimmer to trim edge tape flush on both
sides. Use a razor knife to trim edge tape flush at ends.
Slightly break the edge of edge tape corners by lightly sanding.
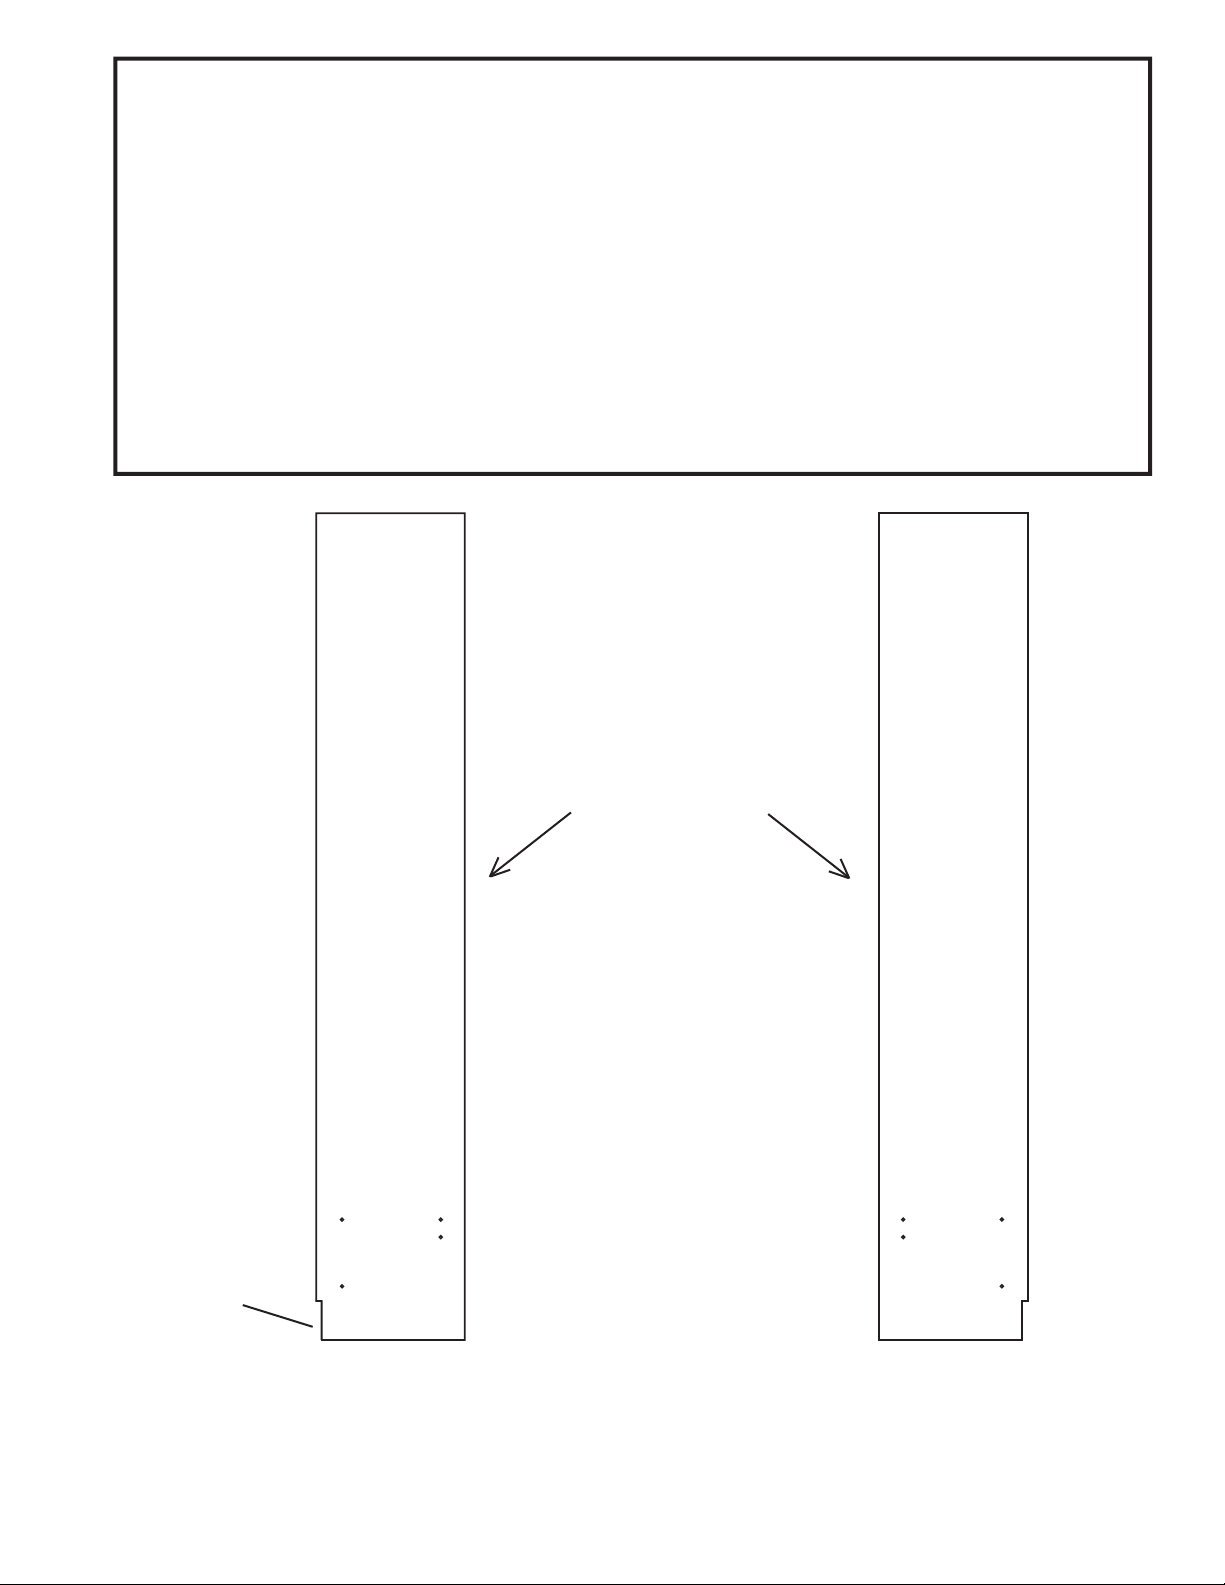
Base board
notch
Apply iron on edge
tape to this edge
Left side board
Finishing note:
Right side board
Side boards will be visible on both sides and the edge taped
sides once the bed is installed.
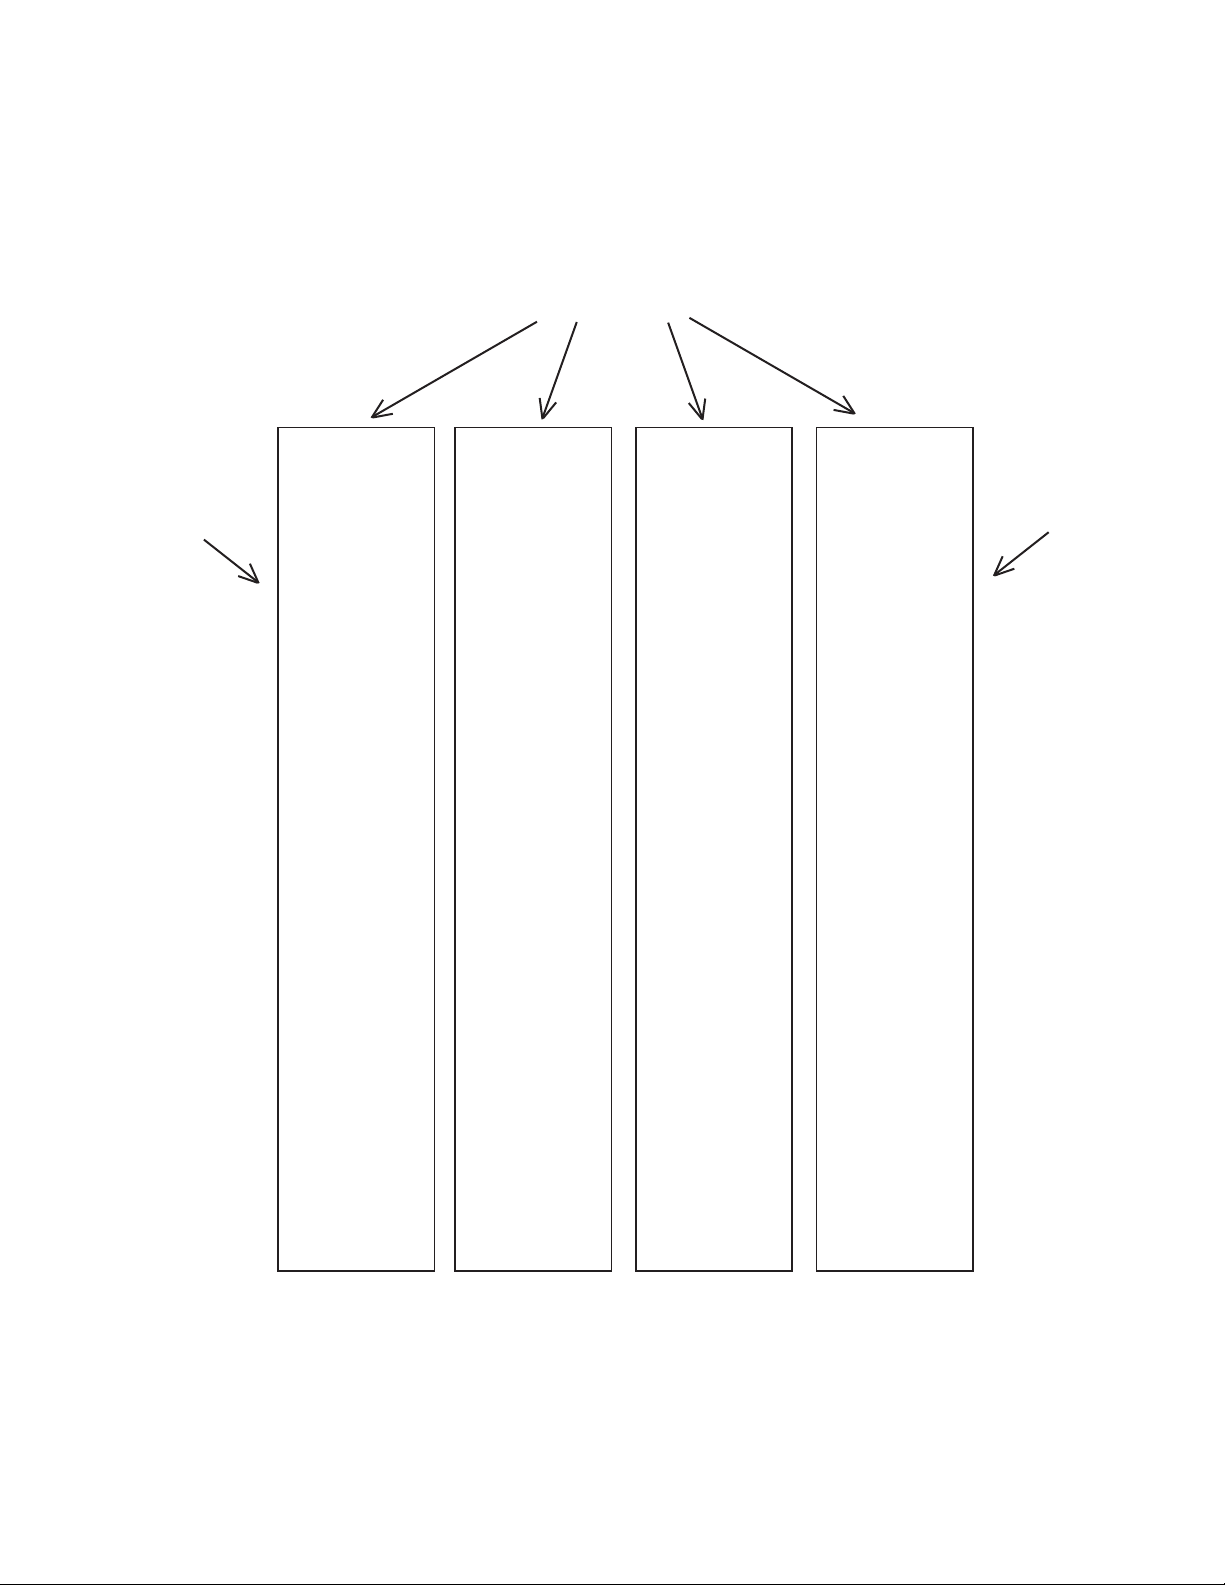
The four (queen and full sizes) face panels constitute the front of your wall bed when the bed is
closed. Lay the panels out and decide how you want the grain and panels to look once the bed is
installed. Edge tape the four top edges and two out side edges as illustrated below. If you want to
add trim pieces to decorate the front of your bed you can do that at this point as well.
Apply iron on edge
tape to this edge
Apply iron on edge
tape to this edge
Apply iron on edge
tape to this edge
Finishing note:
Left face panel
Center face panel
Center face panel
Right face panel
Bed face panels will be visible primarily* on one side and on
all edge tape edges.
* The front panels will be what you see when the bed is closed. When the bed
is open you will see about 1” around the perimeter of the back side of the face
panels.
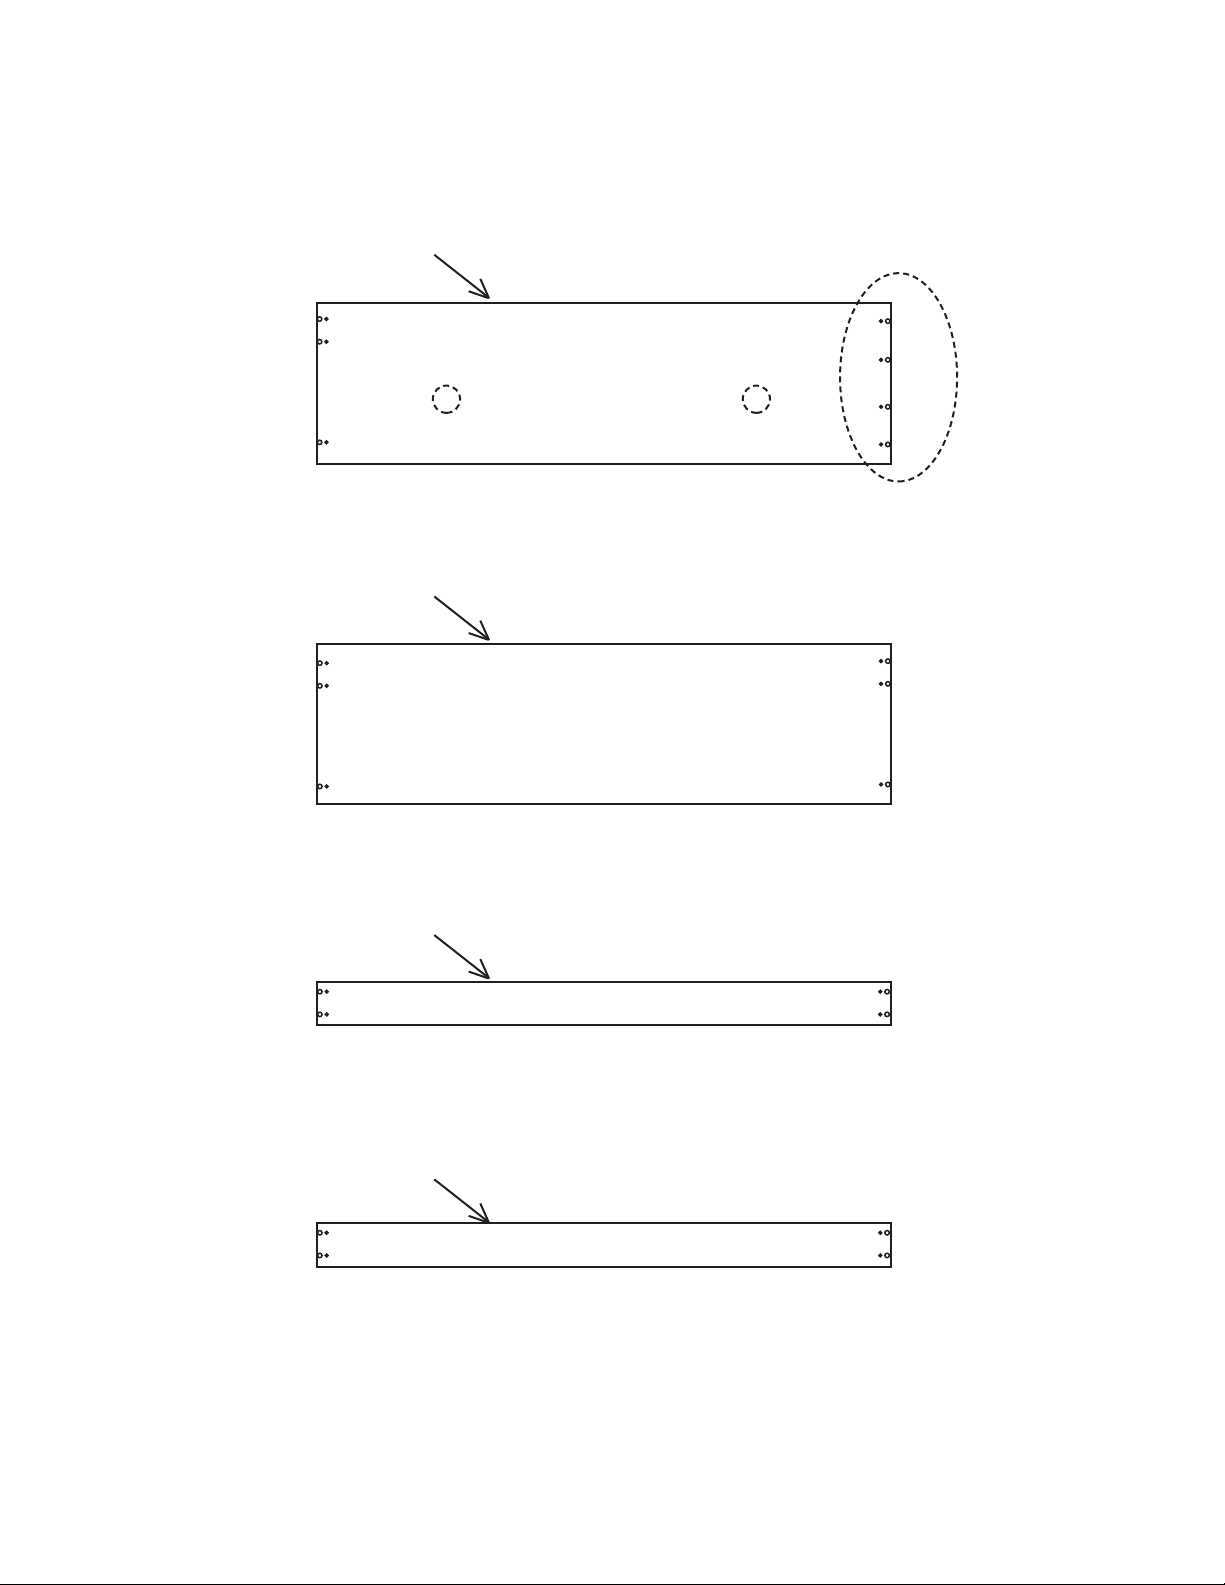
Caution: Study carefully the illustrations before applying edge tape. Note that all illustrations
reveal cam fitting sockets. Additionally note that the Bridge board has 4 cam sockets on one side.
Apply iron on edge
tape to this edge
Note 4 cam sockets
Bridge Board
Apply iron on edge
tape to this edge
Head Board
Apply iron on edge
tape to this edge
Front Stretcher
Apply iron on edge
tape to this edge
Stretcher
Finish with stain or paint as desired. The sides that will be visible once the wall bed is installed
are the edges with edge tape and the side WITHOUT cam sockets
Refer to installation instructions for assembly and installation
 Loading...