

Page 1

User’s instructions
The Bravo Series
B32
Behind-the-ear
Page 2
2
Electrical and electronic equipment
(EEE) contains materials, components
and substances that can be hazardous
and present a risk to human health
and the environment when waste electrical and electronic equipment
(WEEE) is not handled correctly.
Do not dispose of hearing aids, hearing aid accessories and batteries with ordinary household
waste.
Hearing aids, batteries and hearing aid accessories should be disposed of at sites intended for
waste electrical and electronic equipment, or given to your hearing care professional for safe disposal. Proper disposal helps to protect human
health and the environment.
Page 3

3
Contents
Turning the hearing aid on and off ...........5
Volume control ...........................6
Telecoil (M-MT-T switch) ...................8
Changing the battery .....................10
Recommended energy source:
Zinc Air battery type 675 ..................12
Left/right identification ...................13
Placing Bravo on/in the ear ................14
Removing Bravo .........................16
In case of malfunction ....................17
Important ..............................18
Audio input .............................20
Caring for your hearing aid ................23
Accessories. . . . . . . . . . . . . . . . . . . . . . . . . . . 25
The hearing aid .......................26
The earmould ........................27
There is only one way ....................29
Troubleshooting guide ....................30
Symbols ................................32
Page 4

4
Your Widex Bravo hearing aid is a very intricate,
high precision electronic unit. It has been carefully designed to withstand years of wear, under the
varying conditions the typical user finds themselves in each day. However, your hearing aid
may be damaged if exposed to extreme conditions,
severe blows, or general neglect.
To get full satisfaction from the quality and the
performance we have built into your new Widex
hearing aid, please handle it with care, and read
and follow the instructions carefully.
At the back of this manual you will find a troubleshooting guide, which will help you in situations
where your hearing aid does not perform according to your expectations.
We hope you will be pleased with
your new Widex hearing aid!
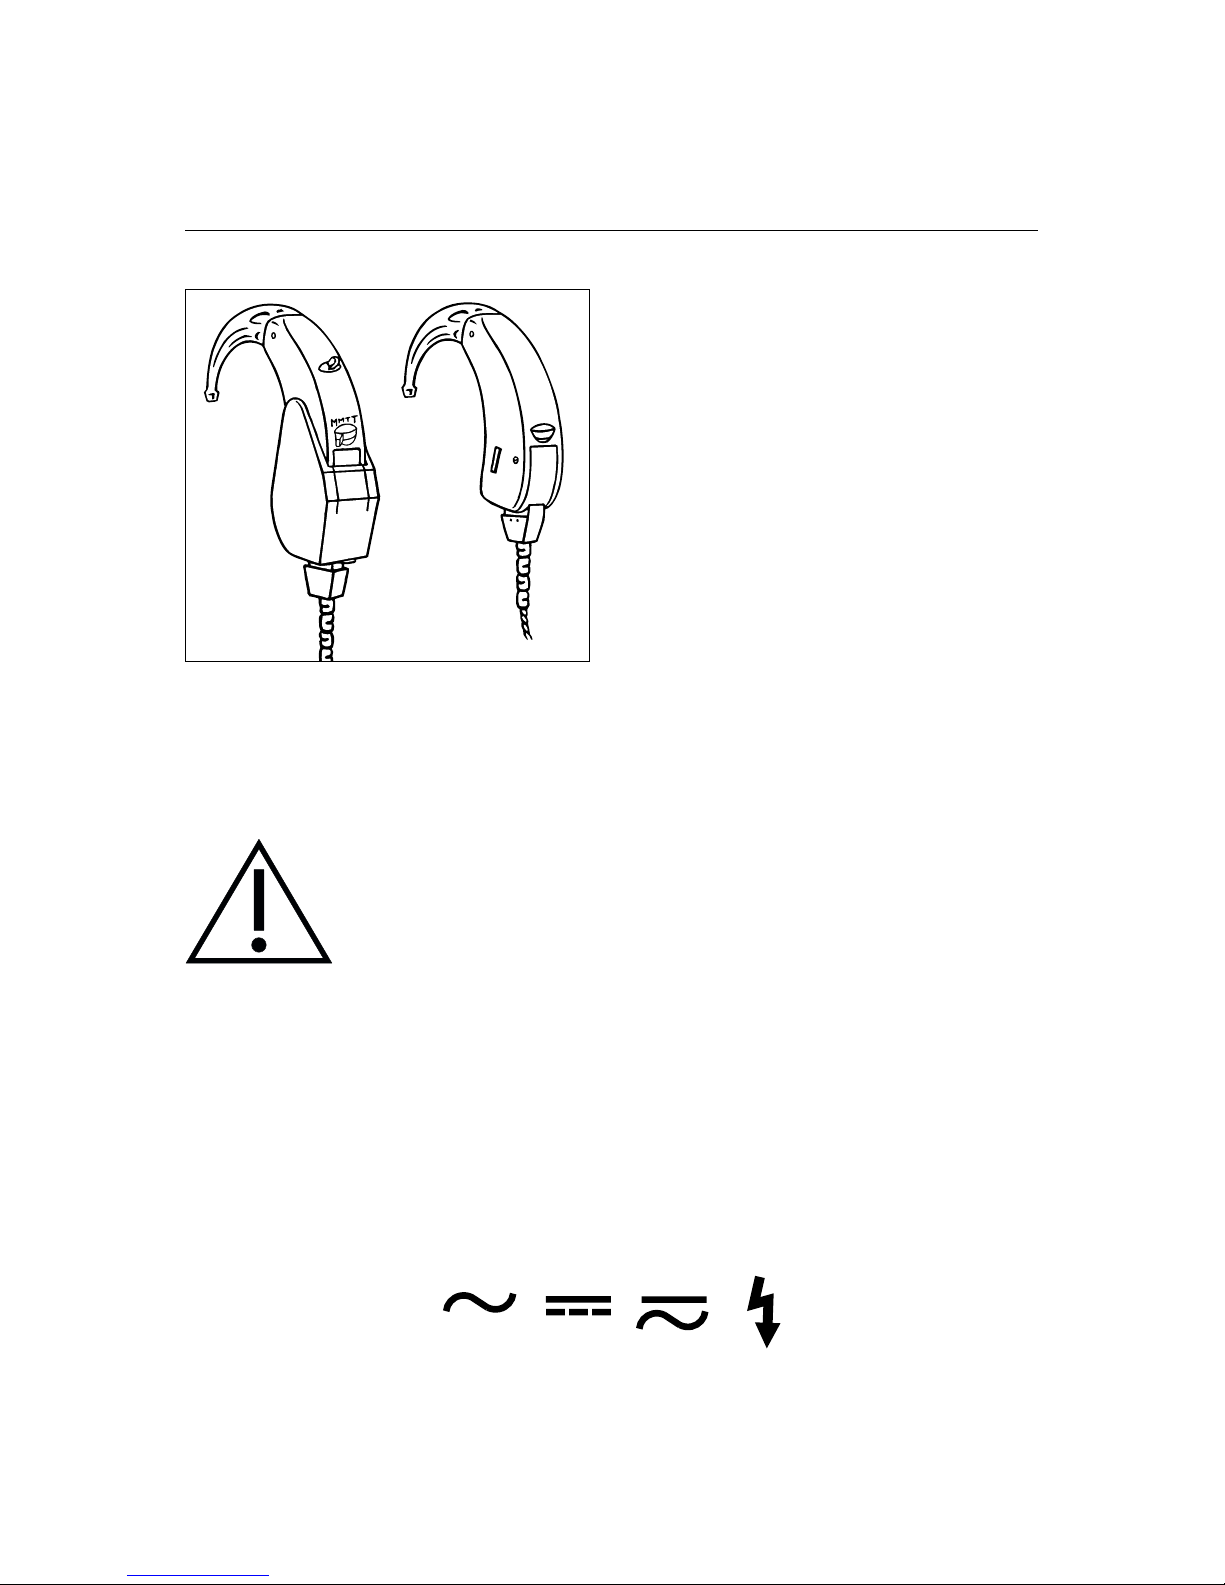
1. Volume control
2. M-MT-T switch
3. On/off switch and
battery drawer
Page 5

5
Turning the hearing aid
on and off
The battery drawer also functions as the on/off switch.
The hearing aid is turned on
when the switch is pushed
upwards, and off when the
switch is pushed downwards
as illustrated.
The word “OFF” is clearly
visible on the switch when
the aid is turned off.
Please remember to switch
the hearing aid off when it is
not in use. Remove the battery if the hearing aid will
not be used again soon.
Page 6

6
Volume control
Your hearing aid has a digital
volume control, shaped like a
small lever. Push the lever
upwards to raise the volume.
Push the lever downwards to
lower the volume. Use short
touches for minor corrections
of the volume. Faster adjustments are obtained by keeping the lever pressed for
some seconds.
When you raise the volume, you will hear a beeptone for each step the volume is raised. When the
maximum adjustment level is reached, a steady
tone will sound until you release the lever.
When you lower the volume, you will hear a deeper beep-tone for each step the volume is lowered.
When the minimum adjustment level is reached,
a steady tone will sound until you release the
lever.
Page 7

7
Bravo is equipped with a computer which has
been designed to adjust its sound automatically
in accordance with the sound environment around
you.
Several thousand times per second, Bravo analyses the surroundings and tailors its sound accordingly.
Therefore, with this digital instrument you only
need to adjust the volume to obtain an as natural
and comfortable sound as possible.
Any adjustment of the automatic volume setting
will be cancelled when your hearing aid is turned
off. Therefore, you must adjust the volume again,
if desired, each time you turn the hearing aid on.
Note: B32 is a powerful hearing aid. Avoid prolonged use at uncomfortably high sound pressure
levels – it might damage your hearing. If the volume in your hearing aid is uncomfortably loud or
too weak, or if you would like any further information, consult the hearing healthcare professional where you received your hearing aid.
Page 8

8
Telecoil (M-MT-T switch)
“M” (microphone): For
normal use, the switch
should be in position “M”
(microphone).
“T” (telecoil): Position “T”
cuts off the microphone and
brings the built-in telecoil
into operation. The hearing
aid can then be used within
any magnetic field or loop
system without background
interference.
A loop system or magnetic
field device can be fitted to a
TV or radio. Some public
places such as churches, theatres, cinemas and
lecture rooms are already equipped with a loop
system.
Ask your hearing healthcare professional for
more information.
Page 9

9
Note: The magnetic field in some telephones is
inadequate, in which case the “M” position should
be used.
“MT” (microphone+telecoil): If you want to
listen both via the microphone and the telecoil,
place the switch in mid-position “MT” (e.g. when
watching TV while still wanting to hear the doorbell, telephone, or other persons speaking).
Page 10

10
Changing the battery
Before inserting a new battery in
your hearing aid, remember to remove the adhesive tab. Do not use
batteries on which there is a sticky
residue from the tab or other unwanted substance as this can block
the battery airholes.
Push the nail grip downwards
to swing open the battery drawer. The nail grip is located on
the opposite side of the on/off
switch at the bottom of the
hearing aid.
The battery must be placed
with the plus (+) sign visible, in
accordance with the plus (+)
sign on the battery drawer. If
the battery drawer does not
close easily, the battery is incorrectly inserted.
When changing batteries, hold the hearing aid
over a table or a carpet to make it easier to find a
dropped hearing aid or battery.
Page 11

11
Exhausted batteries: If you hear four rapid
beep-tones while wearing your hearing aid, it is
an indication that you should change the battery
as soon as possible, as the battery is nearly exhausted. Once the battery is totally exhausted,
the hearing aid will be completely silent.
Exactly how long the hearing aid will function after the beep-tones varies from one case to another. We recommend that you always have a spare
battery with you.
When you start using a new battery, it will usually take several seconds before the battery reaches
full performance. This is because the battery is
not activated until air gets inside the battery.
The rate at which a battery loses power is dependent upon the circumstances under which the
battery is used. In some circumstances, the battery can drain so suddenly that the beep-tones for
low battery warning will only be partially produced or not be produced at all
Never leave an exhausted battery in the hearing
aid. Exhausted batteries may leak, which could
damage your hearing aid.
Page 12

12
Recommended energy source:
Zinc Air battery type 675
This hearing aid uses an environmentally friendly, type 675 Zinc Air battery, which provides a
long lifetime when treated correctly.
Do not remove the adhesive tab until just before
inserting the battery in the hearing aid. Once inserted, the battery will start functioning after a
few seconds. Operate your hearing aid with the
same battery until it is exhausted. Please note
the expiry date code on the front of the battery
pack stating how long the batteries will be good.
The lifetime of the battery depends on a number
of factors, such as the setting of your hearing aid,
how many hours you use it daily and the listening
environments in which you use it.
On occasion, a new battery may be exhausted because it was not sealed properly. If your hearing
aid does not work after you have replaced the battery, try inserting a different new battery.
Page 13

13
Left/right identification
If you are wearing hearing aids on both ears
(which is highly recommendable if you have a
hearing loss on both ears), and you want to make
sure you are placing them correctly, you can arrange with your hearing healthcare professional
to have a small, red identification mark on the
right-ear hearing aid.
Page 14

14
Placing Bravo on/in the ear
Insert a battery in your hearing aid. We recommend that you turn off the hearing aid before
placing it on the ear. First insert the earmould in
the ear canal while holding the lower part of the
tubing. It may also be helpful to gently pull the
outer ear backwards and upwards with the opposite hand.
Page 15

15
Once the earmould has been
inserted, you place the hearing aid behind the ear, so
that the hook rests comfortably on the ear, close to your
head. When the hearing aid
is in its correct position, turn
on the hearing aid.
Page 16

16
Removing Bravo
First remove the hearing aid from its position behind the ear. Carefully pull the earmould out of
the ear canal, while holding the lower part of the
tubing. If it is difficult, it may help to try to move
the earmould carefully from side to side while
pulling it out. It may also help to pull the outer
ear upwards and backwards with the opposite
hand.
Page 17

17
In case of malfunction
Should your hearing aid be completely or periodically dead, try the following before consulting
your hearing healthcare professional:
• Make sure the hearing aid is switched on.
• Disconnect the tubing with earmould from
the hook of the hearing aid and check if
there is moisture in the tubing or earmould.
• Check that the earmould is not blocked by
earwax. Disconnect the tubing with earmould from the hook of the hearing aid and
try to blow air through the earmould with a
small blower.
• Change the battery and make sure the new
battery is correctly inserted.
See the Troubleshooting guide p. 30-31.
Page 18

18
Important
Please be sure to keep your hearing aid and its
accessories out of the reach of children, who might
place them in their mouths.
Also keep batteries out of children’s reach and
discard used batteries carefully.
Do not change batteries in front of children or let
them see where you keep your supply.
Never put batteries in your mouth for any reason
and never let a child obtain a battery or place it in
his or her mouth.
In case of ingestion, contact your physician immediately.
The hearing aid is made of modern non-allergenic
materials. Still, in rare cases skin irritation can
occur. If you notice skin irritation in or around
your ear or ear canal, contact your hearing healthcare professional.
The use of hearing aids increases the risk of accumulation of earwax, which can temporarily reduce
your hearing ability. Contact your ENT doctor if
you suspect that a plug of earwax has accumulated
in your ear.
Page 19

19
Please be aware that the use of any type of earmould may involve a slightly increased risk of infection in the ear canal. An infection can arise as
a result of inadequate ventilation of the ear or
scratches in the ear canal caused by the earmould. Therefore, we recommend that you take
off your earmould at night to allow the ear canal
to be ventilated. Make sure that you clean and inspect your earmould as required. If an infection
occurs it is a good idea to clean your earmould
with a disinfecting tissue or the like. Do not under any circumstances use alcohol, chlorine or
similar substances to clean your earmould.
When not in use
When your hearing aid is not in use, it should be
placed in the small case, which you can easily carry in a pocket or purse.
Never expose the hearing aid to excessive heat,
such as leaving it on a window sill, near a radiator or near a car window.
Page 20

20
Audio input
Bravo can be furnished with an
audio shoe. This allows direct
connection to CROS/BiCROS
systems as well as assistive listening devices such as FM equipment, hand-held microphones,
TVs, and cassette players.
Connecting the audio shoe
A Europlug is used for connection. Insert the plug into the
socket on the base of the audio
shoe. Please note that the plug
will only connect one way, as
one of the three pins is thicker
than the other two.
Make sure that the M-MT-T
switch is set to M (microphone).
Before connecting, the little
cover on the side of the hearing aid must be replaced with
the cover which has one hole.
Page 21

21
Slide the audio shoe onto
the hearing aid, as
shown. Press the shoe
gently onto the aid until
you feel a click.
If the audio shoe is equipped
with a switch, you have the
choice of listening to audio input only (MIC OFF) or to audio
input plus hearing aid microphone (MIC ON).
Remove the audio shoe
by gently sliding it off
and pulling it away from
the hearing aid, as
shown.
Page 22
22
CROS/BiCROS with
an audio shoe and a
CROS dummy
The audio shoe can
also be used together
with CROS/BiCROS.
For this, a CROS dummy and a cord with a
Europlug at both ends
are used.
Important: If the hearing aid is connected to equipment which is connected to the electrical mains, this equipment must meet the safety requirements stated in the international
standard IEC 60065.
Do not connect the hearing aid to sockets
that are labelled with one or more of the following symbols:
Page 23

23
Caring for your hearing aid
With proper care, your hearing aid will give you
years of reliable service. Here are some things
you can do to prolong the life of your aid:
Treat your hearing aid as the valuable object it is:
with care!
When not in use, keep it in its case at room temperature in a dry location where it cannot be
reached by children or pets.
Never expose it to extreme temperatures or high
humidity.
Do not wear your aid in the shower or swimming,
or when using a hair dryer, hair spray, or other
sprays.
Do not wear your hearing aid during x-ray, MR
scans, CT scans, short-wave diathermy, or similar
radiation treatments. Some types of radiation can
damage your hearing aid. Other types of radiation from, for example, room surveillance equipment, burglar alarms, and cellular telephones,
are weaker and will not damage your hearing aid.
Page 24

24
Widex hearing aids are not certified for use in
mines or other areas with explosive gases.
Switch your hearing aid off when it is not in use.
Should you not use it for a day or more, take out
the battery to avoid battery leakage. Always insert the battery as described on page 10. If you
feel the battery needs to be forced into the battery
drawer, then check to see if it is upside down.
Never try to open or repair
the hearing aid yourself
Page 25
25
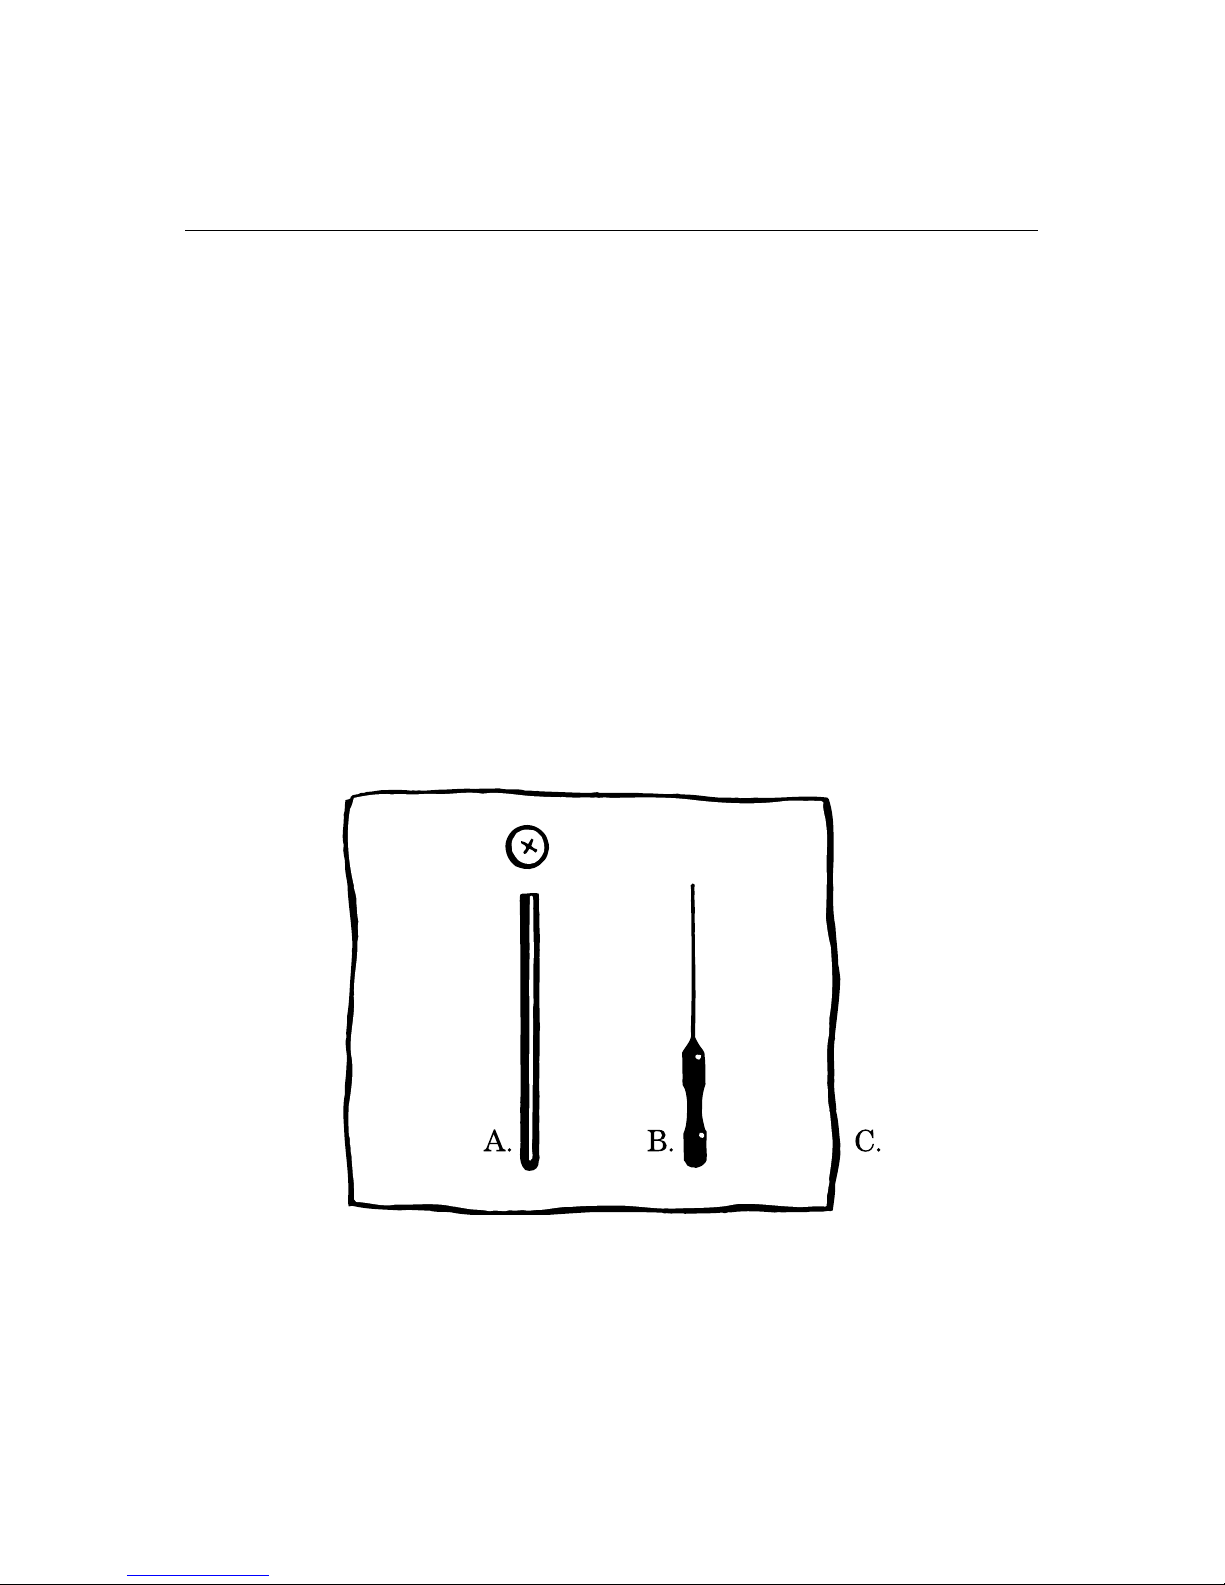
Accessories
The following accessories are available for your
hearing aid:
A. Battery magnet to facilitate insertion of the
battery into the battery drawer.
B. Wax removing tool for cleaning the relief
vent opening.
C. Soft cloth for drying and cleaning the hear-
ing aid.
Page 26

26
The hearing aid
Never wash your hearing
aid with water, cleaning
solutions or other liquids.
Instead, clean your hearing aid with a dry soft
cloth after use.
When the hearing aid is not in use, it is a good
idea to leave the battery drawer open, so as to
ventilate the aid and allow it to dry.
Page 27

27
The earmould
Make sure your earmould is clean and free
of earwax and moisture.
If it is plugged, clear the
opening with the wax
removing tool.
If this is not sufficient, disconnect the plastic tube from the
hook of the hearing aid and
wash the earmould in lukewarm water and a mild dishwashing soap. Rinse in cold
water. Allow the earmould to
dry overnight.
Page 28

28
If there is still moisture
in the earmould or tube,
use a syringe or a small
blower to blow it dry. Do
not use alcohol to clean
your earmould!
If your earmould tubing becomes stiff, yellow or
cracked, contact your hearing healthcare professional for a replacement.
Page 29

29
There is only one way
Your hearing aid does not restore normal hearing,
but it will help you to hear and understand what
other people are saying – and to enjoy many other
sounds. So don’t give up. The learning process will
take time, but millions of experienced users can
testify that the results are worth the effort.
There are no tricks or short cuts by which you can
obtain immediate and full benefit from your hearing aid. Only consistent and determined practice
will give you the maximum results from your
hearing aid.
It takes time getting used to “hearing” again and
to having “something” in your ear. Your ear may
even become a little sore at first, but that will
pass.
The sooner you become accustomed to wearing
the hearing aid every day and all day long, the
sooner you will succeed.
Take the time and effort. Hearing more out of life
is worth it!
Page 30

30
Troubleshooting guide
Symptom Cause Possible remedy
Dead Not turned on Turn it on
Battery is dead or
does not work
Replace battery.
Insert battery
correctly
Poor battery
contact
Clean battery
contacts with a
cotton bud
Blocked earmould Clear earmould
blockage
Not loud
enough
Blocked earmould Clear earmould
blockage
Change in hearing See your hearing
healthcare
professional
Earwax blockage
in your ear
See your ENT
doctor
Volume set too low Increase volume
Page 31

31
Symptom Cause Possible remedy
Feedback
whistling
Earmould loose Remove and
reinsert
Earmould too
small
New earmould
required
Crack in tubing Replace tubing
Crack in hook/
elbow
See your hearing
healthcare
professional
Intermittent
sound
Battery contacts
dirty
Clean battery
contacts
On/off switch dirty Push the switch
back and forth a
couple of times
Page 32

32
Symbols
SYMBOLS
Symbols commonly used by Widex A/S in medical device
labelling (labels/IFU/etc.)
Symbol Title/Description
Manufacturer
The product is produced by the manufacturer whose
name and address are stated next to the symbol. If appropriate, the date of manufacture may also be stated.
Date of manufacture
The date when the product was manufactured.
Use-by date
The date after which the product is not to be used.
Batch code
The product’s batch code (lot or batch identification).
Catalogue number
The product’s catalogue (item) number.
Serial number
The product’s serial number.*
Keep away from sunlight
The product must be protected from light sources and/or
The product must be kept away from heat
Page 33

33
Symbol Title/Description
Keep dry
The product must be protected from moisture and/or
The product must be kept away from rain
Lower limit of temperature
The lowest temperature to which the product can be
safely exposed.
Upper limit of temperature
The highest temperature to which the product can be
safely exposed.
Temperature limits
The highest and lowest temperatures to which the product can be safely exposed.
Consult instructions for use
The user instructions contain important cautionary information (warnings/precautions) and must be read before
using the product.
Caution/Warning
Text marked with a caution/warning symbol must be
read before using the product.
WEEE mark
“Not for general waste”
When the product is to be discarded, it must be sent to
a designated collection point for recycling and recovery.
Page 34

34
Symbol Title/Description
CE mark
The product is in conformity with the requirements set
out in European CE marking directives.
Alert
The product is identified by R&TTE Directive 1999/5/EC
as an equipment Class 2 product with some restrictions
on use in some CE member states.
C-Tick mark
The product complies with EMC and radio spectrum
regulatory requirements for products supplied to the
Australian or New Zealand market.
Interference
Electromagnetic interference may occur in the vicinity of
the product.
*The six- or seven-digit number on the product is the serial number. Serial numbers may not always be preceded by
Page 35

35
Page 36
WIDEX A/S Nymoellevej 6, DK-3540 Lynge, Denmark
www.widex.com
É[5qr0p1|;;;a;a]
Manual no.:
9 514 0010 001 #06
 Loading...