

Page 1
1
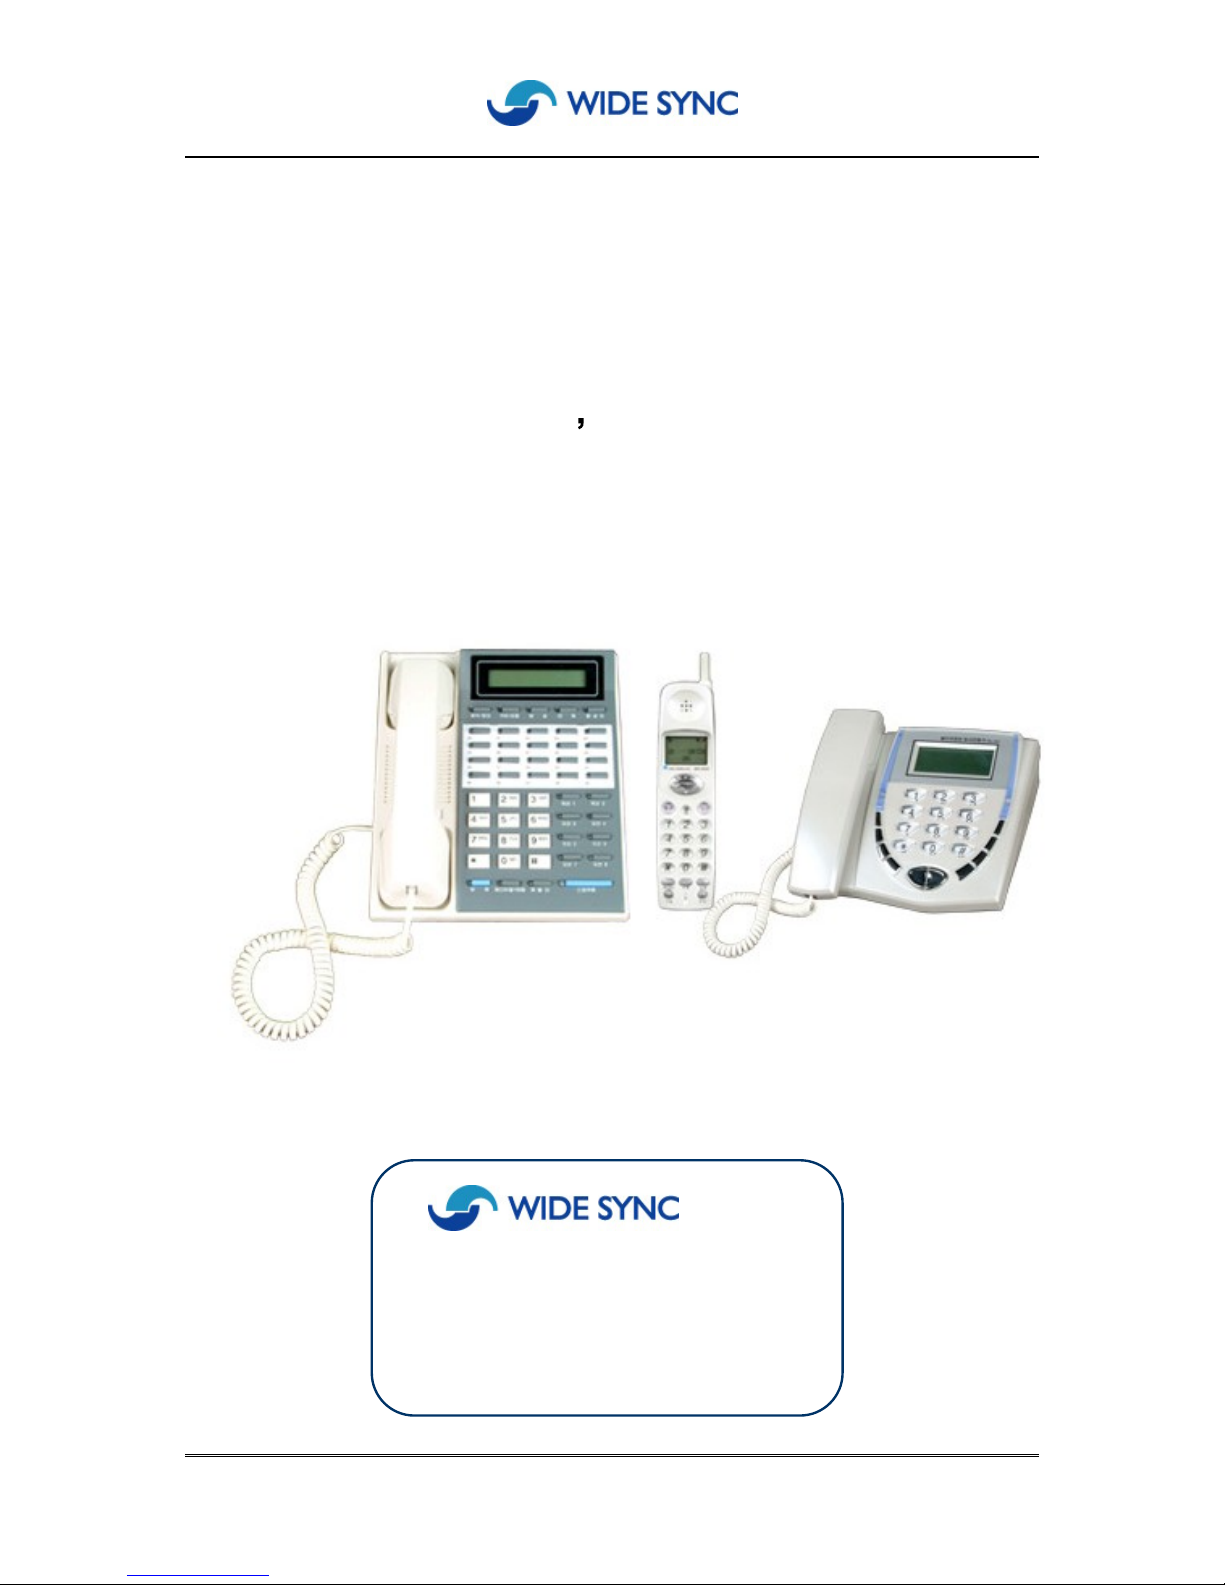
WIRELESS KEYPHONE SYSTEM
WKP-308
USER S MANUAL
WIDE SYNC CO., LTD.
TEL : +82
-2-
3401-7200
FAX : +82
-2-
3401-7272
URL : http://www.widesync.com
E-
mail : [email protected]
Page 2

2
WIRELESS KEYPHONE
WKP-308
1. Before Using
(1) System Overview
4
(2) Initial Settting
4
(3) Precaution
5
2. Hardware Descriptions
(1) Name of Parts
6
(2)
Information
s on
buttons
7
(3)
LCD Display
9
3. How to use
(1) Telephoning
10
(2) Page / Intercom
10
(3) Call Forwarding
11
(4) Call Pickup
11
(5) Call on Hold
11
(6) Call Transfer
11
(7) Conference call
12
(8) Select PSTN Line
12
(9) Flash
12
Table of Contents
Page 3

3
4. System Programming
[10]
Password
change
15
[11] System
ID
verification
16
[12] Clock
setting
17
[13] Register
of In-house Line
18
[14]
Set grade of service for outgoing calls
19
[15] Register PSTN line
20
[16] Memory (Speed Dialling)
21
[17]
Barring incoming calls
22
[18] Scroll of phone numbers received
23
[19] Scroll of phone numbers out-bounded
24
[20] Register area code
25
[21] Initialize system programs
26
5.
Troubles Shooting
27
6. Technical Specifications
28
PORTABLE HANDSET
WH-900S
DESKTOP PHONE
WD-900S
Page 4
4
Thank you selected WKP-308. This wireless keyphone system provides you variety of
features with solid stability, realized by multi access technology.
We are recommending to follow instructions herein carefully for right use and for your
satis
faction
.
(1)
System Overview
(2)
Initial Setting
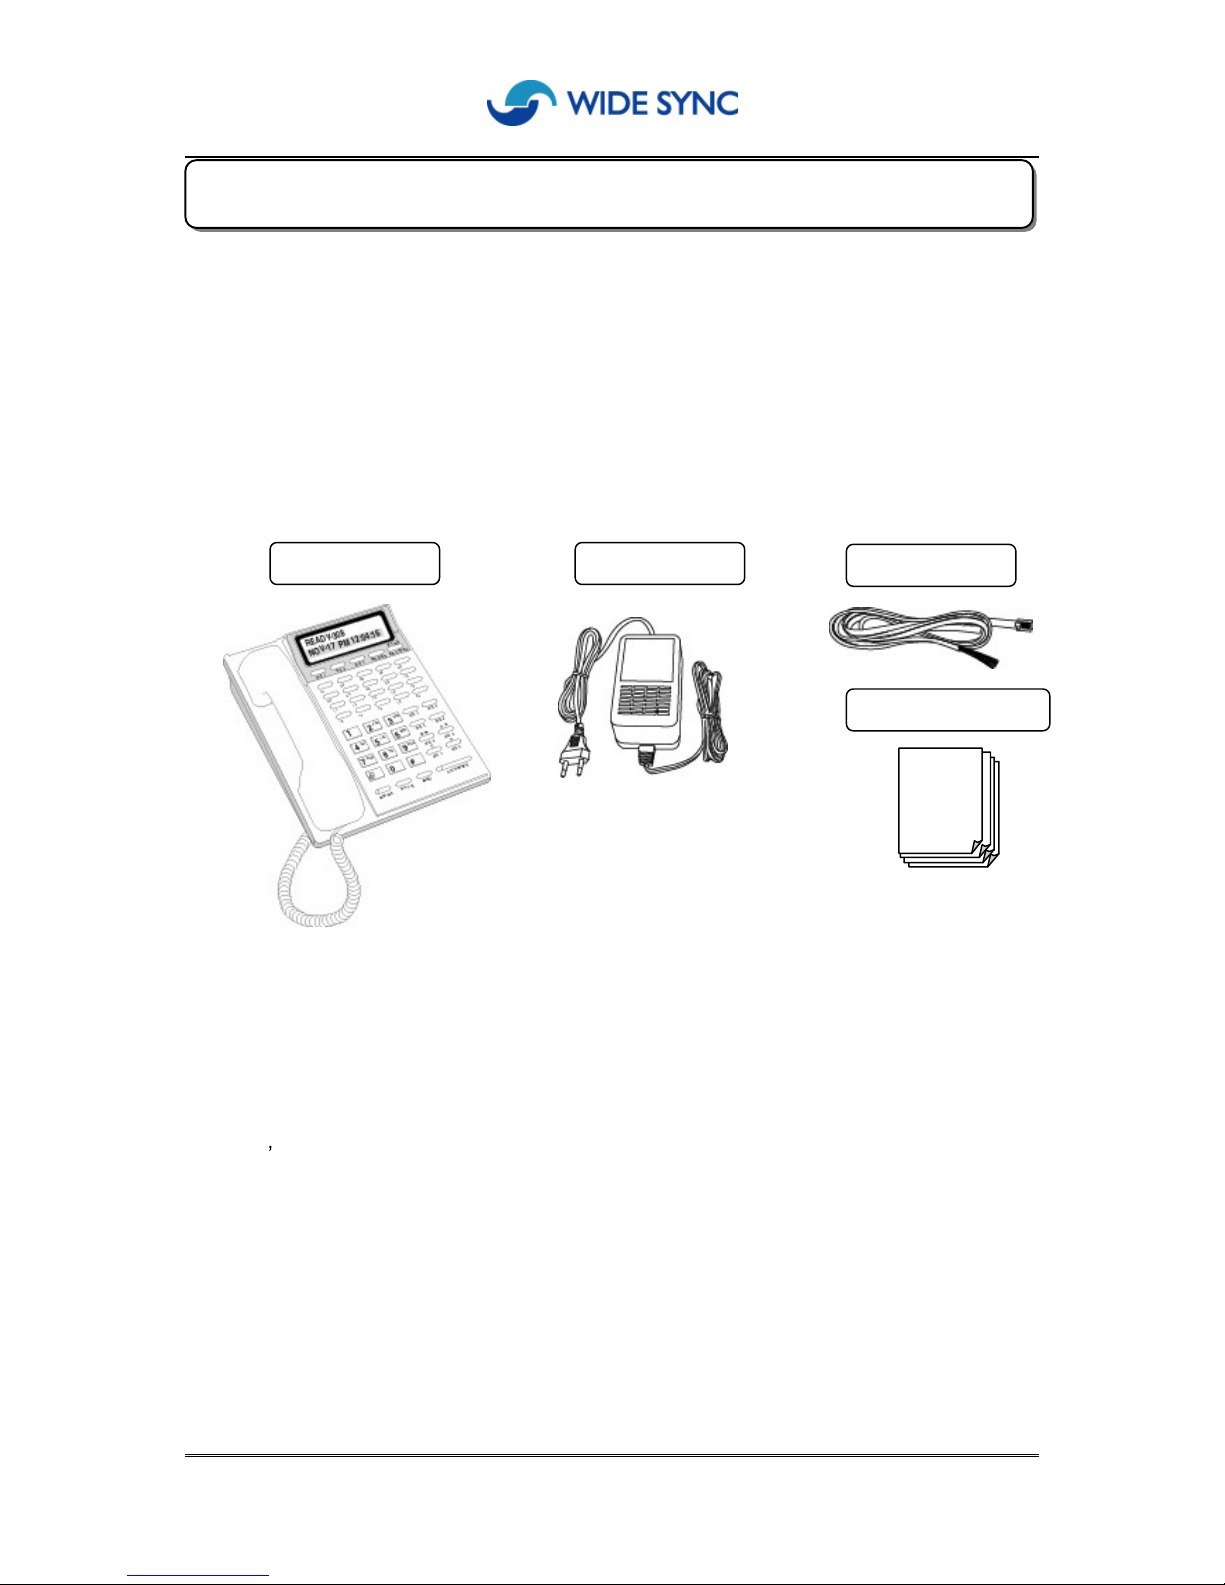
C
onncet
keyphone with PSTN Lines(1~3) first.
Link Power Adaptor to Keyphone and plug in to power line.
Here
s how to connect PSTN Line with Keyphone
1. Insert
modular jack from PSTN cabl
e to the modular hole at the rear face of Keyphone
.
Make sure that you hear the click sound.
2. Opposite side of PSTN cable has three splitted phone jacks and connect these
to the three different PSTN Lines one by one.
1.Before Using
KEYPHONE
Adaptor
Manual
PSTN cable
Wireless
Keyphone
WKP-308
Page 5

5
In addition to above telephone line connection, you are required to make initial
settings before using WKP-308
(Instructions in Chapter 4: System Programming)
(3) Precaution
1.
Do not apply
heat
or shock.
2.
Do not disassemble products
.
3.
Strong
ly recommend to u
se the offered
power
adaptor only
If you use another
power
adaptor except the offered exclusive
one, it
may
cause
damages to the product.
(12) Clock Setting
(13) Register of In-house extension number.
(15) Register of PSTN Line
(20) Area code register
Page 6
6
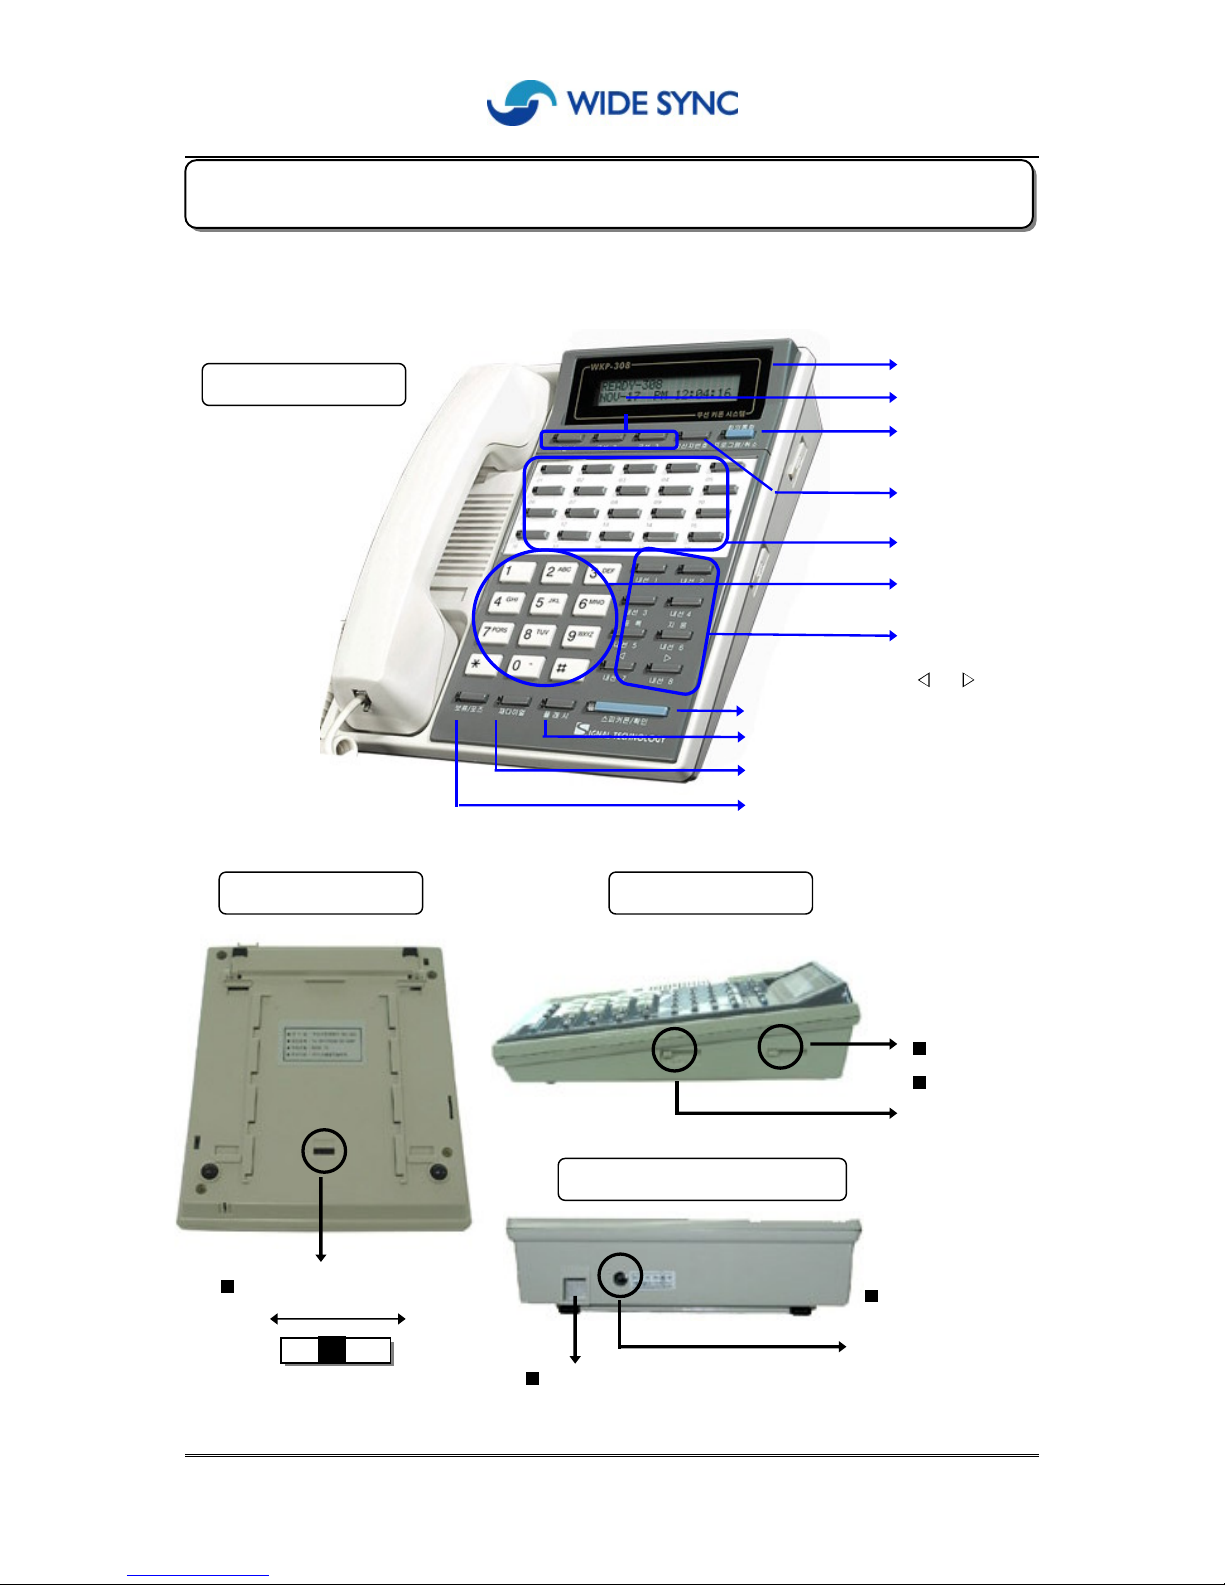
(1) Name of parts
2.Hardware Descriptions
Right-Hand Face
Bottom
Power Adaptor Coupling
Use the enclose
d adapt
or
only
Power Switch
off on
Front Face
LCD Display
Memory buttons
Conference Call
Program/Cancel
In-house stations
Register/Erase
/
button
Speaker phone/confirm button
Flash button
Dial buttons
Volume Control/Ringer
Volume Control/Speaker
phone
Rear Face
Redial button
Hold
/Pause button
PSTN Lines
Caller ID button
P
STN modular hole
Use
offered PSTN cable
Page 7
7
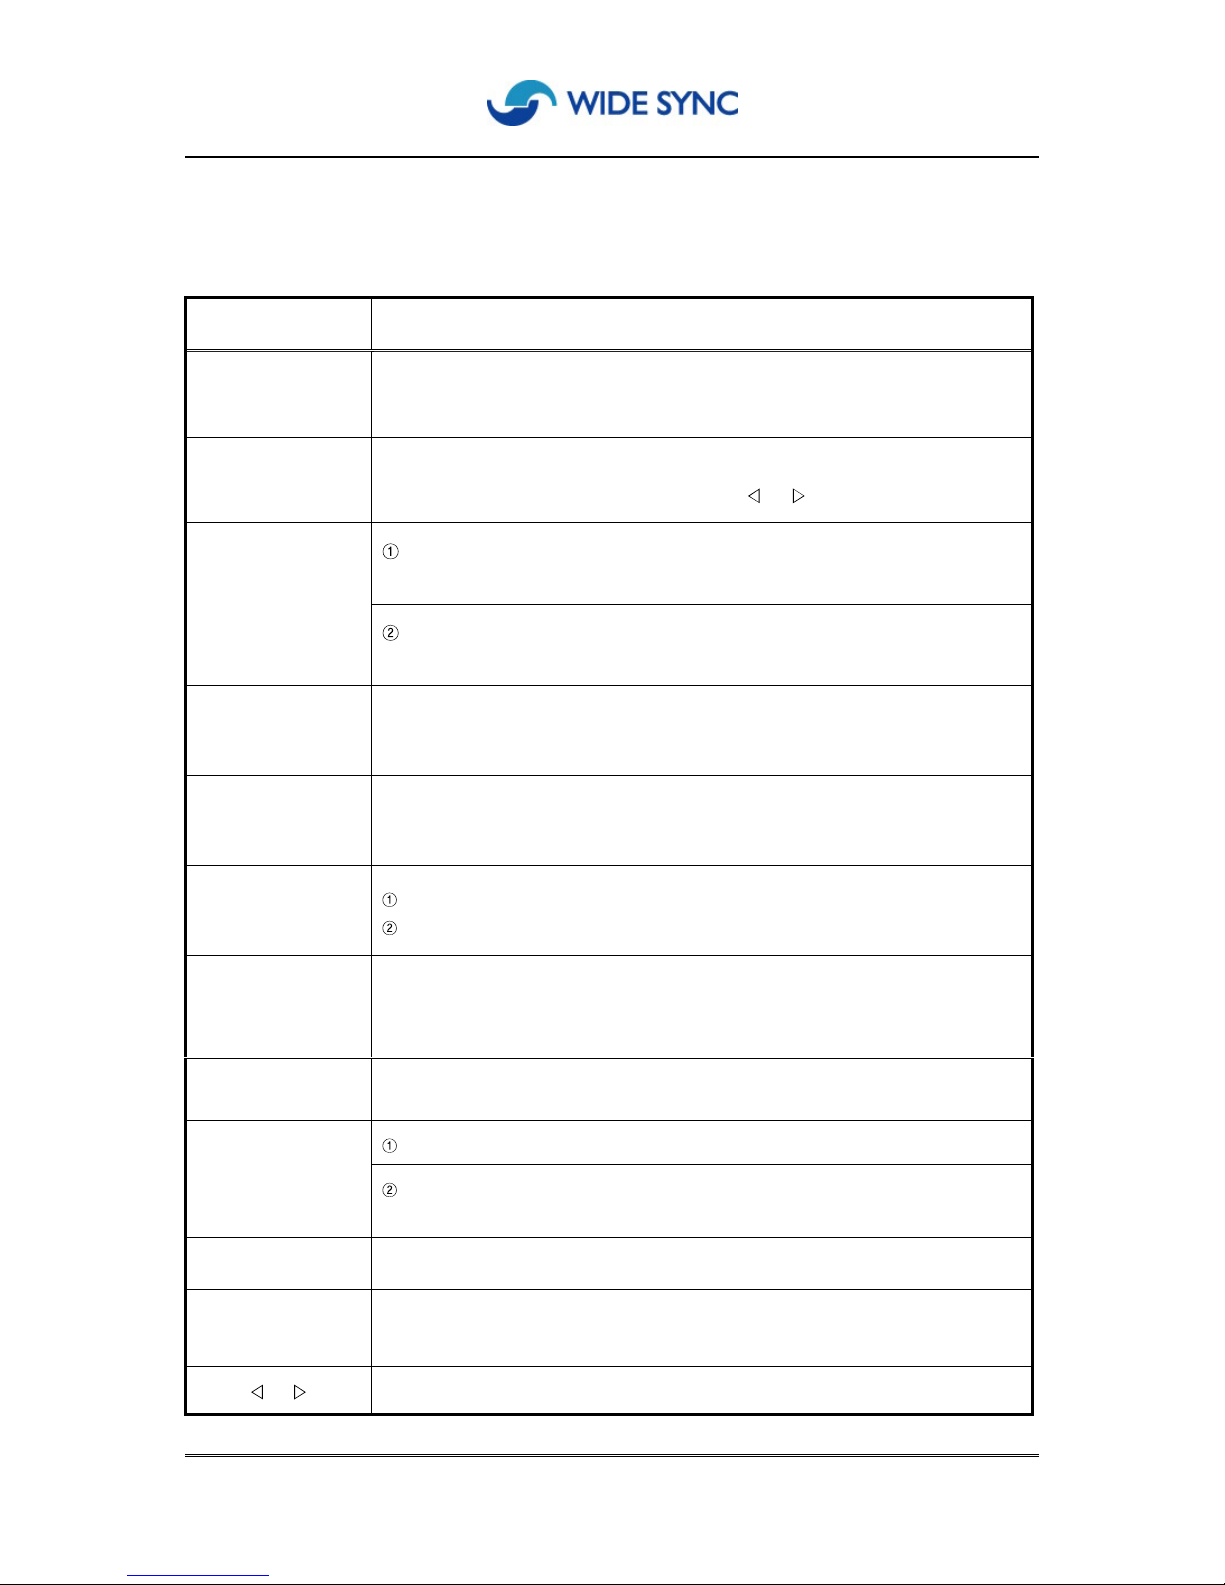
(2) Informations on Buttons
Wireless Keyphone WKP-308 provides various buttons that function to make it convenient.
Buttons
Function
PSTN Line
WKP-308 connects
up to three PSTNs to use, and each line connects by
pressing or auto
matic scanning.
Caller ID
Memorize both In-bound and Out-bound calls up to 50 respectively.
You can retrieve each number by
pressing /
Conference: By
press
ing
this button while you are on
line,
this system
allows 3 s
imultaneous conferences.
Conference Call
Program/cancel
P
rogram/Cancel
: Press first when you want to program Keyphone, and
also use to cancel certain program while you setting the menu.
Memory button
(Speed Dialling)
You can memorize frequent calling numbers up to 20 and speed dial by
simply pressing each button.
In-house Line
WKP
-308 extendable by 8 in-house lines wireless, nominate each line per a
button. You can page or intercom by one-touch button pressing.
Hold/Pause
H
old
: While you
on the
line, you can talk to the other
line by pressing this button.
P
ause
Redial
This botton allows to connect the last phone number you dialed.
You may just press this button without picking up handset or pressing
speaker phone.
Flash
This button releases existing call and return dial to
ne to make a new call.
S
peaker phone:
Press
when you wish to talk without picking up the
handset
.
Speakerphone/
Confirm
C
onfirm
: When you are in programming mode of keyphone, use this button to
confirm and
store
settings.
Dial button
For
dialing
phone numbers as well as keyphone programming purposes.
Register / Erase
Use this button to add
/erase /memorize phone
numbers
, and to bar in-bound
calls.
/
Refer to
Caller ID.
Page 8
8
Attention to use
hook-switch and speaker phone button
Hook-switch
is designed to recognize picking up or hanging up the handset, and to
work
collaboratively with speaker phone button. If you press the speaker phone button while
holding up the handset (off-hook), voice stops transmiting to the handset and voice can
be heard only through the spearker
phone.
But you will go back to handset mode again
by p
ressing the speakerphone button
again
or press and releasing hook-switch
.
Due to technical character of wireless product, you
required
to press hook-switch bu
tton
more than 1 second and release for mode change. (If you press it for shorter than 1
second, it will recognize it as flash function.) It works same way for redialing. You can
hear dialing tone after pressing hook-switch more than 1 second and release.
Lamp Light
s / Indication
(
PSTN
Line
and In-house
extension buttons mark the status of the line by the red lights
as follows.)
Red Light
Line is busy.
Red light slowly flash
The line
is getting a call
.
Red light blinks fast
The line is on hold.
Page 9
9
(3)
LCD Display
LCD
window
in WKP-308
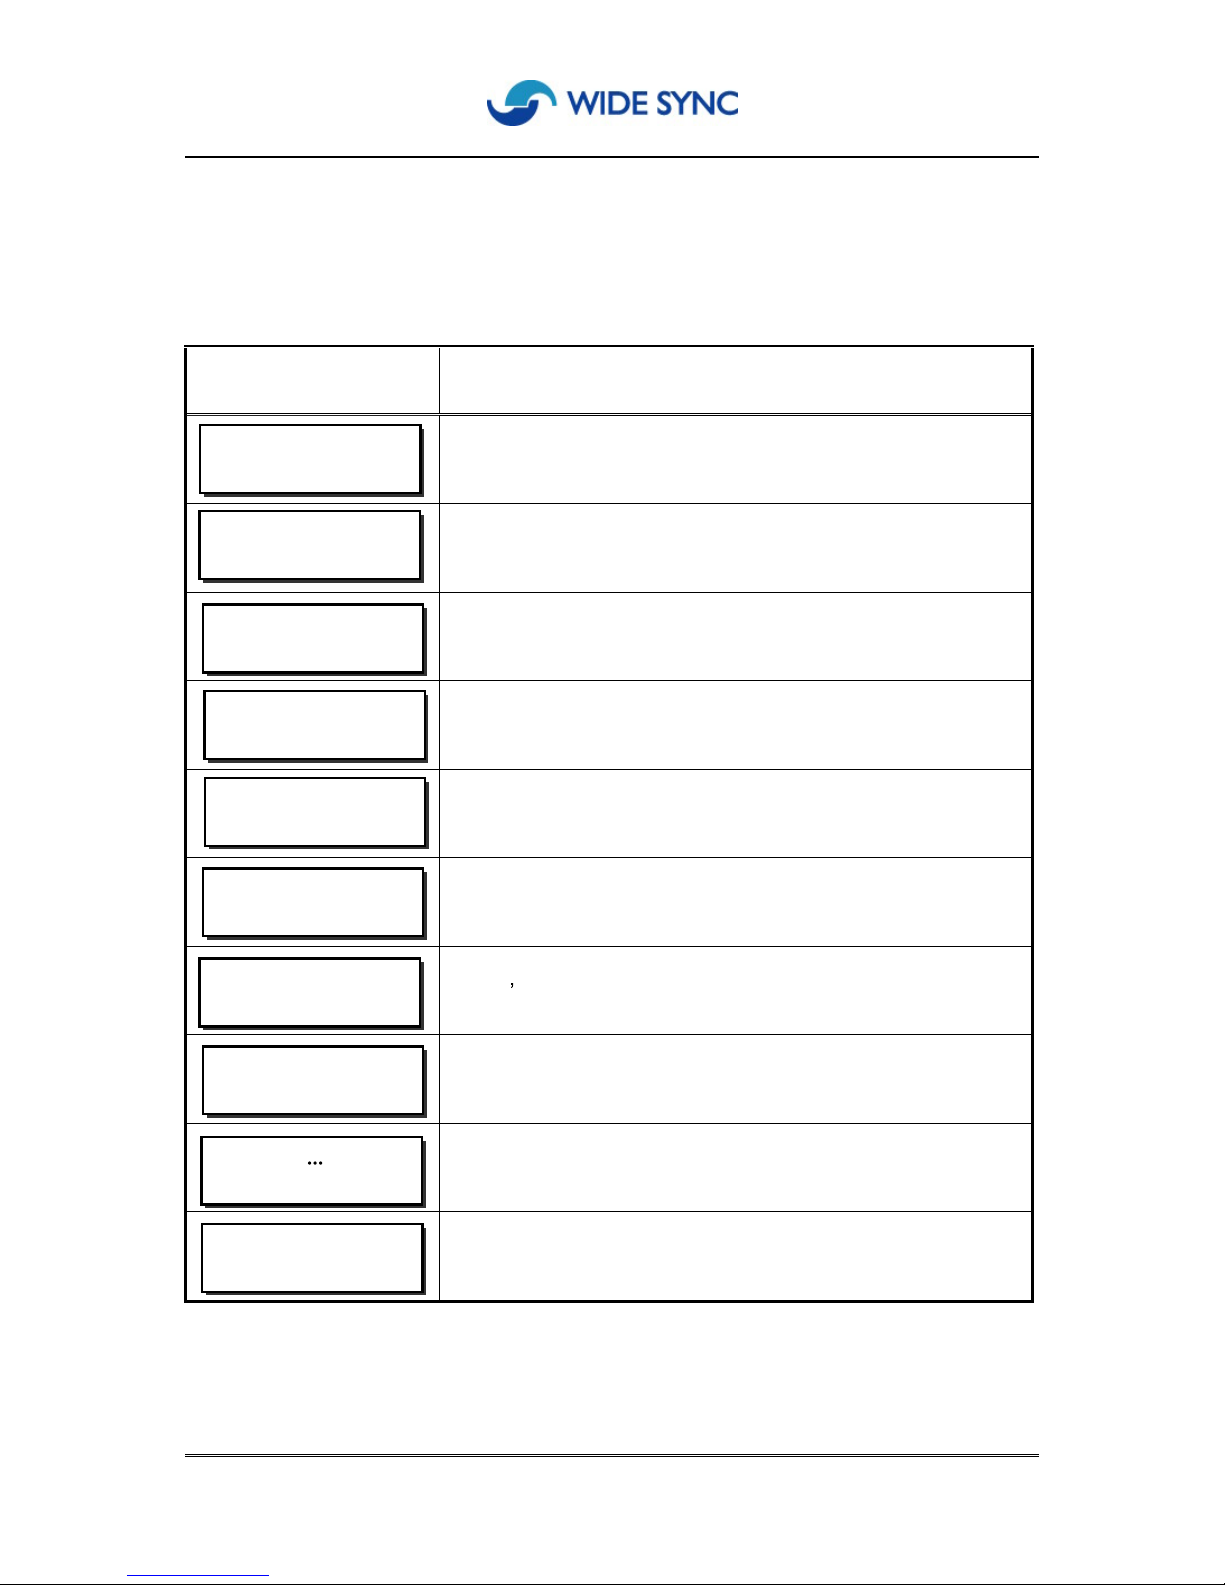
provides special class of service to investigate any call in progress.
LCD Display
Status
Stand- by mode
Dialing mode. You can press any button now.
You are calling to In-
house
extension 1.
Call coming
fro
m extension 1.
You are
forward
ing
call to
extension 3.
Ready to make outgoing call. P
ress
telephone
number.
(You are linked to PSTN Line # 1)
You have Incoming Call
.
(
Caller
s telephone number display with Caller ID optional
feature.)
Call on h
old.
You can
transfer
call to In-
house extension
or receive other
Incoming call
.
Mode of
storing programs of
keyphone system.
Failed to store programs of keyphone system
(
Please retry your settings)
READY
-
308
NOV17PM12:04
DIAL
DIALLING
1
RING
-
INT
1
FORWAR-DIALING
3
TALK-EXT
1
RING-EXT
0234017200
TALK
-
HOLD
WRITING
FAILURE...
Page 10
10
1.
Telephoning
Making a Call
1)
Pick up
Handset
or press
Speaker phone
button.
2)
After dial tone, p
ress
unoccupied
PSTN
button or
just
press dial button
9 .
3
) After
dial tone
, press
telephone number you
want to call.
Receiving a Call
1)
With incoming call,
PSTN
button
light flashe
s and
caller
s telephone number display in
LCD (Optional
Caller ID
feature
)
2)
After bell ring, pick up the
handset and you can talk.
3) You can pick up incoming call by pressing light blinking PSTN
button
though incoming
call dir
ected to other station.
2.
Page or Intercom
For Intercom or to page with In-house stations
.
1) Pick up
Handset
or
press
Speaker phone
button.
2)
After dial tone,
Press speed dial
(
extension
button)
or press dial button,
extension number you want to talk
.
3. How to use
TALK-EXT
1
DIAL
TALK-EXT
11234567
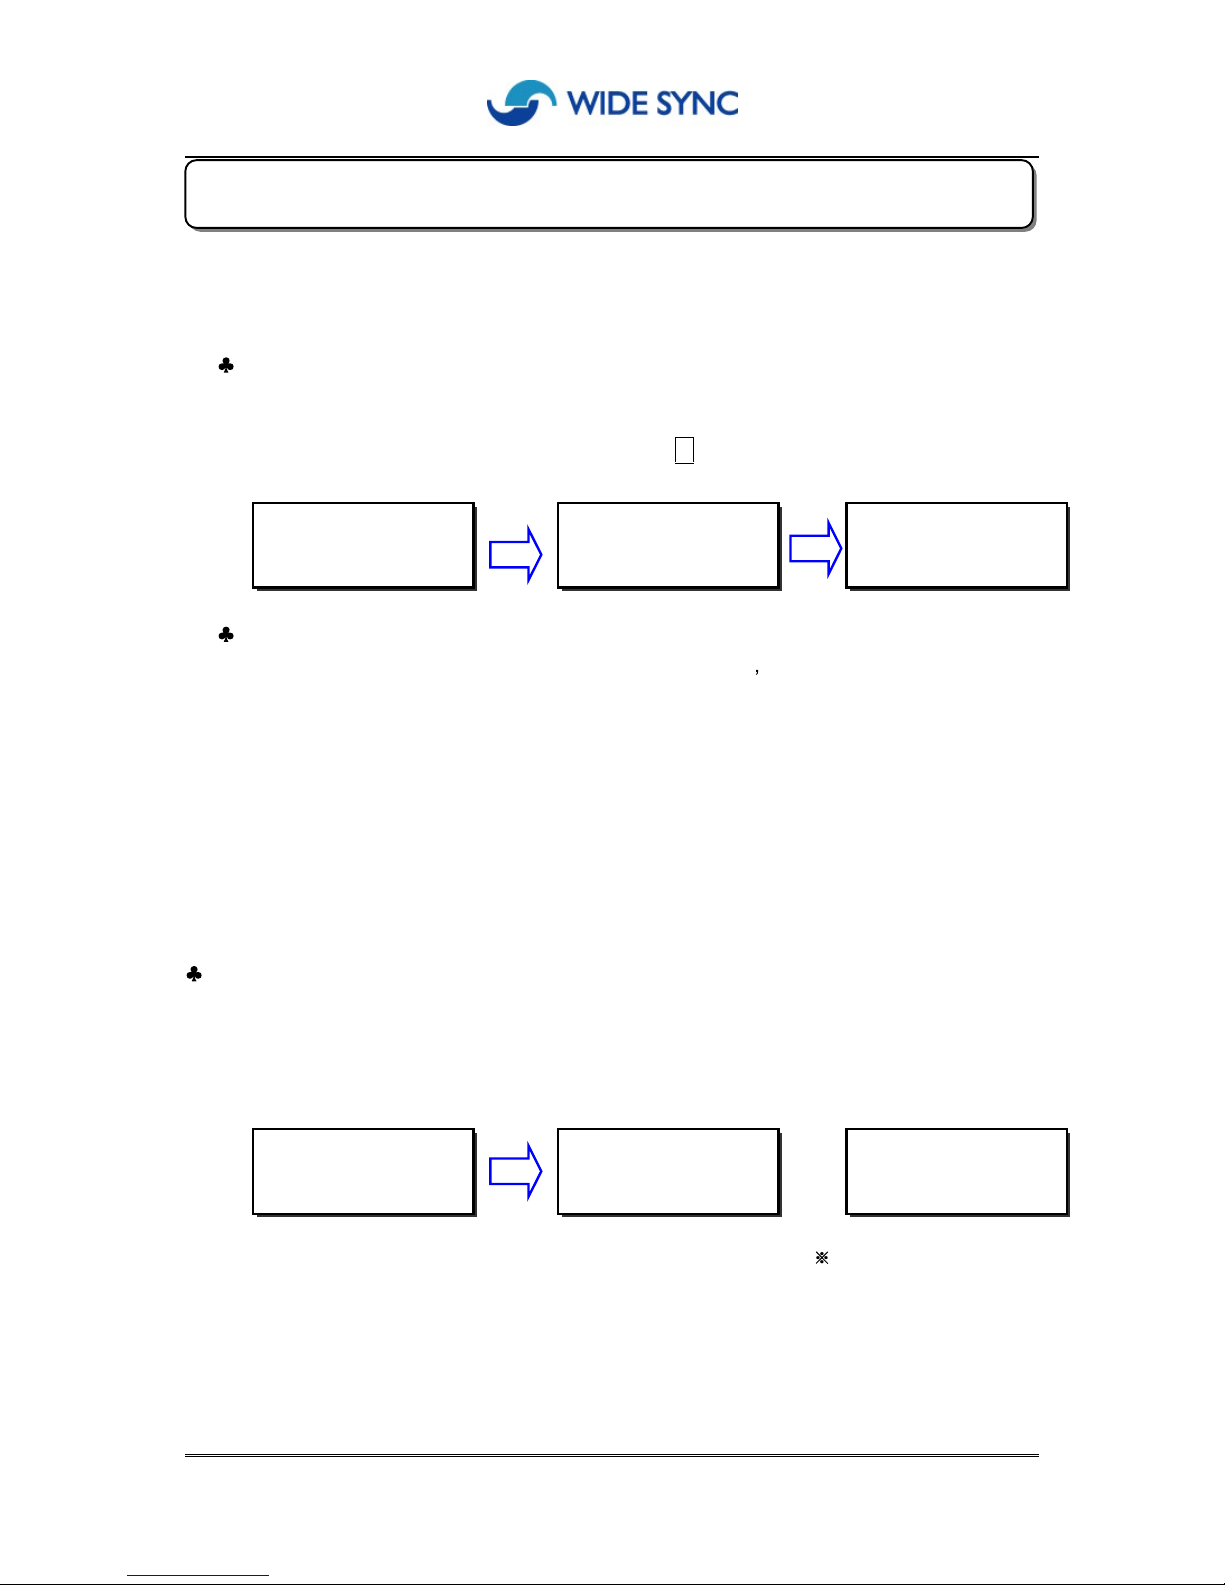
[LCD display]
DIALLING
1
DIAL
RING-INT
1
[LCD display]
LCD display when you have
incoming call from In-house station
Page 11
11
3. Call Forwarding
This f
eature allows the user to redirect (forward) incoming calls
.
1) After
excuse a caller to hold on
,
2) Press
extension
button
of the destined station
, or
press dial button
directly after
press hook-switch for a while and release.
3) Ha
ng up the handset
.
4)
If redirected station is busy, you can return to previous mode
by pressing flash button or
press and release hook-switch
.
T
wo
alternatives
to
redirect
the call.
Redirect
directly to the
destined station.
:
Speed dial
extension
button
and hang up the handset
upon hearing dial sound
.
You speak to the redirecting station first and connect to a caller.
:
Press the extensi
on
button
and
deliver your message to a person of redirecting station.
H
ang up the handset,
then
the call from outside is connectd to the
forwarding station
.
4. Call Pickup
This feature allows you to pickup incoming call from your station when bell
ri
ngs at the other station.
1)
Pick up handset and just press red light blinking button, then the call linked to your
station.
2) Or, you can
pick up
the call by
lifting handset and
pressing [*]
button,
2 times
consecutively.
5. Call on Hold
You can plac
e your line on waiting mode and you can pick up another call.
1) Press
Hold/Pause
button while
you are on the line either with PSTN or Intercom
.
2) The caller
on hold receive music.
3) You can pick up another call while system on-hold.
4)
Repressing Hold/P
ause button allow to go back to original call.
5) Call on system hold can be retrived from another stations
.
6. Call Transfer
In your vacancy, incoming call to your station can be automatically
transferred to another station in the system.
FORWAR-DIALING
3
Page 12
12
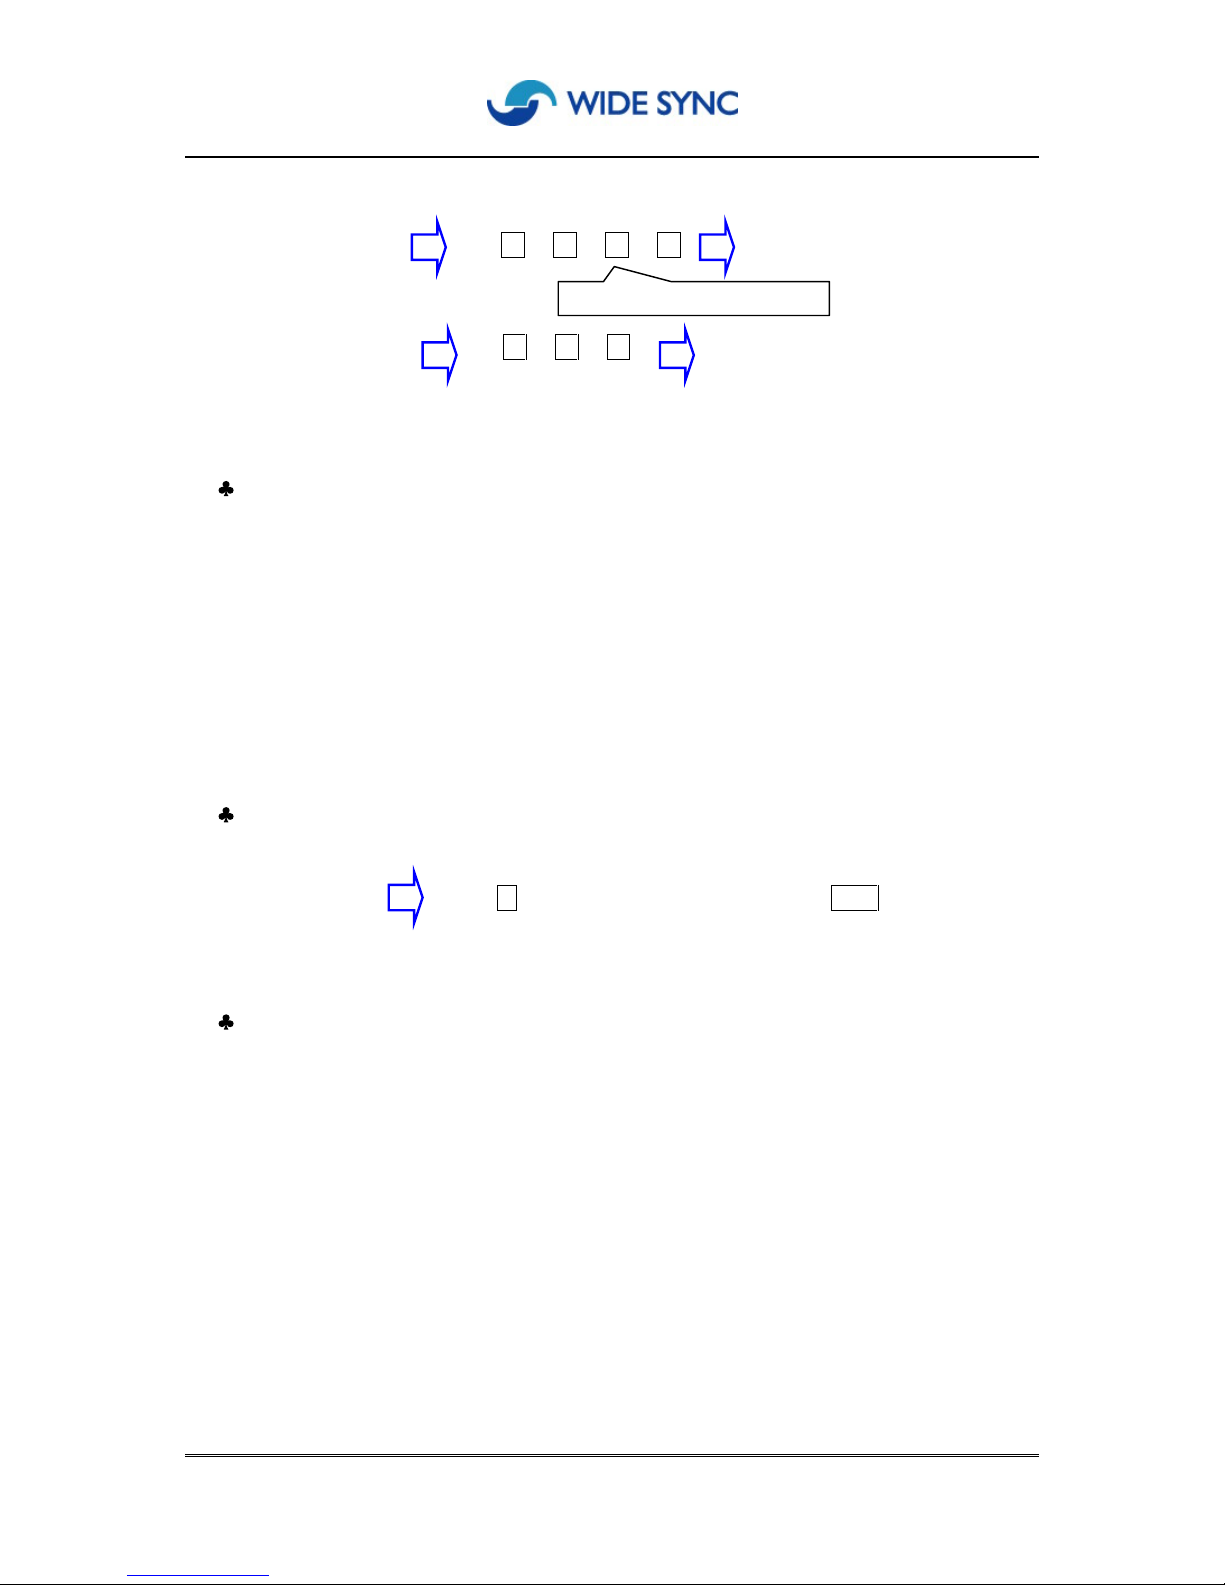
1) How to register (ex. Transfer to extension number 3)
Lift
handset
# + 1 + 3 + #
Hang up
handset
2) How to relieve
Lift
handset
# + 1 + #
Hang up
handset
7. Conference Call
While on a call with another system, you can invite a station of your system.
This system allows 3 simultaneous conferences.
1) While on call of PSTN Line, press
Conference
button.
2) The other station fall on-hold mode and you will hear dial tone.
3) Press desired extension
button in your system
4) After desired station connected, press
Hold/Pause
button for 3 parties call.
5) While on
conference
, two parties still on the lin
e if one party disconnect.
8. Select
PSTN
Line
You can select a specific PSTN Line to make a out-
bound call
or
when pickup incoming call directed to another station.
Lift
handset
press * +
Line button
(select
one
out of
1 2 3)
9. Flash
This feature to return dial tone to make a new call
as well as to direct
call to a station in a PABX system.
1)
Make a new call: While on a call and press
Flash
button, then existing call
disconnected and return to dial tone for making new call.
After completing conversation, press Flash
button to make a n
ew call
without hang up handset.
2)
Redirect call :
When
this system linked
to other
PABX, you can redirect a call
to a station in the PABX system by pressing
Flash
button and desired
station number in sequence
Station number to transfe
r
Page 13
13
System Programming
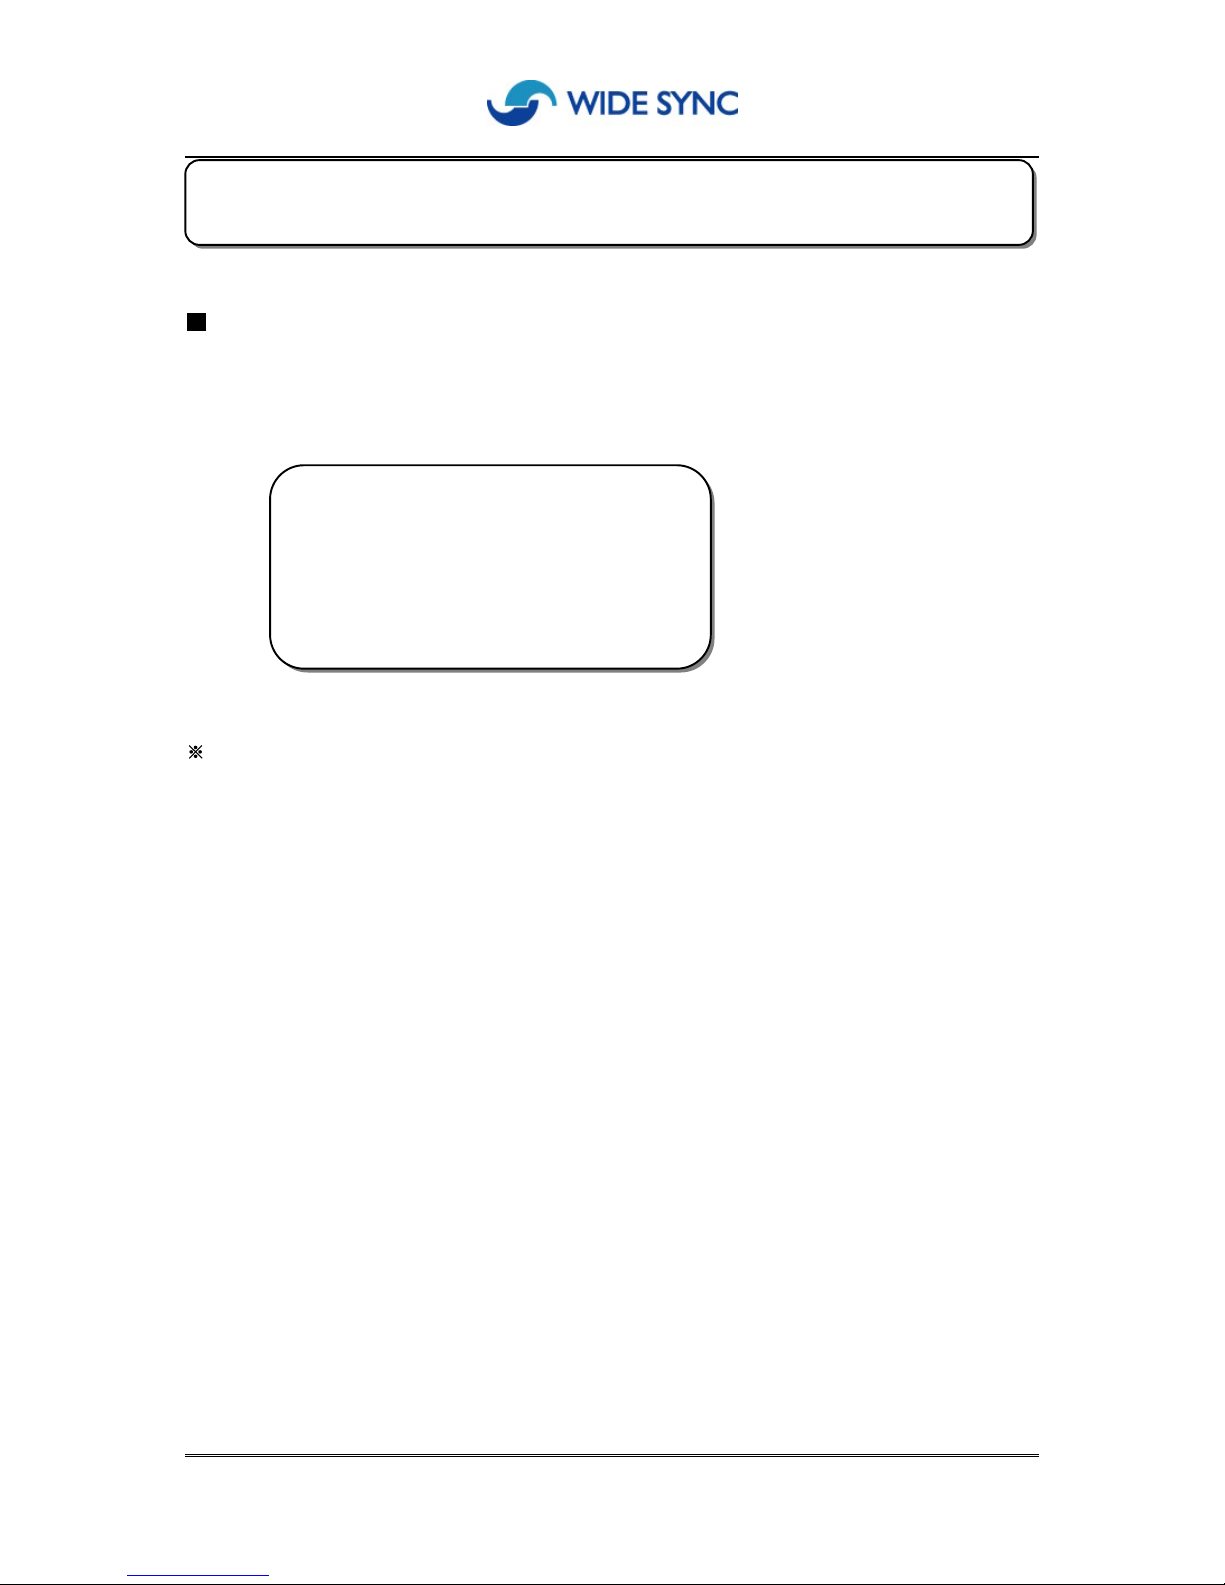
You are required to make initial settings, minimum with following 5 titles before start to use
WKP-308
.
Caution
1. System setting is available only from the
main keyphone terminal
and recommended
stop to use extension ter
minals while you do settings.
2. Without
password
input, system settings are not allowed or will lead to failure mode.
Password code defaulted with 0000 from factory.
3. Brief description for program settings
1) Press
Program/Cancel
button to go for prog
ramming mode
.
2)Follow instructions to input
programs
and password also may be asked for the
important changes .
3)Press
Speaker phone/Confirm
button to save programs and press
Program/cancel
button to cancel.
4.
If you pick up the phone while se
tting up the program, you will lose all
programs unsaved
.
4. System Programming
[12] Clock Setting
[13] Register In-house Line
[15]
Register PSTN line
[20] Register area code
Page 14
14
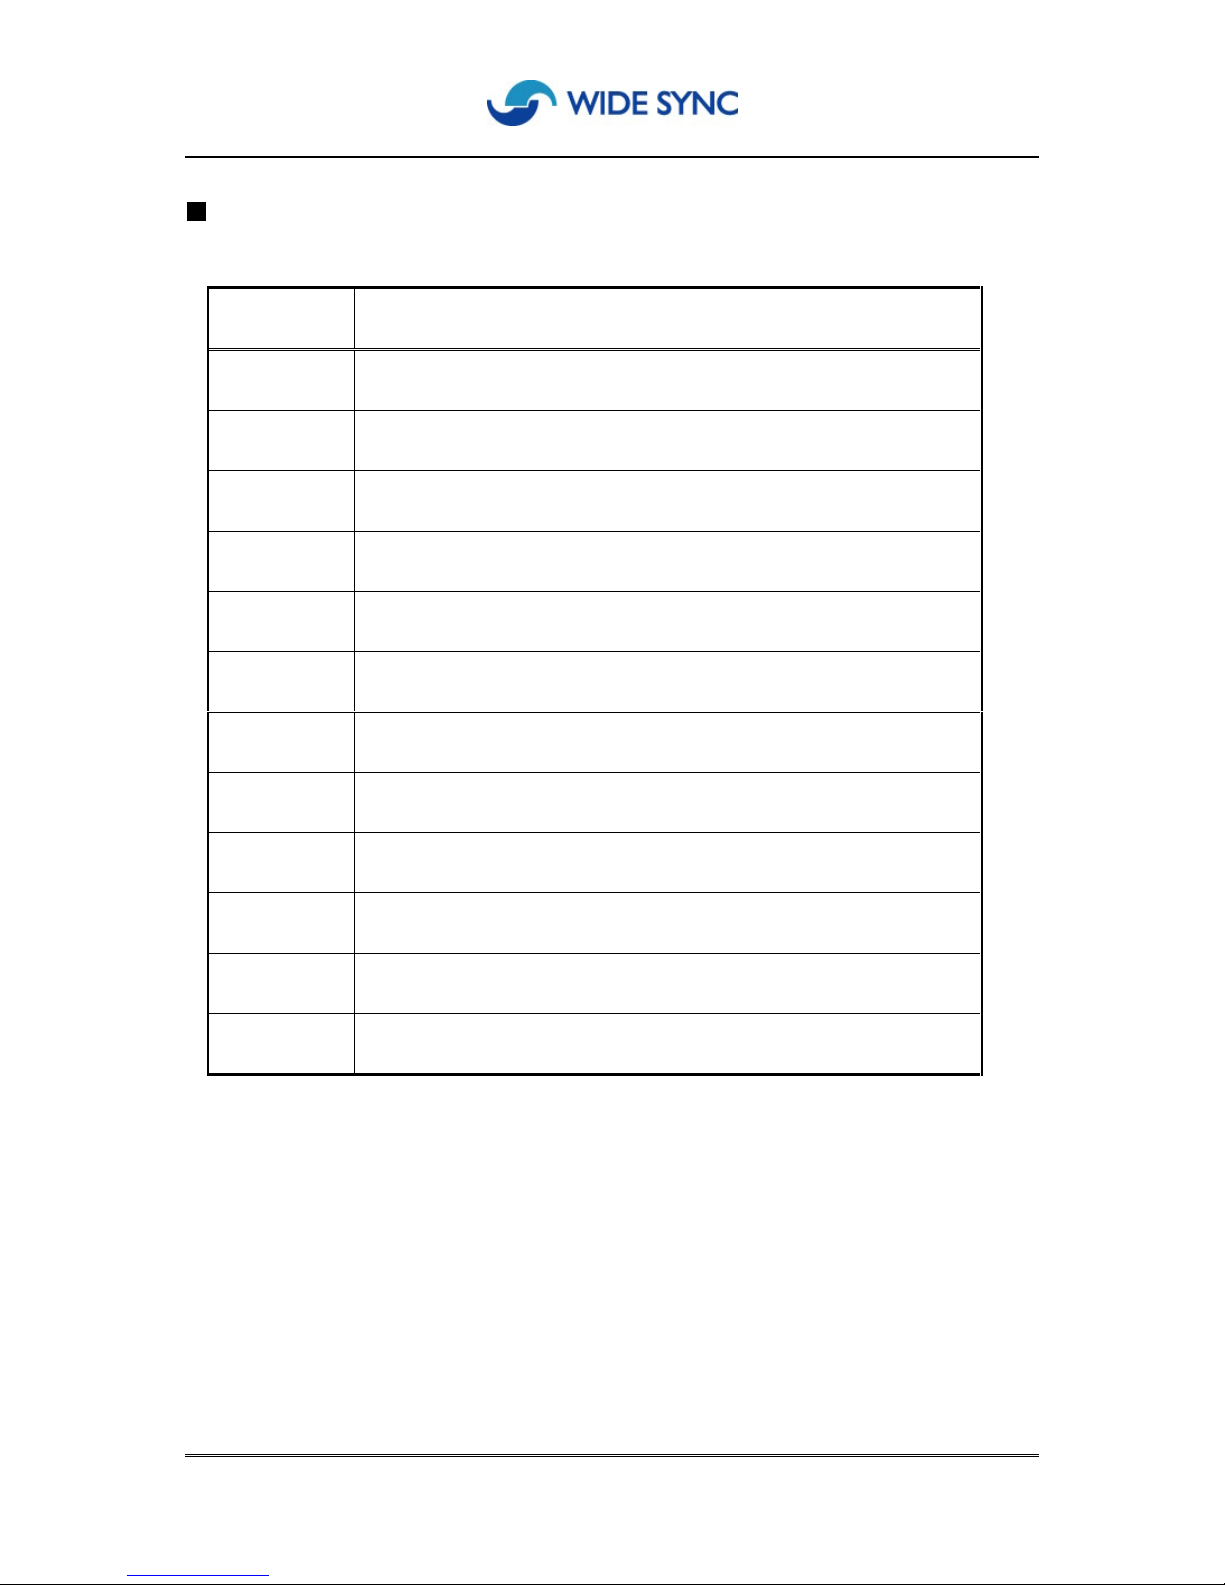
Program Menu
MENU NO.
PROGRAM
[10]
Password Change
[11]
Verify System ID
[12]
Clock Setting
[13]
Register In-house extensions
[14]
Set the grade of service for outgoing calls
[15]
R
egister PSTN line
[16]
Register and erase memory button
[17]
Barring In-bound calls
[18]
Scroll of phone numbers received
[19]
Scroll of phone numbers out-bounded
[20]
Register area code
[21]
Initialize for system programs.
Page 15
15
Description
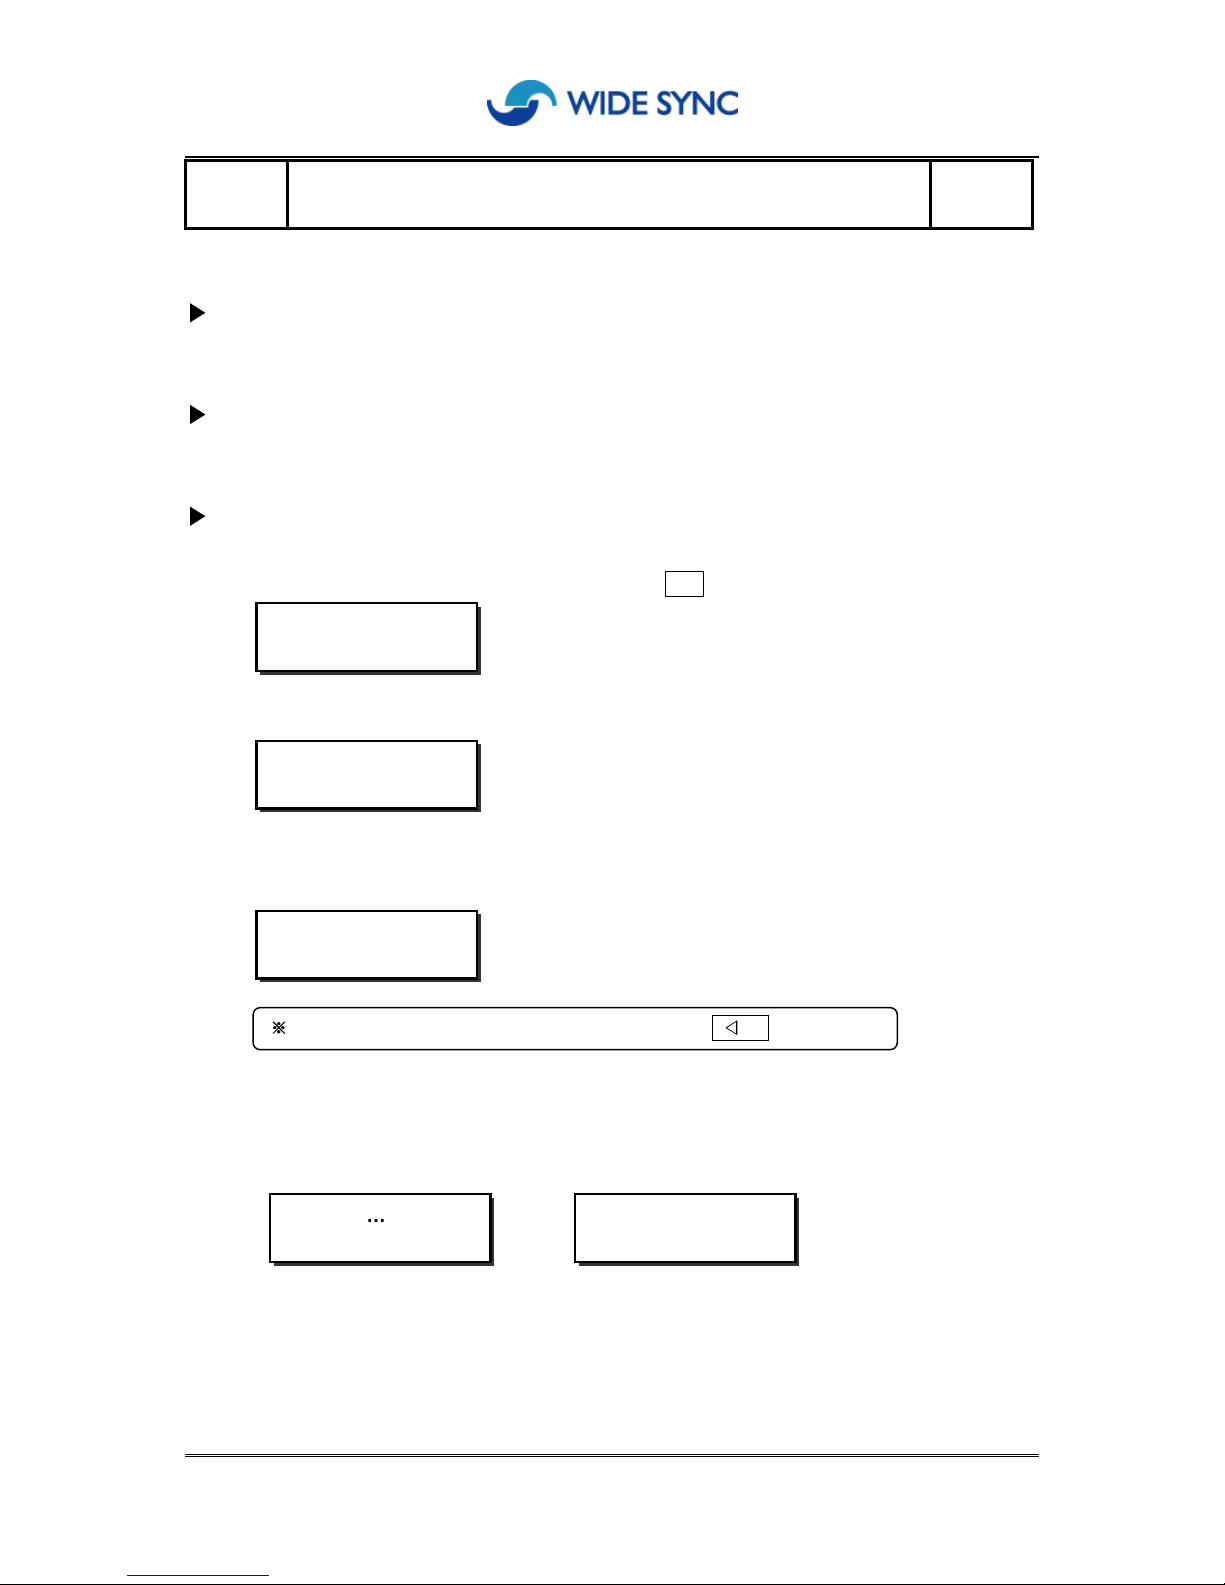
Pas
sword input or change are prerequisite for any system programming.
Default p
assword
0000
Process
1. P
ress
P
rogram/Cancel
button
first
and dial
[10], enter password.
2.
New password registered by p
ress
ing Speaker phone/Confirm
button.
3. To cancel
/change registered password, r
emove
password code first
and press
P
rogram/Cancel
button.
4.
LCD display
.
[
When registered] [When failed]
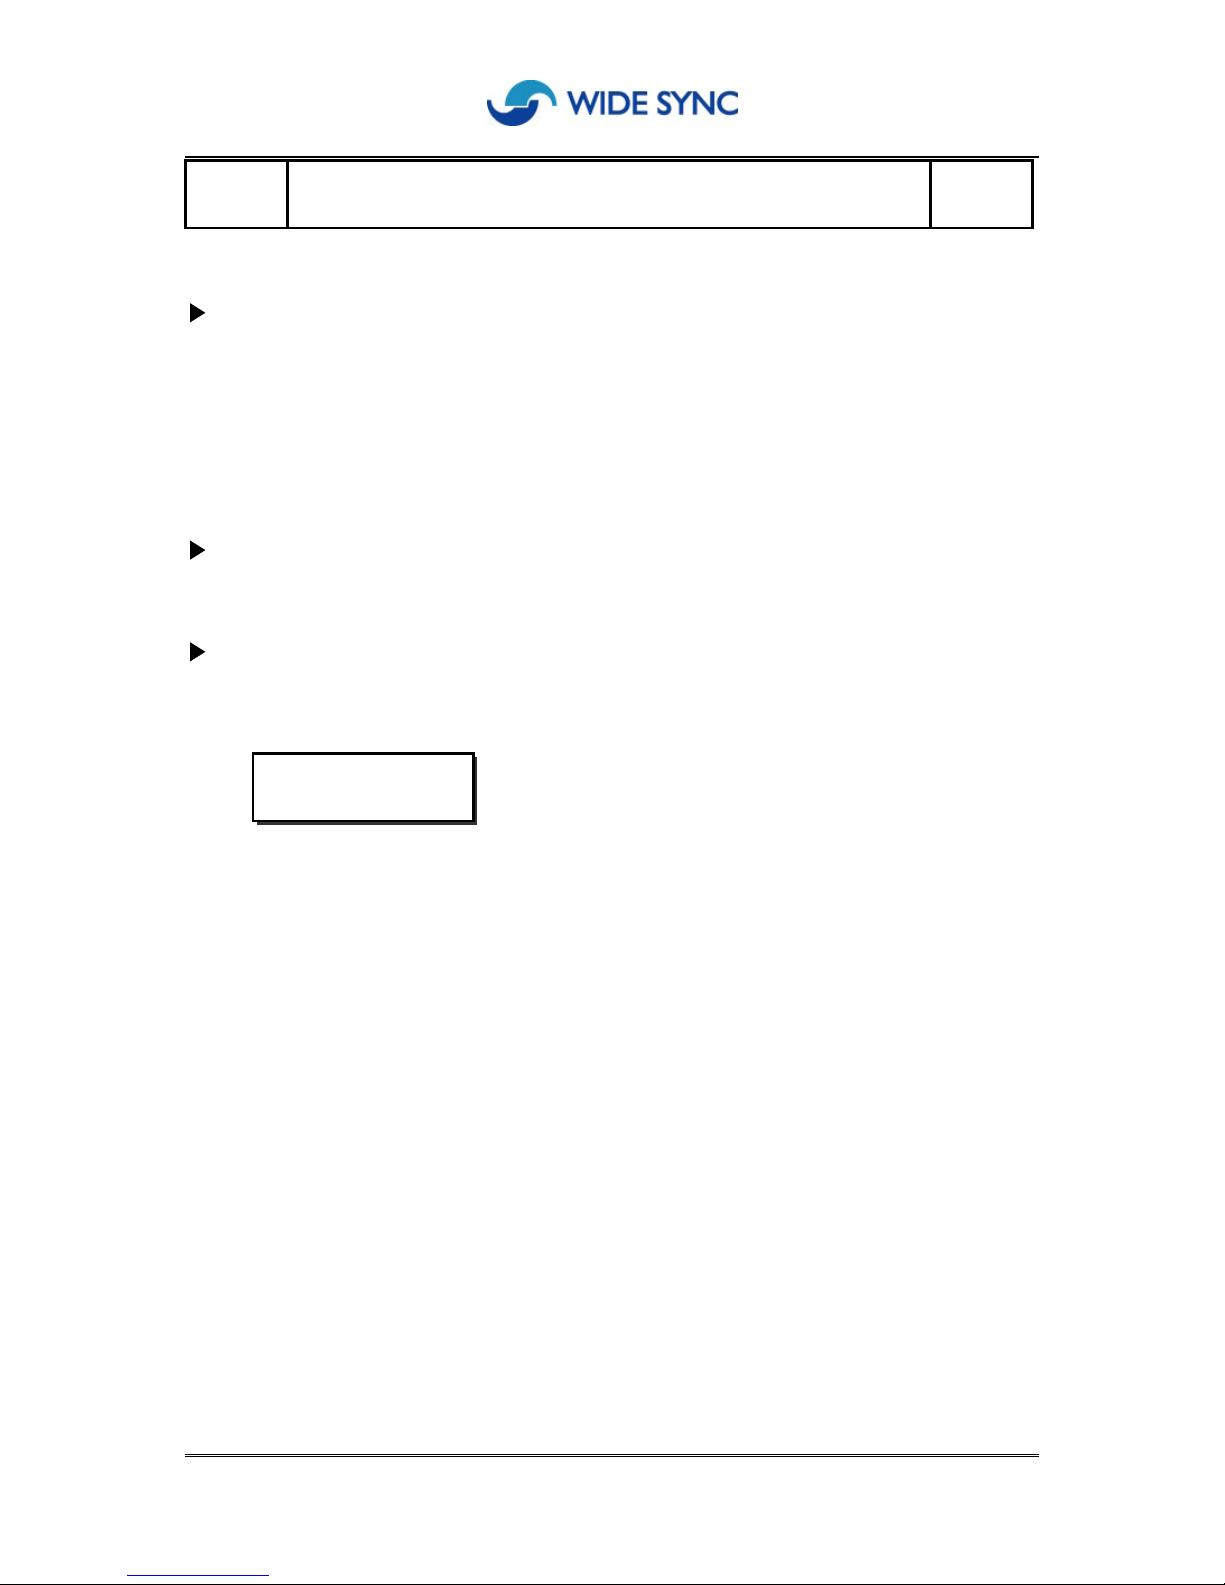
[10] Password Change
WRITING
NEW PASSWORD
- - - -
NEW PASSWORD
1234
ENTER PASSWORD
* * * *
To remove existing password code, p
ress button
FAILURE...
Page 16
16
Description
Each WKP-308(wireless keyphone system) has been assigned with separate
system ID
number.
Keyphone and stations commucate each other only through same
system
ID and this
data provide system operation.
It is impossible for user to change default system ID.
Default system ID
Given from factory and different ID numb
er per each keyphone system.
Process to verify system ID
1.
Press Program/Cancel
button
first
and
dial
11.
2. Once verified system ID from LCD display, press Program/Cancel
button to
relieve.
.
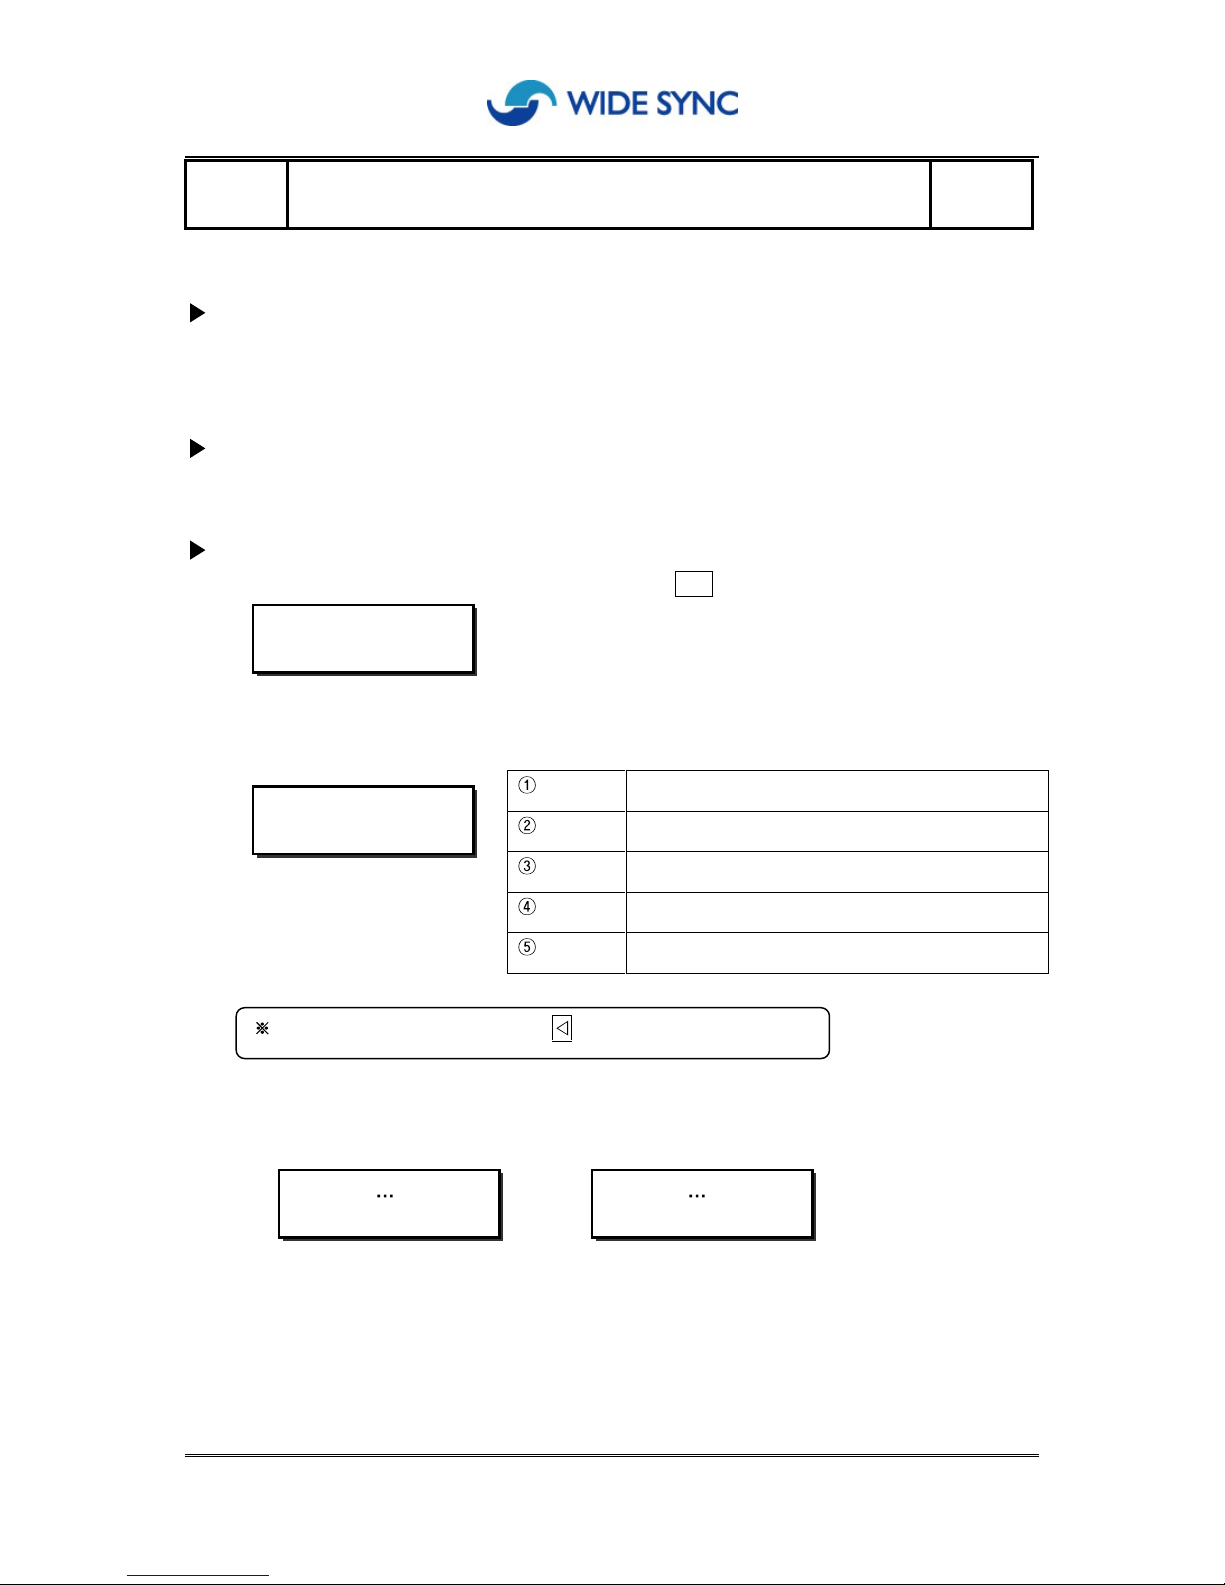
[11]
System I
D
verification
SYSTEM ID
10025
Page 17
17
Description
WKP-308 and each stations provid
es time clock in the LCD display.
It is required for user to set the clock first for correct time display.
Default time
JAN 1, 2003
Process
1.
Press Program/Cancel
button
first
and
dial
[12].
2
Enter year/month/
day/
hour
/minute and press
Speaker
phone/Confirm
button.
Ex) 10 AM, Jan 1st,2003
year
Enter 4 digits from 2000 to 2099
month
Enter 2 digits from 01 to12
day
Enter 2 digits from 01 to 31
ho
ur
Enter 2 digits from 00 to 23
minute
Enter 2 digits from 00 to 59
3.
LCD dis
play
.
[
When registered] [When failed]
[12] Clock Setting
WRITING
FAILURE
If
entered wrong number,
press button to erase.
PROGRAM DATE
------------
PROGRAM DATE
2003/01/01 10:00
Page 18
18
Description
Each station (both portable and desktop handset) need be registered to keyphone main
terminal for system operation.
Process
1. P
ress Program/Cancel
button
first
and
dial
[13] , and
enter password
code
.
2.
Select one extension button out of 8 (1~8) and press it.
Now you go to extension terminals either portable or desktop and register
as follows.
Display mode in
main terminal
Portable handset
Destktop terminal
Press Feature
button
and select
4.SETTING
and
enter
password
Press
Program
button and
enter
password and press
dial 1
3
. Following description in LCD of main terminal will verify successful registration and
you will hear beep sound from each extension termin
al.
4. You can register whole 8 extension stations one by one ,
by same procedure.
This registration will allow you to page or intercom between stations just by pressing
extension button.
5.
If you wish to
change/
cancel while registering, press
Progr
am/Cancel
button
and repeat process from the beginning.
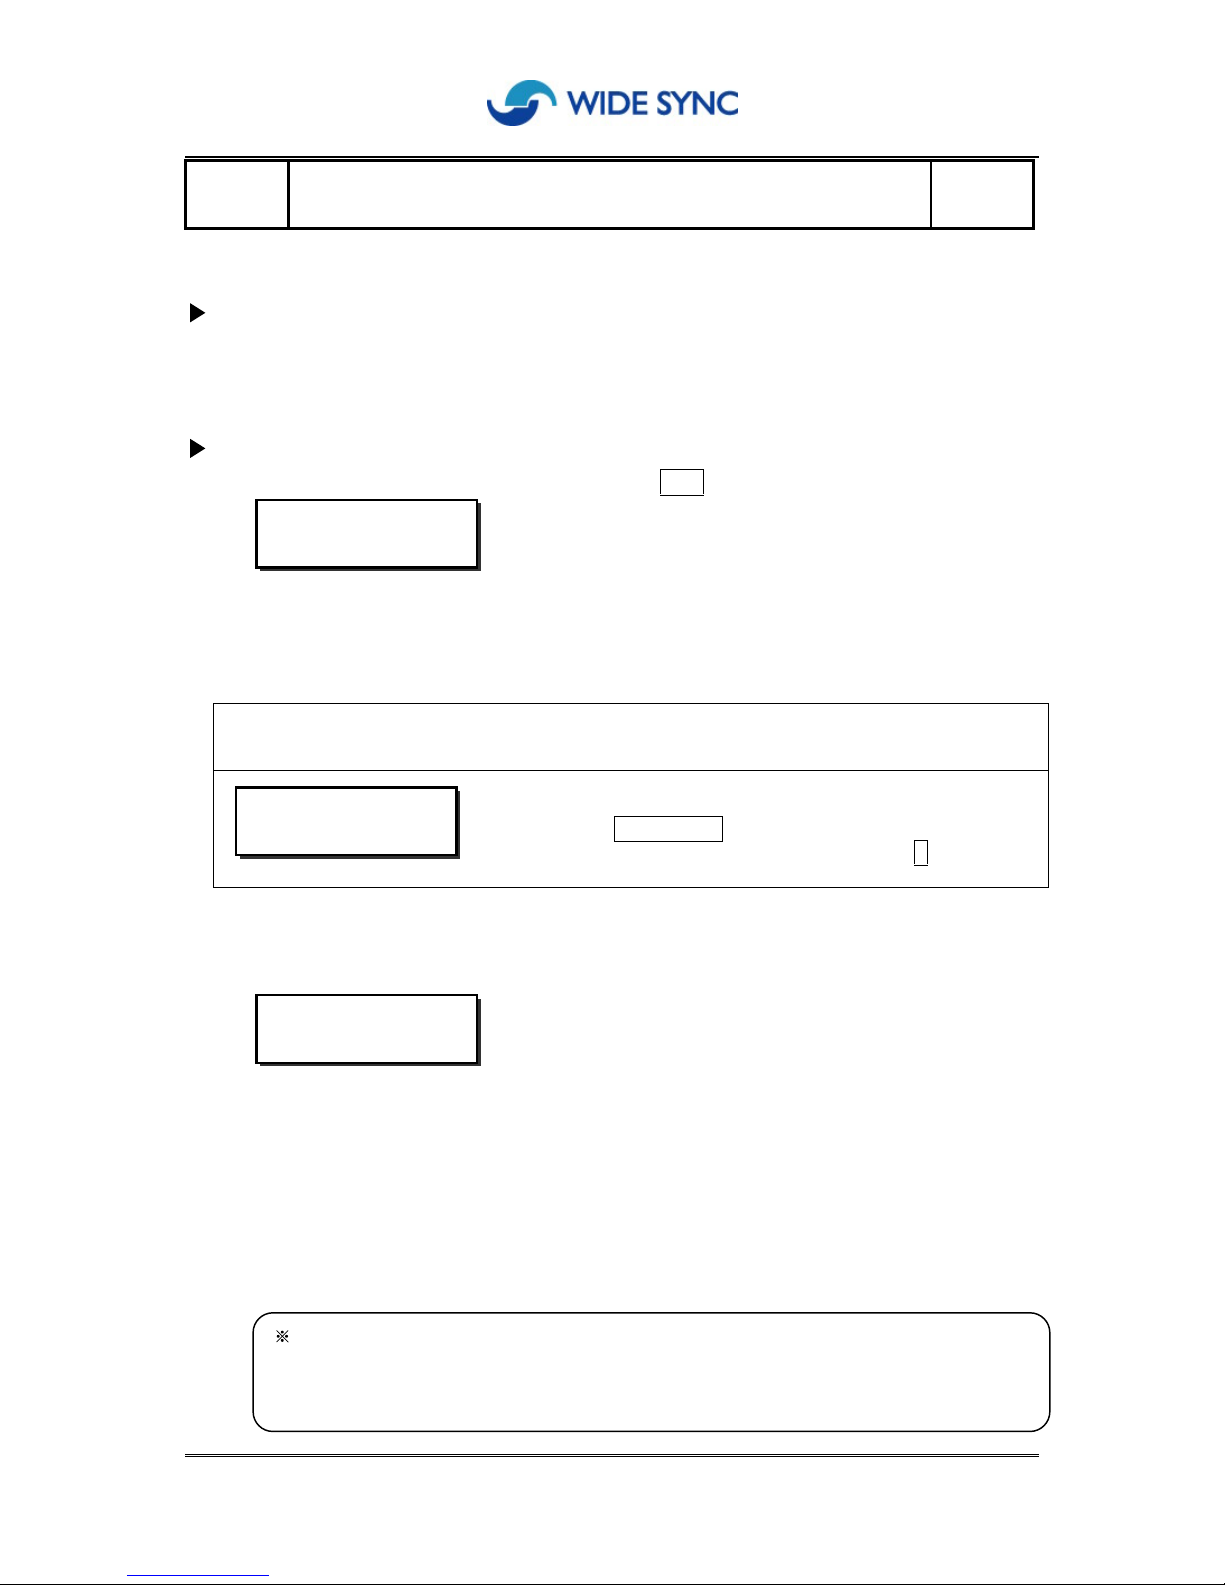
PROGRAM HS-
REG
PROGRAMMED ..
PROGRA
M HS-
REG
SEARCHING ..
PROGRAM HS-
REG
Do not duplicate extension number. You may experience excessive noise or call
disconnection in this case. If registration is not completed within 10 seconds,
repeat
register
ation
again.
[13] Register of In
-
house Line
Page 19
19
Description
This system allows to restrict outgoing calls from each extension terminal, both portable
and desktop by setting grade of service such as by barring international call, to mobile
phone etc.
Process
1.
Press Program/Cancel
button
first
and
dial
[14]
and
enter password
code
.
2. Select extension station by
using
button, and press Speakerphone/Confirm
b
utton
.
Now select call type and dial either 0 or 1 and press
Speakerphone/Confirm
button.
Select grade of service and dial code in betwee
n 0~5 and press
Speakerphone/Confirm
button.
[Table for grade of service
]
extensions
0~8
(0
: keyphone 1~8 : portable or
desktop
call type
0
: Inco
ming call only.
1
: Both incoming and outbound call.
* first column:extension number
*
second column: call type
*
third column: grade of service
grade of
service
0
: In-house intercom only
.
1
: allow by local area call .
2
:
allow by long distance call .
3
:
allow by mobile phone
.
4
: allow by international call .
5
: no limit
.
3. LCD dis
play will verify registration after pressed
Speakerphone/Confirm
button.
[
When registered] [When failed]
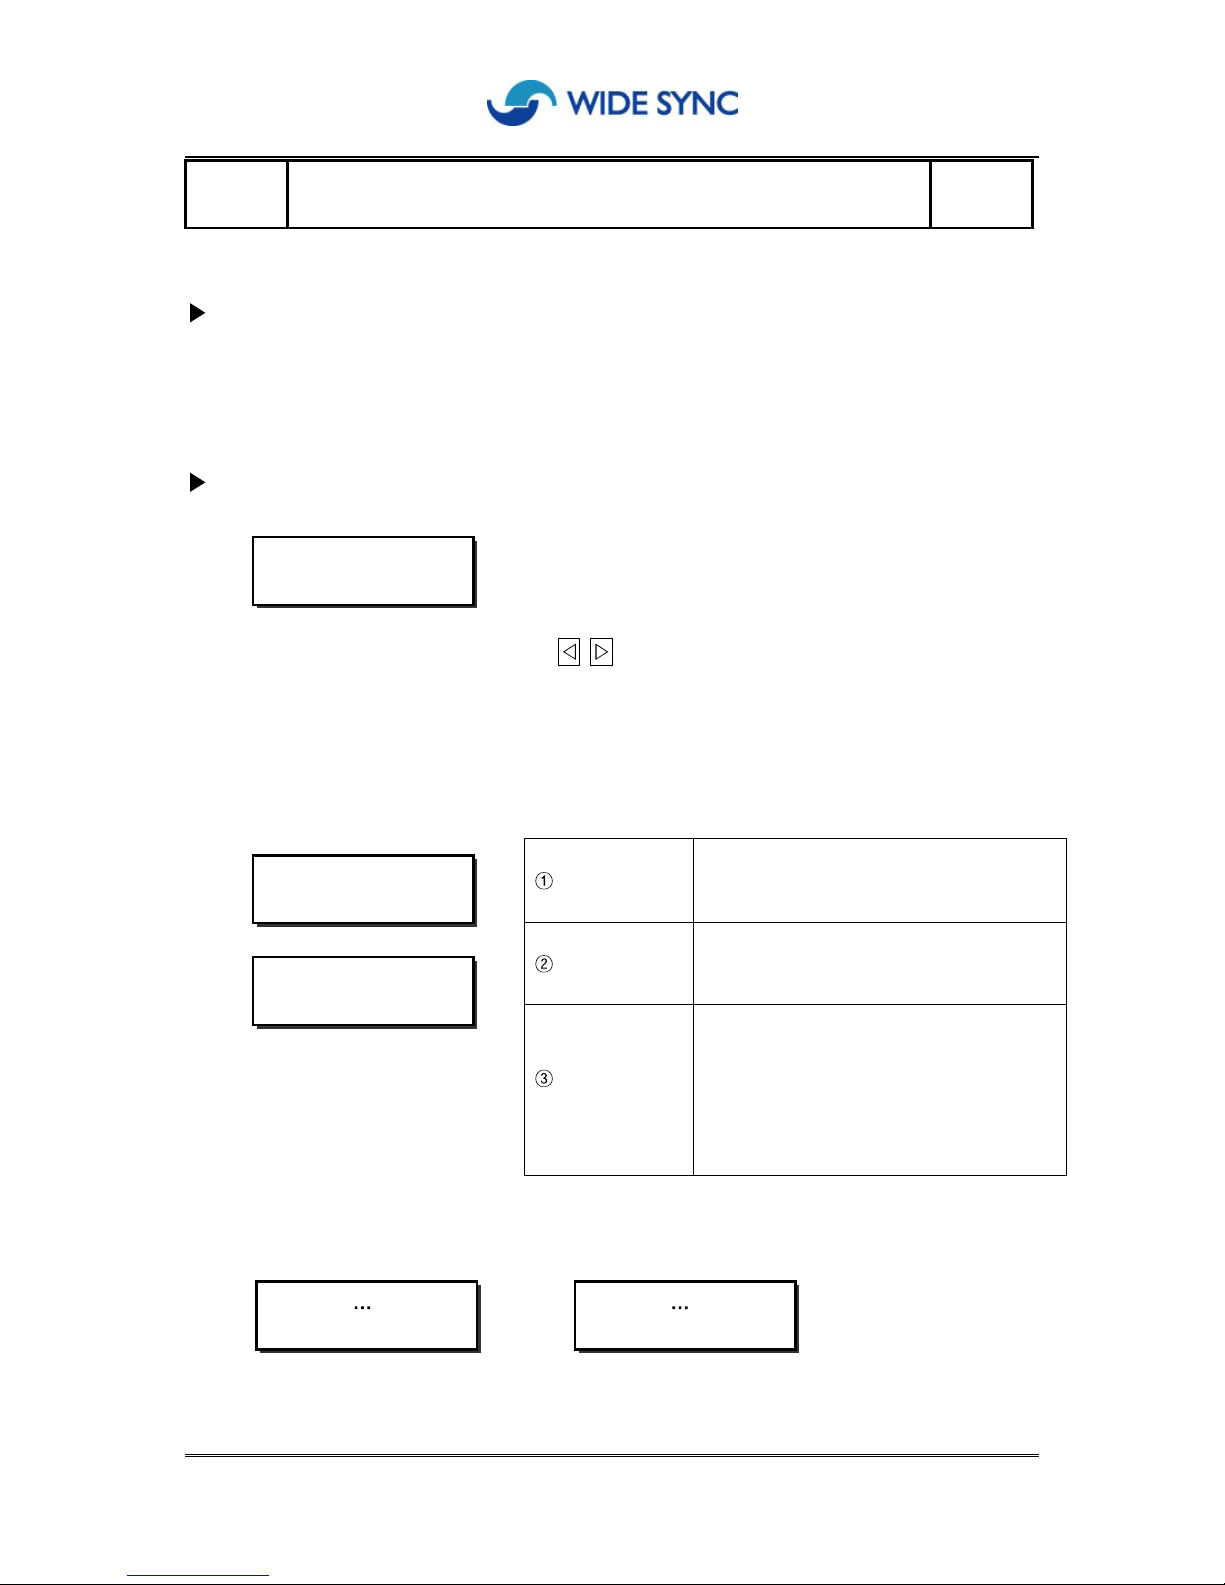
[14] Set grade of service for outgoing calls
WRITING
FAILURE
PROGRAM HS-ACCESS
0:
-:-
PROGRAM HS-ACCESS
0:1:5
PROGRAM HS-ACCESS
0:1:3
Page 20
20
Description
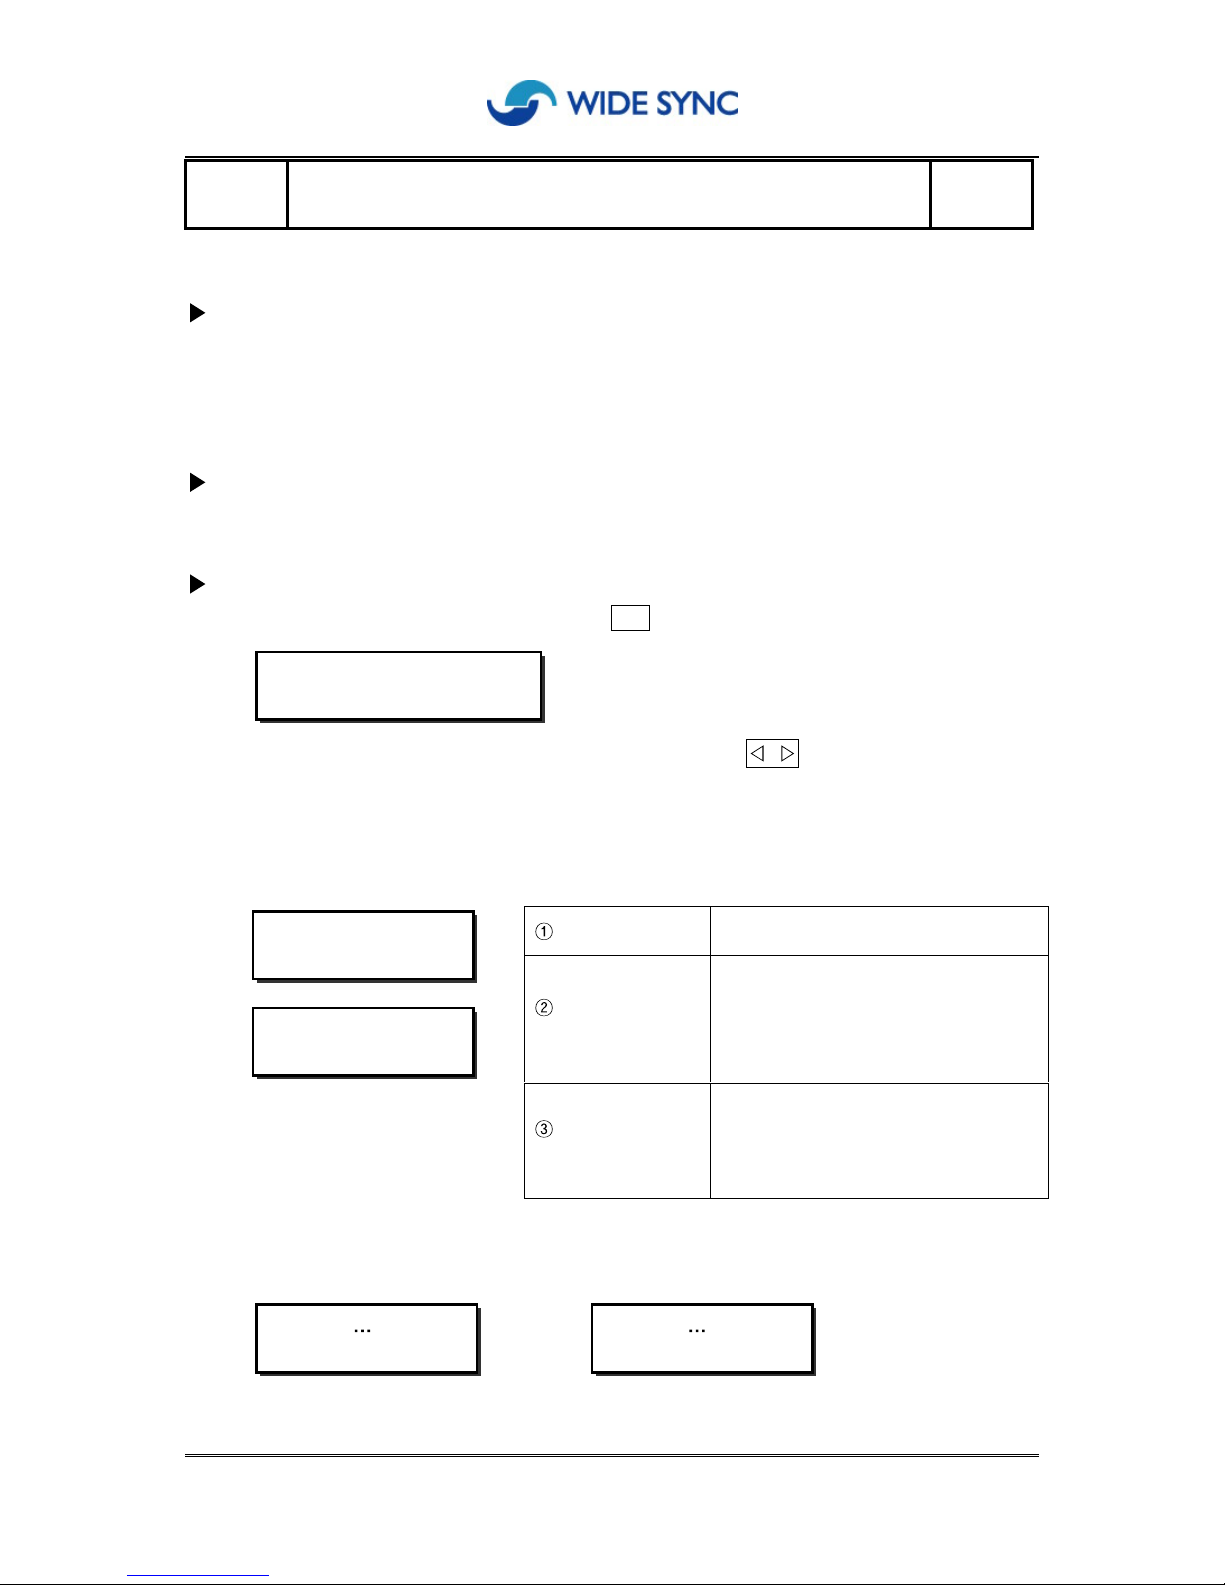
WKP308 system allows you to set up how to respond incoming PSTN calls such as
all stations respond by ringing simult
aneously, or nominate station by station
.
This call receiving pattern can be set up by each PSTN line respectively.
Defaulted patern
Ringing on keyphone terminal only, Ring in sequence.
Process
1. Press Program/Cancel button
and
dial
[15] and ente
r password
code.
2.
Select
PSTN number that you wish to set up by using
button and press
P
rogram/Cancel
button.
Enter
code
of receiving
patterns and speakerphone/confirm button
according to [the
table of receiving
pattern]
[Table
of receiving pattern]
PSTN
Line
1~3
Call receiving
pattern
0 : No PSTN Line accessed
1 : Outgoing calls only
2 :
Receiving in sequence
3 : Simultaneous receiving
*1: PSTN Line 1
*2: Receiving in sequence
*01:Stations for ring: 1, 0
Call receiving
stations
Up to 9 stations including
keyphone terminal(0 for keyphone
terminal and 1~8 for extensions)
3. A
fter completing setup, the procedure is marked on LCD screen.
[
When registered] [When failed]
[15] Register PSTN line
WRITING
FAILURE
PROGRAM RING MODE
1:2:0
PROGRAM RING MODE
1:
-:- - - - - - -
PROGRAM RING MODE
1:2:01
- - - - - - -
Page 21
21
Description
This s
ystem allows you to store up to 20 frequent calling numbers and you may make a
speed dial simply by pressing a button.
Process to store, delete and amend.
[How to store phone numbers]
1.
Press Program/Cancel
button and
dial
[16].
2.
Select a button
to
store out of 20 memory buttons and press it. Enter your frequent
calling number and
press Speakerphone/Confirm
button.
[How to amend]
1.
Press Program/Cancel
button and
dial
[16].
2 Select a memory button to amend and press
Register
button
.
3. Enter new number and press
Speakerphone/Confirm
button.
[How to delete]
1.
Press Program/Cancel
button
and dial [16] .
2.
Select memory button to
delete
, and press
cancel
button. Then stored number is
removed and
system
asks reconfirmation to
delete stored number from LCD display.
3.If you accept delete stored number, p
ress Speakerphone/Confirm button.
[16] Memory (Speed Dialing)
PROGRAM S-DIAL [01]
PROGRAM S-DIAL [01]
-----------------------------
PROGR
AM S-DIAL [01]
0191234567
------------
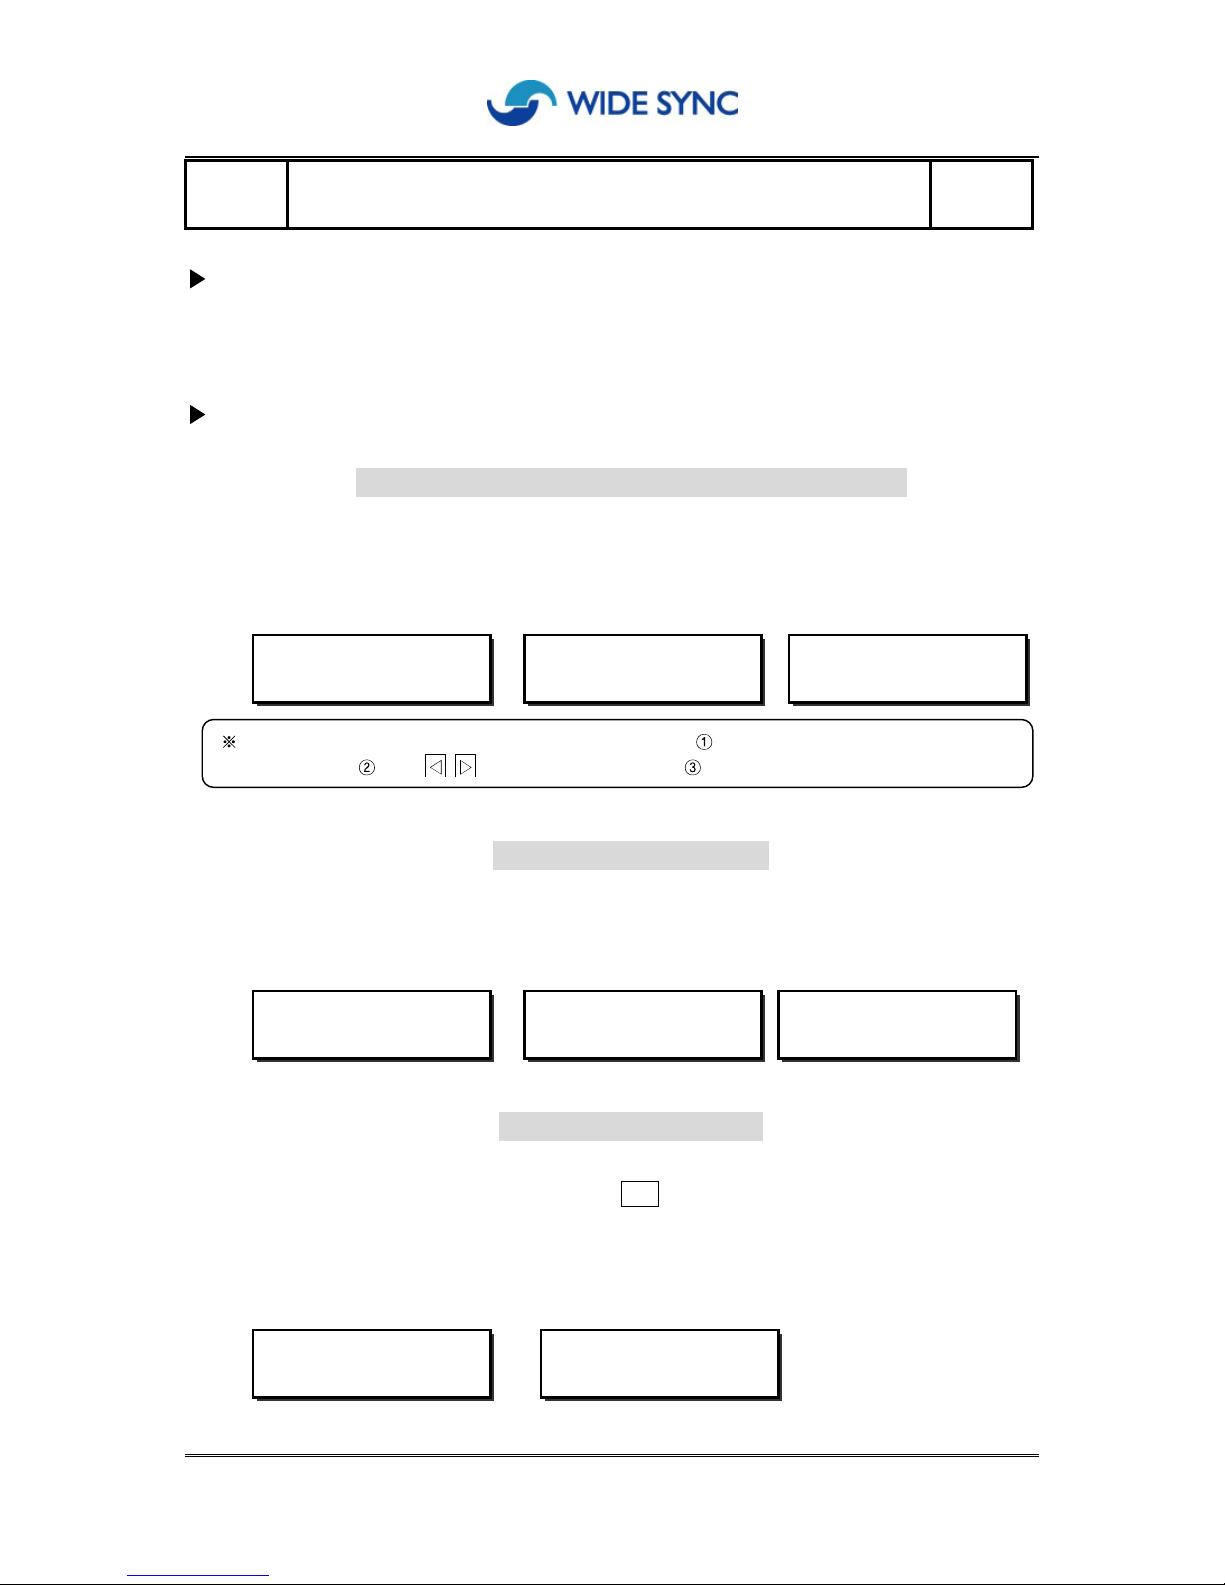
There are 3 ways to select memory button
dial button
number
you want to
reg
ister(01~20)
use
button
to find location
press the memory button
directly
.
PROGRAM S-DIAL [01]
0191234567
------------
PROGRAM S-DIAL [01]
-----------------------------
PROGRAM S-DIAL [01]
PROGRAM S-DIAL [01]
0311234567
------------
PROGRAM S-DIAL [01]
0191234567
------------
PROGRAM S-DIAL [01]
DELETE?
Page 22
22
Description
This function allows you to bar incoming calls from the caller you do not want connected.
(
You may store up to 10 telephon
e numbers for barring incoming calls and this features
works only when you subscribed caller ID service)
Process
1.
Press Program/Cancel
button and
dial [17]
.
2. Press
Register
button and enter telephone number
to bar incoming call
.
P
ress Speakerphon
e/Confirm button.
3. When to erase registered number, press
Erase
button
first
and
press
S
peakerphone/Confirm
button
when LCD display questions whether to delete
.
4. When to review barred telephone numbers one by one, use
button to
find
list
from (01) to (10).
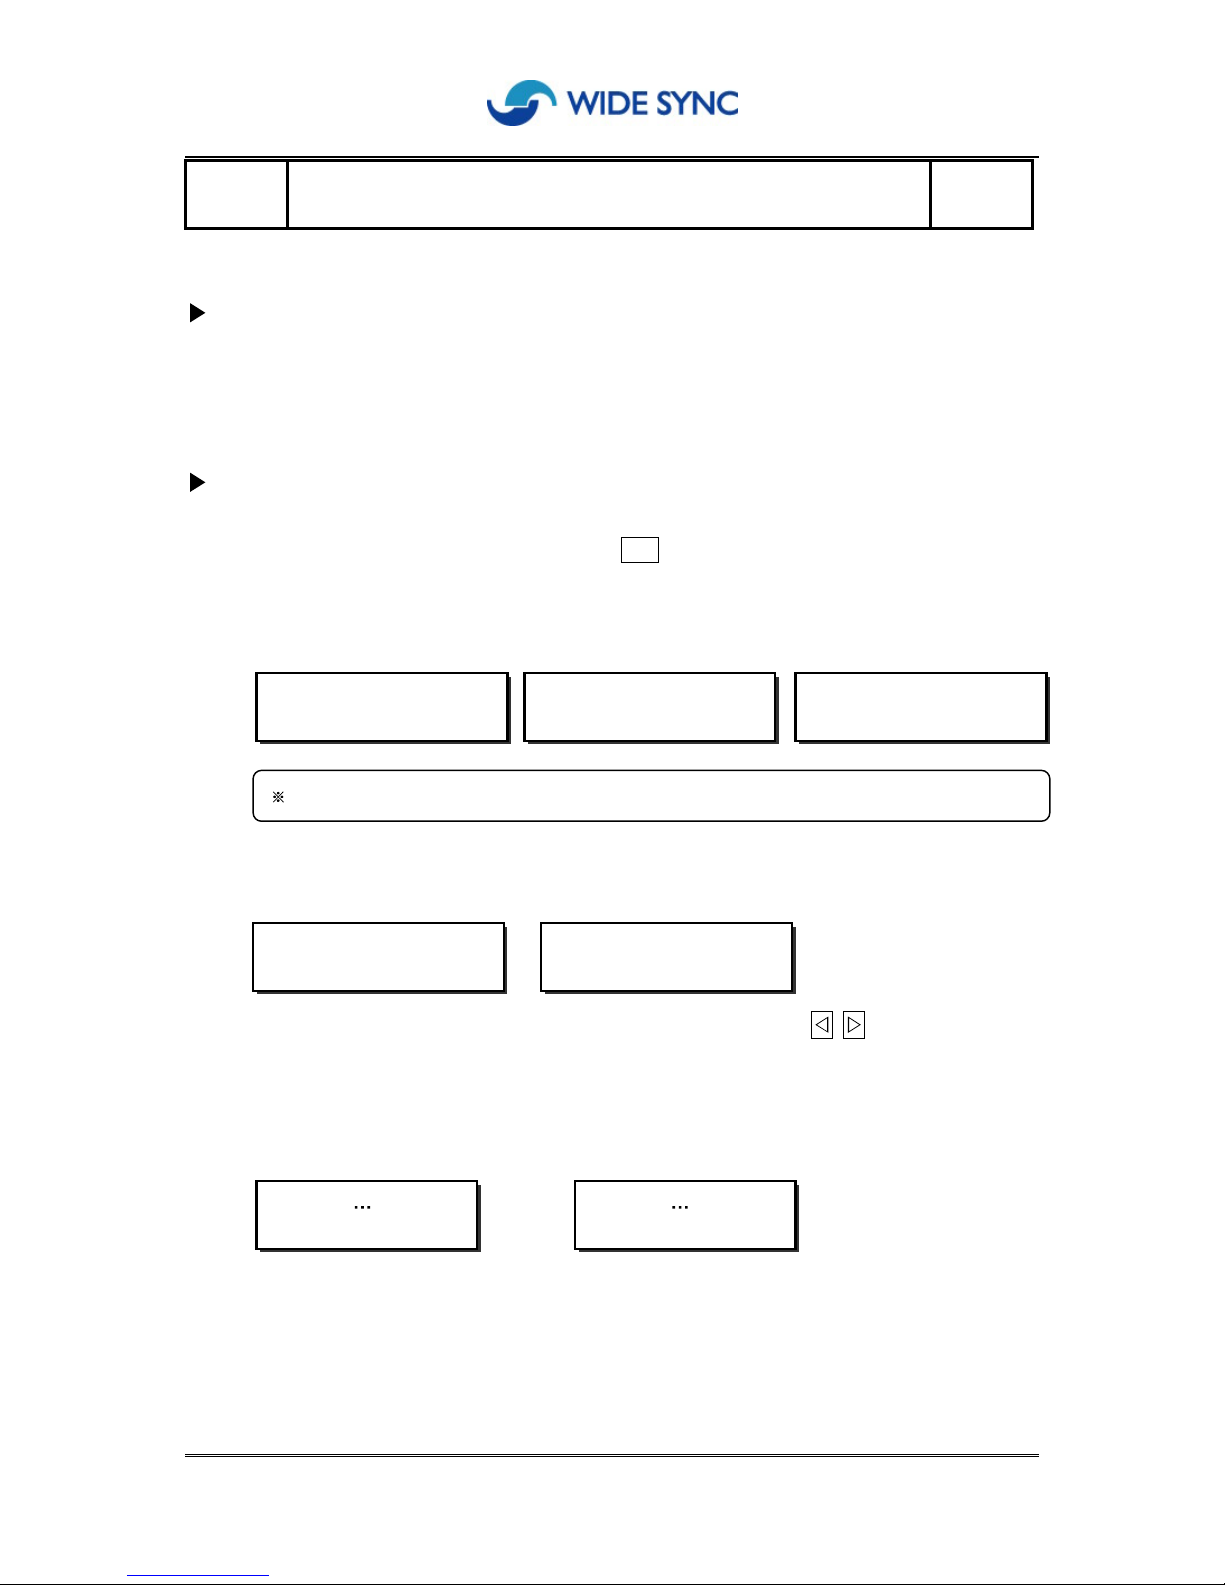
5. The procedure is marked on LCD screen.
[
When registered] [When failed]
[17] Barring incoming calls
WRITING
FAILURE
CID : DENY
-LIST [01]]
CID : DENY
-LIST [01]]
-----------------------------
CID : DENY
-LIST [01]]
021234567
Please enter area code
first
when you
register
te
lephone numbers
.
CID : DENY
-LIST [03]]
021234567
CID : DENY
-LIST [03]]
DELETE?
Page 23
23
Description
This
feature
allows you to scroll or review phone numbers received and system stores up
to 50 In-bounded calls in sequenc
e. You may make a call directly from the phone
number scrolled.
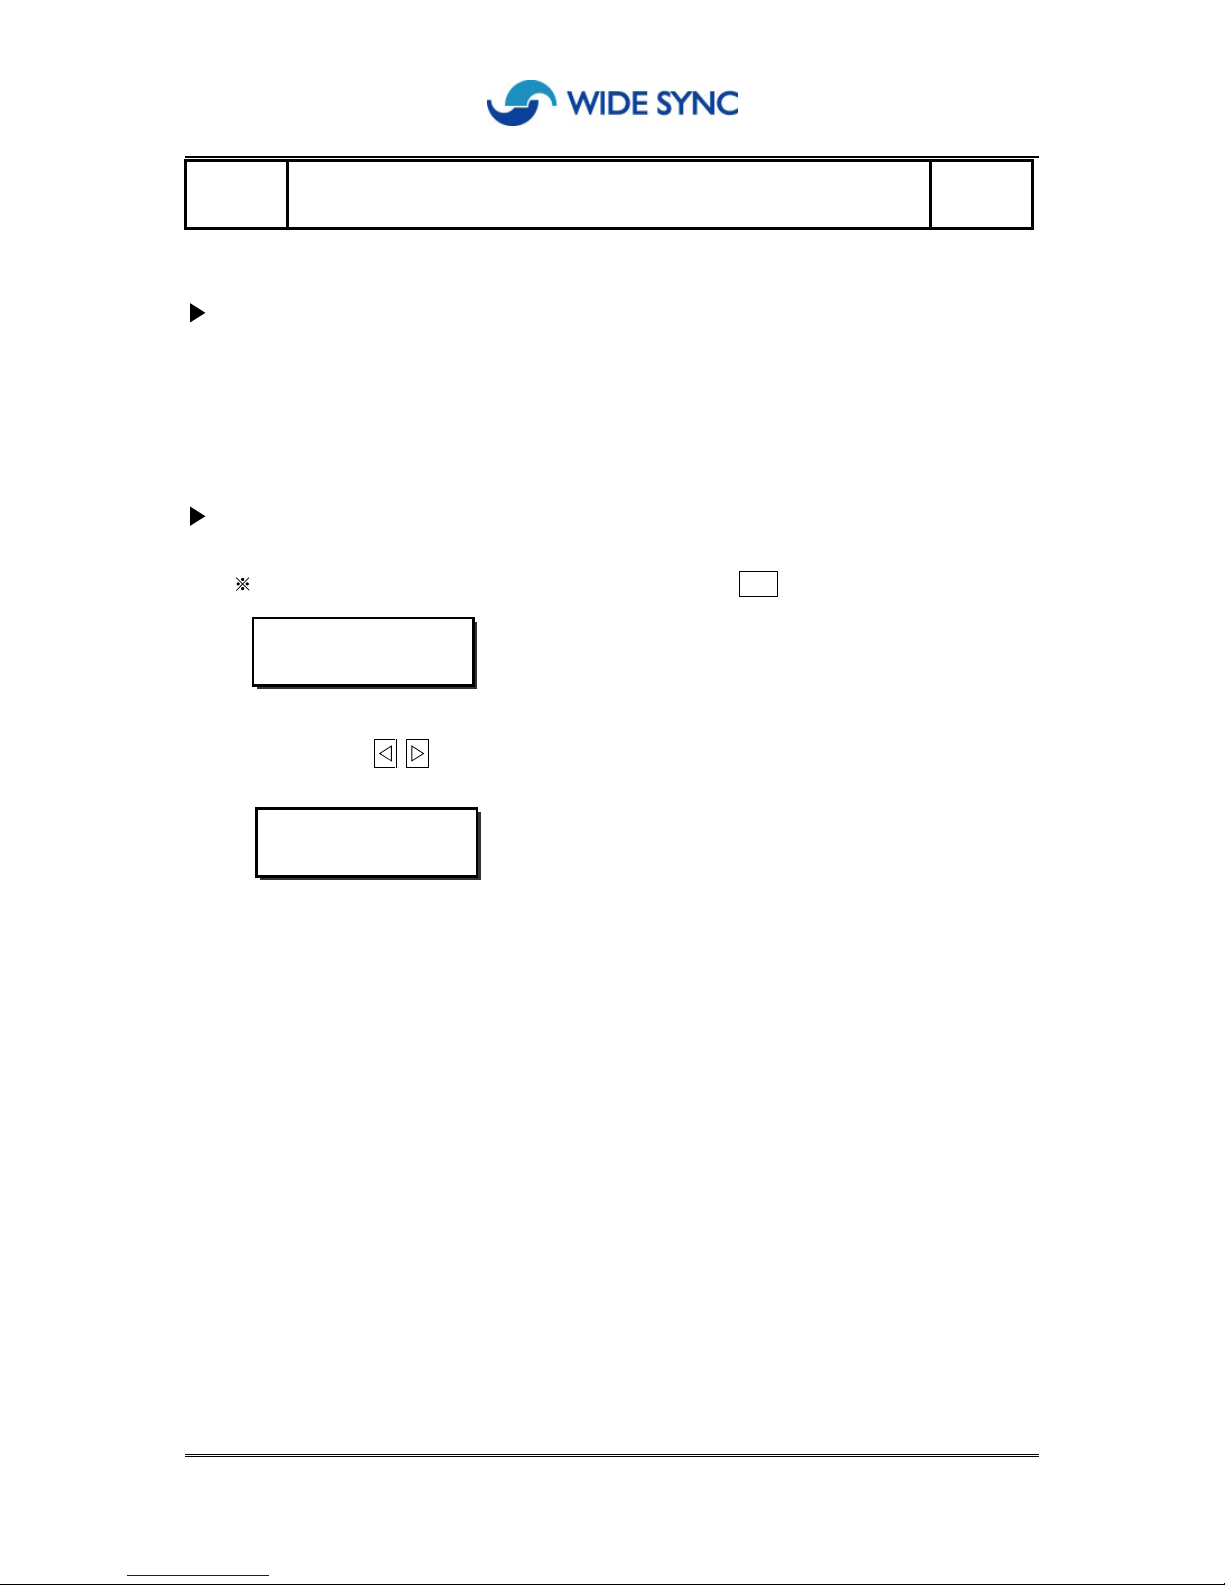
(
This feature works only when you subscribed caller ID service)
Process
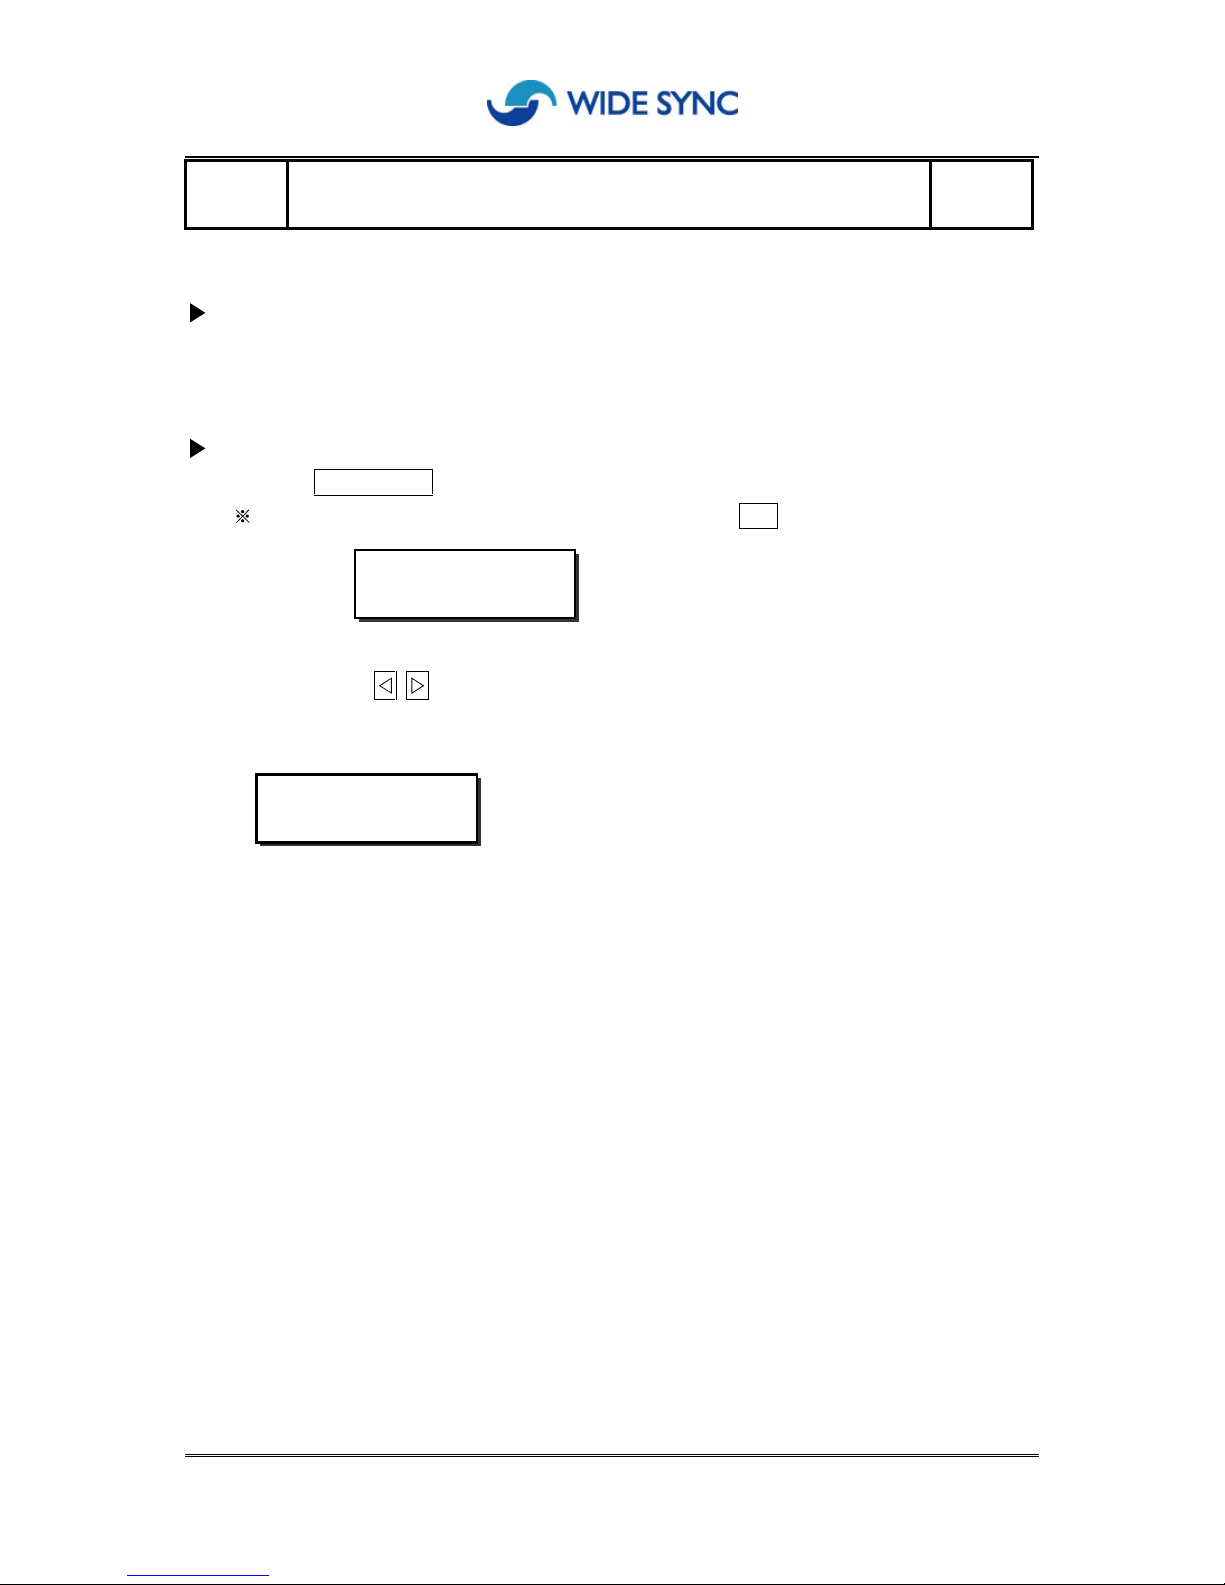
1.
Press
CID
number
button.
Or y
ou may press Program/Cancel
button and
dial [18] .
2. By
press
ing
button,
you can
review
list of numbers from [01] to [50].
3. When you make a call directly from the scrolled number, p
ress
Redial
button.
[18] Scroll of
phone numbers received
CID: DIAL
-LIST [11]
CID: DIAL
-LIST [01]
021234567
Page 24
24
Description
This system memorize up to 20 of the out-bounded calls from the keyphone terminal.
You may make a
call directly from the phone number scrolled.
Process
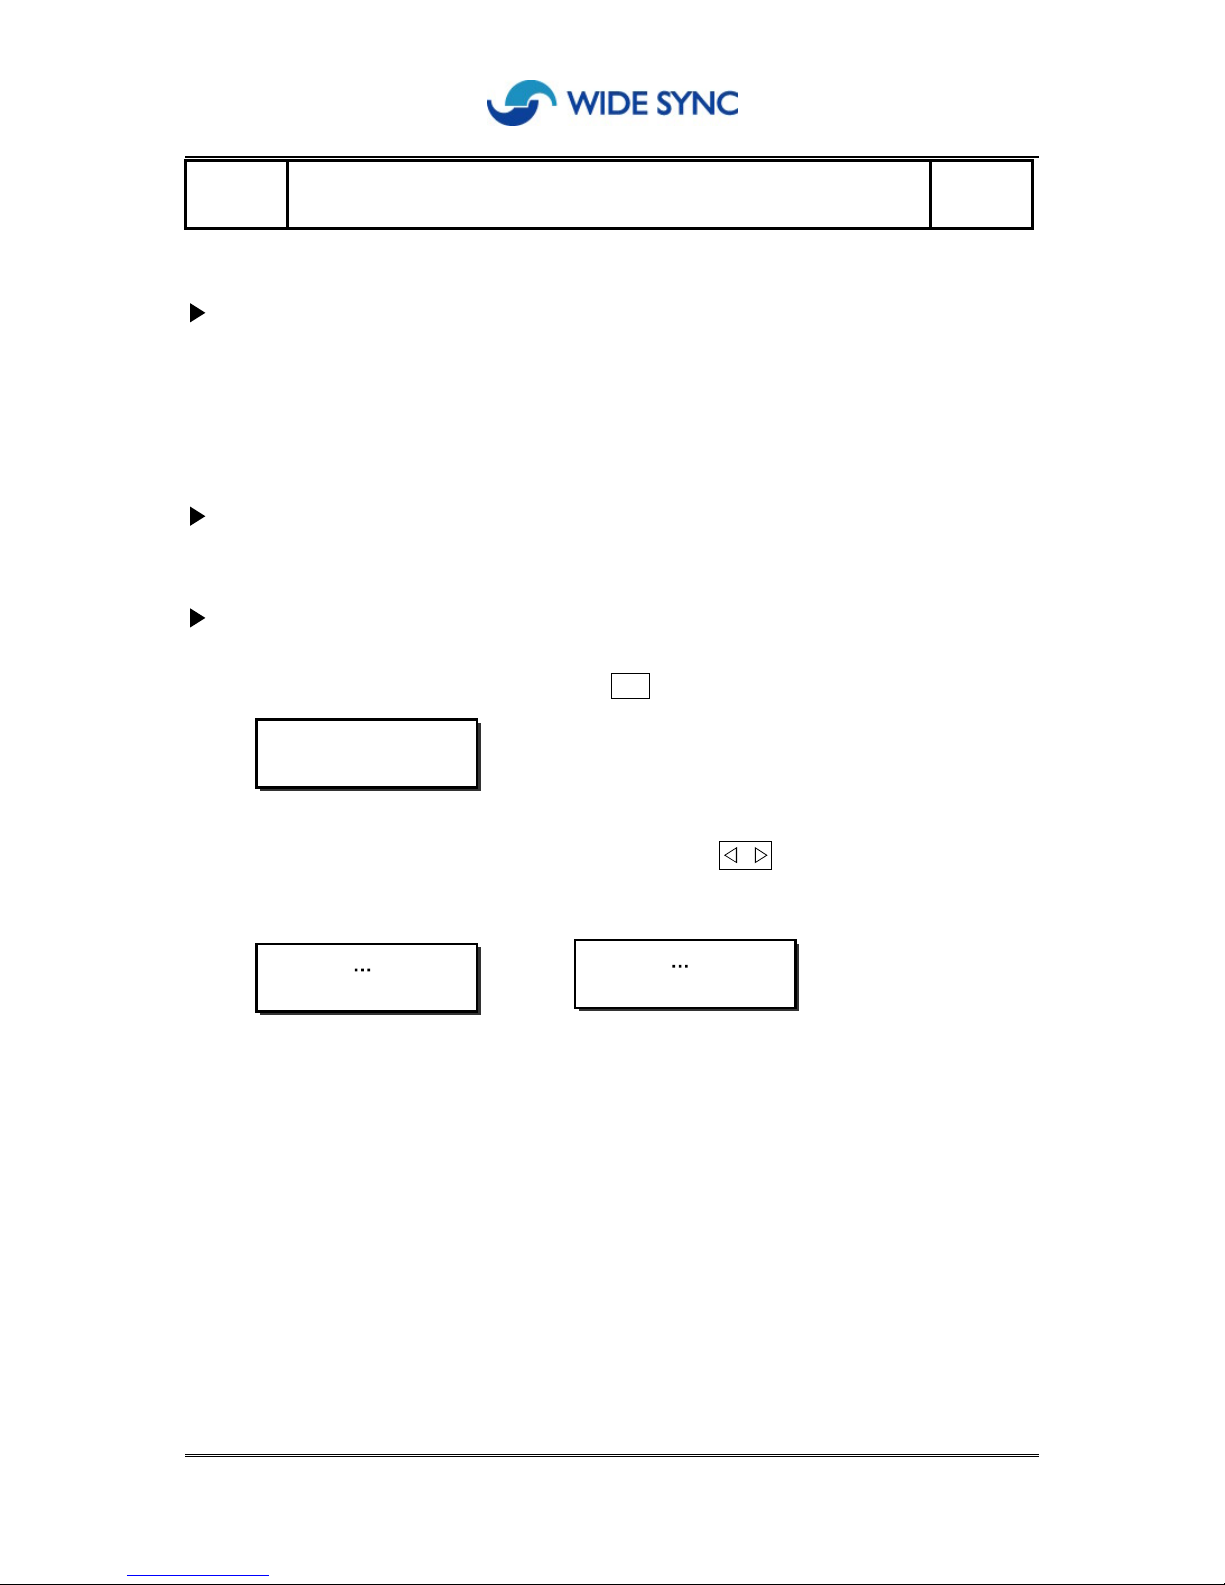
1.
Press
CID number
button
twice
.
Or y
ou may press Program/Cancel
button and
dial [19] .
2. By pressing
button,
you can scroll list of
phone number
sout-bounded from
[01] to [20].
3. Press Redial
button to
make a
call
directly from the scrolled phone number.
[19] Scroll of phone numbers out
-
bounded
CID: DIAL
-LIST [11]
CID: DIAL
-LIST [01]
9,0161234567
Page 25
25
Description
Before using WKP308 system, you need register area code of your territory first
.
This allows you to dial phone number only when you make a call within your ter
ritory
as well as
Redial button functions when you make a call directly from the scrolled in
-
bound
calls.
Default
02 (Seoul)
Process
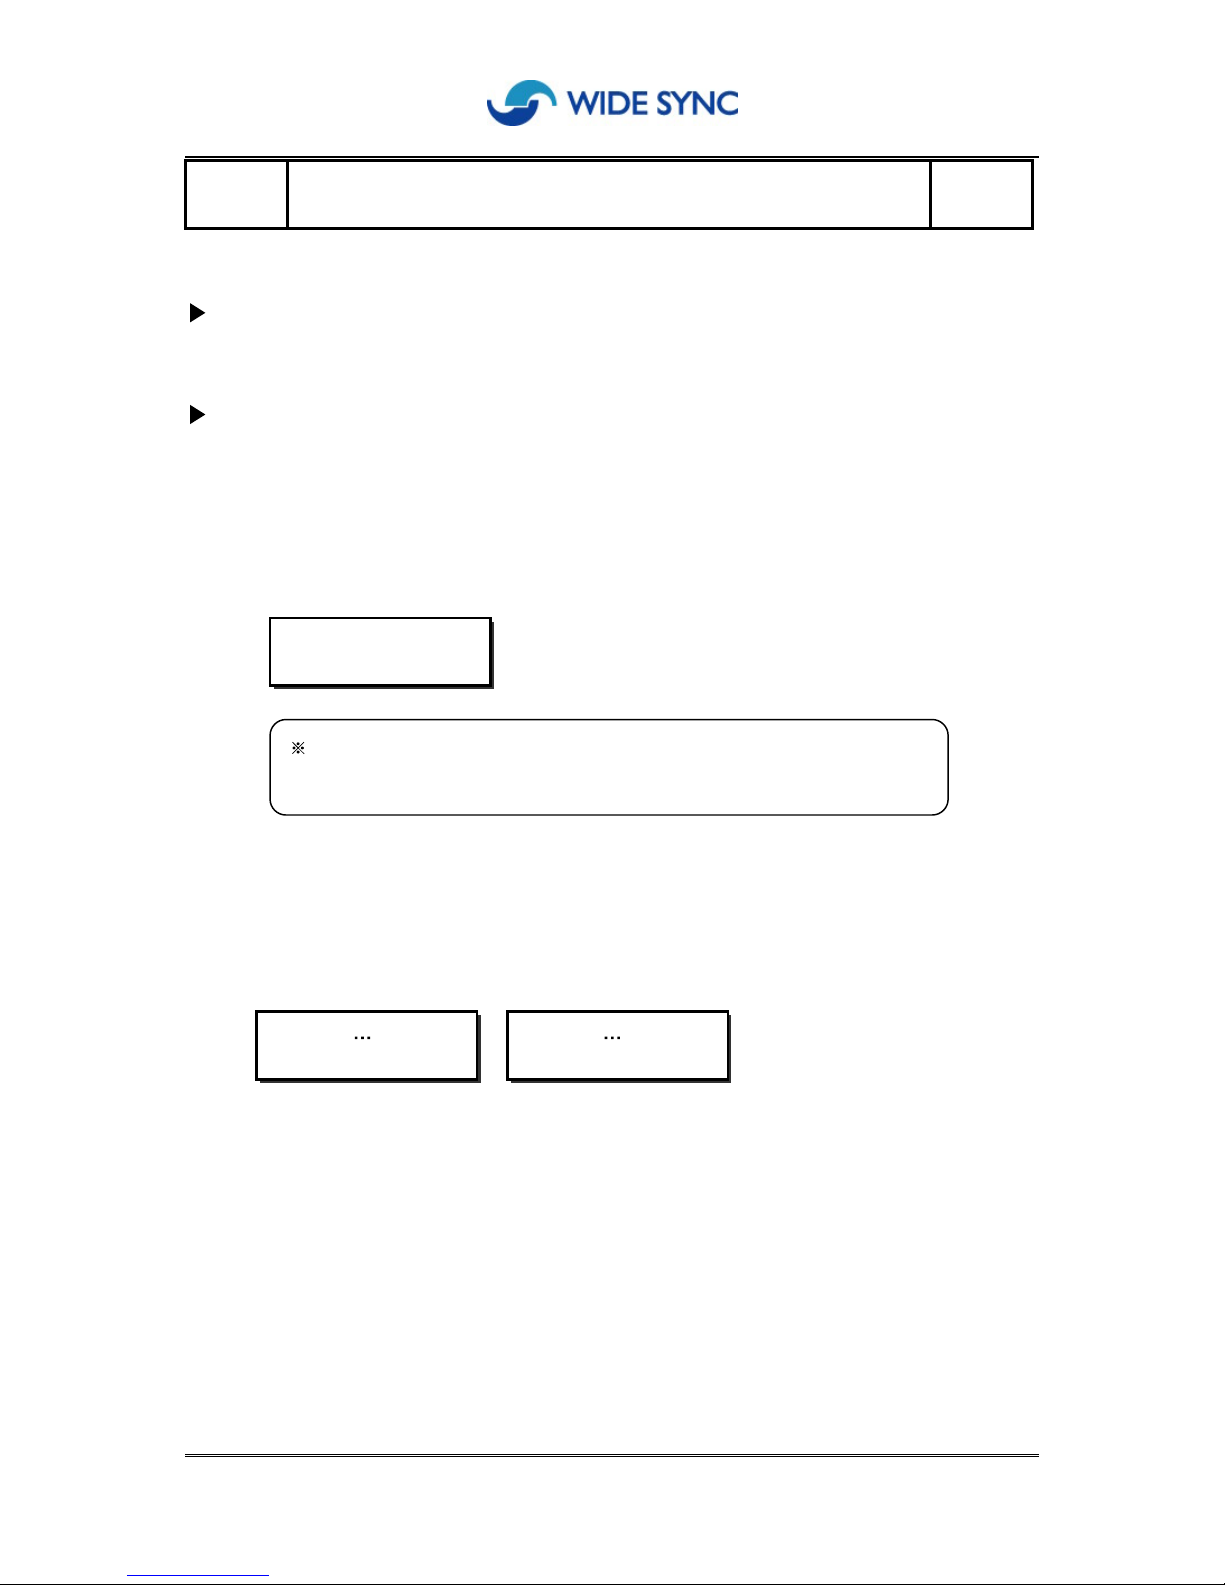
1.
Press Program/Cancel
button and
dial [20]
.
2. Select
area code your locations belong to by
using
button
and
press
S
peakerphone/Confirm
button
to store
.
[
When registered] [When failed]
[20] Register area code
CID: AREA CODE
02
WR
ITING
FAILURE
Page 26
26
Description
This feature allows all system programs to return to defaulted setting from factory
.
Process
1. Press Program/Cancel
button and
dial
[21], enter password
code
.
2. LCD display warns you to reconfirm whether you want to initialize all system
programs
.
3. P
ress Speakerphone/Confirm
button
for initializing system programs
or press Cancel
button to cancel
.
[
When registered] [When failed]
[21] Initialize system programs
INIT ALL DATABASE
ARE YOU SURE?
WRITING
FAILURE
cautions:
all information registered in
the
keyphone
system
will be
erased
and return to defa
ulted setting from factory upon execution.
Page 27
27
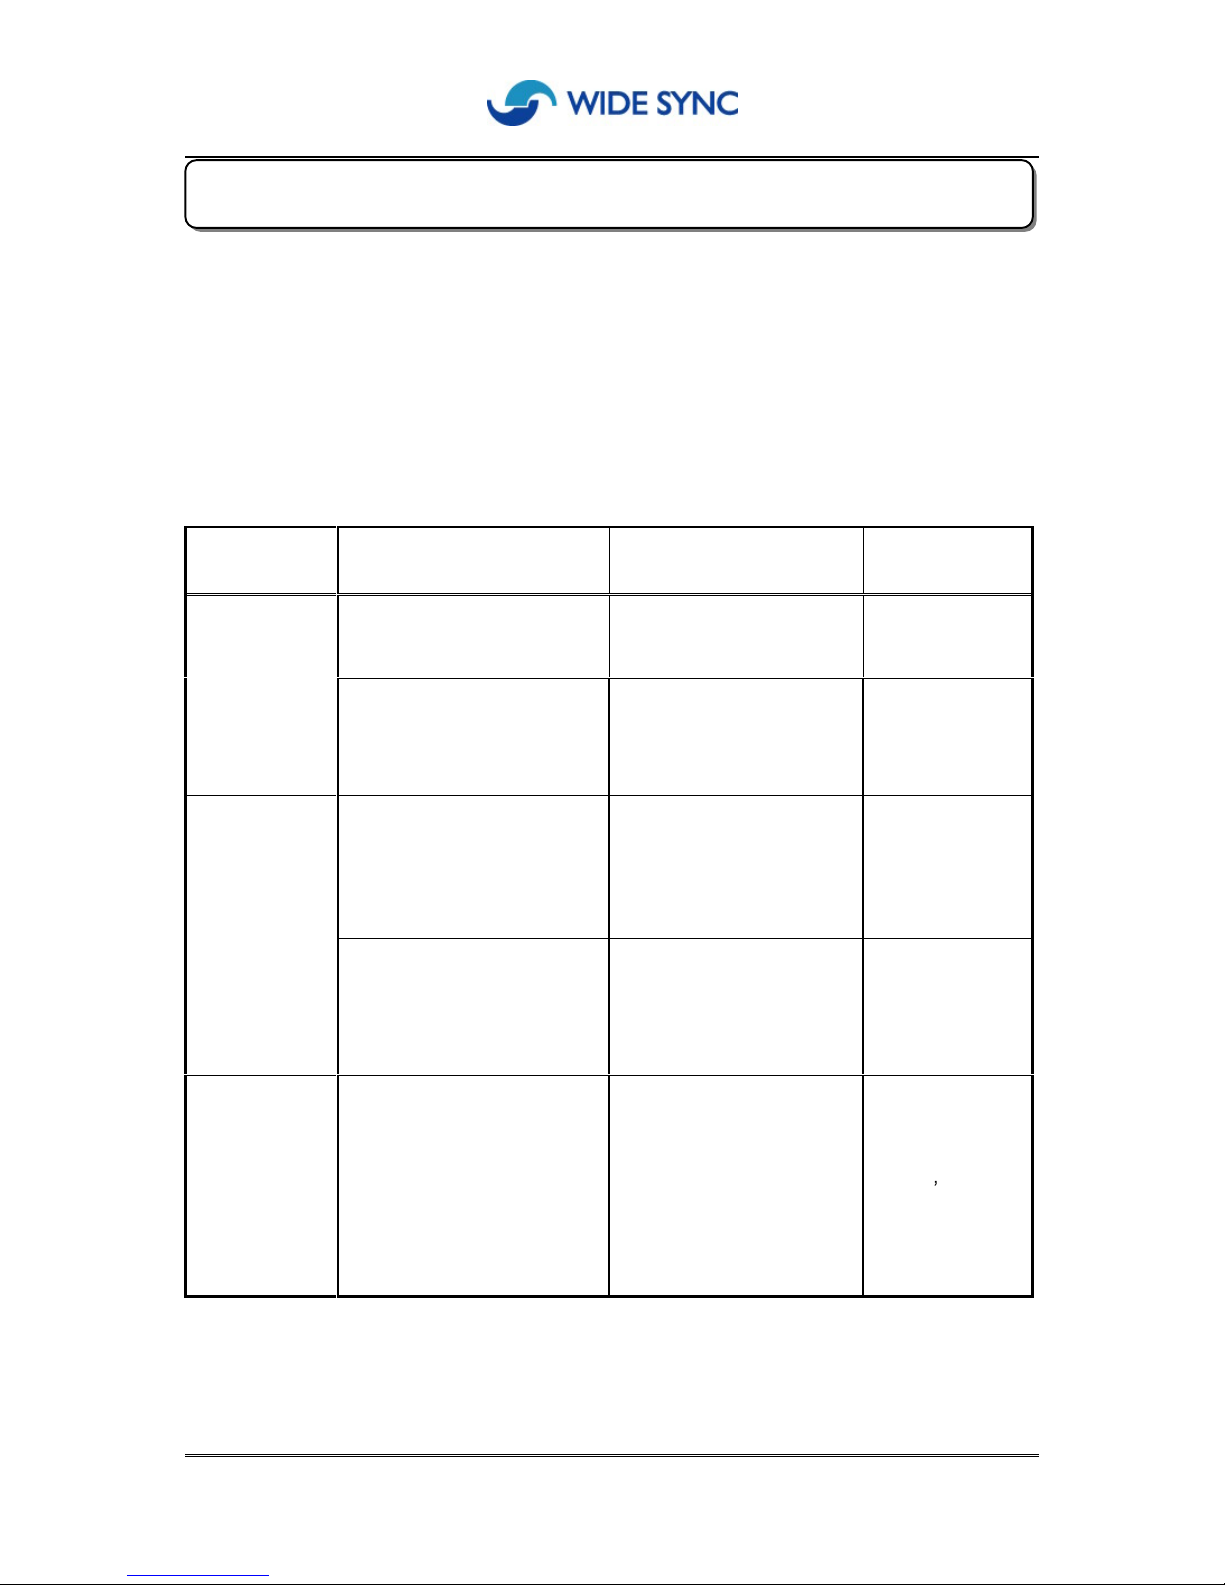
This wireless keyphone system designed to fix operational troubles simply and recommend
you to follow instructions herein for easy trouble shooting first. If you keep facing troubles
even after followed instructions
, please contact our agent or dealer shop you purchased in
your territory for further support.
Trouble
First to verify
Step1
Step2
Clock
displayed
in LCD?
If not, Do clock setting
Power off/on
Keyphone
system
Stucked.
Can you hear beep sound
when
lifted handset?
If not, check and
plug in PSTN line again.
Power off/on
Can you hear bell ring?
If not, check whether
you barred same
number to receive.
Check PSTN
line register.
Incoming calls
not taken.
While lamp blinks
of the extension buttons
but n
o ring bell?
Check PSTN line
register again
Power off/on
High noise
level while
calls
Any products nearby
could generate high
electromagnetic radio?
Move your location
and retry call.
Connect power
adaptor to other concent.
Check other
station
s
termina
l
5. Trouble Shooting
Page 28

28
Frequency bandwidth
-
Transmit : 959.0125~959.9875 MHz
-
Receive : 914.0125~914.9874 MHz
Transmission power : 10dBm max
Spurious emission : -
55dBm max
Adjacent channel Leakage ratio : 51dB min
Channel number ; 40 CH
Commu
nication Method : Full Duplex
Modulation Method : Analog FM
Sensitivity : -
110 dBm max
Electromagnetic Interference : -
57dBm
Terminal weight : apprx 1,200g
Dimension(WxDxH) : 190mm x 230mm x 70mm
6. Technical Specifications
Page 29

This document was created with Win2PDF available at http://www.daneprairie.com.
The unregistered version of Win2PDF is for evaluation or non-commercial use only.
 Loading...