


User’s Manual and Safety Guide
www.wickedlasers.com
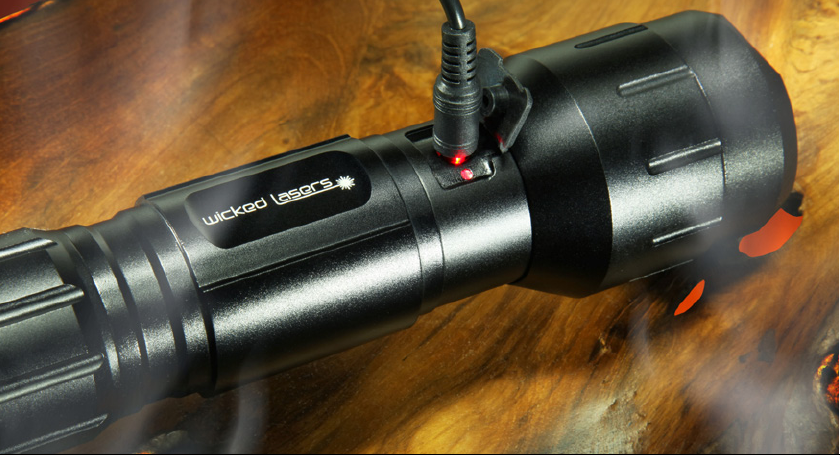

Table of Contents
Flashtorch Technical Specications
Flashtorch Diagram
Quick Start Guide
Modes of Operation
Charging Guide
Bulb Replacement
Battery Replacement
Safety Instructions
Limitation of Liability
Manufacturer’s Warranty
3
4
5
6
7
8
9
11
12
13
User’s Manual & Safety Guide | 1
WWW.WICKEDLASERS.COM
FLASHTORCH | 2

Technical Specications
Model Name:
Lamp Output:
Dimensions:
Weight:
Power Supply:
Power Consumption:
Battery Lifetime:
Bulb Type:
Expected Bulb Life:
Body:
Finish:
LED switch:
Tail switch:
Warranty:
Flashtorch
4100 Lumens with a High Eciency Reector
63mm x 48mm x 293mm ( Head x Barrel x Length)
610g
18650 Lithium-Ion Battery Pack
16.8V@10A
10 - 40 Minutes
100W Halogen
2000 Hours
6061-T6 Aircraft-Grade Aluminum
Mil-Spec Type III hard anodized in black
Low, Medium and High Power modes
On/O Button
One Year
User’s Manual & Safety Guide | 3

WWW.WICKEDLASERS.COM
Flashtorch Diagram
Tailcap Button
LED Switch
Lamp Head
FLASHTORCH | 4
Battery Compartment
Power (DC) InputTailcap

Quick Start Guide
Connect the power cable
of the ashlight to the
1
Lithium battery pack.
WARNING: The Flashtorch’s lamp head may become extremely hot after a few minutes of use. Do not touch it while in use and
allow enough distance from the lamp head for heat dissipation.
Close the cover. Make
sure that the locking tab
2
is secure.
Screw on the tail cap,
make sure that the switch
3
is aligned properly with
the button.
Press the button on the
tail cap to turn-on the
4
ashlight. It will start in
high-power mode by
default.
User’s Manual & Safety Guide | 5
WWW.WICKEDLASERS.COM
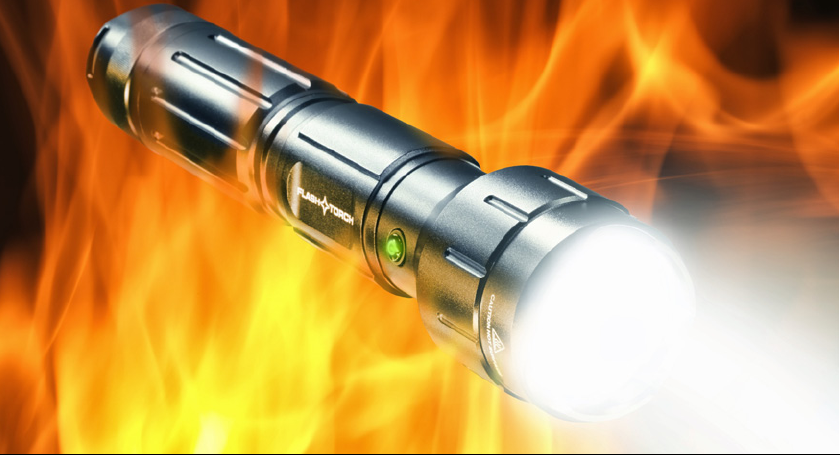
Modes of Operation
The LED switch allows for switching between
high, medium and low power modes.
FLASHTORCH | 6
High-Power: This is the default mode after turning on the Flashtorch. It will run at
100% full-power.
Medium-Power: From High-Power mode, press the LED switch once, this will set it
to 50% power.
Low-Power: From Medium-Power mode, press the LED switch once, this will set it to
33% power.
Pressing the LED switch again from Low-Power Mode will set it back to High-Power
mode.
Lock Mode: For safety, connecting the charger to the Flashtorch will shut it o and the
LED switch will be unresponsive. The LED switch will be blinking to indicate it is in Lock
Mode. To exit this mode, disconnect the charger and press the tail cap switch twice
to turn it o then on again. Do not leave the Flashtorch in Lock Mode. Exit this mode
whenever possible.
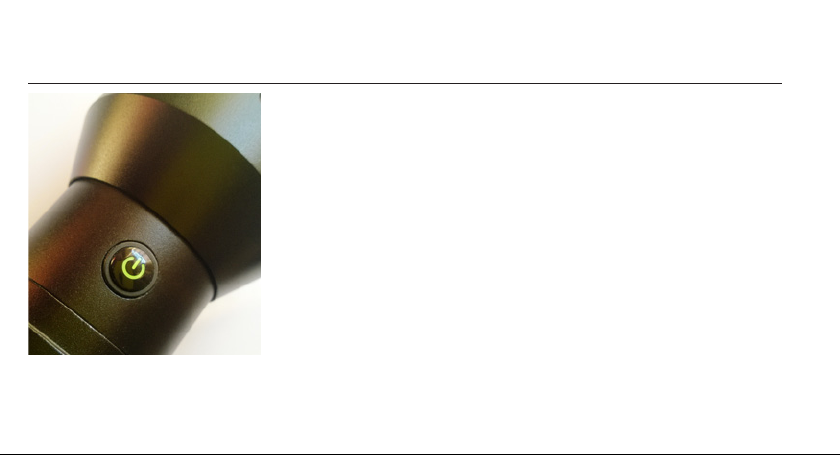
LED Indicator: The LED will be on to show the Flashtorch is powered on. The LED will
be o to show that it is either o or out of battery power. The LED will constantly be
blinking to show that it is in Lock Mode.

Charging Guide
Lift the rubber ap that covers the
power (DC) input.
1
WARNING: Please turn o the ashlight before charging. Do not operate the ashlight while it is charging.
Connect the power cord to the
Flashtorch and plug the charger to the
2
wall socket.
Allow the Flashtorch to charge for
three hours.
3
User’s Manual & Safety Guide | 7

WWW.WICKEDLASERS.COM
Bulb Replacement
Holding the Flashtorch upright,
1.
twist the head counter clockwise
to unscrew it.
Using a piece of cloth or tissue,
2.
cover the light bulb and pull it o
from the ashlight.
Again, using a piece of cloth or
3.
tissue, pick up the replacement
bulb and align the 2 prongs with
the 2 holes located on the light
bulb holder.
Push down until the light bulb is
4.
set in place.
FLASHTORCH | 8
Turn head counter-clockwise to open.
Align the 2 prongs of the replacement bulb
with the 2 holes and insert.
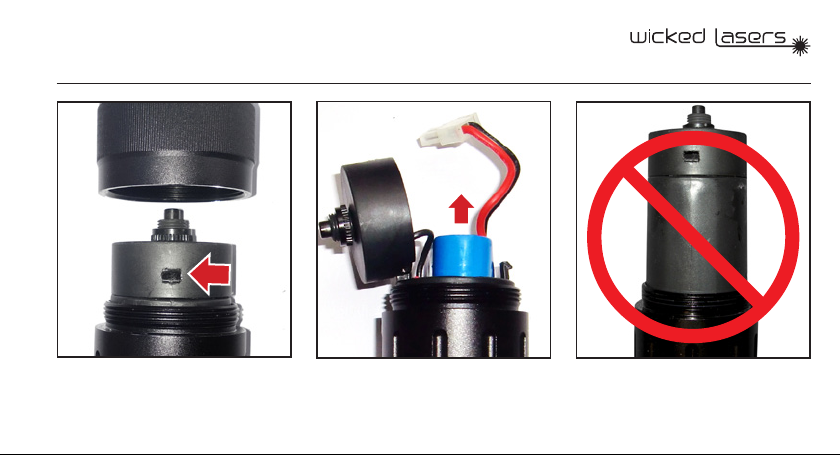
Battery Replacement
Unscrew the tail cap and open the
1.
battery enclosure by pushing on the
locking tab.
Disconnect the power cable and remove
2. WARNING: DO NOT PULL OUT OR TWIST
the battery.
THE PLASTIC BATTERY ENCLOSURE.
Doing so will damage the ashlight.
User’s Manual & Safety Guide | 9
WWW.WICKEDLASERS.COM
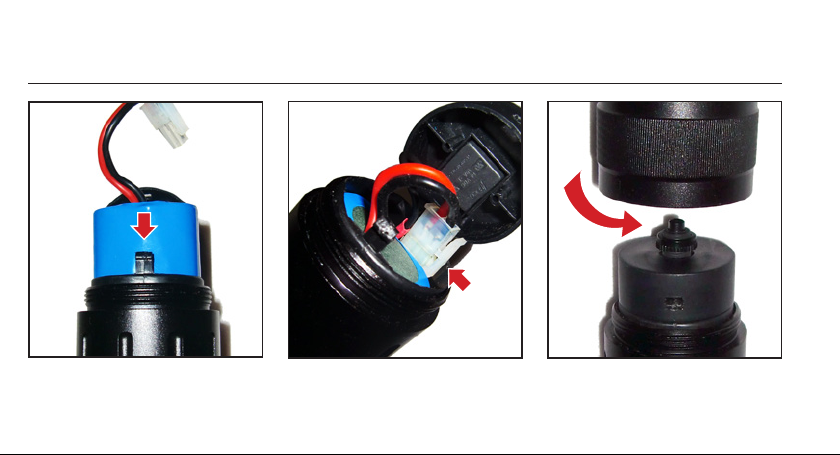
Battery Replacement
Insert the new battery with the cable
3.
facing the locking tab.
FLASHTORCH | 10
Reconnect the power cable and close the
4.
battery enclosure.
Make sure the locking tab is secure then
5.
screw-on the tailcap cover.

Safety Instructions
The Flashtorch is an extremely bright ashlight, do not aim or point it toward the eyes of
yourself or people around you.
When in operation, do not place any objects in close range or in front of the lamp head.
Do not leave the Flashtorch ashlight on unattended.
Do not touch the head or aperture of the Flashtorch during or after use.
To protect your hands from the heat generated by the Flashtorch, wear protective gloves
during operation and allow enough distance from the lamp head for heat dissipation.
Keep away from children.
User’s Manual & Safety Guide | 11

WWW.WICKEDLASERS.COM
Limitation of Liability
In no event shall Wicked Lasers or any of its subsidiaries or aliates be liable for any indirect, special, incidental or consequential injury to
persons or damage to property caused by the use of any of our products. By purchasing from Wicked Lasers, you hereby indicate that it is
your sole responsibility as the buyer and not Wicked Lasers to determine and obey all applicable local, state and federal laws governing the
purchase, possession and/or use of the products sold by Wicked Lasers.
Wicked Lasers will not be responsible to you or any third party for any direct, indirect, special, incidental or consequential damages, arising
out of use, misuse or inability to use any of our products. By purchasing Flashtorch Series ashlights, the buyer represents that the products
purchased will be used only in a lawful manner. Consult an attorney or law enforcement professional, regarding local, state and federal laws
before using the product in a public setting.
NOTICE: All products sold by Wicked Lasers may not be used to violate the privacy rights of others. In no way shall Wicked Lasers or its or any
of its subsidiaries or aliates be held responsible for inappropriate use of its products.
IT IS THE SOLE RESPONSIBILITY OF THE BUYER TO CONSULT LEGAL COUNSEL FOR THE INTERPRETATION OF ANY LAWS APPLICABLE TO THE
AREA OF INTENDED USE OF THESE PRODUCTS.
WARNING: Flashtorch Series ashlights should not be shone directly into anyone’s eyes. It could cause temporary blindness or eye damage.
FLASHTORCH | 12

Manufacturer’s Warranty
The Flashtorch comes with a standard 12 Month Manufacturer’s Warranty. Our warranty
guarantees your Flashtorch to be free from defects in manufacture and workmanship.
All defective products will be replaced or repaired subject to the full discretion of
Wicked Lasers.
Ownership of the warranty is not transferable and will expire exactly 12 months from
the date of receiving the purchase.
Unit 1010, Miramar Tower, 132 Nathan Road, Tsim Sha Tsui Kowloon, Hong Kong
www.wickedlasers.com | support@wickedlasers.com
1-877-952-7377

Manufacturer’s Warranty
This warranty does not include defects or damages attributable to misuse, normal
surface weathering, or damages caused by accidents or re or other casualty or force
majeure or any other causes or occurrences beyond the manufacturer’s control.
To claim your warranty, please send this form or email support@wickedlasers.com
with the following information:
Full Name:
Address:
Order ID / Product Model:
Reason for Claim:


1-877-952-7377
Unit 1010, Miramar Tower, 132 Nathan Road, Tsim Sha Tsui Kowloon, Hong Kong
www.wickedlasers.com | support@wickedlasers.com
 Loading...