

Page 1
Page 2

www.wickedlasers.com
User’s Manual and Laser Safety Guide
Page 3

User’s Manual & Laser Safety Guide | 1
First and foremost, we are laser enthusiasts. We desire nothing more than
to achieve perfection in our craft. For us, pushing the limits of technology
is part of our daily routine. It’s only impossible if we don’t try.
As we continue to advance in our search for perfection, we’ve set
benchmarks for others to follow and new limits for us to test. This is our
mission. We plan to continually push the boundaries of technology and
create products that challenge the imagination far into the future.
FOREWORD
Page 4
User’s Manual & Laser Safety Guide | 1
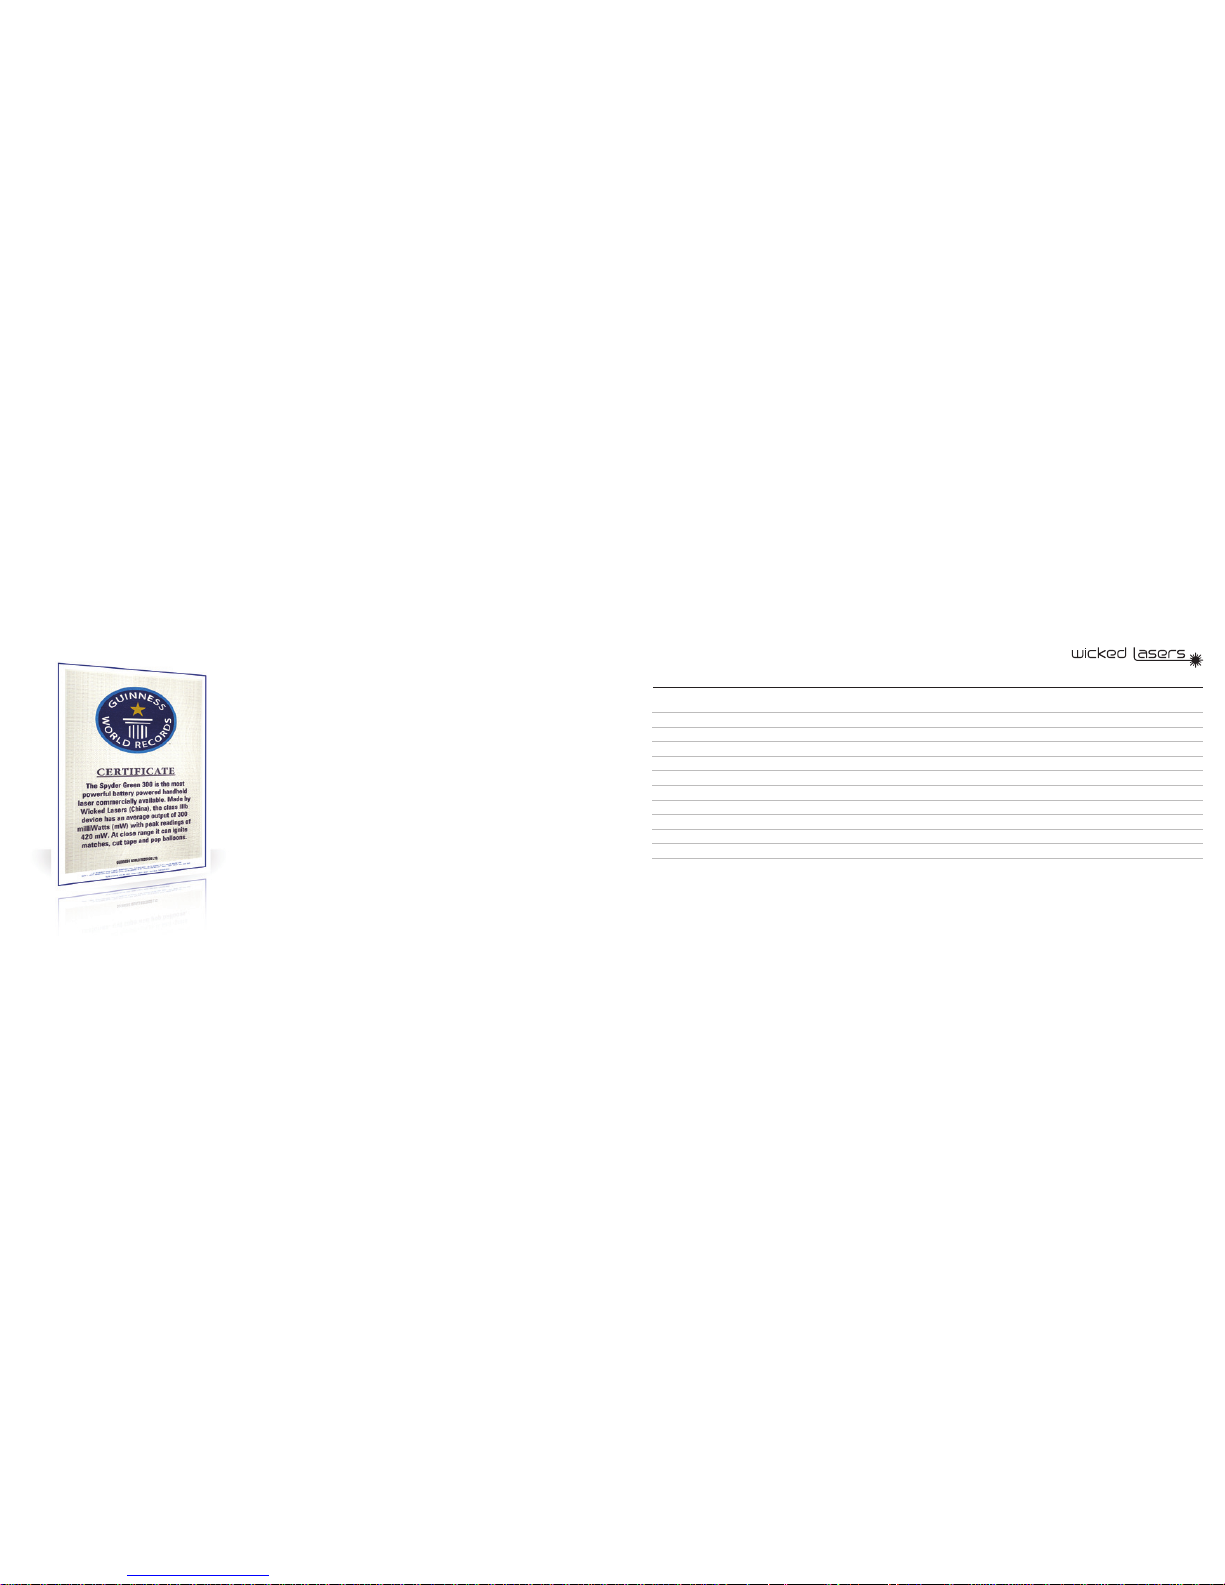
We wanted to create the world’s most powerful handheld laser - we
succeeded and inadvertently set a world record in doing so. We are
extremely proud to be included in the Guinness Book of World Records
for 2007. This will serve as a testament to our commitment to providing the
world with the most sophisticated laser products technology can oer.
Designed and developed by some of the world’s best engineers, the Spyder
Series stands at the pinnacle of laser technology. Lithium powered, water
resistant and ultimately powerful, the Spyder Series is our most advanced
line of handheld lasers to date.
We still have much to prove as there is still a world of possibilities in front of
us. Our quest to turn science ction into reality has only just begun.
Table of Contents
EVO Laser Series Technical Specications
EVO Laser Series Diagram
Using Your Laser: How to Power On
Using Your Laser: The SmartSwitch
Using Your Laser: The Smartport
Using Your Laser: Programming the EVO
Safety and Maintenance
Lens Cleaning Procedure and Troubleshooting
Types of Common Lens Problems
Limitation of Liability
Manufacturer’s Warranty
3
4
5
6
7
10
13
14
15
18
19
Page 5
User’s Manual & Laser Safety Guide | 3
EVO Laser Series | 2
WWW.WICKEDLASERS.COM
EVO Laser Technical Specications
Model Name:
Laser Product Class:
Wavelength:
Size:
Weight:
Laser Body:
Laser Finish:
Transverse Mode:
Max Power:
Beam Divergence:
Beam Diameter:
NOHD*
Required Eyewear O.D.
Power Consumption:
Power supply:
Battery Lifetime:
Switch:
Modes:
Duty Cycle:
Expected lifetime:
Warranty:
EVO Series
3B
532nm
226.5mm x 25.3mm
150g (no battery)
6061-T6 Aircraft-Grade Aluminum
Mil-Spec Type III hard anodized in black
TEM00
100mW
1.5mRad
2.0 mm
47 meters
2.0+
3V
2x AA 1.5V Alkaline Batteries
60 - 120 minutes
Push Button Constant On / O, Lock-Out Tail Cap, Electronic Mode switch
Variable Power modes, Strobe and Continuous Wave modes,
Standby and Secure Lock/Unlock modes
Continuous
>5,000 hours
One Year
*Nominal Occular Hazard Distances are for 0.25
second accidental (unaided eye) exposure.
Page 6

User’s Manual & Laser Safety Guide | 5
EVO Laser Series | 4
WWW.WICKEDLASERS.COM
Laser Diagram Using Your Laser : How To Power On
Rotate the laser module section
counter clockwise to open.
Press the button located on the tail cap to
power-on the laser.
Insert two “AA” batteries with the
positive (+) end rst and reconnect the
laser module section.
FRONT LENS SMARTSWITCH BATTERY COMPARTMENT
TAIL CAP
LASER MODULE SECTIONCLIPINTERLOCK PIN
Page 7

User’s Manual & Laser Safety Guide | 7
EVO Laser Series | 6
WWW.WICKEDLASERS.COM
Using Your Laser : The Smartport
Remove the jumper shown here
before connecting
the Smartport.
Please visit http://www.wickedlasers.com/evo
to download the app for your smartphone.
Remove the bottom metal panel to access the
connection area for the Smartport.
Remove the screws on the Smartport.
Using Your Laser : The SmartSwitch
To operate the laser, it must rst need to be
unlocked via the SmartSwitch.
How to use the SmartSwitch:
1) Unlock the laser with three quick clicks + two short holds.
2) Holding the SmartSwitch continuously will gradually increase the power, the
laser will ash once to indicate that the maximum power has been reached.
3) While in high-power mode, holding the SmartSwitch continuously again will
gradually decrease the power, the laser will ash once to indicate that the
lowest power has been reached.
4) A quick press will put the laser in hibernation mode, another quick press will
turn it back on.
5) Double clicking the SmartSwitch will put the laser in strobe mode. To exit this
mode, simply double click again.
6) To set the laser to full-power / momentary mode, hold the SmartSwitch +
press the tailcap b utton. The laser will now only work whenever the SmartSwitch
is pressed. To exit this mode, turn o the laser by pressing the tailcap button.
Page 8

User’s Manual & Laser Safety Guide | 9
EVO Laser Series | 8
WWW.WICKEDLASERS.COM
The laser will start in Continuous Mode
by default. You may select other operating
modes from the menu bar.
The main operating modes are Continuous,
Momentary, Strobe and Fade.
Using Your Laser : The Smartport
<Option 2> Connect the Bluetooth adapter
to the Smartport and switch it on.
Pair the Bluetooth adapter with your
smartphone device then run
the EVO laser app.
Turn the laser on by pressing the
the button on the tail cap.
Using Your Laser : The Smartport
Connect the Smartport to the laser
module section.
Use the two screws to secure the
Smartport in place.
There are two options for connecting the
Smartport with your device:
1) AV Cable
2) Bluetooth Accessory
<Option 1> Connect the AV cable to the
Smartport.
Connect the other end of the AV cable to
the headphone jack of your
smartphone device then run
the EVO laser app.
Page 9

User’s Manual & Laser Safety Guide | 11
EVO Laser Series | 10
WWW.WICKEDLASERS.COM
Select “File” then “Import Hex”. Find the
location of your Hex le to import it.
Make sure that “On” and “/MCLR” are both
checked in the VDD PICKit 2 section.
Using Your Laser : Programming the EVO
Download and install the Microchip PicKit
programming software. Run the program.
Under “Device Family” select “Midrange”
devices and “Standard”.
In the “Device” dropdown menu,
select “PIC12F83”.
Connect the Programming Plug. Make sure
that the notch on the plug is facing the
front of the laser.
If the laser is facing left, the red wire should
be on top when properly connected.
Using Your Laser : Programming the EVO
With the laser powered o, remove the
bottom metal panel.
You will see the port where to connect
the Programming Plug. Remove the
jumper rst.
Page 10

User’s Manual & Laser Safety Guide | 13
EVO Laser Series | 12
WWW.WICKEDLASERS.COM
Using Your Laser : Programming the EVO
Please cover the aperture of the laser
and then connect the USB end of the
Programming Plug to your PC.
Click on the tailcap button to
turn the laser on.
In the PicKit program, click on “Write”
then wait for it to display “Programming
Successful”.
Disconnect the Programming plug, put
back the jumper and metal plate.
Safety and Maintenance
No scheduled maintenance necessary to keep the
product in compliance. Simply keep the laser free
from dust or other contaminates that could cloud or
dirty the laser lens or crystal array and operate within
recommended parameters.
Avoid direct eye and skin exposure to the laser
beam. Direct contact with the beam can instantly
cause severe and irreparable eye damage. Note that
a reected laser beam can be just as powerful as
directly coming from the laser unit itself.
We strongly recommend using the LaserShades that
come with this laser or wearing similar approved laser
safety eyewear.
Do not take apart, modify or dismantle the laser or
operate it under abnormal current load (doing so will
void the warranty). Strictly no service is allowed.
Operate your laser only within the specied
temperature range of 10°C (50°F) to 40°C (104°F).
Should you have diculty operating the laser
properly and troubleshooting does not work, go
to www.wickedlasers.com for support and RMA
assistance if necessary. Do not attempt to service,
modify or x the laser yourself.
Do not shine your laser at an aircraft. It may cause
a distraction to the pilots putting the aircraft’s
passengers at considerable risk. Shooting a laser at
an aircraft is considered a felony in the U.S.
1.
2.
3.
4.
5.
6.
7.
*For more safety information & guidance please refer to ANSI Z136.1 (2007) Safe Use of Lasers
available at the Laser Institute of America website: www.laserinstitute.org
CAUTION - Use of controls or adjustments or performance of procedures other than those specied
herein may result in hazardous radiation exposure.
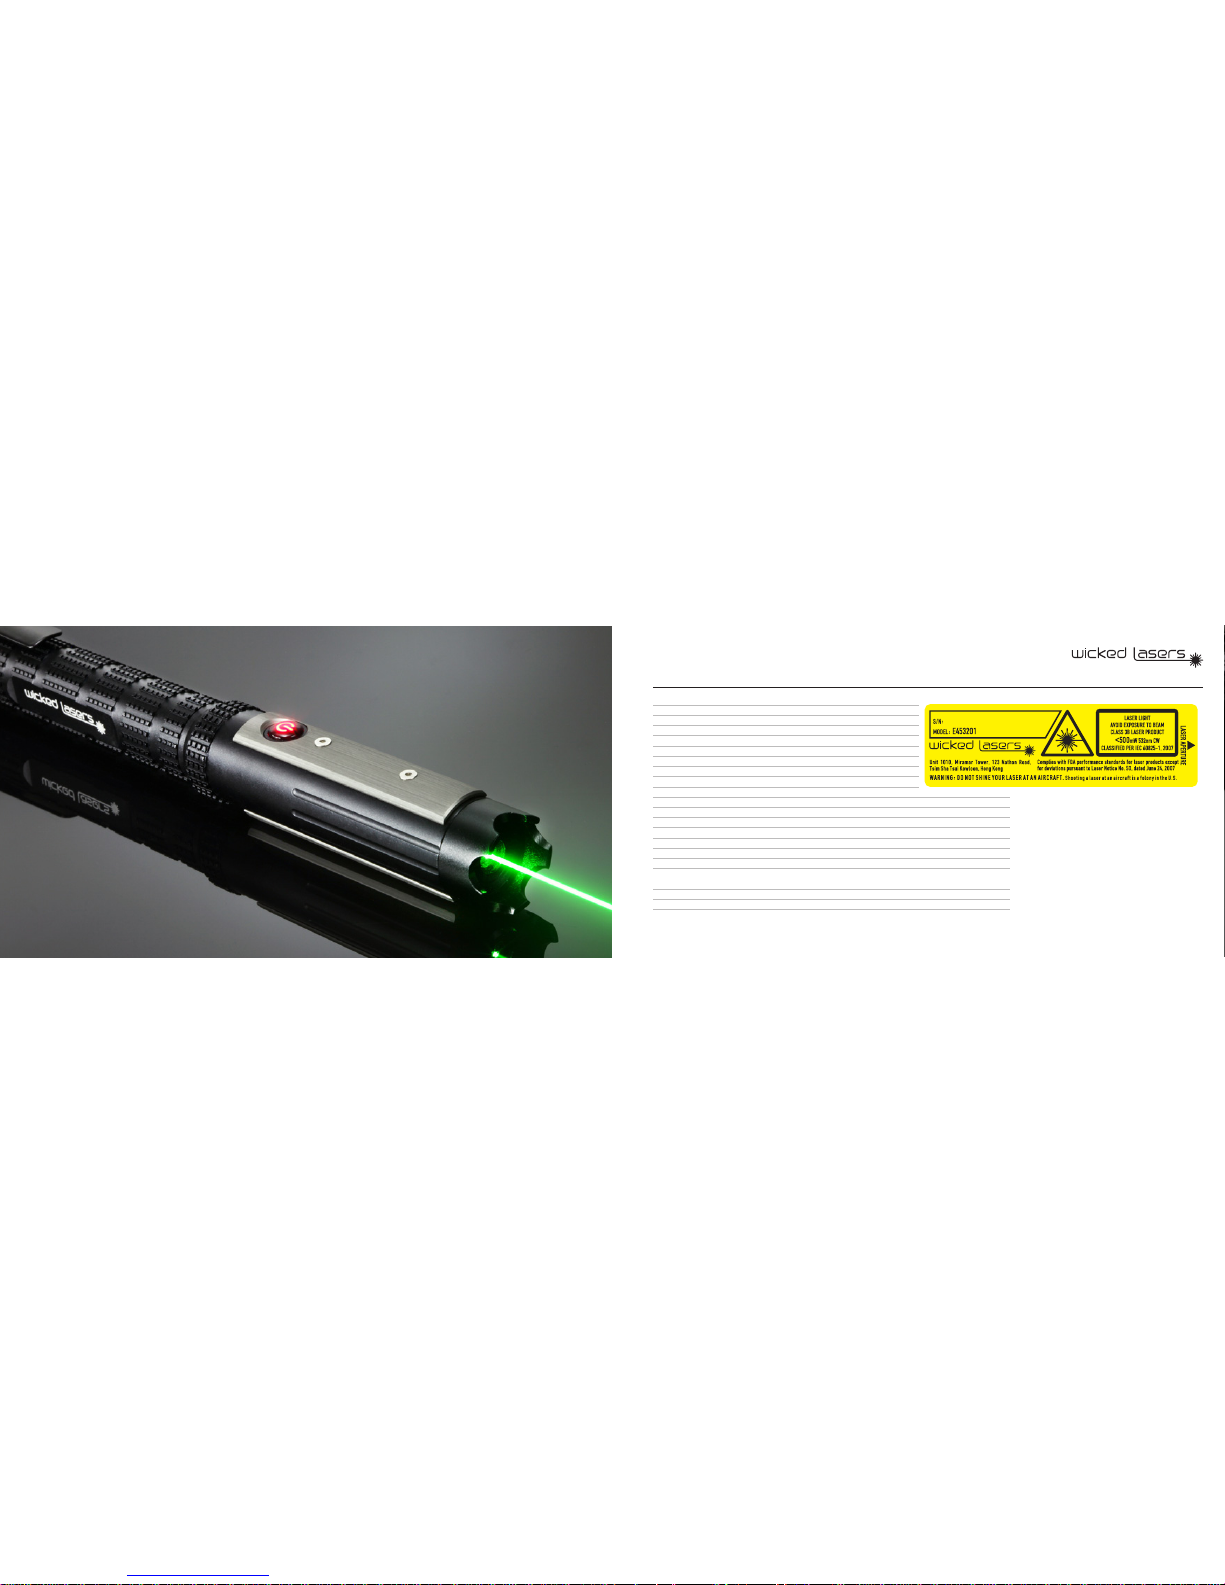
Laser Light – Avoid Exposure to Beam
Class 3B Laser Product
Page 11

User’s Manual & Laser Safety Guide | 15
EVO Laser Series | 14
WWW.WICKEDLASERS.COM
Lens Cleaning Procedure and Troubleshooting
What you need :
Microber Cloth - Please make
sure the microber cloth is specically
designed for cleaning lenses. You can
nd this at your local camera or glasses
store.
Q-Tip or Tooth Pick - You will need
to fold the cloth over one of these
in order to be able to reach the lens
properly.
Lens Cleaning Solutions (Optional)
- Use the lens cleaning solution only
if the lens is not cleaned using the
microber cloth alone. Please make
sure the cleaning solution is designed
specically for lens cleaning.
1.
2.
3.
Procedure :
Wash your hand with soap and water. Make sure to dry them properly.
Remove the batteries from your laser prior to cleaning.
Fold the microber cloth over a toothpick or the handle part of a Q-tip. Make sure
you do not touch the part of the cloth that will be cleaning the lens. You probably
will not be able to fold the cloth twice, so you need to be very careful not to press too
hard on the lens.
Gently move the cloth into the aperture until it comes in contact with the lens. Rub
it from side to side but do not press too hard. Gently rotate the cloth in a twisting
motion back and forth. Repeat this procedure until the lens of your laser is clean.
Re-insert the batteries and turn your laser unit on to see if the lens is clean.
Still dirty? Apply only 1 drop of Lens Cleaning Solution to the part of the cloth that
will be cleaning the lens, the follow the same procedure as above. You will want to
nish by using a dry part of the cloth to wipe the lens dry, this should take one pass
side to side or gentle rotate.
1.
2.
3.
4.
5.
6.
!
WARNING : DO NOT USE WATER
Dirty Lens - The most common problem with your laser
unit is a dirty lens. The easiest way to determine whether
you have a dirty lens is to look at the lens under direct
light. If you see smudges, nger prints, or small particles
on the lens, the beam emitted will look similar to the above
pictures. Simply follow the cleaning instructions to restore
the spot back to a focused dot.
1.
Types of Common Lens Problems
Scratched Lens - A scratched lens may occur if you
accidentally scratch the lens with a hard or rough surface.
The lens of your laser unit is similar to that of a camera, please
handle with care. This condition can be repaired by Wicked
Lasers, however, will not be covered in your warranty. A
repair cost will apply.
2.
Page 12

User’s Manual & Laser Safety Guide | 17
EVO Laser Series | 16
WWW.WICKEDLASERS.COM
Mode Shifts - A mode shift may occur under extreme temperatures. If your laser unit is too hot or too cold, the beam may appear
unstable and look similar to the above pictures. Please note that as your laser “warms up” and returns to room temperature, the beam
will return to normal mode, TEM00. The normal operating temperature of all Wicked Laser products is 10ºC ~ 40ºC. Using your laser unit
beyond these parameters will damage your laser beyond repair.
3.
Types of Common Lens Problems Types of Common Lens Problems
Moisture - We do not recommend using any laser products
in highly humid or foggy conditions. If your laser unit is used
in these conditions and/or submerged in water, the beam
may appear similar to the above picture. You will not be able
to clean this as water has condensed inside the lens and/or
crystal set. This condition can be repaired by Wicked Lasers,
however, will not be covered in your warranty. A repair cost
will apply.
*This condition may occur if you are using the laser unit
with wet hands. Please dry your hands completely before
handling your laser unit.
4.
Page 13

EVO Laser Series | 18
WWW.WICKEDLASERS.COM
Limitation of Liability
In no event shall Wicked Lasers or any of its subsidiaries or aliates be liable for any indirect, special, incidental or
consequential injury to persons or damage to property caused by the use of any of our products. By purchasing from
Wicked Lasers, you hereby indicate that you understand and agree to the following:
I am 18 years of age or older.
I am fully responsible for the safe application and use of this laser and agree to such by completing the sale process.
I will never look directly into the beam or point the beam at any person’s or animal’s skin, eyes or other body part.
I will not point the laser at any aircraft or moving vehicle of any sort.
I will not use a laser device without wearing approved laser safety goggles designed for such purpose.
I will never remove the laser’s infrared lter.
I will not use the laser in violation of any local, state or federal law, and I understand that it is my responsibility to know and
abide by those laws relating to the ownership and use of lasers in my jurisdiction.
Manufacturer’s Warranty
All EVO Series lasers come with a standard 12 Month Manufacturer’s Warranty.
Our warranty guarantees your laser to be free from defects in manufacture and
workmanship.
All defective lasers will be replaced or repaired subject to the full discretion of
Wicked Lasers.
Ownership of the warranty is not transferable and will expire exactly 12 months from
the date of receiving the purchase.
1-877-952-7377
Unit 1010, Miramar Tower, 132 Nathan Road, Tsim Sha Tsui Kowloon, Hong Kong
www.wickedlasers.com | support@wickedlasers.com
Page 14

Manufacturer’s Warranty
This warranty does not include defects or damages attributable to misuse, normal
surface weathering, or damages caused by accidents or re or other casualty or force
majeure or any other causes or occurrences beyond the manufacturer’s control.
To claim your warranty, please send this form or email support@wickedlasers.com
with the following information:
Full Name:
Address:
Order ID / Laser Model:
Reason for Claim:
Page 15

1-877-952-7377
Unit 1010, Miramar Tower, 132 Nathan Road, Tsim Sha Tsui Kowloon, Hong Kong
www.wickedlasers.com | support@wickedlasers.com
 Loading...