

WICKEDedge WE120 Instruction Manual

INSTRUCTION MANUAL
precision knife sharpeners
MODEL
WE120

WWW . W ICKEDEDGEUS A.C O M
YOU ARE MOMENTS AWAY
FROM USING THE FINEST
KNIFE SHARPENER IN THE
WORLD. MADE OF TOP QUALITY
MATERIALS AND STATE OF THE
ART MANUFACTURING, THE
WICKED EDGE PRECISION
KNIFE SHARPENER WILL CHANGE
THE WAY YOU THINK ABOUT
SHARPENING KNIVES. IT IS THE
CHOICE OF PROFESSIONALS.
YOU ARE MOMENTS AWAY
FROM USING THE FINEST
KNIFE SHARPENER IN THE
WORLD. MADE OF TOP QUALITY
MATERIALS AND STATE OF THE
ART MANUFACTURING, THE
WICKED EDGE PRECISION
KNIFE SHARPENER WILL CHANGE
THE WAY YOU THINK ABOUT
SHARPENING KNIVES. IT IS THE
CHOICE OF PROFESSIONALS.
precision knife sharpeners

TABLE OF CONTENTS
01. Congratulations - Welcome to the Wicked Edge® Community! Pg. 04 - 06
02. Getting Started - Getting familiar with your new sharpener. Pg. 07 - 11
03. Setting the Angle - Matching the existing angle or choosing your own. Pg. 12
04. Making Micro-Adjustments to Your Angle Settings Pg. 13
05. Correct Position - Knife placement and nding the “Sweet Spot.” Pg. 14
06. Basic Sharpening -
Concepts, sharpener operation, stone selection. Pg. 15
07. Creating and Detecting a Burr -
Critical step for success. Pg. 16 - 17
08. Accessories - Accessorize your sharpener with other ne Wicked Edge® products.
Pg. 18
09. Assembly Guide -
Parts list and assembly instructions. Pg. 19 - 23
10. Knife Sharpening Tables -
Track your knives for fast touch-ups. Pg. 24 - 25
11. Knife Sharpener Warranty Pg. 26
wickededgeusa.com • table of contents • 03

04 • congratulations • wickededgeusa.com
CONGRATULATIONS!
Hi, I’m Clay Allison, developer of the Wicked Edge Precision Sharpener, and I want to thank you for your purchase
and welcome you to the Wicked Edge community. I know you’ll enjoy what this ne machine can do for your knives
and I sincerely hope you, your kids and grandkids get many years of great results and enjoyment from it.
A lot of care has gone into the design and manufacturing of our sharpeners and we’ve been helped immensely by
feedback from within our community so that the machine is constantly evolving and getting better. Our team here
at Wicked Edge are entirely dedicated to ensuring the satisfaction of each and every customer. If there is something
you need, please let us know.
You’ll nd that our website is a great resource with a thriving forum, a burgeoning Wiki and a quickly growing
database of knives and their Wicked Edge settings. The forum in particular is lled with thousands of passionate
sharpeners that know all kinds of great tips and tricks for the Wicked Edge. You’ll nd the culture is very open and
welcoming, and people are sharing information and learning from each other constantly. I hope you’ll log on and
create an account so you can participate in the lively discussions happening daily. There are a large, and increasing,
number of videos under the Demo section where you can see the sharpener in action and learn about various,
sharpening specic, skills. Our tech support crew is available by phone and email and is very enthusiastic about
helping you get the most from your Wicked Edge.

A FEW POINTERS TO GET YOU STARTED
1. Choosing your angle - If you’re new to sharpening, it’s probably best to match the angles already ground onto
your knife. You can easily nd what those are by coloring in the bevel with a marker and observing how much
marker comes o when you’re using the stones. Please see page 6 for detailed instructions on discovering your
knife’s angle. Located in the website’s Instructions section, you’ll nd a complete tutorial on using a marker to nd
your angle.
2. Drawing and detecting a burr - In order for a knife to be truly sharp, both bevels’ planes need to intersect at a
ne point or apex. To verify that the bevels meet, it’s important to draw a burr from each side of the knife along the
entire length of the blade. You should do this when you’re rst getting started with a knife while using the coarser
grits. Please see page 9 for detailed instructions for drawing and detecting a burr. Also in the website’s Instructions
section is a complete tutorial on drawing and detecting a burr.
3. Letting your stones break in - Your new diamond plates will be very aggressive at rst and will need to have a
lot of the extra, loose diamonds knocked o. The best way to do this is to work on a few inexpensive knives. As you
perfect your technique, you’ll also break in your stones and your results will continue to get better and better. I
can’t really overstate the necessity of letting your stones break in. The dierence in edge quality you’ll achieve as
your stones hit their stride is signicant.
wickededgeusa.com • congratulations • 05

06 • congratulations • wickededgeusa.com
A FEW POINTERS TO GET YOU STARTED
4. Pressure - Don’t use too much! For most applications, you’ll want to use only the weight of the stones them-
selves against the blade. There are exceptions, like when you want to remove a lot of metal and change the angles
of the blade, but for the most part, a light touch is your friend.
5. Safety - You’re knives will get very sharp with the Wicked Edge and extra care needs to be taken to prevent cuts.
Don’t leave a knife clamped in the machine when you’re not actively using it, and don’t reach across the machine
when a knife is mounted. Always pay attention to what you’re doing when operating the sharpener and don’t let
yourself become distracted.
Thank you again for choosing Wicked Edge and please let me know if there is ever anything I can do for you.
Sincerely,
Clay Allison
wickededgeusa.com • getting started • 07
GETTING STARTED
Your knives will become very sharp
with this machine. Be sure to follow
all instructions and do not leave your
knife mounted in the sharpener
when not in use.
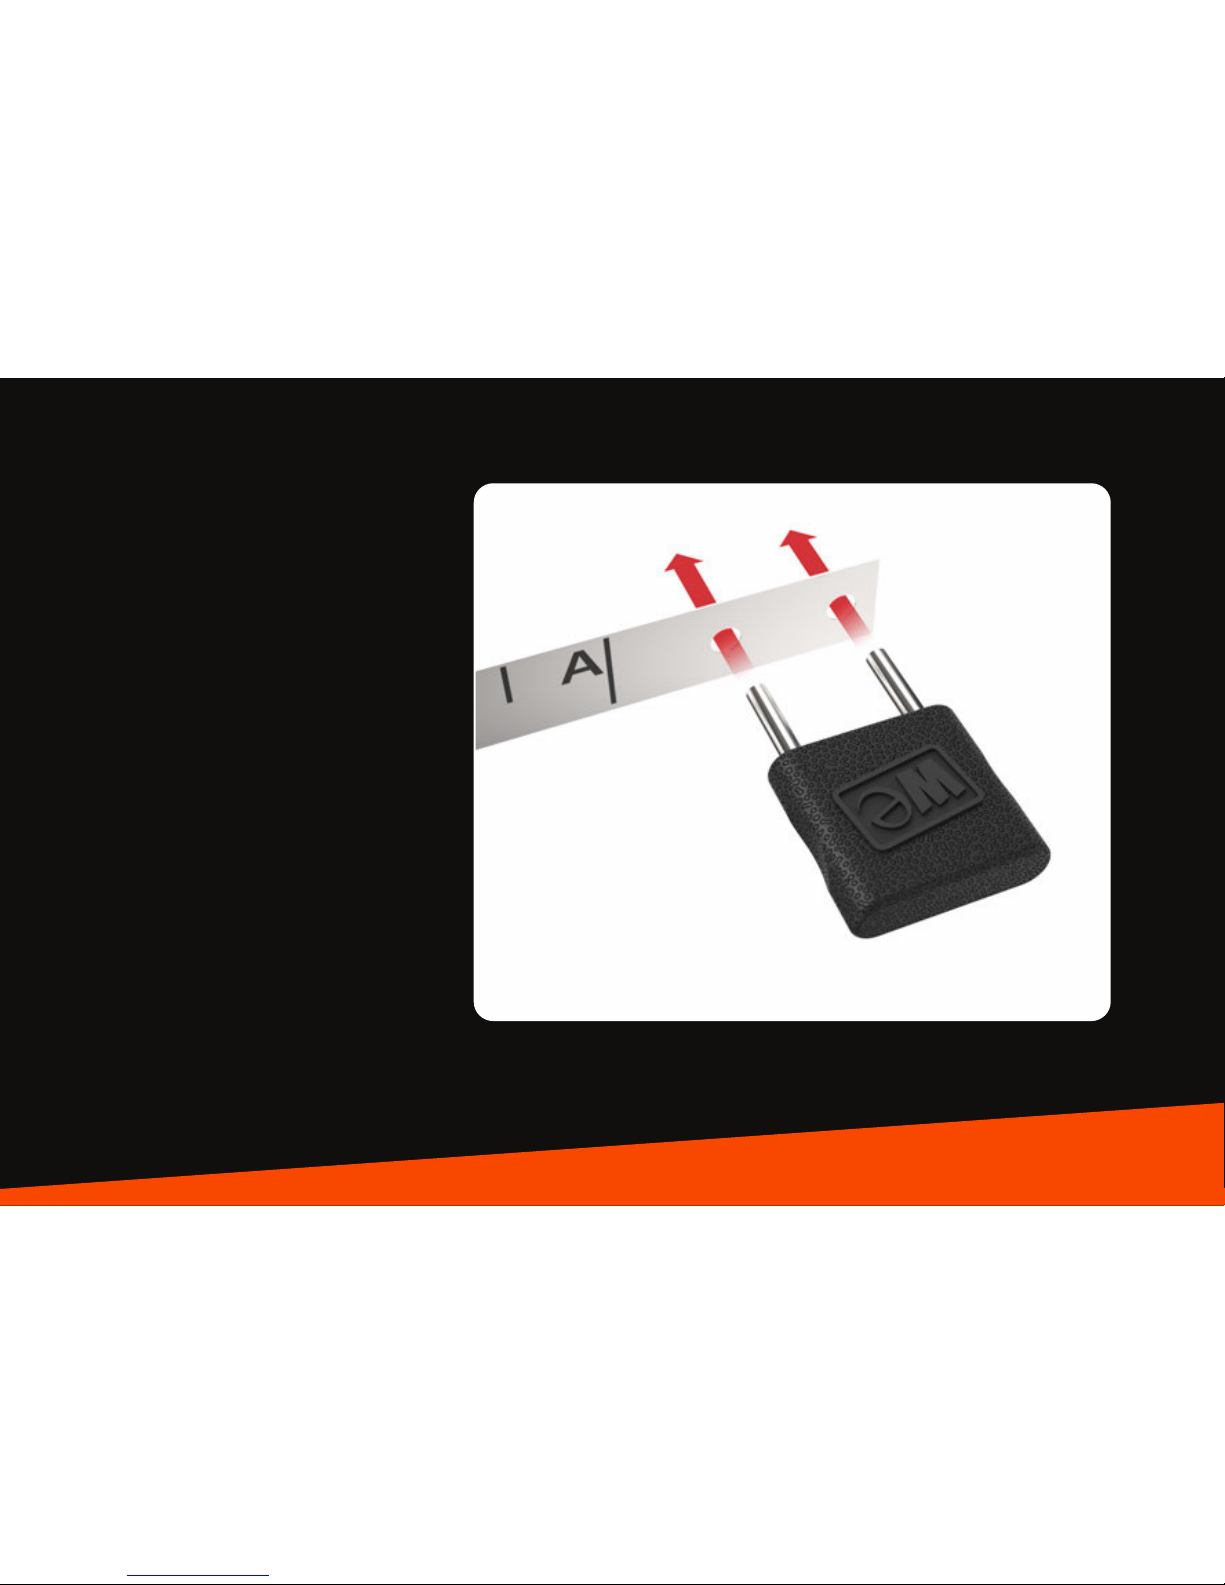
Step 1: Insert the two prongs of the
Depth Key into the two holes in the
Alignment Guide as shown in
Figure 1.
Fig. 1
08 • getting started • wickededgeusa.com
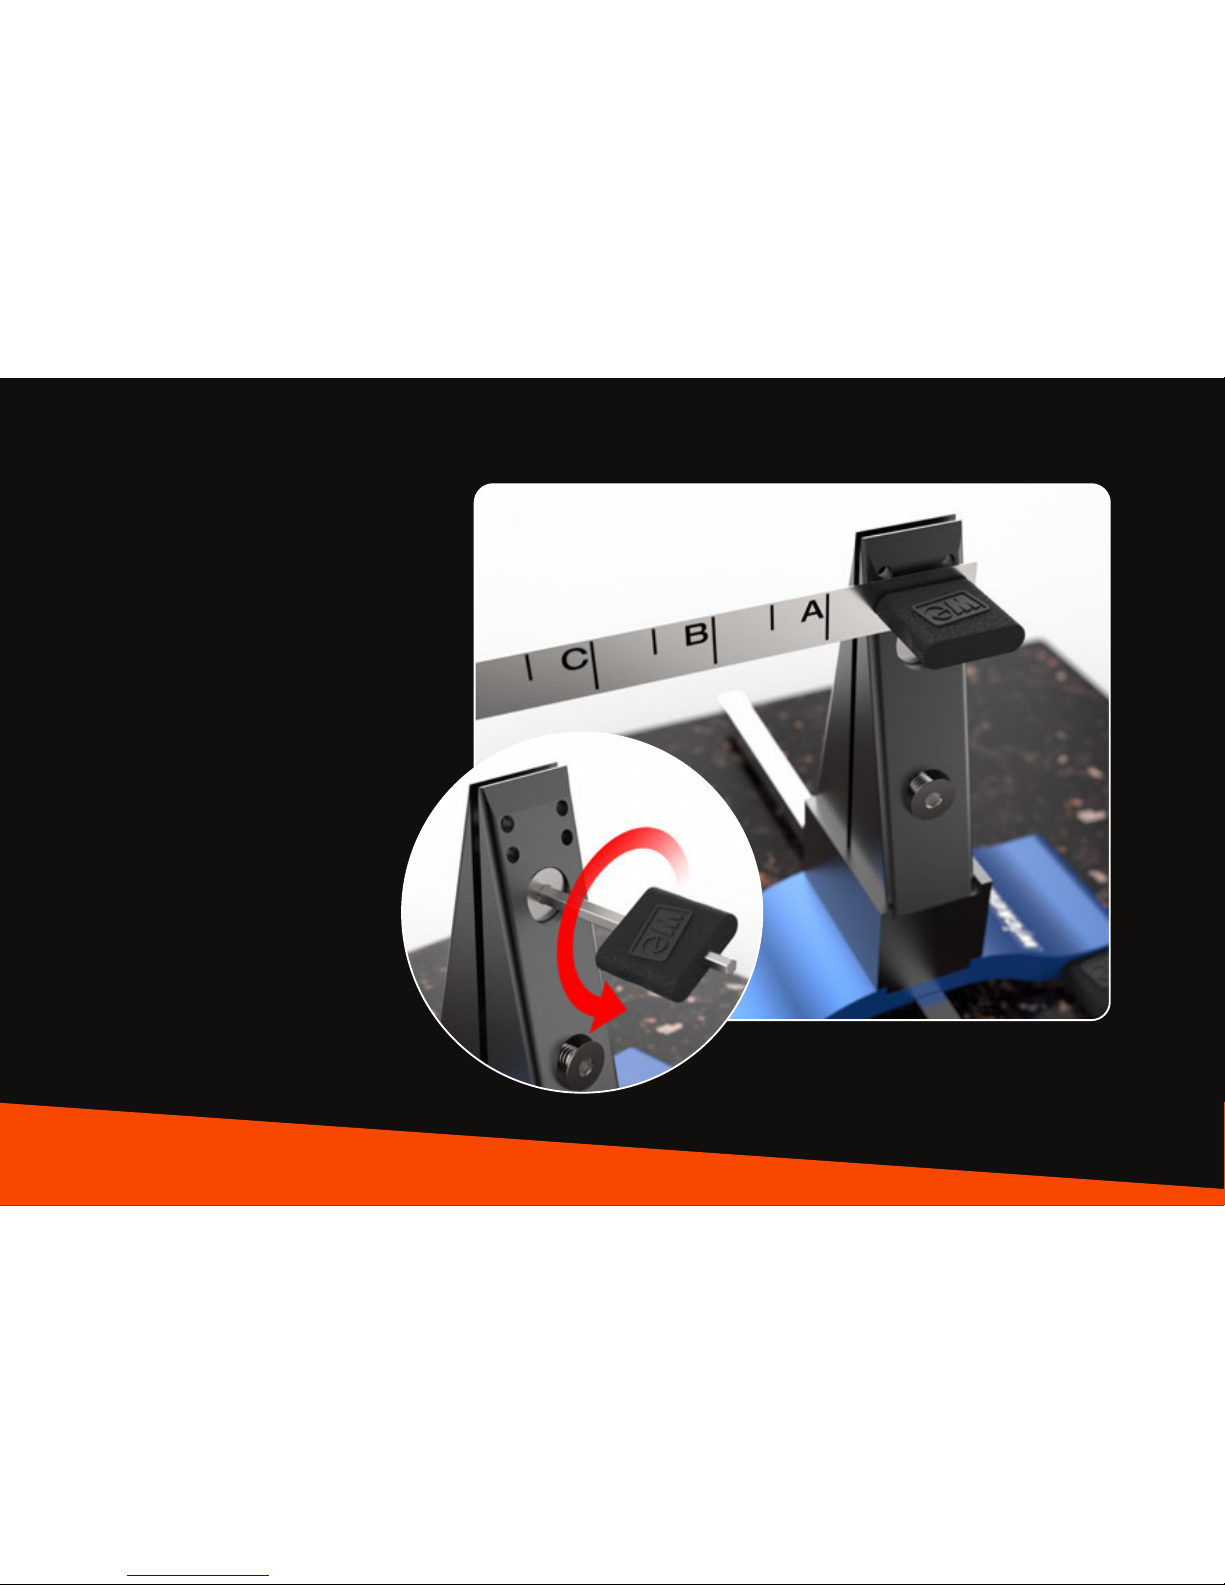
Step 2: For narrow-bladed knives,
insert the Depth Key into the top pair
of holes in the Vise. For wider blades,
use the lower pair of holes.
See Figure 2
Step 3: Using the Vise Key, loosen
the top screw of the Vise until the
spine of your knife ts easily
between the jaws of the Vise and
rests on the prongs of the Depth
Key. Figure 2-1
Fig. 2Fig. 2-1

wickededgeusa.com • getting started • 09
Step 4: Holding the knife so that the
spine of the blade is in contact with
both prongs of the Depth Key and
the tip of the blade is pointing
directly away from you, slide the
knife forward or backward until the
blade is approximately centered in
the Vise, then further adjust the
position of the knife until the tip is
lined up with the nearest mark on
the Alignment Guide, as shown in
Figure 3.
For detailed instructions on the
optimum positioning of your knife,
refer to page 13.
Fig. 3
 Loading...