

01/05 - V1
Salièr
Salièr
e / poivrièr
e / poivrière e
Salt / pepper mill
Salt / pepper mill
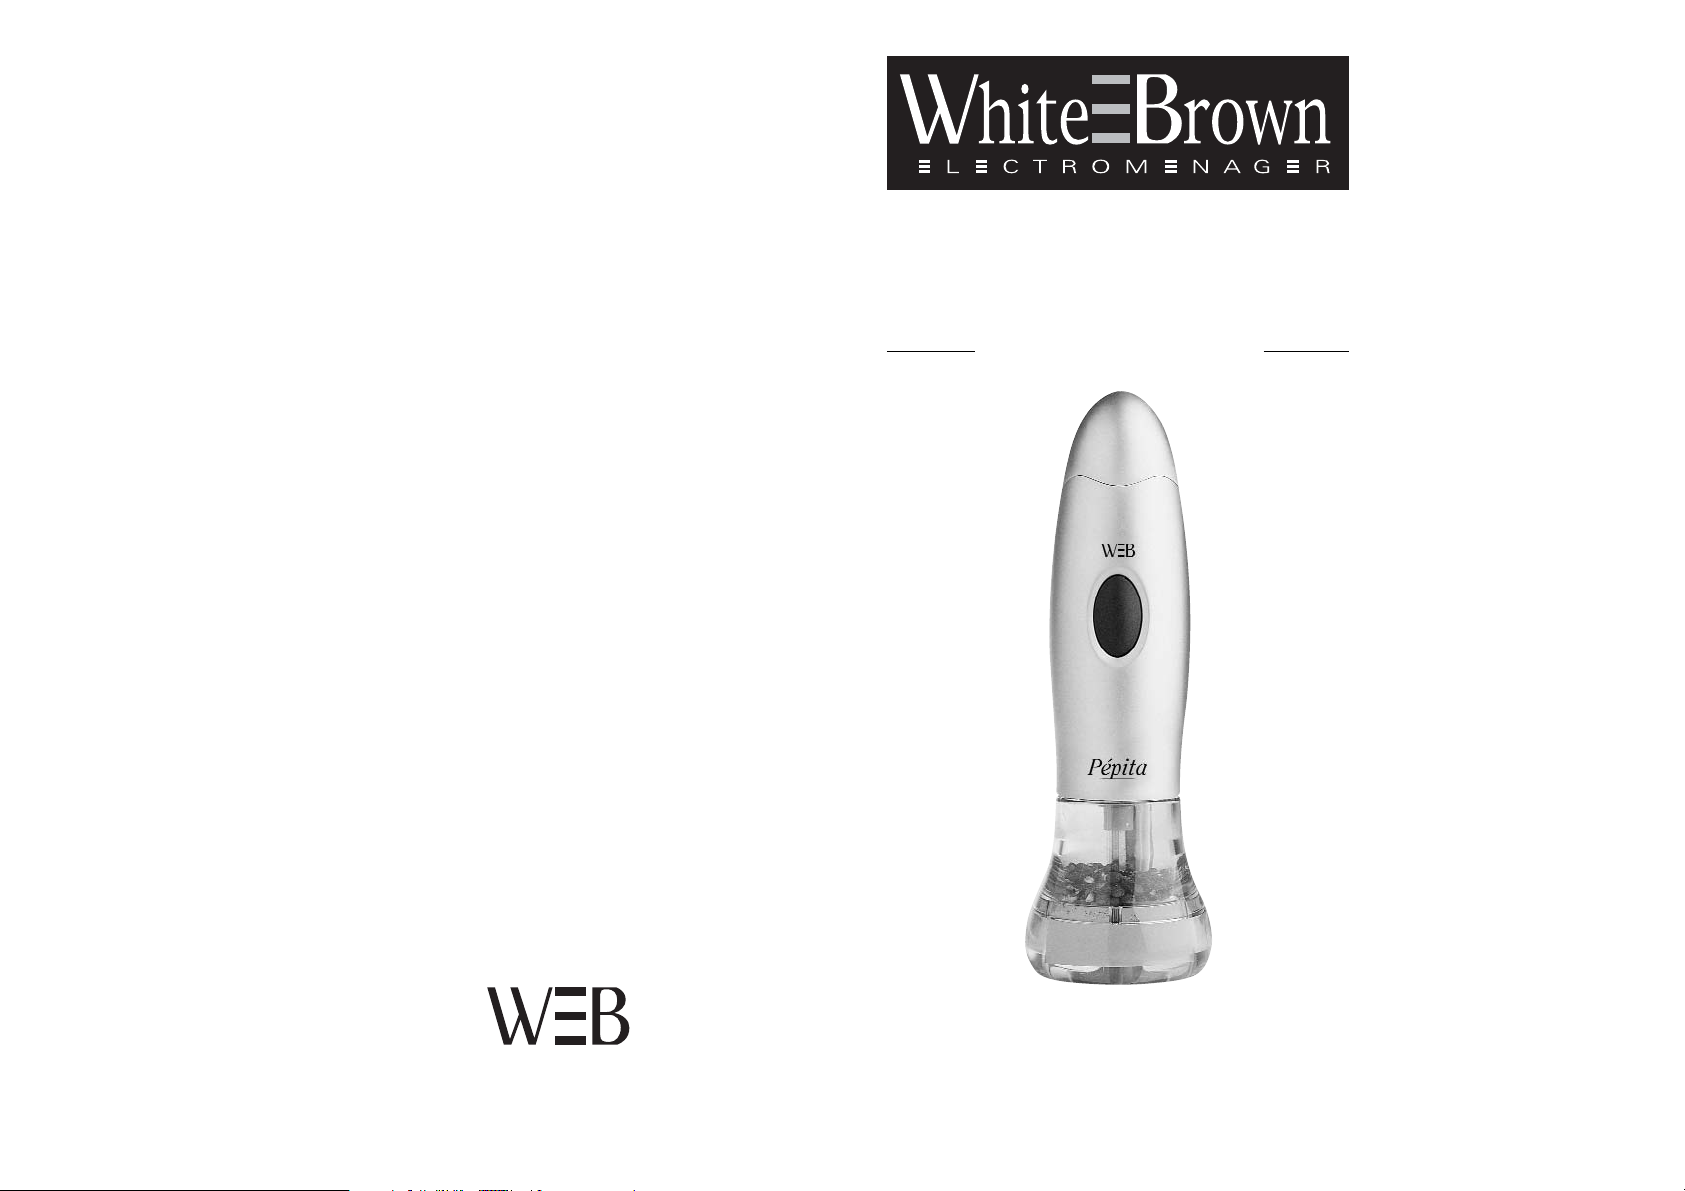
SP 558 - PEPITA
MODE D’EMPLOI
MODE D’EMPLOI
USER MANUAL
USER MANUAL
7
Préparation
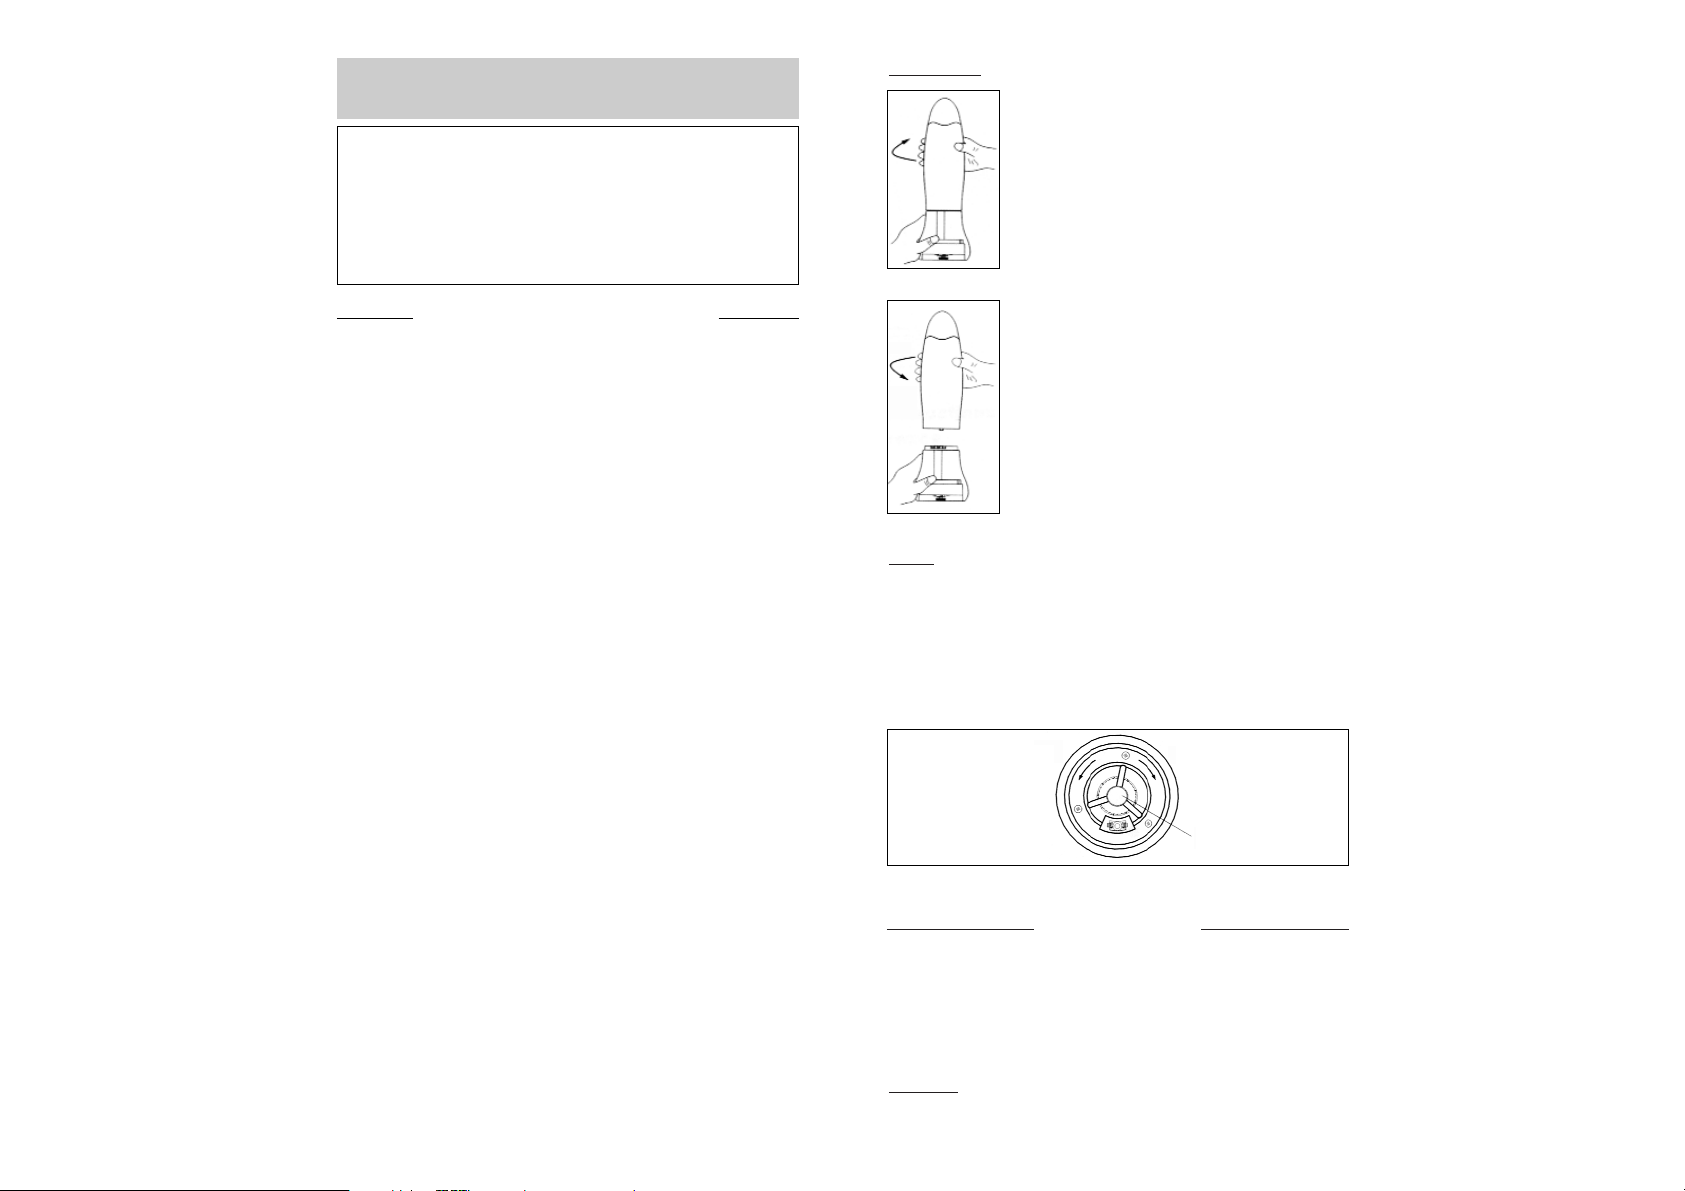
• Separate power unit and clear chamber.
Place mill on a smooth surface and grasp
the clear chamber firmly with one hand.
Grasp the power unit with your other hand
and pull upwards while turning clockwise
to separate the mill. (Fig. 3)
• Fill clear chamber with pepper, salt, herbs
or spices. (note : only coarse sea salt can
be used)
• Replace the power unit : align the power
unit with the clear chamber and push
downwards while turning anti-clockwise
until units snap together. The mill is now
ready for use. (Fig. 4)
Using
• Press the button at the side of the mill.
• Adjust for fine or coarse grinding : with the mill upside
down, turn the adjuster clockwise for finer grinding and in
anti-clockwise for a coarser grinding (Fig. 5).
Note : shake the unit occasionally to prevent clogging.
CLEANING
CLEANING
• Clean the appliance with a wet cloth.
• Clean the clear compartment with tepid and soapy water.
Rinse it.
Caution :
never immerse it in water.
FinerCoarser
Adjuster
FIG. 3
FIG. 4
FIG. 5
2
CONSIGNES DE SÉCURITÉ
CONSIGNES DE SÉCURITÉ
Dans toute utilisation d’appareils électriques, des
précautions de base sont à respecter .
LIRE ATTENTIVEMENT CETTE NOTICE AVANT LA
PREMIERE UTILISATION DE L’APPAREIL
• Ne jamais laisser à la portée des enfants et ne pas les
laisser utiliser l’appareil.
• Cet appareil est destiné à un usage domestique. Il doit
être utilisé selon les instructions du manuel.
Ne jamais l’employer pour d’autres usages.
• Ne jamais plonger l’appareil dans l’eau ou tout autre
liquide. Respecter les instructions pour le nettoyage.
• Cet appareil doit être utilisé dans un endroit sec.
• Ne pas utiliser l’appareil avec les mains mouillées ou
humides.
• Ne jamais utiliser l’appareil sur ou près de surfaces
chaudes.
• Ne pas introduire d’objets métalliques pointus, ni vos
doigts dans l’appareil.
•Ne jamais réparer l’appareil vous-même. Vous perdriez le
bénéfice de la garantie.
LE FABRICANT NE SAURAIT ÊTRE TENU POUR
RESPONSABLE DE LA MAUVAISE
UTILISATION DE L’APPAREIL.
CONSERVER SOIGNEUSEMENT CE MODE D’EMPLOI.
WHITE & BROWN vous félicite d’avoir choisi ce produit
et vous remercie de votre confiance.
Pour votre confort et votre sécurité, votre article a été vérifié à toutes
les étapes de sa fabrication et a passé avec succès tous nos tests de
qualité. Nos produits sont conçus pour vous plaire tant par leur design
que par leur facilité d’utilisation et dans l’objectif constant de vous
apporter complète satisfaction.
FRANÇAIS
FRANÇAIS

10
DESCRIPTION OF THE APPLIANCE
DESCRIPTION OF THE APPLIANCE
T
o insert batteries
• Remove battery compartment cap.
While holding the power unit, twist
the cap, then lift upwards. (Fig. 1)
• Raise the lid while pressing on the
strip. Insert batteries. Insert 2 x 1,5
AA alkaline batteries into the battery
compartment ensuring the + and polarities are aligned correctly.
• Replace battery compartment cap.
(Fig. 2)
1. Battery compartment cap
2. Battery compartment
3. On/off button
4. Power unit
5. Transmission shaft
6. Clear chamber
7. Grinder
8. Fine/coarse adjuster
9. Light
9
FIG. 1
FIG. 2
3
DESCRIPTION DE L
DESCRIPTION DE L
’APP
’APP
AREIL
AREIL
Mise en place des piles
• Retirer le capuchon protecteur. Tout
en tenant le bloc moteur, tourner le
capuchon en tirant vers le haut. (Fig. 1)
• Soulever le couvercle (cache pile) en
appuyant sur la languette. Insérez 2
piles type 1,5AA dans le compartiment
à piles en s’assurant que les pôles
+ et - soient correctement alignés.
• Remettre le capuchon protecteur.
(Fig. 2)
1- Capuchon protecteur
2- Compartiment pour les
piles
3- Bouton M/A
4- Bloc moteur
5- Axe de transmission
6- Compartiment
transparent
7- Moulin
8- Axe de réglage de la
mouture
9 - Lampe
9
FIG. 1
FIG. 2

5
Congratulations for having chosen this WHITE & BROWN product,
and thank you for trusting us. For your comfort and safety,
your appliance has been checked at every step of manufacturing
and has successfully gone through all our tests of quality.
WHITE & BROWN creates original products to please you,
as far as design and easiness to use are concerned
in order to give you complete satisfaction.
ENGLISH
ENGLISH
CAUTION
CAUTION
PLEASE READ ALL THESE INSTRUCTIONS CAREFULLY
BEFORE USING THIS APPLIANCE.
• Keep out of children and do not allow them to operate this
appliance.
• Only use this appliance for domestic purposes and in the
way indicated in these instructions. Never use for other
uses.
• Never immerse the product in water or any liquid for any
reasons.
• This product must be placed in a dry environment.
• Do not use if you have wet hands.
• Never use the appliance on or near hot surfaces.
• Do introduce neither metallic objects, nor fingers inside the
appliance.
• Never repair the appliance yourself. In this case garantee
conditions would be cancelled.
THE MANUFACTURER WILL NOT ASSUME ANY
RESPONSABILITY IN CASE OF NON ADHERENCE
TO THIS RECOMMENDATION.
SAVE THESE INSTRUCTIONS CAREFULLY.
4
Préparation
• Séparer le bloc moteur du compartiment
transparent : saisir avec une main le
compartiment transparent et avec l’autre
main le bloc moteur puis tirer vers le haut
tout en tournant dans le sens des aiguilles
d'une montre pour séparer le moulin. (Fig. 3)
• Remplir le compartiment transparent avec
du poivre en grain, du gros sel ou des
épices en grain.
(Note : utiliser uniquement du sel de mer)
• Replacer le bloc moteur : aligner le bloc
moteur et le compartiment transparent,
aligner les 2 flèches et tourner dans le
sens inverse des aiguilles d’une montre (la
flèche doit se retrouver en face de la
flèche correspondant au cadenas fermé),
les 2 unités sont liées (Fig. 4).
Le moulin est maintenant prêt à l’emploi.
Utilisation
• Appuyer sur la touche M/A.
• Pour régler la taille de broyage fin ou gros : avec le
moulin à l'envers, tourner le régleur dans le sens des
aiguilles d'une montre pour un meulage plus fin et dans
le sens inverse des aiguilles d’une montre pour un
meulage plus grossier (Fig. 5). Note : secouer le moulin
de temps en temps pour éviter qu’il s’obstrue.
NETTOY
NETTOY
AGE
AGE
• Nettoyer l’extérieur, utiliser un chiffon humide.
• Nettoyer le compartiment transparent avec de l’eau
tiède et savonneuse. Bien rincer. Ne jamais le plonger
dans l’eau.
Note :
retirer la lampe avant de procéder au nettoyage.
FIG. 3
FIG. 4
FinGros
Réglage
FIG. 5
 Loading...