

Whirlpool WSZ57L18DM03, WSZ57L18DM02, WSZ57L18DM01 Owner’s Manual
User Guide
Upright Freezer
THANK YOU for purchasing this high-quality product. Register your freezer at www.whirlpool.com. In Canada, register your freezer
at www.whirlpool.ca.
For future reference, please make a note of your product model and serial numbers. These numbers can be found inside your freezer.
Model Number ___________________________________________
Serial Number ____________________________________________
TABLE OF CONTENTS
SAFETY ...........................................................................................1
Proper Disposal of Your Old
Freezer or Refrigerator .................................................................2
INSTALLING YOUR FREEZER ......................................................2
Unpacking ....................................................................................2
Location Requirements ................................................................3
Electrical Requirements ...............................................................3
Water Supply Requirements ........................................................3
Connect the Water Supply ...........................................................4
Freezer Door .................................................................................5
Freezer Leveling and Door Closing ..............................................6
OPERATING YOUR FREEZER ......................................................7
Ensuring Proper Air Circulation ....................................................7
Using the Control .........................................................................7
Ice Maker ......................................................................................8
Freezer Features ...........................................................................8
CARING FOR YOUR FREEZER .....................................................9
Cleaning Your Frost-Free Freezer ................................................9
Changing the Light Bulb ..............................................................9
Power Interruptions ......................................................................9
Moving Care ...............................................................................10
TROUBLESHOOTING ..................................................................10
Freezer Operation.......................................................................10
Ice Production ............................................................................11
Ice Quality ...................................................................................11
WARRANTY ..................................................................................12
SAFETY
Your safety and the safety of others are very important.
We have provided many important safety messages in this manual and on your appliance. Always read and obey all safety
messages.
This is the safety alert symbol.
This symbol alerts you to potential hazards that can kill or hurt you and others.
All safety messages will follow the safety alert symbol and either the word “DANGER” or “WARNING.”
These words mean:
You can be killed or seriously injured if you don't immediately
DANGER
WARNING
All safety messages will tell you what the potential hazard is, tell you how to reduce the chance of injury, and tell you what can
happen if the instructions are not followed.
W10882913A
follow instructions.
You
can be killed or seriously injured if you don't
instructions.
follow
IMPORTANT SAFETY INSTRUCTIONS
WARNING:
■ Plug into a grounded 3 prong outlet.
■ Do not remove ground prong.
■ Do not use an adapter.
■ Do not use an extension cord.
■ Disconnect power before servicing.
■ Replace all parts and panels before operating.
■ Remove doors from your old refrigerator.
■ Connect to a potable water supply only.
■ Use nonflammable cleaner.
■ Keep flammable materials and vapors, such as gasoline,
away from refrigerator.
■ Use two or more people to move and install refrigerator.
To reduce the risk of fire, electric shock, or injury when using your refrigerator, follow these basic precautions:
■ Disconnect power before installing ice maker (on ice maker
kit ready models only).
■ Use a sturdy glass when dispensing ice (on some models).
■ Do not hit the refrigerator glass doors (on some models).
■ This appliance is not intended for use by persons (including
children) with reduced physical, sensory or mental
capabilities, or lack of experience and knowledge, unless
they have been given supervision or instruction concerning
use of the appliance by a person responsible for their
safety.
■ Children should be supervised to ensure that they do not
play with the appliance.
SAVE THESE INSTRUCTIONS
State of California Proposition 65 Warnings:
WARNING: This product contains one or more chemicals known to the State of California to cause cancer.
WARNING: This product contains one or more chemicals known to the State of California to cause birth defects or other reproductive harm.
Proper Disposal of Your Old
Freezer or Refrigerator
WARNING
Suffocation Hazard
Remove doors or lid from your old freezer or
refrigerator.
Failure to do so can result in death or brain damage.
IMPORTANT: Child entrapment and suffocation are not problems
of the past. Junked or abandoned freezers or refrigerators are still
dangerous — even if they will sit for “just a few days.” If you are
getting rid of your old refrigerator or freezer, please follow these
instructions to help prevent accidents.
Before You Throw Away Your Old Freezer or Refrigerator:
■ Take off the doors or lid.
■ Leave the shelves in place so that children may not easily
climb inside.
INSTALLING YOUR FREEZER
Unpacking
WARNING
Excessive Weight Hazard
Use two or more people to move and install freezer.
Failure to do so can result in back or other injury.
Remove Packaging Materials
■ Remove tape and glue residue from surfaces before turning
on the freezer. Rub a small amount of liquid dish soap over
the adhesive with your fingers. Wipe with warm water and
dry.
Important information to know about disposal of
refrigerants:
Dispose of freezer in accordance with Federal and Local
regulations. Refrigerants must be evacuated by a licensed,
EPA certified refrigerant technician in accordance with
established procedures.
■ Do not use sharp instruments, rubbing alcohol, flammable
fluids, or abrasive cleaners to remove tape or glue. These
products can damage the surface of your freezer. For more
information, see the “Safety” section.
When Moving Your Freezer:
Your freezer is heavy. When moving the freezer for
cleaning or service, be sure to cover the floor with cardboard
or hardboard to avoid floor damage. Always pull the freezer
straight out when moving it. Do not wiggle or “walk” the
freezer when trying to move it, as floor damage could occur.
2
Clean Before Using
After you remove all of the packaging materials, clean the inside
of your freezer before using it. See the cleaning instructions in
the “Caring for Your Freezer” section.
Important information to know about glass shelves
and covers:
Do not clean glass shelves or covers with warm water when
they are cold. Shelves and covers may break if exposed to
sudden temperature changes or impact, such as bumping.
Tempered glass is designed to shatter into many small,
pebble-size pieces. This is normal. Glass shelves and covers
are heavy. Use both hands when removing them to avoid
dropping.
Location Requirements
WARNING
Explosion Hazard
Keep flammable materials and vapors, such as
gasoline, away from freezer.
Failure to do so can result in death, explosion, or fire.
Electrical Requirements
WARNING
Electrical Shock Hazard
Plug into a grounded 3 prong outlet.
Do not remove ground prong.
Do not use an adapter.
Do not use an extension cord.
Failure to follow these instructions can result in death,
fire, or electrical shock.
Before you move your freezer into its final location, it is important
to make sure you have the proper electrical connection.
Recommended Grounding Method
A 115-Volt, 60 Hz., AC-only, 15- or 20-amp fused, grounded
electrical supply is required. It is recommended that a separate
circuit serving only your freezer be provided. Use an outlet that
cannot be turned off by a switch. Do not use an extension cord.
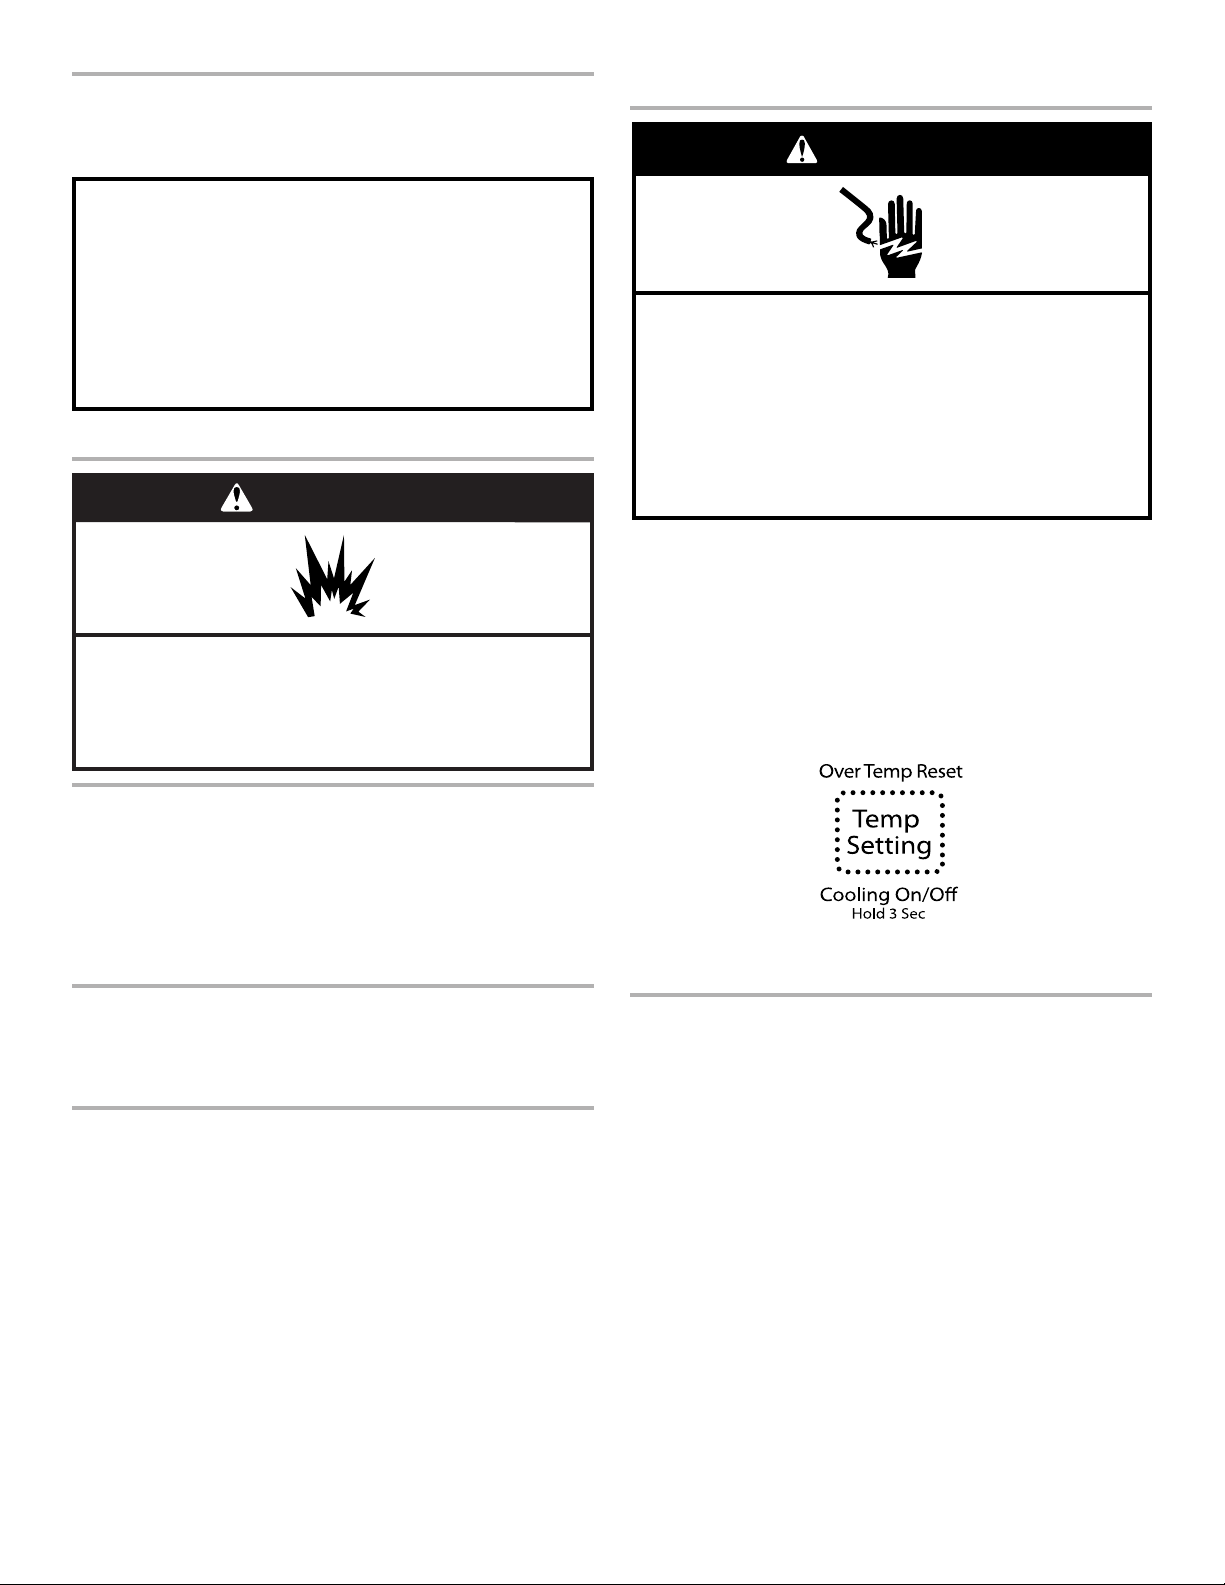
NOTE: Before performing any type of installation, cleaning,
or removing a light bulb, press and hold TEMP SETTING for
3 seconds to turn off cooling, and then disconnect the freezer
from the electrical source.
Ventilation and Clearance
■ Keep flammable materials and vapors, such as gasoline,
away from freezer.
■ Do not cover the freezer with items such as blankets, sheets,
tablecloths, etc. This reduces air circulation.
■ Allow at least 1" (2.5 cm) between the back of the freezer
and the wall. If the freezer is to be against a wall, leave extra
space on the hinge side so the door can open wider.
Temperature
Your freezer operates most efficiently when located in an area
where the temperature will not fall below 40°F (5°C). Place your
freezer in a location where the temperature will not fall below this
recommended temperature.
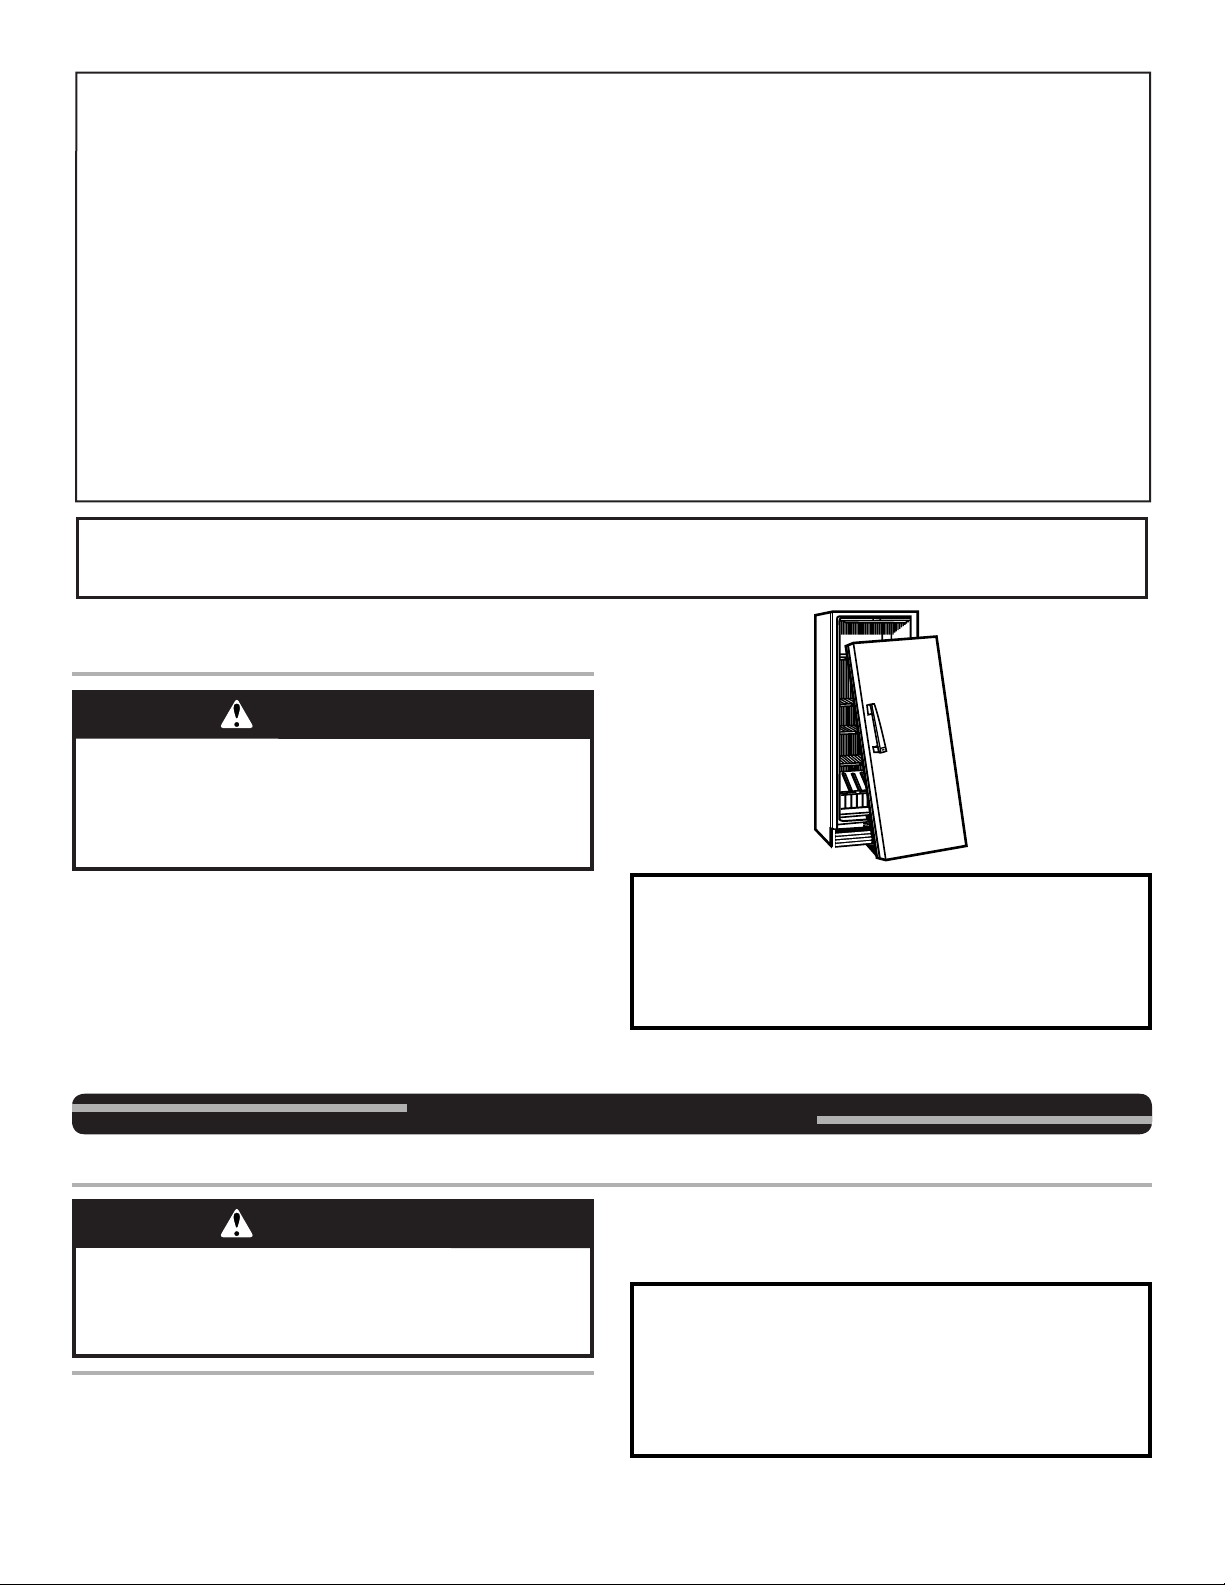
Upon Moving to Final Location
NOTE: This freezer may be installed side by side with another
freezer or refrigerator. Allow for a 1" (2.54 cm) space behind the
freezer and a ¹⁄4" (6.4 mm) clearance between the appliances.
Water Supply Requirements
(on some models)
Gather the required tools and parts before starting installation.
Read and follow the instructions provided with any tools listed
here.
Tools Needed
■ Flat-blade screwdriver
7
■
⁄16" and ¹⁄2" open-end or 2 adjustable wrenches
NOTE: Your freezer dealer has a kit available with a
¹⁄4" (6.35 mm) saddle-type shut-off valve, a union, and copper
tubing. Before purchasing, make sure a saddle-type valve
complies with your local plumbing codes. Do not use a piercingtype or ³⁄16" (4.76 mm) saddle valve which reduces water flow
and clogs more easily.
IMPORTANT:
■ If you turn the freezer on before the water line is connected,
turn the ice maker off.
■ All installations must meet local plumbing code requirements.
■ Use copper tubing and check for leaks. Install copper tubing
only in areas where the household temperatures will remain
above freezing.
3
Water Pressure
A
DEF
G
A cold water supply with water pressure of between
30 and 120 psi (207 and 827 kPa) is required to operate the
water dispenser and ice maker. If you have questions about
your water pressure, see the “Troubleshooting” section or
call a licensed, qualified plumber.
Reverse Osmosis Water Supply
IMPORTANT: The pressure of the water supply coming out of
a reverse osmosis system going to the water inlet valve of the
freezer needs to be between 30 and 120 psi (207 and 827 kPa).
If a reverse osmosis water filtration system is connected to your
cold water supply, the water pressure to the reverse osmosis
system needs to be a minimum of 40 to 60 psi (276 to 414 kPa).
If the water pressure to the reverse osmosis system is less than
40 to 60 psi (276 to 414 kPa):
■ Check to see whether the sediment filter in the reverse
osmosis system is blocked. Replace the filter if necessary.
■ Allow the storage tank on the reverse osmosis system to refill
after heavy usage.
If you have questions about your water pressure, call a licensed,
qualified plumber.
Connect the Water Supply
(on some models)
Connect to Water Line
1. Unplug freezer or disconnect power.
2. Turn off main water supply. Turn on nearest faucet long
enough to clear line of water.
3. Locate a ½" to 1¹⁄4" (12.7 mm to 3.18 cm) vertical cold water
pipe near the freezer.
IMPORTANT:
■ Make sure it is a cold water pipe.
■ Horizontal pipe will work, but drill on the top side of the
pipe, not the bottom. This will help keep water away from
the drill and normal sediment from collecting in the valve.
4. Determine the length of copper tubing you need. Measure
from the connection on the lower left rear of freezer to the
water pipe. Add 7 ft (2.1 m) to allow for cleaning. Use ¹⁄4"
(6.35 mm) O.D. (outside diameter) copper tubing. Be sure
both ends of tubing are cut square.
5. Using a cordless drill, drill a ¹⁄4" (6.35 mm) hole in the cold
water pipe you have selected.
6. Fasten the shut-off valve to the cold water pipe with the pipe
clamp. Be sure the outlet end is solidly in the ¹⁄4" (6.35 mm)
drilled hole in the water pipe and that the washer is under the
pipe clamp. Tighten the packing nut. Tighten the pipe clamp
screws slowly and evenly so washer makes a watertight seal.
Do not overtighten.
7. Slip the compression sleeve and compression nut on the
copper tubing as shown. Insert the end of the tubing into the
outlet end squarely as far as it will go. Screw compression nut
onto outlet end with adjustable wrench. Do not overtighten.
8. Place the free end of the copper tubing in a container or sink
and turn on the main water supply. Flush the tubing until
water is clear. Turn off the shut-off valve on the water pipe.
Coil the copper tubing.
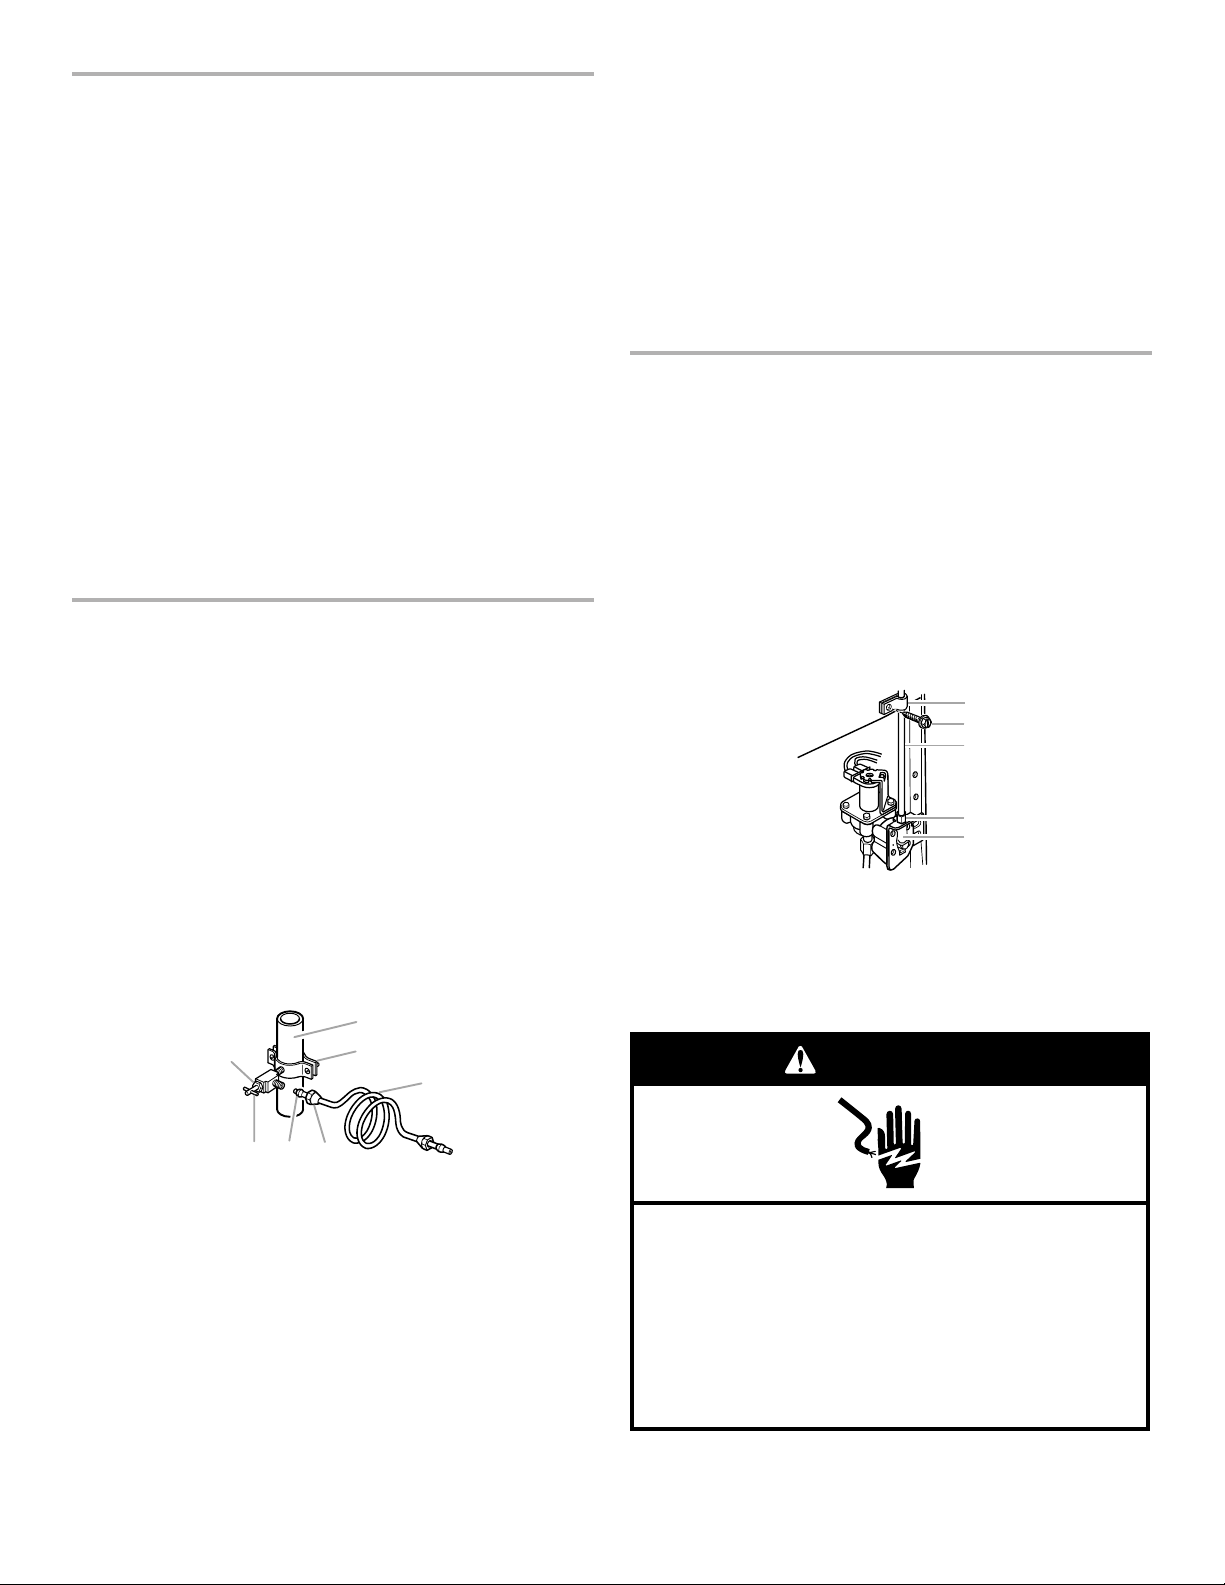
Connect to Freezer
1. Remove the valve access cover from the compressor cover
on the lower back of the cabinet.
2. Attach the copper tubing to the valve inlet using a
compression nut and sleeve as shown. Tighten the
compression nut. Do not overtighten.
3. Insert the valve assembly into the compressor cover. Then,
fasten the valve assembly to the freezer cabinet with a ¹⁄2"
hex-head machine screw.
4. Use the tube clamp on the back of the freezer to fasten the
tubing to the freezer as shown. This will help avoid damage to
the tubing when the freezer is pushed back against the wall.
5. Turn shut-off valve on.
6. Check for leaks. Tighten any connections (including
connections at the valve) or nuts that leak.
A
B
C
D
E
A. Tube clamp
B. Tube clamp screw
C. Copper tubing
7. The ice maker is equipped with a built-in water strainer. If
your water conditions require a second water strainer, install
it in the ¹⁄4" (6.35 mm) water line at either tube connection.
Obtain a water strainer from your nearest appliance dealer.
D. Compression nut
E. Valve inlet
A. Cold water pipe
B. Pipe clamp
C. Copper tubing
D. Compression nut
B
C
E. Compression sleeve
F. Shut-off valve
G. Packing nut
Plug into a grounded 3 prong outlet.
Do not remove ground prong.
Do not use an adapter.
Do not use an extension cord.
Failure to follow these instructions can result in death,
fire, or electrical shock.
8. Plug into a grounded 3 prong outlet.
WARNING
Electrical Shock Hazard
4
 Loading...