


TRKA-HP 7671
1
2
CONTENTS
QUICK REFERENCE GUIDE
PREPARING THE LAUNDRY
SELECTING A PROGRAMME AND OPTIONS
STARTING AND COMPLETING A PROGRAMME
CHANGING A PROGRAMME
INTERRUPTING A PROGRAMME
DAILY MAINTENANCE AND CLEANING
INSTALLATION OF THE DRYER
Page 3
SAFETY ADVICES AND GENERAL
RECOMMENDATIONS
Page 5
ELECTRICAL CONNECTION
Page 7
DESCRIPTION OF THE DRYER
Page 8
MAINTENANCE AND CLEANING THE DOOR FILTER
Page 8
CLEANING THE BOTTOM FILTER
Page 9
DRAINAGE SYSTEM
Page 10
DOOR REVERSIBILITY
Page 11
FAILURE CODES
Page 12
TROUBLESHOOTING GUIDE/
AFTER-SALES SERVICE
Page 13
PROGRAMME CHART
INSTRUCTIONS FOR USE
Please read
instruction for use
3
• The dryer must only be transported in upright position.
• The dryer shall only be transported or lifted by two
persons.
• The dryer is exclusively destined to dry dryable laundry
in quantities which are usual for private households.
• Observe the instructions given in this instruction for
use and the programme chart before using the dryer.
• Keep the instruction for use and the programme
chart. If you pass on the dryer to another person,
also give him/her the instructions for use and the
programme chart.
• The manufacturer declines all liability for damage to
property or injury to persons or animals due to non-
compliance with the directions given in this
instruction for use.
1. Removing the packaging and check
• After unpacking, make sure that the dryer is
undamaged. If in doubt, do not use the dryer.
Contact After-Sales Service or your local retailer.
• If the appliance was exposed to the cold prior to
delivery, keep it at room temperature for a few
hours before operating.
• Do not operate the dryer if it has been damaged
during transport. Contact one of our After-Sales
Service technicians.
2. Electrical Connections
• Electrical connections must be carried out by a
qualified technician in compliance with the
manufacturer’s instructions and current standard
safety regulations.
• Electrical connection must comply with local
Electricity Board regulations.
• Voltage information, power consumption and the
required fuse protection is shown on the rating plate
mounted at the rear of the dryer.
• The dryer must be grounded as prescribed by law.
• Before any maintenance on the dryer, disconnect it
from the mains supply.
• Mains cable replacement is only to be carried out by
After-Sales-Service.
• After installation, access to the mains plug has to be
guaranteed or the all-pole disconnection has to be
possible with a switch.
• The replacement of the light bulb is only to be
carried out by the After-Sales-Service.
3. Installation
• Do not install your dryer where it can be subject to
extreme condition, such as: poor ventilation,
temperature below 5°C or above 35°C.
• The appliance must not be installed behind a
lockable door, a sliding door or a door with a hinge
on the opposite side to that of the tumble dryer, in
such a way, that a full opening of the tumble dryer
door is restricted.
• Small storage rooms located inside, bathrooms,
toilets, showers, etc. without ventilation are no
suitable places for the installation of the dryer. If it
has to be installed here, a good ventilation of the
room (open doors, ventilation grid or slot larger
than 500 cm²) has to be assured.
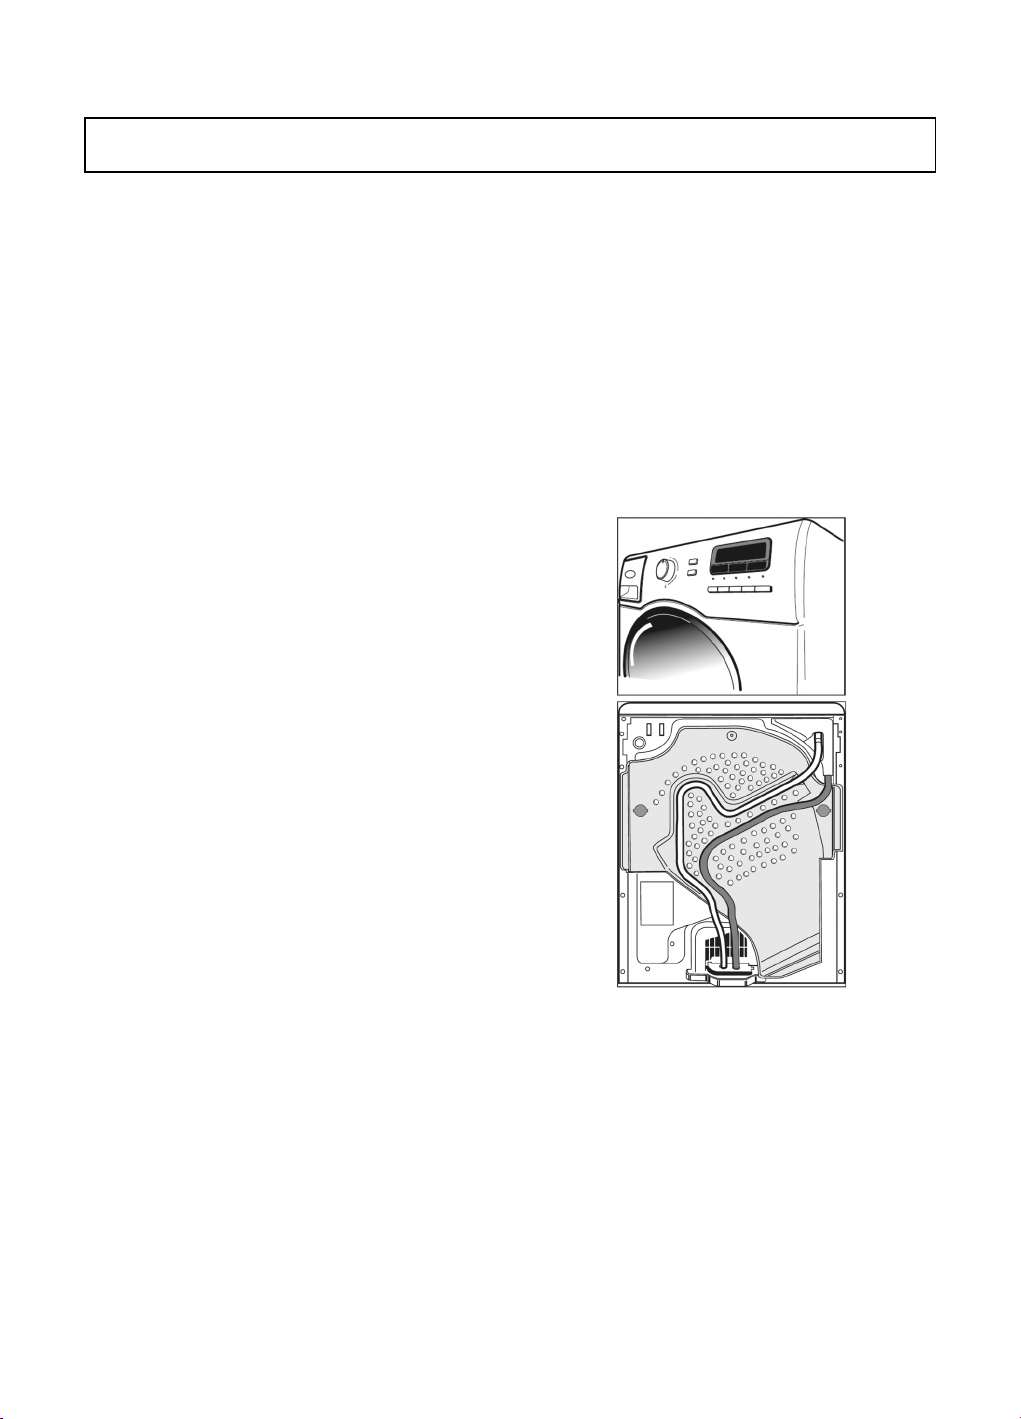
• Before running the first cycle, ensure that the water
container is fully pushed inside and that the bottom
filter is correctly positioned.
• Before running the first cycle, ensure that all hoses
of the drainage system are connected (as shown in
the picture below).
• If possible, use a hose to drain the water directly into
the domestic plumbing system. This will avoid having to
empty the water container at the end of each drying
cycle since the condensation water can be directly
drained away. See also chapter “Drainage System”.
• Take care not to install the dryer on a deep pile carpet.
• Take care not to trap the power cord between the
dryer and the wall.
• When installing the dryer always carefully level the
dryer adjusting the four feet and check the correct
levelling with a level.
INSTALLATION OF THE DRYER
4
• If the dryer has to be installed due to lack of space
directly next to a gas or coal stove, a heat insulating
plate (85 x 57 cm) has to be installed in between,
whose side against the stove has to be covered with
aluminium foil.
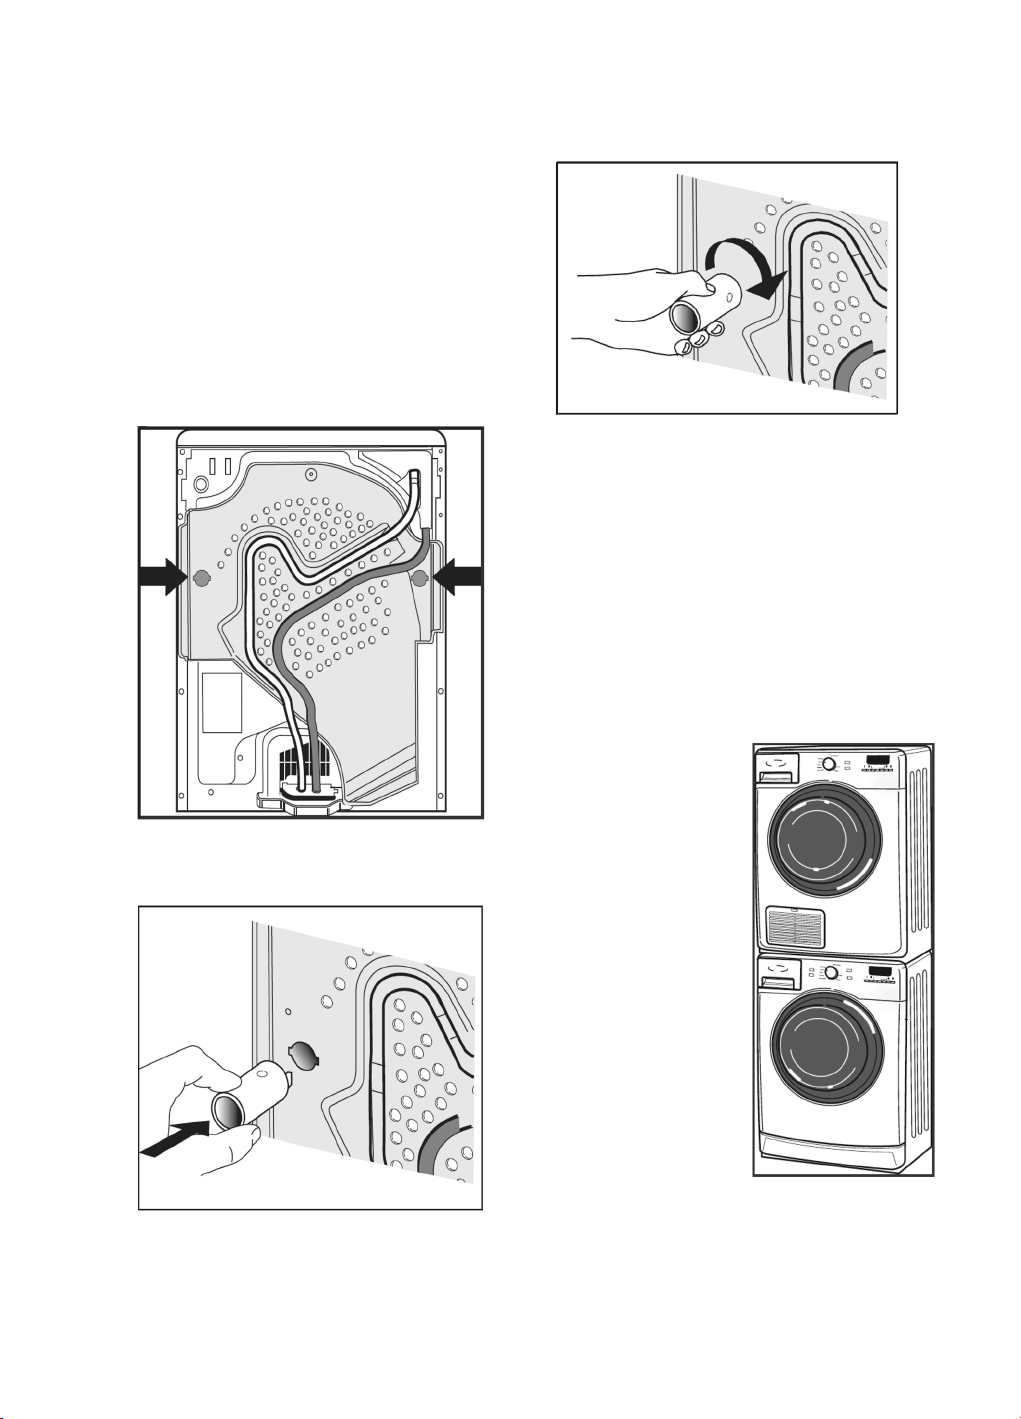
4. Assembly of distance holders
To ensure a correct distance of the appliance from the
wall at the rear side and allow a sufficient ventilation,
distance holders have to be mounted on the dryer rear
side before starting the first drying cycle.
A. Remove the two distance holders from the packaging.
B. The distance holders have to be mounted on the
rear side of the dryer in the protection cover.
C. Insert the distance holders into the holes on both
sides.
D. Fix both distance holders by turning them in
clockwise direction until stop position.
5. User and child protection
• Children must not be allowed to play with the dryer.
• Ensure that children or small animals can not get into
the drum.
• Keep the packaging materials (plastic bags,
polystyrene parts, etc.) out of reach of children, as
they are potentially dangerous.
• The appliance is not intended for use by persons
(including children) with reduced physical, sensory
or mental capabilities, or lack of experience and
knowledge, unless they have been given supervision
or instruction concerning use of the appliance by a
person responsible for their safety. Children should
be supervised to ensure that they do not play with
the appliance.
Stacking kit
• Depending on the
model of your washing
machine, your dyer can
be stacked on top of
your front loading
washing machine.
For further information
please contact the
After-Sales-Service.
B
C
D
 Loading...