

Whirlpool SF337PEX, SF317PEX User Manual
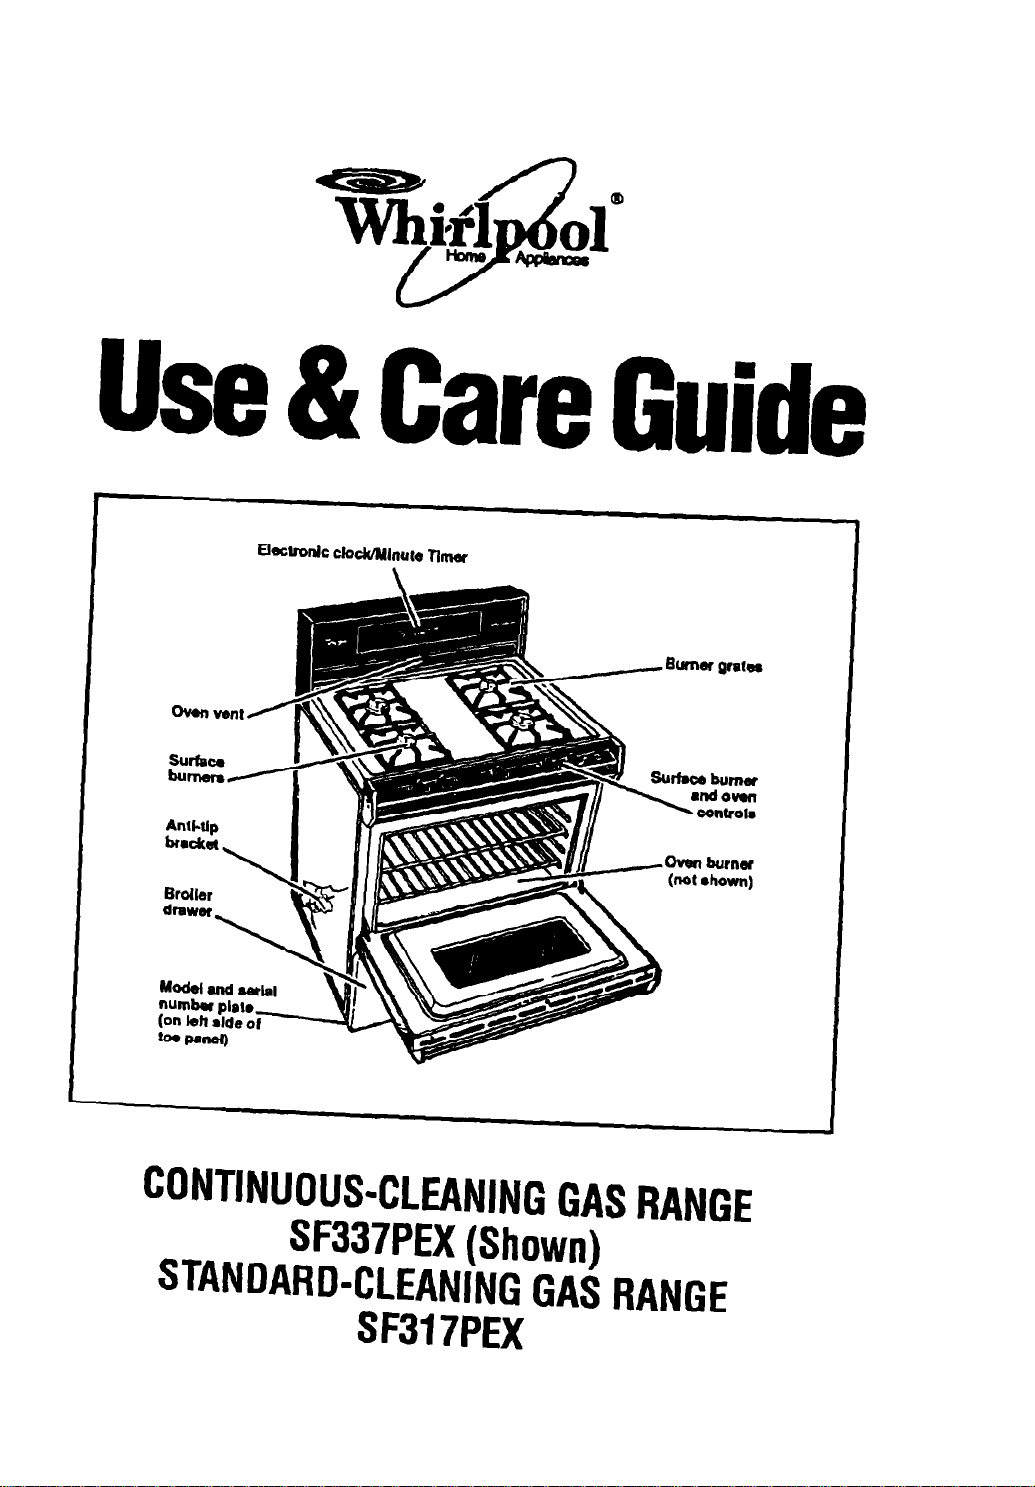
Use & Care Guide
CONTINUOUS-CLEANING GAS RANGE
SF337PEX (Shown)
STANDARD-CLEANING GAS RANGE
SF31 7PEX
Contents
hportsnt Safety InstrucUons .................. !?!Z
Using Your Rang. .......................................... .6
Using the surface burners ..............................
Setting the dock
Using the Minute Timer .................................. 7
Using the oven control ................................... 8
Baking/roasting .......................................... .8
Adjusting the oven temperature control.. .... .
Broiling.. ....................................................
The oven vent .............................................. 10
Cuing For Your Range
Control panel and knobs .............................. 11
Sudaca burner grates .................................. 12
Surface burnem and caps ............................
Removable oven door ................................. -14
Using the standardcleaning oven.. ............. .14
Using the continuous-deaning oven ........... .15
Cleaning tips ................................................ 17
The oven li9ht
If You Need Servloe Or Assistance ............ .19
WhIrlpool Cooking Product Warranty ........ .24
............................................ .7
................................ 11
...............................................
10
13
18
Thenk you for buying a Whirlpool qaplbnca
Pkrw complete and mall the Owner Fiegl*
trstlon Card provided wfth thls product. Then
complete ths form below. Have this information
6
ready if you need service or call with a question.
l
Copy model and wrtal numbers from plate
(Imated on letI side ol toe panel) and purchase
date from sales slip.
l
Keep this book, the Cooking Guide and sales
slip together in a handy place.
Uodd Number
Se&l
Numbor
PurdunDau
81991 Whlrlbcol Corporation
You are responsible for:
l
Installing and leveling the range on a fbor
strong enough to support its weight, and where
it is protected from the elements. (See the
Installation Instructions.)
l
Making sure the range is not used by anyone
unable to operate it properly.
. Properly maintaining the range.
l
Using the range only for jobs expected of a
home range.
l
Making sure the range is secured by a properly
installed anti-tip bracket.
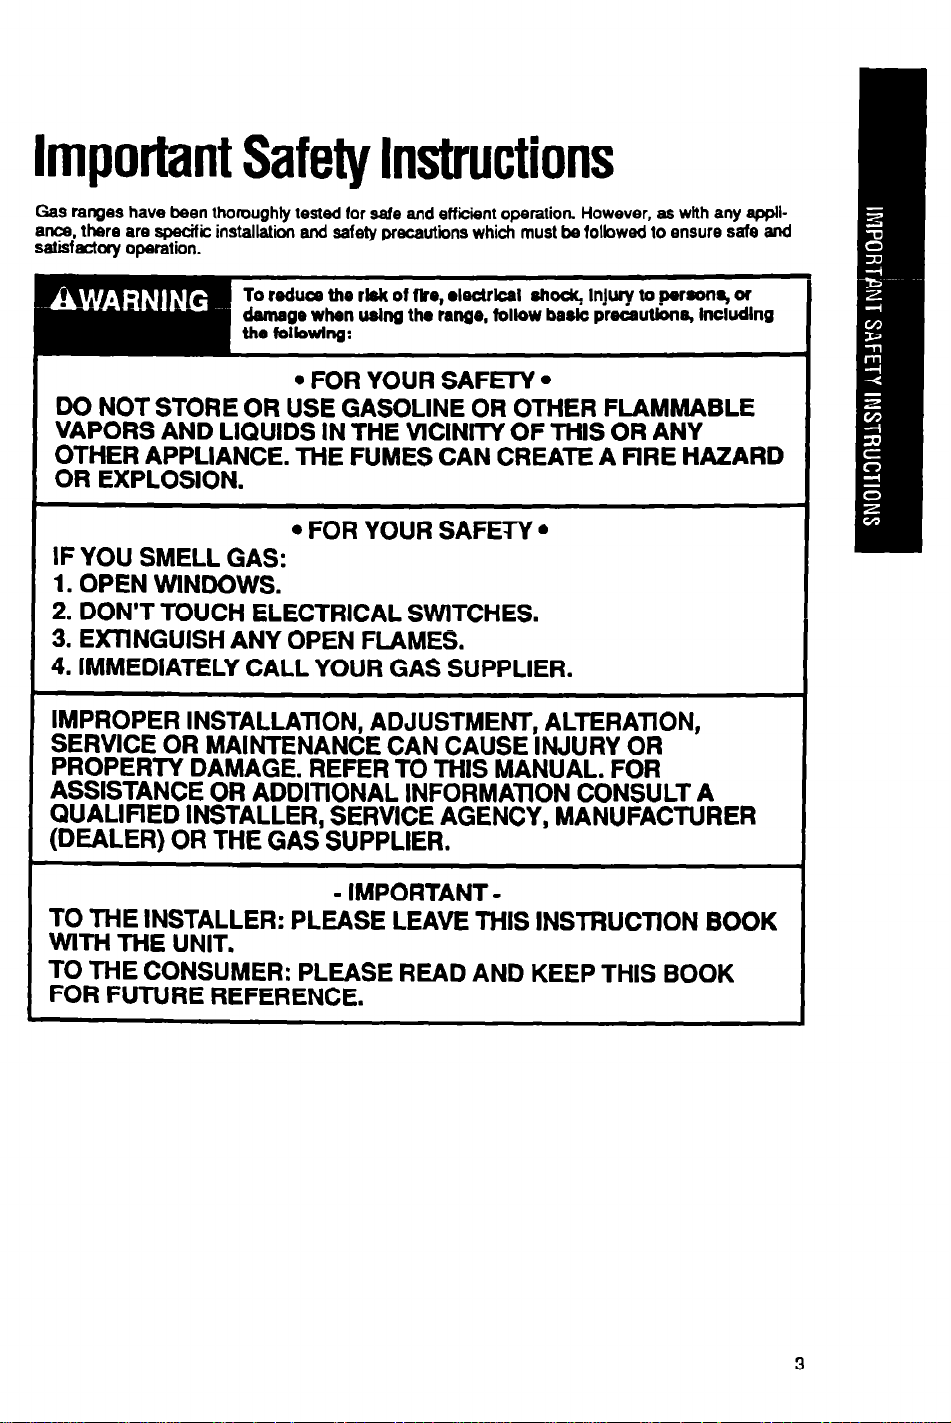
Important Safety Instructions
t&S ranges have been thoroughly tested for safe and efficient operation. However, as with any appllanca. there are specific installation and safety precautbns which must be folbwed lo ensure safe and
satisfactory operation.
To reduce the rWc of fire, l lactrlcal ahoc& Injury to .perstmr, of
demage when ushg the
l
FOR YOUR SAFETY
range, follow bask preaUons,
l
lncludlng
DO NOT STORE OR USE GASOLINE OR OTHER FLAMMABLE
VAPORS AND LIQUIDS IN THE VlCINlTY OF THIS OR ANY
OTHER APPLIANCE. THE FUMES CAN CREATE A FlRE HAZARD
OR EXPLOSION.
l
FOR YOUR SAFETY
l
IF YOU SMELL GAS:
1. OPEN WlNDOWS.
2. DON’T TOUCH ELECTRICAL SWITCHES.
3. EXllNGUlSH
ANY
OPEN FLAMES.
4. IMMEDIATELY CALL YOUR GAS SUPPLIER.
IMPROPER INSTALLATION, ADJUSTMENT, ALTERATION,
SERVICE OR MAINTENANCE CAN CAUSE INJURY OR
PROPERTY DAMAGE. REFER TO THIS MANUAL. FOR
ASSISTANCE OR ADDlTlONAL INFORMATlON CONSULT A
QUALlFlED INSTALLER, SERVICE AGENCY, MANUFACTURER
(DEALER) OR THE GAS SUPPLIER.
- IMPORTANT TO THE INSTALLER: PLEASE LEAVE THIS INSTRUCTION BOOK
WlTH THE UNIT.
TO THE CONSUMER: PLEASE READ AND KEEP THIS BOOK
FOR FUTURE REFERENCE.
fmportant !Safety lnstrudbns
Continued
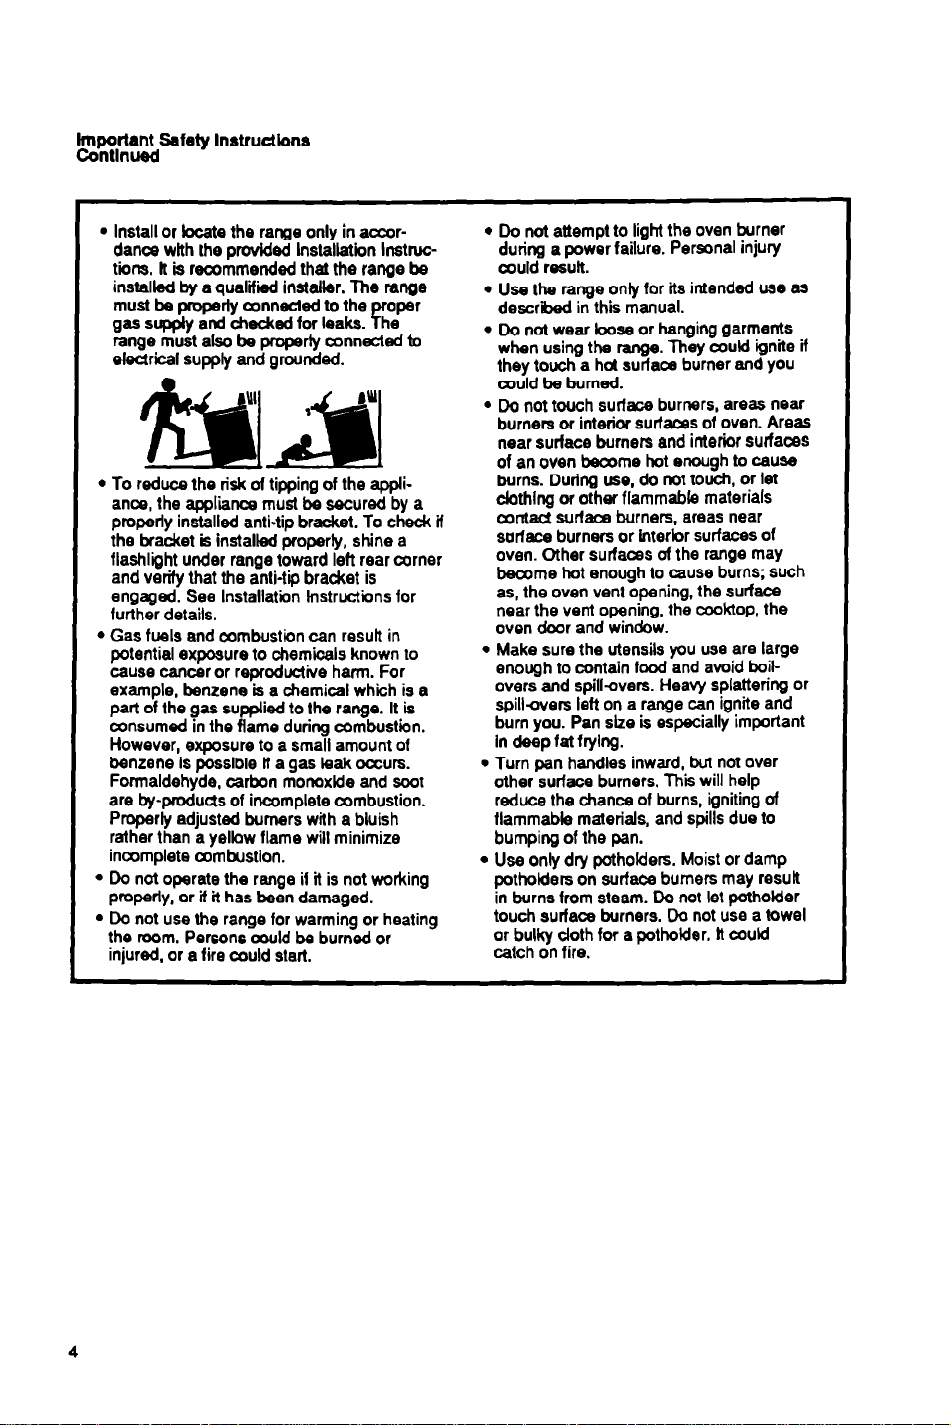
l
Install or bcate the range only in accor-
dance wlth the provided lnstallatiin Instructions. It Is recommended that the range bs
installed by a qualifii installer. The range
must be properly aDnnected to the
gas sqqdy and checked for leaks.
range must also be properly mnnected to
electrical supply and grounded.
l
To reduce the risk of tipping of the appliance, the appliance must be secured by a
properly installed anti-tip bracket. To check if
the bracket is installed properly, shine a
flashlight under range toward left rear cOrner
and verify that
the anti-tip bracket is
engaged. See Installation instructions for
further details.
l
Gas fuels and ambushon can resutl in
potential exposure to chemicals known to
cause cancer or reproductive harm. For
example, benzene is a chemical which is a
part of the gas supplied to the range. It is
amsumed in the flame during combustion.
However, exposure to a small amount of
benzene Is
possble lt
a gas leak occurs.
Formaldehyde, carbon mormxfde and soor
are by-products of incomplete combustion.
Properly adjusted burners with a bluish
rather than a yellow flame will minimize
incomplete 02mbustion.
l
Do not operate the range if it is not working
pmperly. or if i-t has been damaged.
l
Do not use the range for warming or heating
the room. Persons muld ba burned or
injured. or a fire could start.
r
oper
he
l
Do not attempt to light the oven burner
during a power failure. Personal injury
could result.
l
Use the range only far its intended use as
described in this manual.
l
Do not wear loose or hanging garments
when using the range. They could ignite if
they touch a hot surface burner and
you
could be burned.
l
Do not touch surface burners, areas near
burners or interior surfaces of oven. Areas
near surface burners and interior surfaces
of an oven beoome hot enough to cause
burns. During use, do not touch, or let
dothlng or other flammable materials
contact surface burners, areas near
sarlace burners or fnterbr surfaces of
oven. Other surfaces of the range may
beoome hot enough to cause burns; such
as, the oven vent opening. the surface
near the vent opening. the cooktop. the
oven door and window.
l
Make sure the utensils you use are large
enough to contain food and avoid boilovers and spill-avers. Heavy splattering or
spillcvers left on a range can ignite and
burn you. Pan she is especially important
In deep fat frying.
l
Turn pan handles inward, but not over
other surface burners, This will help
reduce the chance of burns, igniting of
flammable materials, and spills due to
bumping of the pan.
l
Use only dry potholders. Moist or damp
potholders on surface burners may result
in burns from steam. Do not let potholder
touch surface burners. Do not use a towel
or bulky doth for a potholder. It could
catch on fire.
l
l
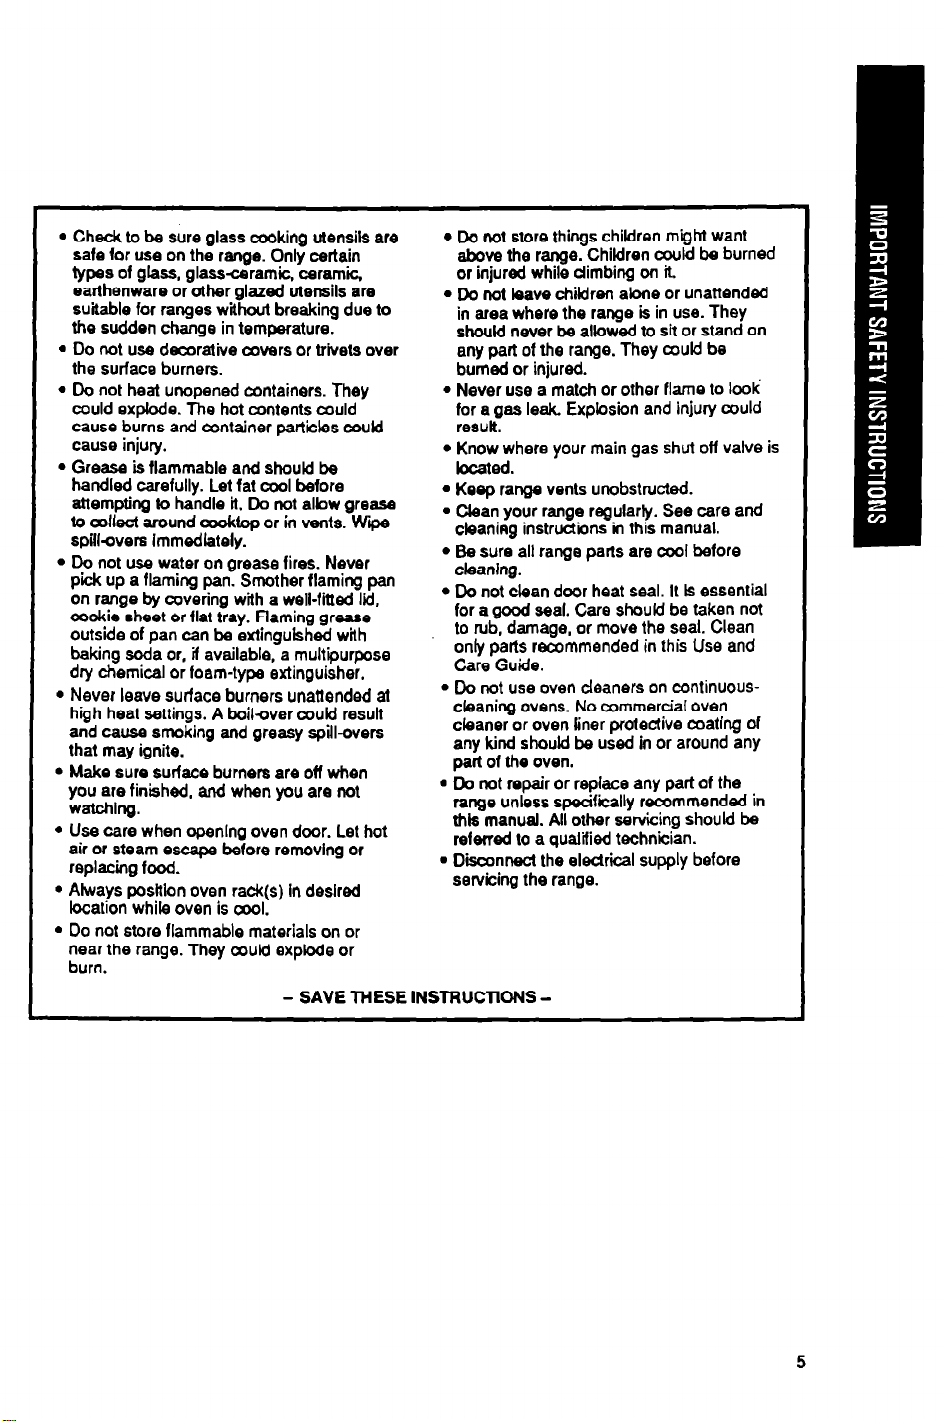
Check to be sure glass cooking utensils are
Do not store things children m’QM want
safe far use on the range. Only certain above the range. Children could be burned
types of glass, glassceramic. ceramic.
earthenware or other glazed utensils are
suitable for ranges without breaking due to
the sudden change in temperature.
l
Do not use decorative covers or trivets over
or injured while climbing on it
l
Do not have children alone or unattended
in area where the range is in use. They
should never be allowed to sit or stand on
any part of the range. They cculd be
the surface burners. burned or injured.
l
l
Do not heat unopened containers. They
Never use a match or other flame to look’
could explode. The hot contents could for a gas leak. Expbsion and injury could
cause burns and container particles cnurld result.
cause injury.
l
Grease is flammable and should be located.
handled carefully. Let fat cool before
attempting to handle it. Do not albw grease
to a~llect around &top or in vents. Ww
spiflovers immediately.
l
Do not use water on grease fires. Never
pick up a flaming pan. Smother flaming pan
on range by covering with a well-fitted lid,
cookie shoot or flat tray. flaming grease
outside of pan can be extinguished wilh
baking soda or, if available, a multipurpose
dry chemical or foam-type extinguisher.
l
Never leave surface burners unattended 1
high heat settings. A boil+ver could result
and cause smoking and greasy spill-avers
that may ignite.
l
Make sure surface burners are off when
you are finished, and when you are not
watching.
l
Use care when opening oven door. Let hot
air or steam escape before removing or
replacing food.
l
Always poslllon oven rack(s) in desired
l
Know where your main gas shut off valve is
l
Keep range vents unobstructed.
l
Clean your range regularly. See care and
cleaning instructions in this manual.
l
Be sure all range pafts are cool before
cleaning.
l
Do not clean door heat seal. II ts essential
for a good seal. Care should be taken not
to rub, damage, or move the seal. Clean
only parts recommended in this Use and
Care Guide.
l
Do not use oven deaners on continuouscleaning ovens. No commercial oven
cleaner or oven liner protective mating of
any kind should be used in or around any
part of the oven.
. Do not repair or replace any part of the
range unless specifically recommended in
this manual. All other servicing should be
referred to a qualified technician.
. Disconnect the electrical supply before
servicing the range.
location while oven is awl.
l
Do not store flammable materials on or
near the range. They coukl explode or
burn.
- SAVE THESE INSTRUCTIONS -
5
Using Your Range
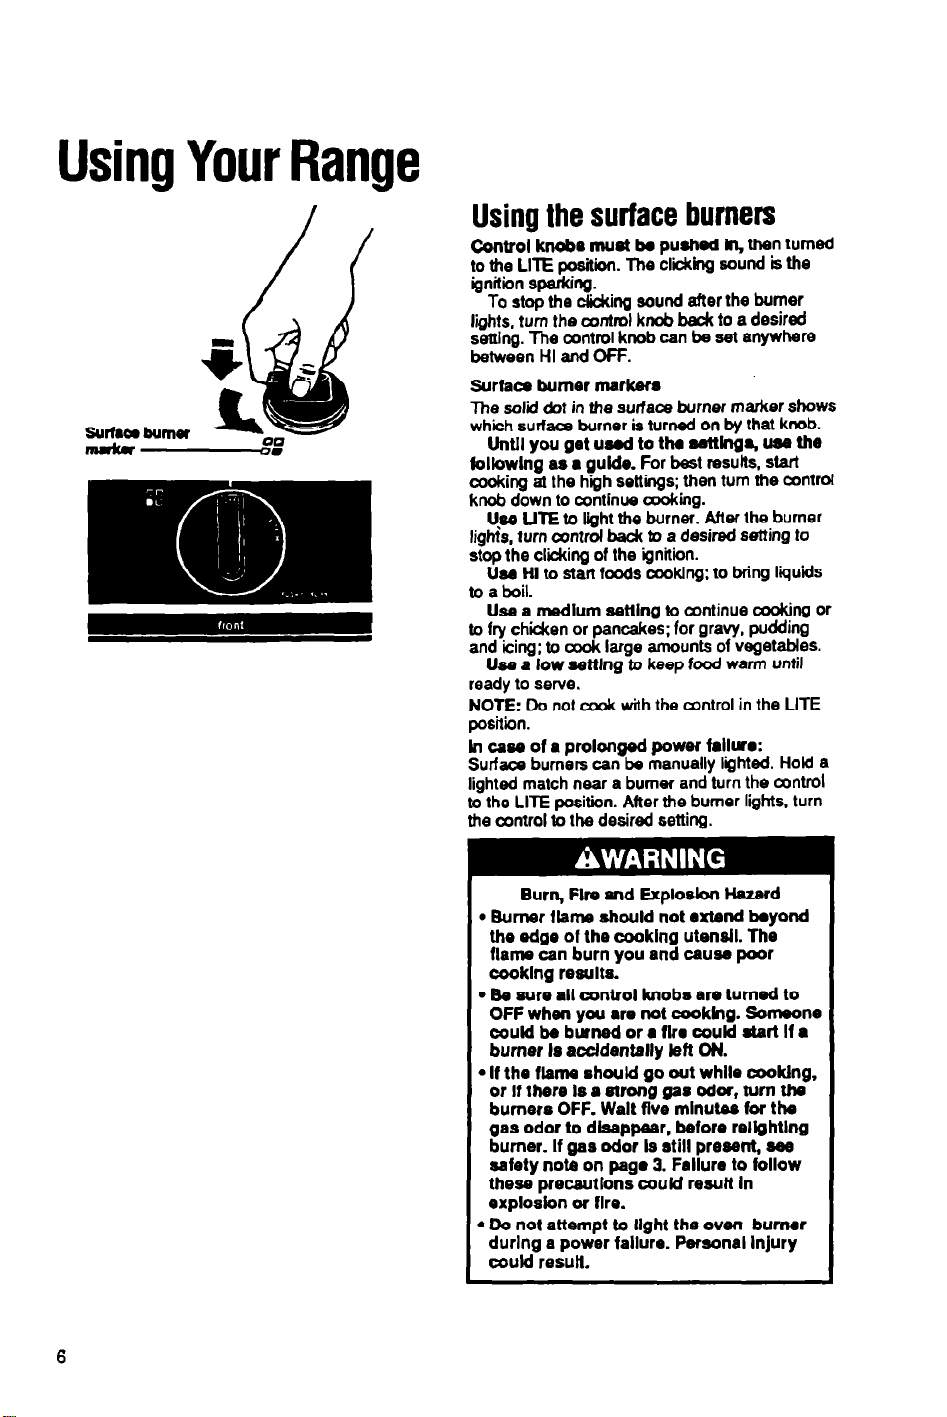
Using the surface burners
Control knob0 must be pushed Irr, then turned
to the LITE fxuiitii. The cliiing riourKl is the
ignition sparking.
liits. turn the aontrol knob bedc to a desired
setting. The control knob can be set anywhere
between HI and OfF.
Surface burner rnarksm
The solid dot in the surface burner marker shows
which surfaca burner is turned on by that knob.
followhg as a gufde. For beat resutts. start
cooking at the high settings; then turn the control
knob down to continue cooking.
lights, turn control back to a desired setting to
stop the clicking of the ignttii.
to a boil.
to fry chiien or pancakes; for gravy, pudding
and icing; to cook large amounts of vegetables.
ready to serve.
NOTE: Do not cook with the axltrol in the LITE
position.
In cast3 of a prolonged power failure:
Surface burners can tx manually lighted. Hold a
lighted match near a burner and turn the control
to the LITE position. After the burner lights. turn
the control to the desired setting.
To stop the clicking sound after the burner
Unlll you get uti to the ssttlng% w the
Upe UlE to light the burner. Aft&v the burner
Uw HI to start foods cooking: to bring liquids
Use a rnedlum setting to continue cooking or
Uee a low setilng to keep food warm until
Burn, Fire and Explosion Hazsrd
l
Burner
the edge of the caoklng utensil. The
flame can burn you and cause poor
cooklng results.
. Be sure all control knoba are turned to
OFF when you are not cookhg. Someone
oould be burned or a flrr could start If a
burner Is accidentally left ON.
l
If the flame should go out while cooklng,
or
burners OFF. Walt five mlnutss for the
gas odor to dfsappsar, before rellghtlng
burner. If gas odor la still prewnt, sss
safety note on page 3. Failure to follow
thess precautions could reauff In
exploskn or flre.
l
Do not attempt to light the oven burner
durlng a power failure. personal injury
could result.
flame should not extend ayond
If there Is a sfrong gas odor, turn ths
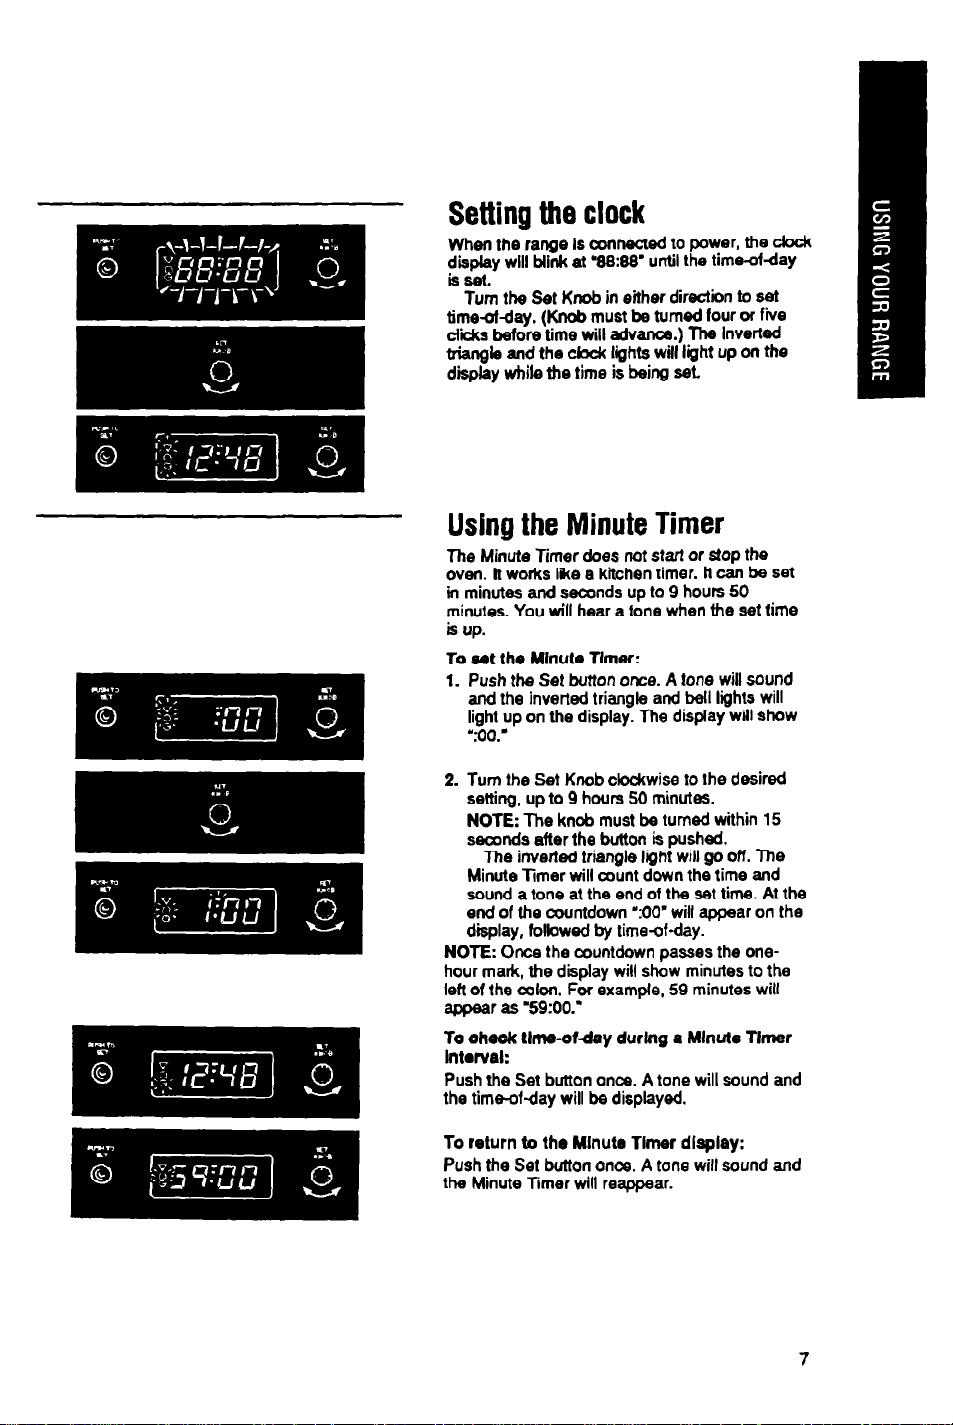
Setting the clock
ven the range Is connectsd to power, the clock
p&p$y will blink at ‘88:W until the tlme-ofday
Tub the Set Knob in either direction to set
timedday. (Knob must be turned four or fiie
cliis before time will advance.) The Inverted
triangle and the ckbck lights will light up on the
display while the time is being set.
Using the Minute Timer
The Minute Timer &es not start or
oven. tt works like a kitchen timer. il can be set
in minutes and seconds up to 9 hours 50
minutes. You will hear a tone when the set time
is up.
To eet the Minute Timer:
1. Push the Set button owe. A tone will sound
and the inverted triangle and bell lights will
light up on the display. The display will show
‘FOO.’
2. Turn the Set Knob clockwise to the desired
setting, up to 9 hours SO minutes.
NOTE: The knob must be turned within 15
seconds after the button is pushed.
The
inverted
Minute Timer will count down the time and
sound a tone at the end of the set time. At the
end of the countdown ‘:OO’ will appear on the
display, followed by time-of-day.
NOTE: Once the countdown passes the onehour mark, the display will show minutes to the
left of the colon. For example, 59 minutes will
appear as F&:00.’
To check tlme-ofday durlng a Minute Tlrner
lmntel:
Push the Set button once. A tone will sound and
the timeofday will be displayed.
triangle
light will go
stop
off.
the
The
To return b the Wlnutr Timer dlaplay:
Push the Set button once. A tone will sound and
the Minute Timer will reappear.
7
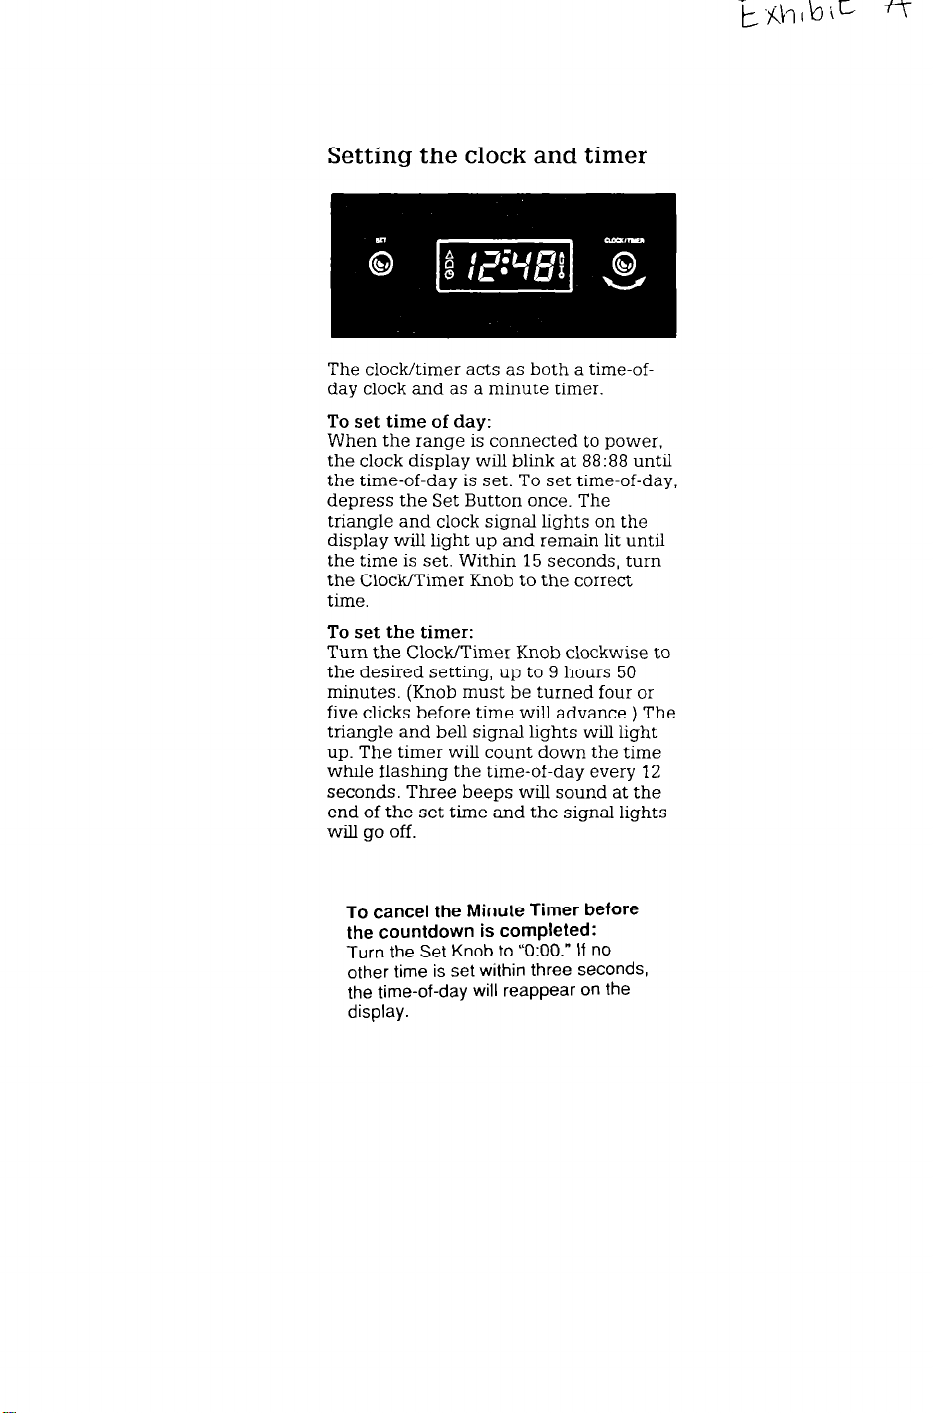
Setting the clock and timer
The clock/timer acts as both a time-ofday clock and as a minute timer.
To set time of day:
When the range is connected to power,
the clock display will blink at 88:88 until
the time-of-day is set. To set time-of-day,
depress the Set Button once. The
triangle and clock signal lights on the
display will light up and remain lit until
the time is set. Within 15 seconds, turn
the Clock/Timer Knob to the correct
time.
To set the timer:
Turn the ClocWTimer Knob clockwise to
the desired setting, up to 9 hours 50
minutes. (Knob must be turned four or
five clicks before time will advance.) The
triangle and bell signal lights will light
up. The timer will count down the time
while flashing the time-of-day every 12
seconds. Three beeps will sound at the
end of the set time and the signal lights
will go off.
To cancel the Minute Timer before
the countdown is completed:
Turn the Set Knob to “0:OO.” If no
other time is set within three seconds,
the time-of-day will reappear on the
display.
 Loading...