

Whirlpool SF336PES, SF316PES User Manual
I/ RANGE
Model SF316PES
* m-it=., Tz.%-*m.‘c ‘. !
MIcrowave Owns. Trash Compactors. Room AM Conditioners, Oehumldifiers, Automatic Washers. Clothes Dryers. Freezers, Refrigerator-F
AL ,. ?:..3 *yJa,‘;& j
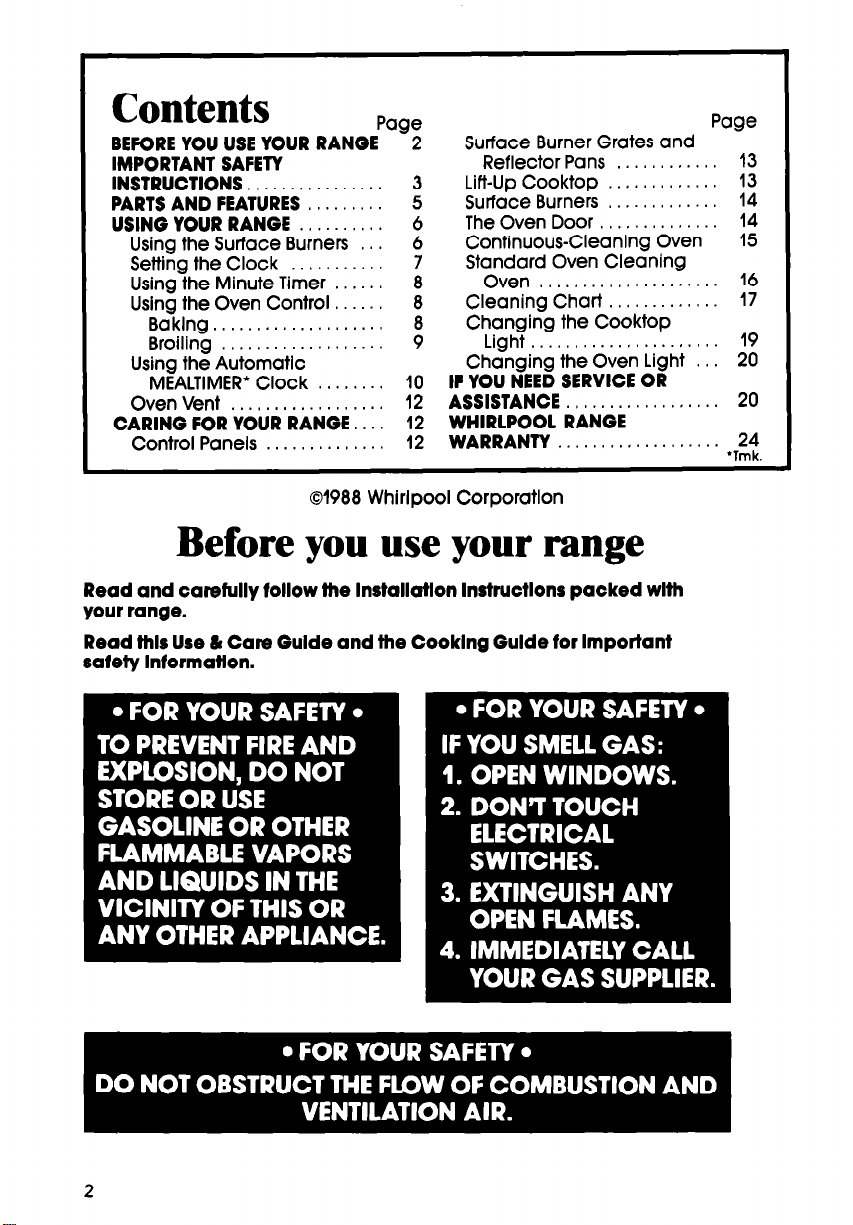
Contents
BEFORE YOU USE YOUR RANGE
IMPORTANT SAFETY
INSTRUCTIONS . . . . , , . . . . .
PARTS AND FEATURES . .
USING YOUR RANGE . . .
Using the Surface Burners .
Setting the Clock
Using the Minute Timer . . . .
Using the Oven Control
Baking . . . . . . . . . . . . . .
Broiling . . . . . . . . . . , , . . .
Using the Automatic
MEALTIMER’ Clock . . . . . .
Oven Vent . . . , . , , . . . . . . . .
CARING FOR YOUR RANGE.. . .
Control Panels . . . . . . . . , . .
01988 Whirlpool Corporation
Paae
-2
:20
12
12
Surface Burner Grates and
Reflector Pans . . . . , . .
Lift-Up Cooktop . . , .
Surface Burners . , . .
The Oven Door . . . . ,
Continuous-Cleaning Oven 15
Stanvnnrd Oven Cleaning
Cieaning’Chart::::::::::::: 17
Changing the Cooktop
Light . . . . . . . , . . . , .
Changing the Oven Light . .
IF YOU NEED SERVICE OR
ASSISTANCE . , , . . . . , . . , . . . .
WHIRLPOOL RANGE
WARRANTY . . , . . . . . . 2!,
Before you use your range
Read and carefully follow the lnstallatlon lnstructlons packed wlth
your range.
Read thls Use & Care Gulde and the Cooklng Gulde for Important
safety Information.
Page
13
13
14
14
16
19
20
20
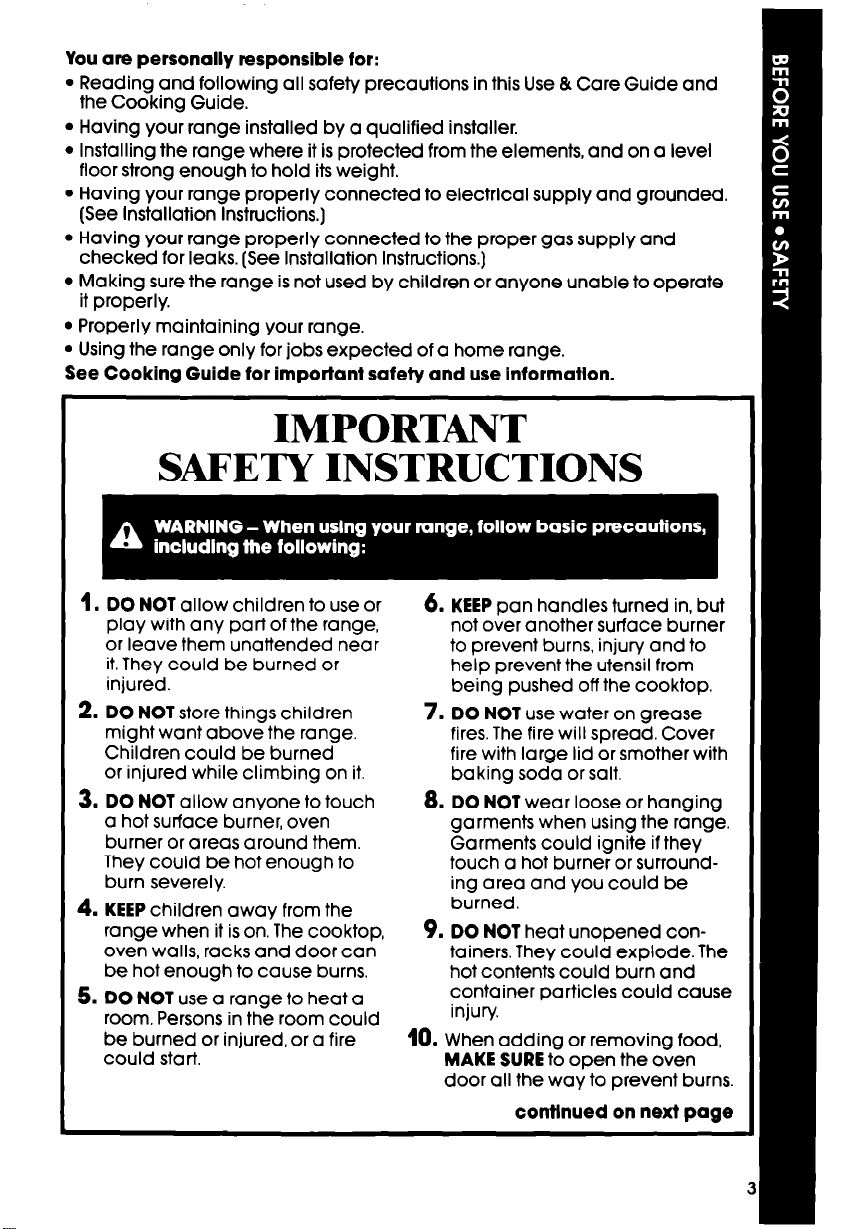
You are personally responsible for:
l Reading and following ail safety precautions in this Use & Care Guide and
the Cooking Guide.
l Having your range installed by a qualified installer.
l installing the range where it is protected from the elements, and on a level
floor strong enough to hold its weight.
l Having your range properly connected to electrical supply and grounded.
(See installation instructions.]
l Having your range properly connected to the proper gas supply and
checked for leaks. (See installation instructions.)
l Making sure the range is not used by children or anyone unable to operate
it properly.
l Properly maintaining your range.
l Using the range only for jobs expected of a home range.
See Cooking Guide for important safety and use informatlon.
IMPORTANT
SAFETY INSTRUCTIONS
1.
DO NOT allow children to use or
play with any part of the range,
or leave them unattended near
it. They could be burned or
injured.
2. DO NOT store things children
might want above the range.
Children could be burned
or injured while climbing on it.
3. DO NOT allow anyone to touch
a hot surface burner, oven
burner or areas around them.
They could be hot enough to
burn severely.
4. KEEP children away from the
range when it is on. The cooktop,
oven walls, racks and door can
be hot enough to cause burns.
5. DO NOT use a range to heat a
room. Persons in the room could
be burned or injured, or a fire
could start.
6. KEEP pan handles turned in, but
not over another surface burner
to prevent burns, injury and to
help prevent the utensil from
being pushed off the cooktop.
7. DO NOT use water on grease
fires. The fire will spread. Cover
fire with large lid or smother with
baking soda or salt.
8.
DO NOT wear loose or hanging
garments when using the range.
Garments could ignite if they
touch a hot burner or surrounding area and you could be
burned.
9. DO NOT heat unopened containers. They could explode. The
hot contents could burn and
container particles could cause
injury.
10.
When adding or removing food,
MAKE SURE to open the oven
door ail the way to prevent burns.
contlnued on next page
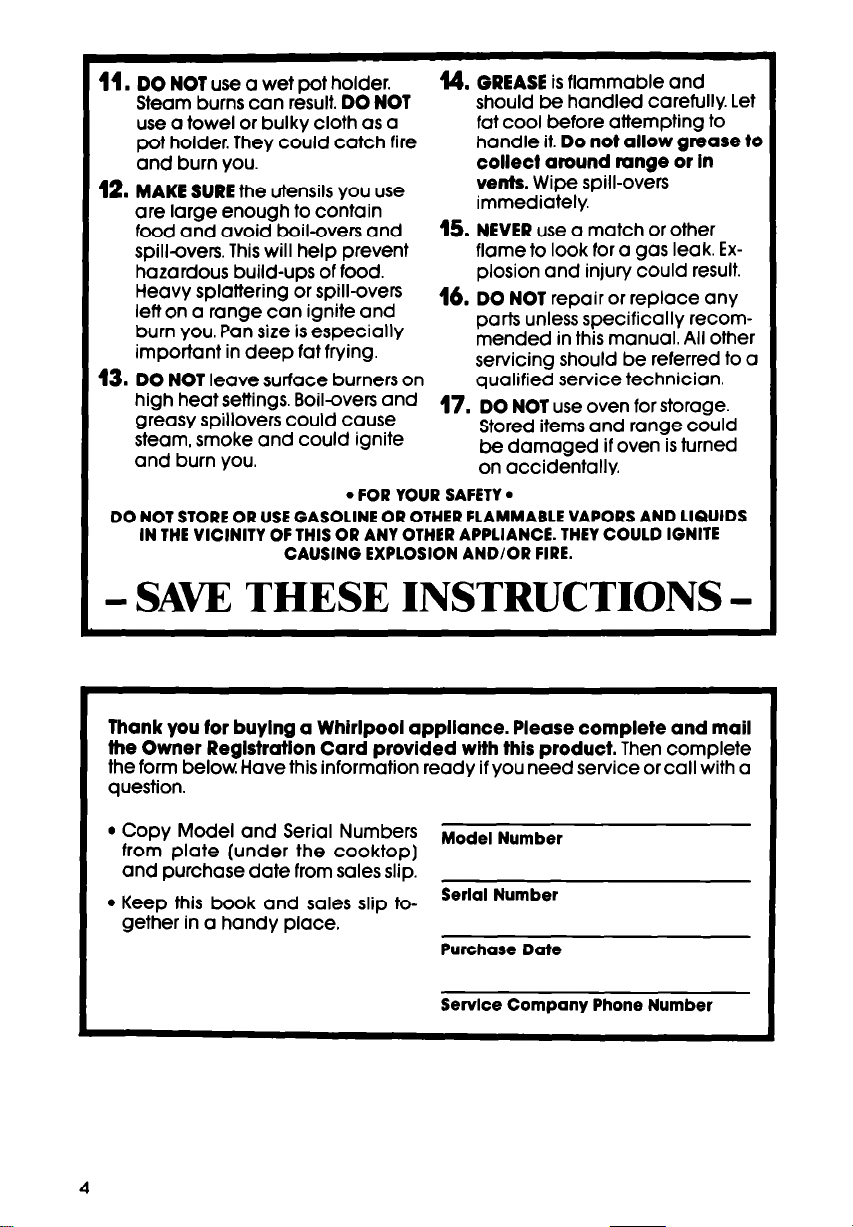
11.
DO NOT use a wet pot holder.
Steam burns can result. DO NOT
use a towel or bulky cloth as a
pot holder. They could catch fire
and burn you.
12. MAKE SURE the utensils you use
are large enough to contain
food and avoid boii-overs and
spiilovers. This will help prevent
hazardous build-ups of food.
Heavy splattering or spiii-overs
left on a range can ignite and
burn you. Pan size is especially
important in deep fat frying.
13. DO NOT leave surface burners on
high heat SeWP. Boii-ves and
greasy spillovers could cause
steam, smoke and could ignite
and burn you.
14. GREASE is flammable and
should be handled carefully. Let
fat cool before attempting to
handle it. Do not allow grease to
collect around range or in
vents. Wipe spill-overs
immediately.
15. NEVER use a match or other
flame to look for a gas leak. Explosion and injury could result.
16. DO NOT repair or replace any
parts unless specifically recommended in this manual. Ail other
servicing should be referred to a
qualified service technician.
17, DO NOT use oven for storage.
Stored items and range could
be damaged if oven is turned
on accidentally.
. FOR YOUR SAFETY.
DO NOT STORE OR USE GASOLINE OR OTHER FLAMMABLE VAPORS AND LIQUIDS
IN THE VICINITY
OF THIS OR ANY OTHER APPLIANCE. THEY COULD IGNITE
CAUSING EXPLOSION AND/OR FIRE.
- SAW THESE INSTRUCTIONS -
Thank you for buylng a Whirlpool appliance. Please complete and mail
the Owner Reglstratlon Card provided with this product. Then complete
the form below. Have this information ready if you need service or call with a
question.
l Copy Model and Serial Numbers
from plate (under the cooktopl
Model Number
and purchase date from sales slip.
l Keep this book and sales slip to-
Serial Number
gether in a handy place.
Purchase Date
Service Company Phone Number
4
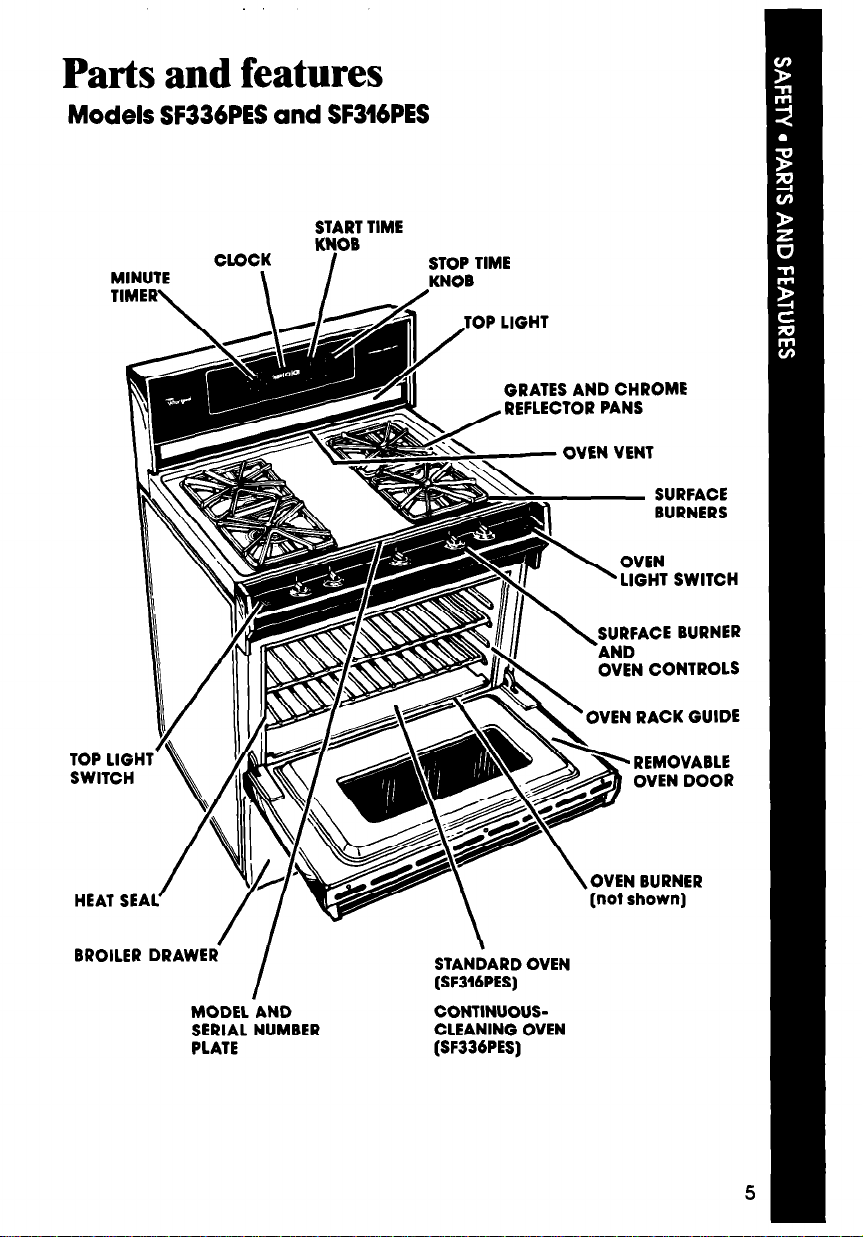
Parts and features
Models SF336PES and SF316PES
START TIME
\ I
KNOB
STOP TIME
KNOB
/ --
.
MINUTE
CLOCK
TIMER\
GRATES AND CHROME
, REFLECTOR PANS
OVEN VENT
SURFACE
BURNERS
TOP LIGHTSWITCH
HEAT SEAL
BROILER DRAWER-
’
\
/
MODEL AND CONTINUOUSSERIAL NUMBER
PLATE
‘\
II-
STANiARD OVEN
/
(SF316PES)
CLEANING OVEN
(SF336PES)
OVEN
LIGHT SWITCH
SURFACE BURNER
OVEN CONTROLS
OVEN RACK GUIDE
\~VEN BURNER
(not shown)
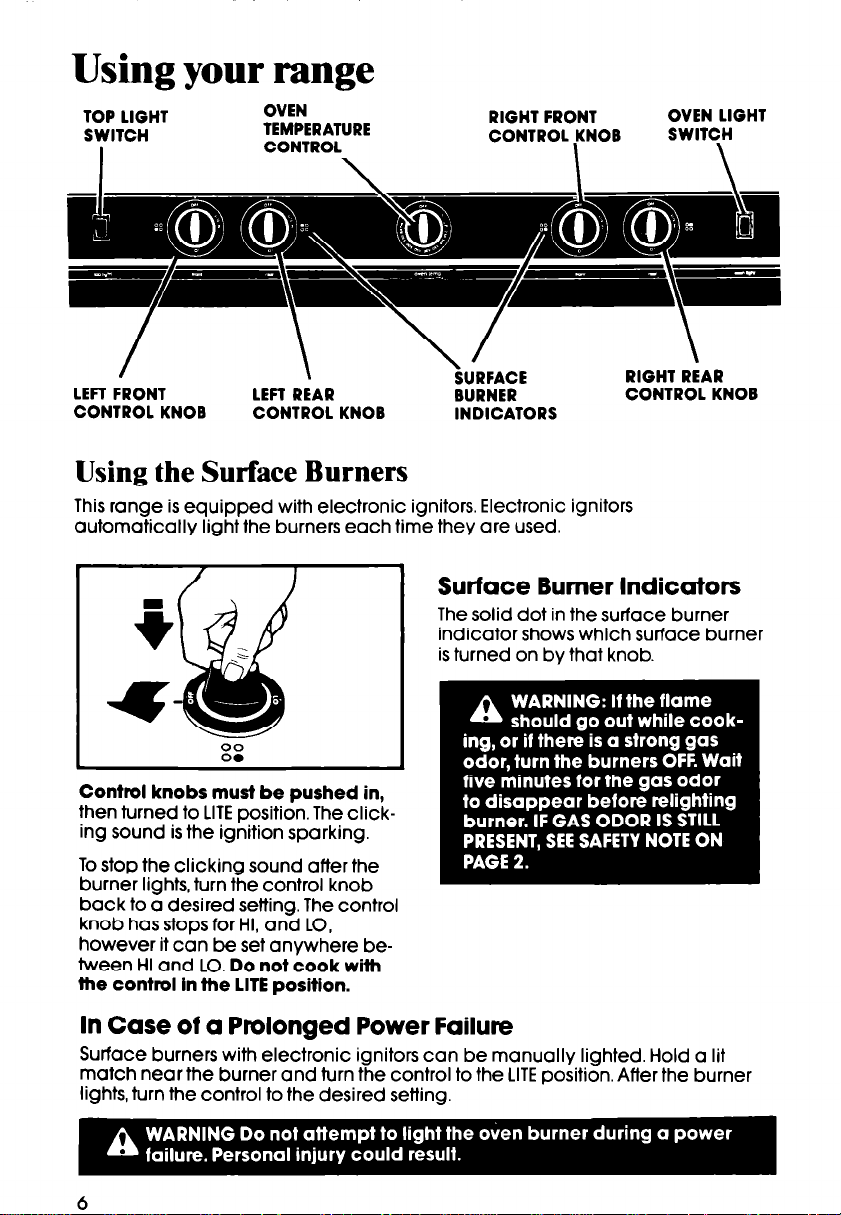
Using your range
TOP LIGHT
SWITCH
I
OVEN
TEMPERATURE
CONTROL
\
RIGHT FRONT
CONTROL KNOB
I \
OVEN LIGHT
SWITCH
/
LEFT FRONT
CONTROL KNOB
\
LEFT REAR
CONTROL KNOB
SURFACE
BURNER
INDICATORS
Using the Surface Burners
This range is equipped with electronic ignitors. Electronic ignitors
automatically light the burners each time they are used.
Surface Burner Indicators
The solid dot in the surface burner
indicator shows which surface burner
is turned on by that knob.
Control knobs must be pushed in,
then turned to LITE position. The clicking sound is the ignition sparking.
To stop the clicking sound after the
burner lights, turn the control knob
back to a desired setting. The control
knob has stops for HI, and LO,
however it can be set anywhere between HI and LO. Do not cook with
the control in the LITE position.
RIGHT REAR
CONTROL KNOB
In Case of a Prolonged Power Failure
Surface burners with electronic ignitors can be manually lighted. Hold a lit
match near the burner and turn the control to the LITE position. Afler the burner
lights, turn the control to the desired setting.
See the Cooking Guide for important utensil information. Until you get
used to the settings, use the following as a guide.
Use HI
Use LITE
the burner. After
the burner lights,
turn control
back to a desired setting to
stop the clicking
of the ignition.
Do not cook
wlth the control
In the LITE posl-
tlon.
to light
to start
foods cooking
or to bring liquids to a boil.
Use a medlum
setting
to start
cooking or to fry
chicken or pancakes; for gravy,
puddlngs and
icing or to cook
large amounts
of vegetables.
Use LO
to
keep foods
warm until
ready to serve.
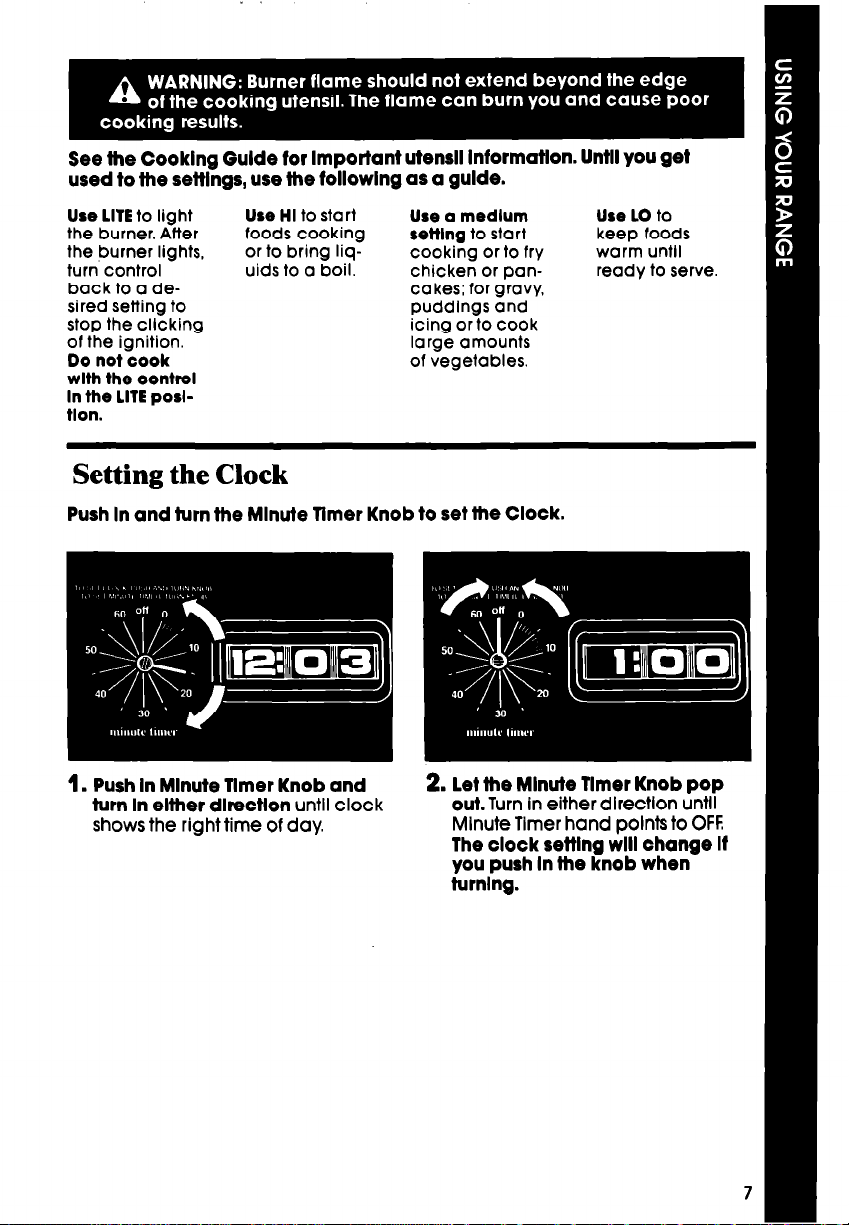
Setting the Clock
Push in and turn the Minute Timer Knob to set the Clock.
1.
Push in Minute Timer Knob and
turn in either direction
shows the right time of day.
until clock
2. let the Minute Timer Knob pop
out.
Turn In either dlrectlon until
Mlnute Tlmer hand points to OFF.
The clock setting will change if
you push in the knob when
turning.

Using the Minute Timer
The Minute Timer does not start or stop the oven. It works like a kitchen timer.
Set it in minutes up to an hour. You will hear a buzzer when the set time is up.
DO NOT PUSH IN THE KNOB when setting the Minute Timer.
1.
Without pushing it in, turn the
Minute Timer Knob until the hand
passes the setting you want.
PUSHING IN AND TURNING THE MINUTE TIMER KNOB CHANGES THE CLOCK
SETTING.
2. Without pushing in, turn the knob
back to the setting you want.
When the time is up, a buzzer will
sound. To stop the buzzer, turn the
Minute Timer hand to OFF.
Using the Oven Temp Control
Baking
The rack(s) should be placed so the
top of the food will be centered in
the oven. Always leave at least IM to
2 inches (4-5 cm] between the sides
of the pan and the oven walls and
other pans. For more information,
see the Cooklng Guide.
1.
Position the racks properly before
turning on the oven. To change
rack position, pull rack out to
stop, raise front edge and lift out.
8
 Loading...