

Whirlpool RSUOBXK, RS66OBXK User Manual
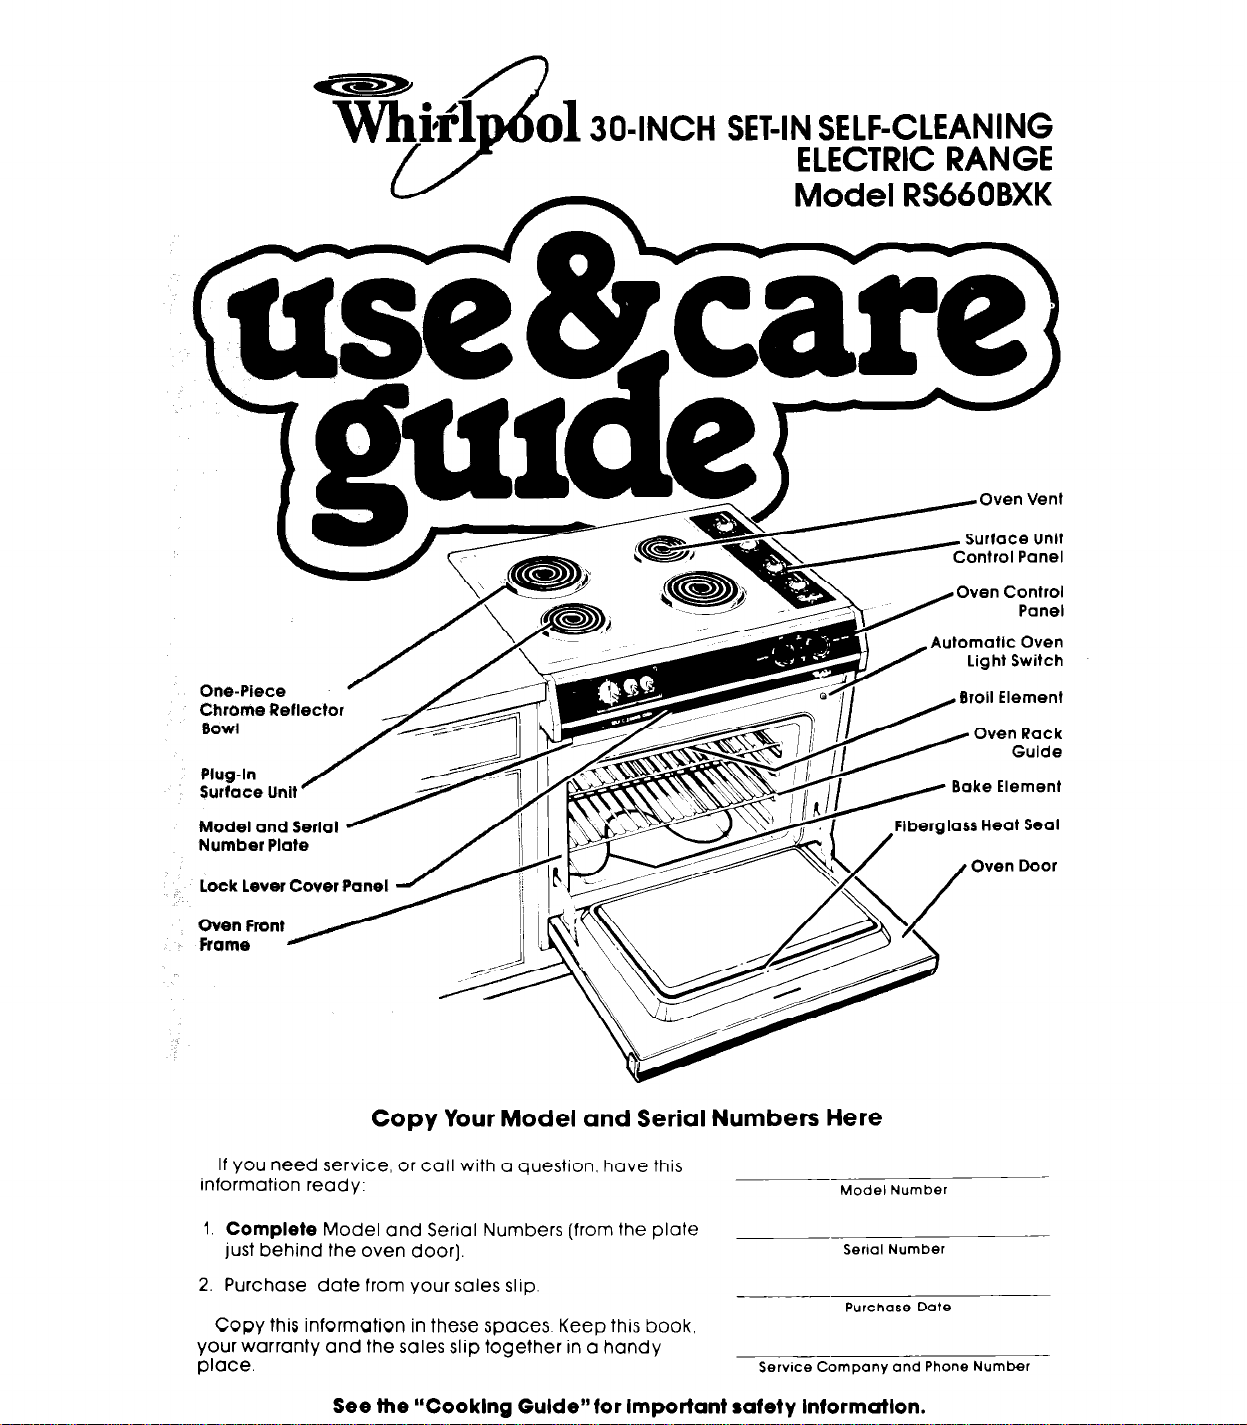
one-piece /
Chrome Reflector
0OWi
0l304NCH SET-IN SELF-CLEANING
ELECTRIC RANGE
Model RSUOBXK
Automatic Oven
‘A
light Switch
Plus-In / LL==z&E
Copy Your Model and Serial Numbers Here
If you need service, or call with a question, have this
information ready:
1.
Complete
just behind the oven door].
2. Purchase date from your sales slip.
Copy this information in these spaces Keep this book,
your warranty and the sales slip together in a handy
place.
Model and Serial Numbers (from the plate
Bake Element
Model Number
Serial Number
Purchase Date
Service Company and Phone Number
See the “Cooklng Gulde”for Important safety Intormutlon.
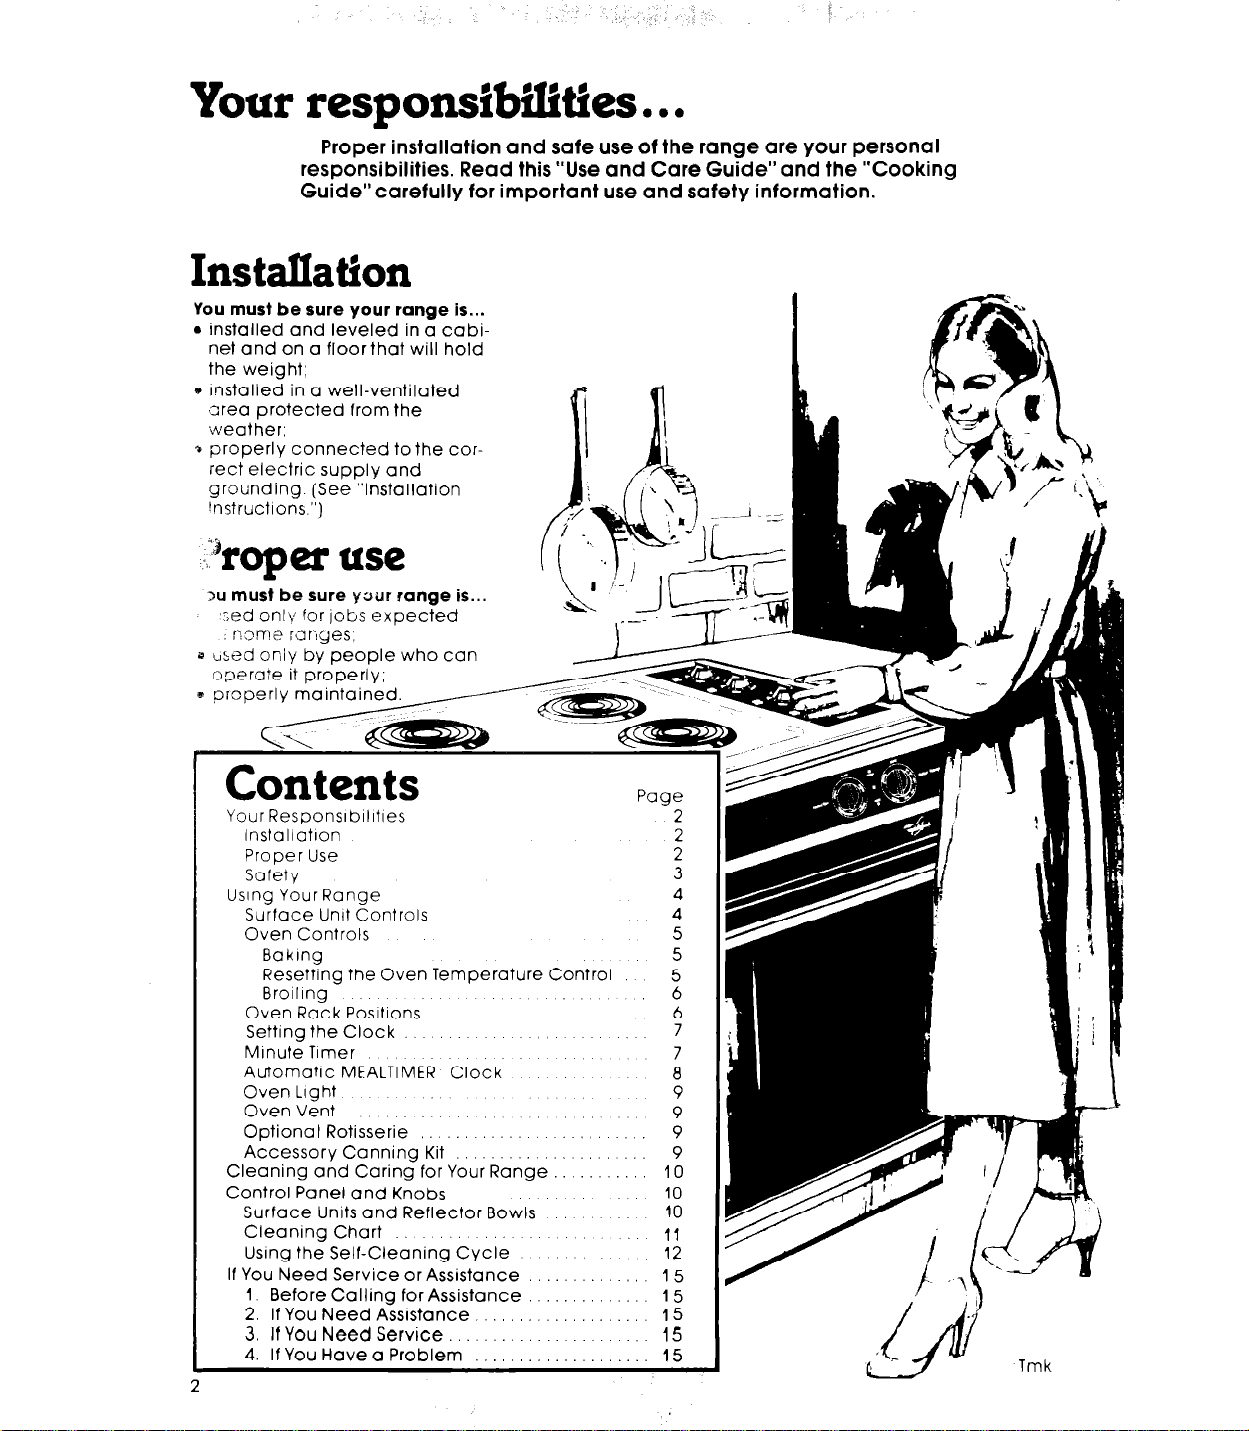
Your respons&ilities.. .
Proper installation and safe use of the range are your personal
responsibilities. Read this “Use and Care Guide”and the “Cooking
Guide”carefully for important use and safety information.
InstalIation
You must be sure your range is...
l
installed and leveled in a cabinet and on a floor that will hold
the weight:
c Installed in a well-ventilated
3rea protected from the
iveather;
* properly connected to the cor-
rect electric supply and
grounding. (See “Installation
rnstructlons.“)
?rop er use
3u must be sure y;rut range is...
‘?ed onlq for jobs expected
come rar7yes;
s tised only by people who can
operate it properly;
Contents
Your Responsrbllltles
lnstallatron
Proper Use
Safety
Using Your Range
Surface Unit Controls
Oven Controls
Bakrng
Resetting the Oven Temperature Control
Broiling
Oven Rack Positions
Setting the Clock
Minute Timer
Automatic MEALTIMER Clock
Oven Light
Oven Vent
Optional Rotisserie
Accessory Canning Kit : : :
Cleaning and Caring for Your Range
Control Panel and Knobs
Surface Units and Reflector Bowls
Cleaning Chart
Using the Self-Cleaning Cycle
If You Need Service or Assistance
1. Before Calling for Assistance
2.
If You Need Assistance.
3.
If You Need Service
4. If You Have a Problem :
2
Paae
-2
10
10
10
11
12
15
15
15"
15
22
3
4
4
5
5
5
6
6
7
7
8
9
9
9
9
Tmk

?

Using your range
Automatic MEALTIMER Clock
I
>Surface Unii
Indicators
Surface Unit
D
Control Knobs ,
-Signal
tights
Clock and MLte Timer
/
Start Time Knob
I
Stop Time Knob
SURFACE UNIT CONTROLS
Control knobs must be
pushed in before turning them
to a setting. They can be set
anywhere between HI and OFF.
One of the signal lights will
glow when a surface unit is on.
Be sure all lights are off when
you are not cooking.
Turn to setting.
Until you get used to settings, use the following as a guide
Use HI to start
foods cooking or
to bring liquids to
a boil.
Use MED-HI to
hold a rapid boil
or to fry chicken
or pancakes.
Use MED for
gravy, puddings
and icings or to
cook large
amounts of
vegetables.
ME0
Use MED-LO to
keep food
Cooking after
starting it on a
higher setting.
See “The Accessory Canning Kit” (page 9) and
your “Cooking Guide”
information.
for important utensil
Use LO to keep
food warm until
ready to serve.
Set the heat
higher or lower
within the LO
band for the
temperature you
want.
SURFACE
UNITS:
Element will be
black during
cooking if contact
with bottom
is good. Element
will not turn red if
good contact is
made.
of pan
‘Tmk
Oven SeI’ector Adjustable Oven Temperature Control
4. Let the oven preheat until the Signal Light
goes off
5. Put food in the oven.
6. When done baking, turn both knobs to
OFF.
RESETTING THE OVEN TEMPERATURE CONTROL
Does your new oven seem to be hotter or colder at the same settings than your
old oven? The temperature setting in your old oven may have changed gradually over the years. The accurate setting of your new oven can seem different.
If you think the oven temperature needs adjusting, follo\AJ!?+se steps:
OFF
Lockin’g Screw
Durlng baklng, the elements will turn on
and off to help hold the oven temperature at
the settlng. (The top element will never turn
red, but will be hot.] The Slgnal Light will turn
on and otl wlth the elements.
-
OFF
Tootii Notches
Tooih
OFF
Notches
1.
Pull out the center
of the Oven Temperature Control.
3.
2.
Loosen the locking screw.
Tlghten the locking screw. Replace the knob.
To lower the temperature, move
black ring so tooth is
closerto LO. Each
notch equals
about 10°F (5°C).
4. To raise the temperature, move
black ring so tooth is
closer to HI. Each
notch equals
about 10°F (5°C).
5
 Loading...