

Whirlpool RS600BXB User Manual

A Note To You
Parts And Features
Yf
Using Your Range
Caring For
I
. \
\\
STANDARD-CLEANING ELECTRIC SET-IN RANGE
Your Range 15
H You Need
Assistance
Or Service 21
, wamnty
1-800-253-1301
Cell us with cF.lertions or comments.
MODEL RSGOOBXB
6
7
24
A
Note To You
Thank you for buying a Whirlpool@ appliance.
You have purchased a quality, worldclass home appliance. Years of engineering experience have gone
into its manufacturing. To ensure that you will enjoy many years of trouble-free operation, we have
developed this Use and Care Guide. It is full of valuable information on how to operate and maintain
your appliance properly and safely. Please read it carefully. Also, please complete and mail the Ownership Registration Card provided with your appliance. This will help us notify you about any new information on your appliance.
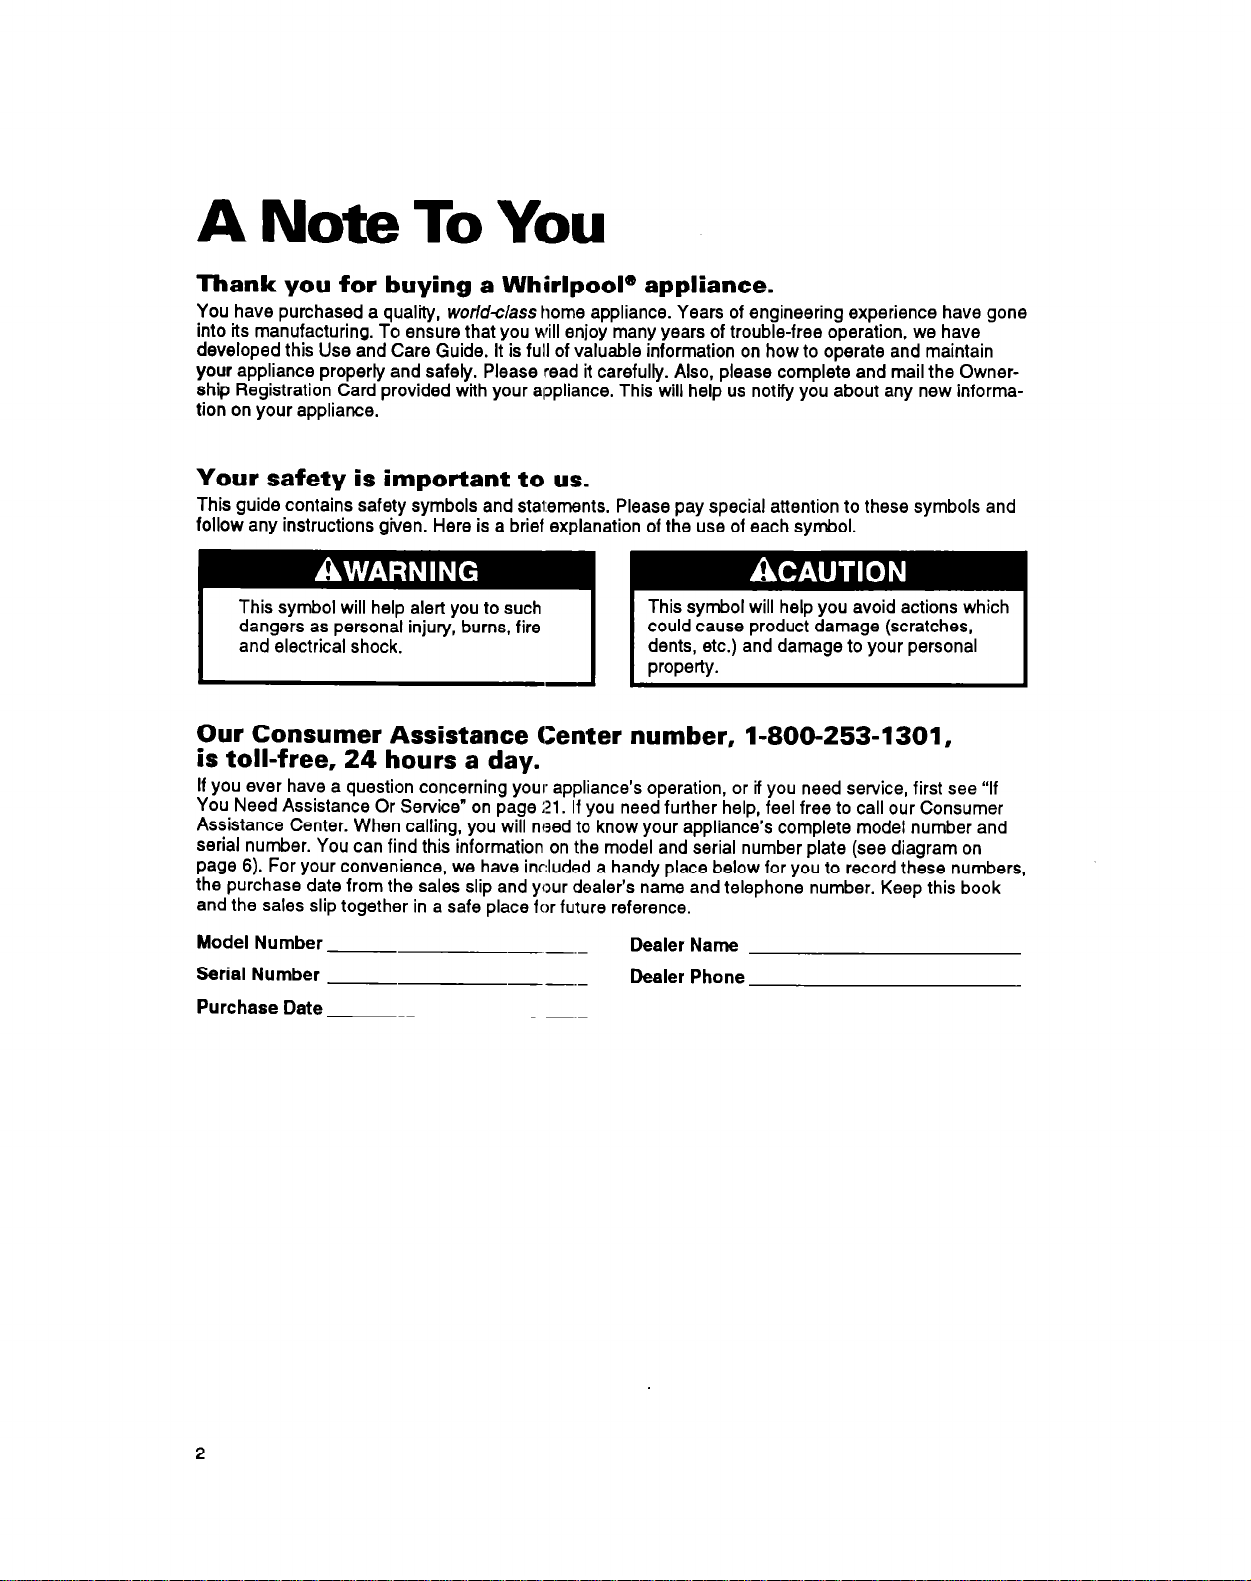
Your safety is important to us.
This guide contains safety symbols and statements. Please pay special attention to these symbols and
follow any instructions given. Here is a brief explanation of the use of each symbol.
dents, etc.) and damage to your personal
Our Consumer Assistance Center number, l-800-253-1301,
is toll-free, 24 hours a day.
If you ever have a question concerning your appliance’s operation, or if you need service, first see “If
You Need Assistance Or Service” on page 21. If you need further help, feel free to call our Consumer
Assistance Center. When calling, you will need to know your appliance’s complete model number and
serial number. You can find this information on the model and serial number plate (see diagram on
page 6). For your convenience, we have inc:luded a handy place below for you to record these numbers,
the purchase date from the sales slip and your dealer’s name and telephone number. Keep this book
and the sales slip together in a safe place for future reference.
Model Number
Serial Number
Purchase Date
--.-
--.-
--.-
Dealer Name
Dealer Phone
Important Safety Instructions
To reduce the risk of fire, electrical shock, injury to
persons, or damage when using the range, follow
basic precautions,
including the following:
General
*Read all instructions before
using the range.
*Install or locate the range only
in accordance with the pro-,
vided Installation Instructions.
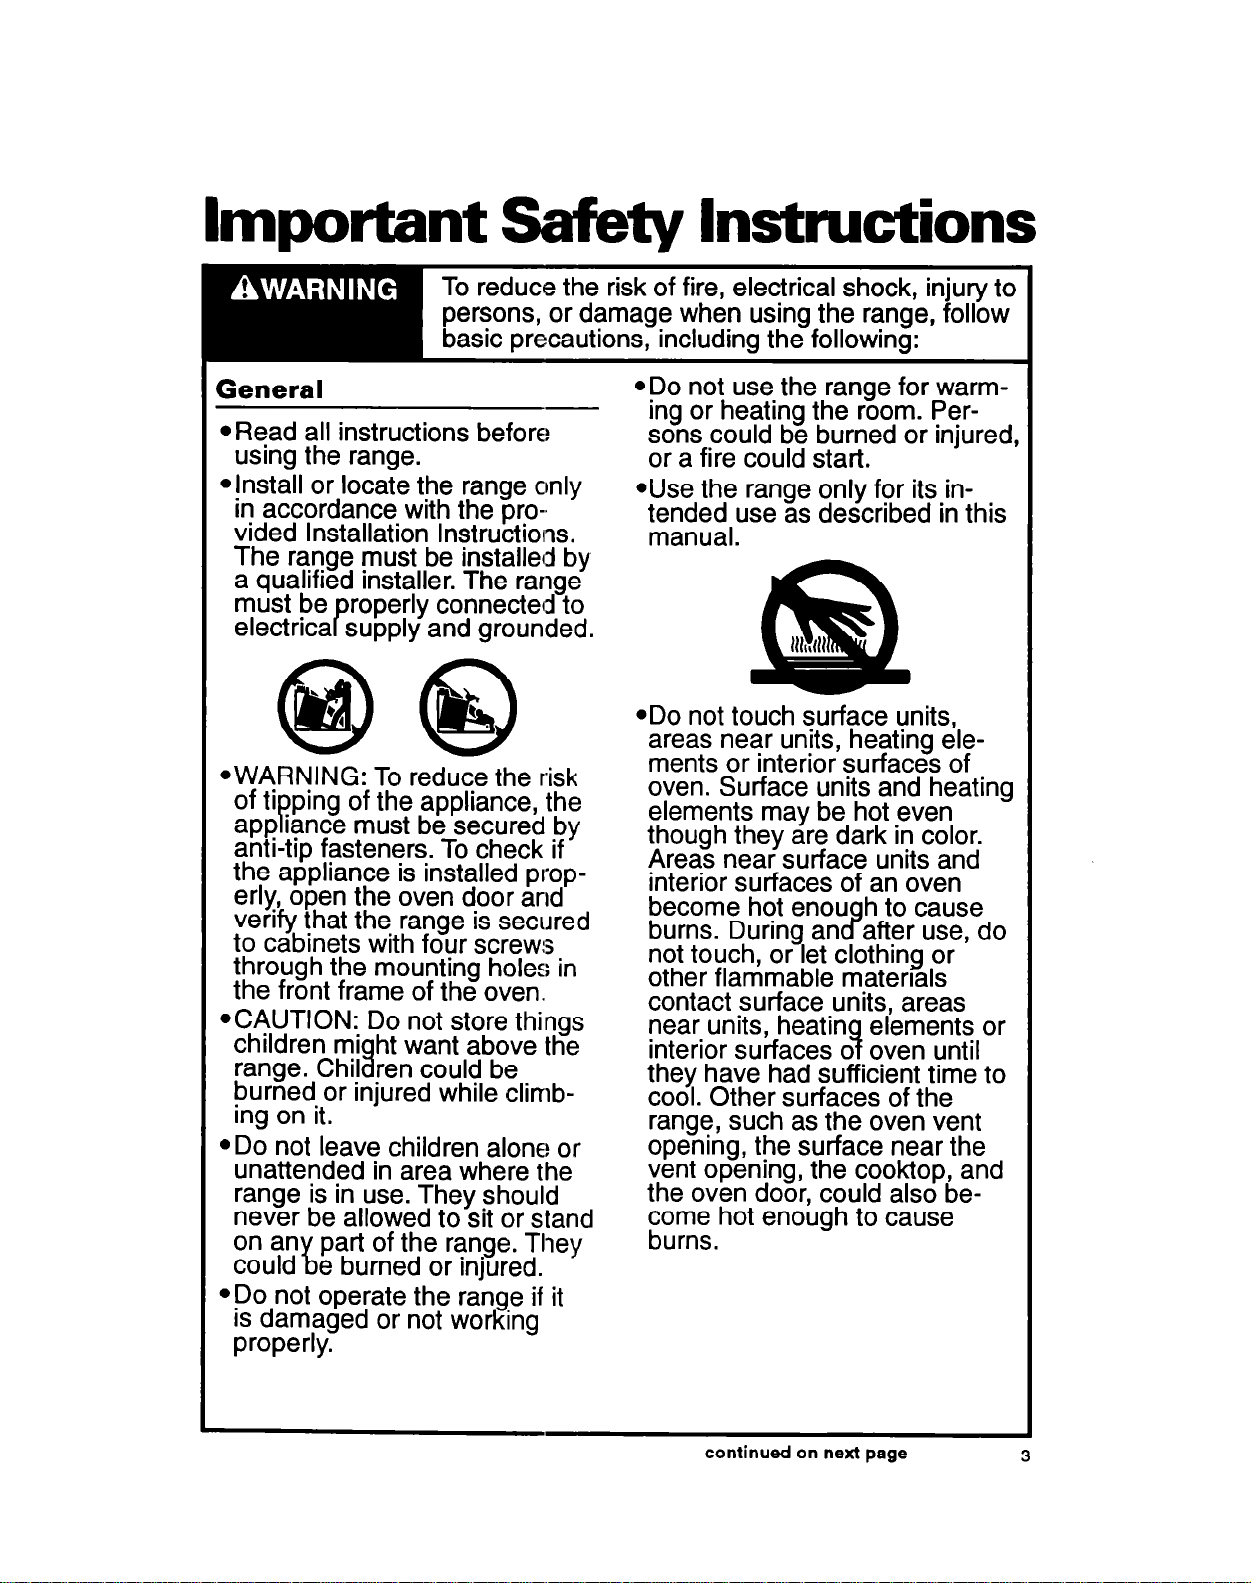
@WARNING: To reduce the risk
ping of the appliance, the
of ti
P
app iance must be secured by
anti-tip fasteners. To check if
the appliance is installed prop-
erly, open the oven door and
verify that the range is secured
to cabinets with four screws
through the mounting holes in
the front frame of the oven.
@CAUTION: Do not store things
children mi
ht want above the
range. Chil % ren could be
burned or injured while climb-
ing on it.
l
Do not leave children alone or
unattended in area where the
range is in use. They should
never be allowed to sit or stand
on an
could
l
Do not operate the range if it
part of the range. They
‘b
e burned or injured.
is damaged or not working
properly.
@Do not use the range for warm-
ing or heating the room. Persons could be burned or injured,
or a fire could start.
@Use the range only for its&-
t;;i;tluse as described In this
.
@Do not touch surface units,
areas near units, heating elements or interior surfaces of
oven. Surface units and heating
elements may be hot even
though they are dark in color.
Areas near surface units and
interior surfaces of an oven
become hot enou h to cause
burns. During an 8 after use, do
not touch, or let clothing or
other flammable materials
contact surface units, areas
near units, heatin elements or
interior surfaces 0 oven until 3
they have had sufficient time to
cool. Other surfaces of the
range, such as the oven vent
opening, the surface near the
vent opening, the cooktop, and
the oven door, could also become hot enough to cause
burns.
continued on next page
3
@Do not wear loose or hangiq
garments when using the
range. They could ignite if they
touch a hot surface unit and
you could be burned.
@Use only d r potholders. Moist
or damp po holders on hot surfaces could result in burns from
steam. Do not let potholder
touch hot heating elements.
Do not use a towel or bul
f;;a potholder. It could ca ch
l
Keep range vents unobstructed.
*Do not heat unopened conta.in-
ers. They could explode. The hot
contents could cause burns and
container particles could cause
injury.
*Do not store flammable materi-
als on or near the range. The
fumes could create an explosion
and/or fire hazard.
When usinn the cookton
*Make sure the reflector bowls
are in place during cooking.
Cooking without reflector bowls
could subject the wirin
components
damage.
@Do not line reflector bowls with
aluminum foil or other liners.
Improper installation of these
liners could result in a risk of
electric shock or fire.
Gelect a pan with a flat bottom
that is about the same size as
undernea h them to
a
ky
and
cloth
on
the surface unit. If pan is smaller
than the surface unit, some of
the heatin element will be ex-
posed an 8 could result in the
I
niting of clothing or potholders.
8
orrect pan size also improves
cooking efficiency.
@Check to be sure lass cook-
ing utensils are sa e for use on 3
the ran e. Only certain types of
glass, g ass-ceramic, ceramic, 9
earthenware or other glazed
utensils are suitable for
cook-tops without breaking
due to the sudden change
in temperature.
@Never leave surface units
unattended at high heat set-
tings. A boilover could result
and cause smokin and greasy
spillovers that cou d ignite. P
*Turn pan handles inward, but
not over other surface units.
This will help reduce the
chance of burns, i niting of
flammable materia s, 9 and spills
due to bumping of the pan.
When usinn the oven
*Always osition oven rack(s) in
desired ocation while oven IS P
cool. If a rack must be removed while oven is hot, do
not let potholder contact hot
heating element in oven.
@Use care when opening oven
door. Let hot air or steam es-
cape before
placing food.
removing or re-
4
Grease
Care and cleaning
*Grease is flammable. Do not
allow grease to collect around
cooktop or in vents. Wipe spillovers immediately.
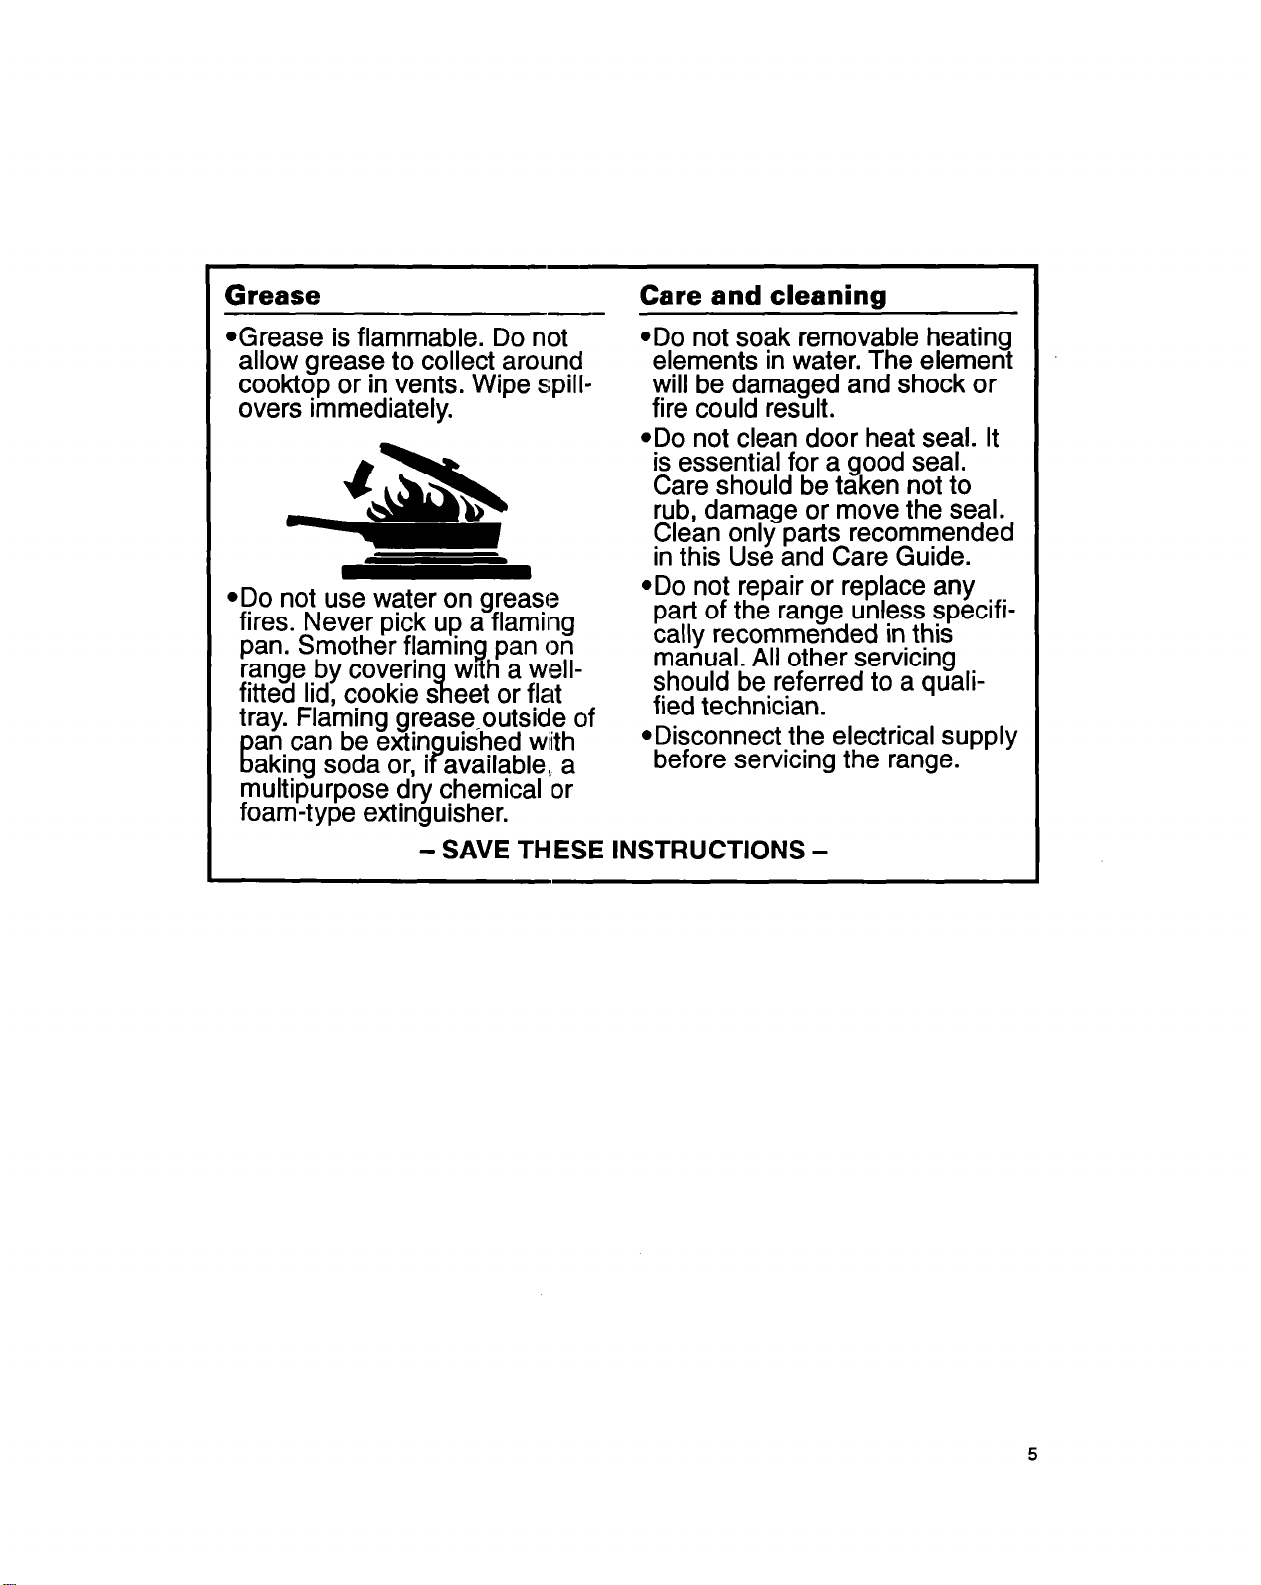
ADO not use water on grease
fires. Never pick up a flaming
pan. Smother flaming pan on
range by coverin
fitted lid, cookie s eet or flat
tray. Flaming grease-outside of
an can be extin
E
aking soda or, i
multipurpose dry chemical or
foam-type extinguisher.
wrth a well-
Yl
uished wn’th
3
available, a
- SAVE THESE INSTRUCTIONS -
@Do not soak removable heating
elements in water. The element
will be damaged and shock or
fire could result.
ADO not clean door heat seal. It
is essential for a good seal.
Care should be taken not to
rub, damage or move the seal.
Clean only parts recommended
in this Use and Care Guide.
@Do not repair or replace any
part of the range unless specifically recommended in this
manual. All other servicing
should be referred to a qualified technician.
*Disconnect the electrical supply
before servicing the range.
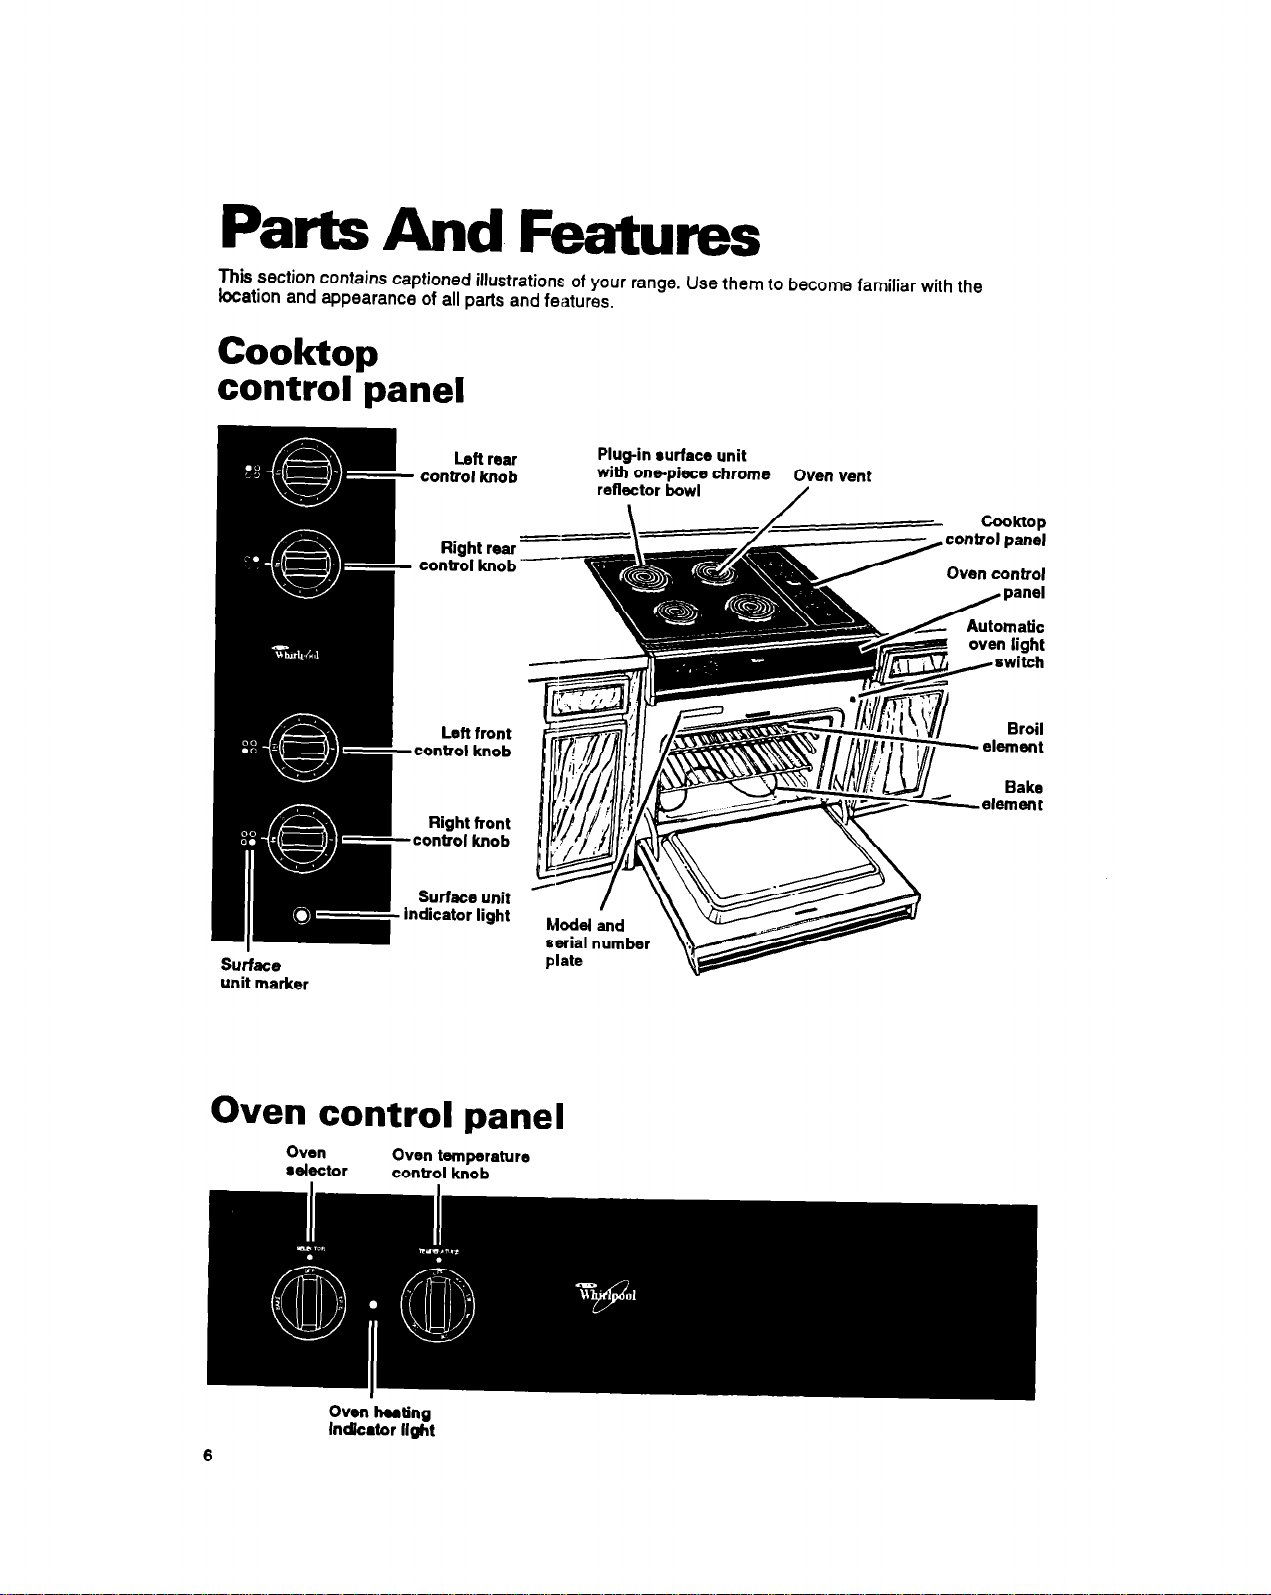
Parts And Features
This section contains captioned illustrations of your range. Use them to become familiar with the
location and appearance of all parts and features.
cooktop
control panel
surface
unit marker
I
- control knob
/
-control knob
-control knob
- indicator light
Left rear
Right rear
control knob
Left front
Right front
Surface unit
Plug-in surface unit
with onepiece chrome
reflector bowl
aerial number
Oven vent
/
Oven control panel
Oven
selector
Oven hsating
Indkator ll*t
6
Oven temperahrrs
control knob
Using Your Range
In This Section
Using the surfacs
Positioning racks and pans
For best air circulation
lhlng etumlnum foil for
Batdnglroasgng ................................................ 11
To obtain the best cooking results possible, you must operate your range properly. I hr.5 sectron gfves
you important information for efficient and safe use of your range.
units ...................................... 7
............................... 9 Broiling
..................................... 10
batdng
......................
Page
.10
Adjusting the oven temperature control
..............................................................
Broiling tips
Ensrgy saving tips
The oven vent
.......................................................
............................................
...................................................
Page
.......
.12
12
13
14
14
Using the surface units
Push in control knobs before turning them to a
setting. You can set them anywhere between HI
and OFF.
Surface unit markers
The solid dot in the surface unit marker shows
which surface unit is turned on by that knob.
Surface unit indicator light
The Surface Unit Indicator Light on the control
panel will glow when a surface unit is turned on.
Burn and Fire Hazard
Be sure all control knobs are turned to OFF
and all indicator lights are OFF when you
are not cooking.
Someone could be burned or a fire could
start if a surface unit is accidentally left 01%
knob diwn to coitinue
c&king.
SETTING
l
HI
To start foods cooking.
l
To bring liquids to a boil.
Medium-high l To hold a rapid boil.
l
Medium
For gravy, pudding and icing.
(opposite OFF) l To cook large amounts of
vegetables.
l
Medium-low
LO
To keep food cooking after
l
To keep food warm until rsady
to serve.
Cookware tips
l
Select a pan that is about the same size as the
surface unit.
l
NOTE: For best results and greater energy
efficiency, use only flat-bottomed cookware
that makes good contact with the surface units.
Cookware with rounded, warped, ribbed (such
as some porcelain enamelware) or dented
bottoms could cause severe overheating, which
damages the cookware and/or surface unit.
You can, however, u,se the newer coobNare
available with slightly indented bottoms 0’ very
small expansion channels. This cookware is
specially designed to provide the good contact
needed for best cooking results.
Also, woks, canners and teakettles with flat
bottoms suitable for use on your cooktop are
now available in most stores that sell
housewares.
l
The pan should have straight sides and ;I tightfitting lid.
l
Choose medium to heavy gauge (thick!iess)
pans that are fairly lightweight.
l
The pan material (metal or glass) affects, how
fast heat transfers from the surface unit through
the pan material and how evenly heat spreads
over the pan bottom. Choose pans that provide
the best cooking results.
l
Handles should be made of sturdy, heat-
resistant material and be securely attached to
the pan.
Product Damage Hazard
l
If a surface unit stays red for a long time,
the bottom of the pan is not flat enough or
is too small for the surface unit. Prolonged
usage of incorrect utensils for long periods
of time could result in damage to the
surface unit, cooktop, wiring and surround-
ing areas. To prevent damage, use correct
utensils, start cooking on HI and turn control
down to continue cooking.
l
Do not leave an empty utensil, or one which
has boiled dry, on a hot surface unit. The
utensil could overheat and could damage
the utensil or surface unit.
6
 Loading...