

Whirlpool RM235PXL User Manual

BUILT-IN MICROWAVE
.-.,-.-..-.v
Upper Oven
Model and Serkal
Number Plats’
Copy Your Model and Serial Numbers Here
If you need service. or call with a question, have this
information ready
1 Complete Model ana Serial Numbers [from the plate just
behind the microwave oven door on the oven frame).
2. Purchase date from sules slop.
Copy this information in these spaces. Keep this book,
your warranty ona sales slip together in a handy place.
See the “Cooklng Gulde”for important safety Informatlon.
ConttnuousXleantng
Lower oven
Automattc Oven
Clght Switch
Brolt Etement
b SUkone Heat Seal
Oven Rock Cuid8s
b lake Element
Fotl Liner
Model Number
Serial Number
Purchase Dote
Serwce Company and Phone Number
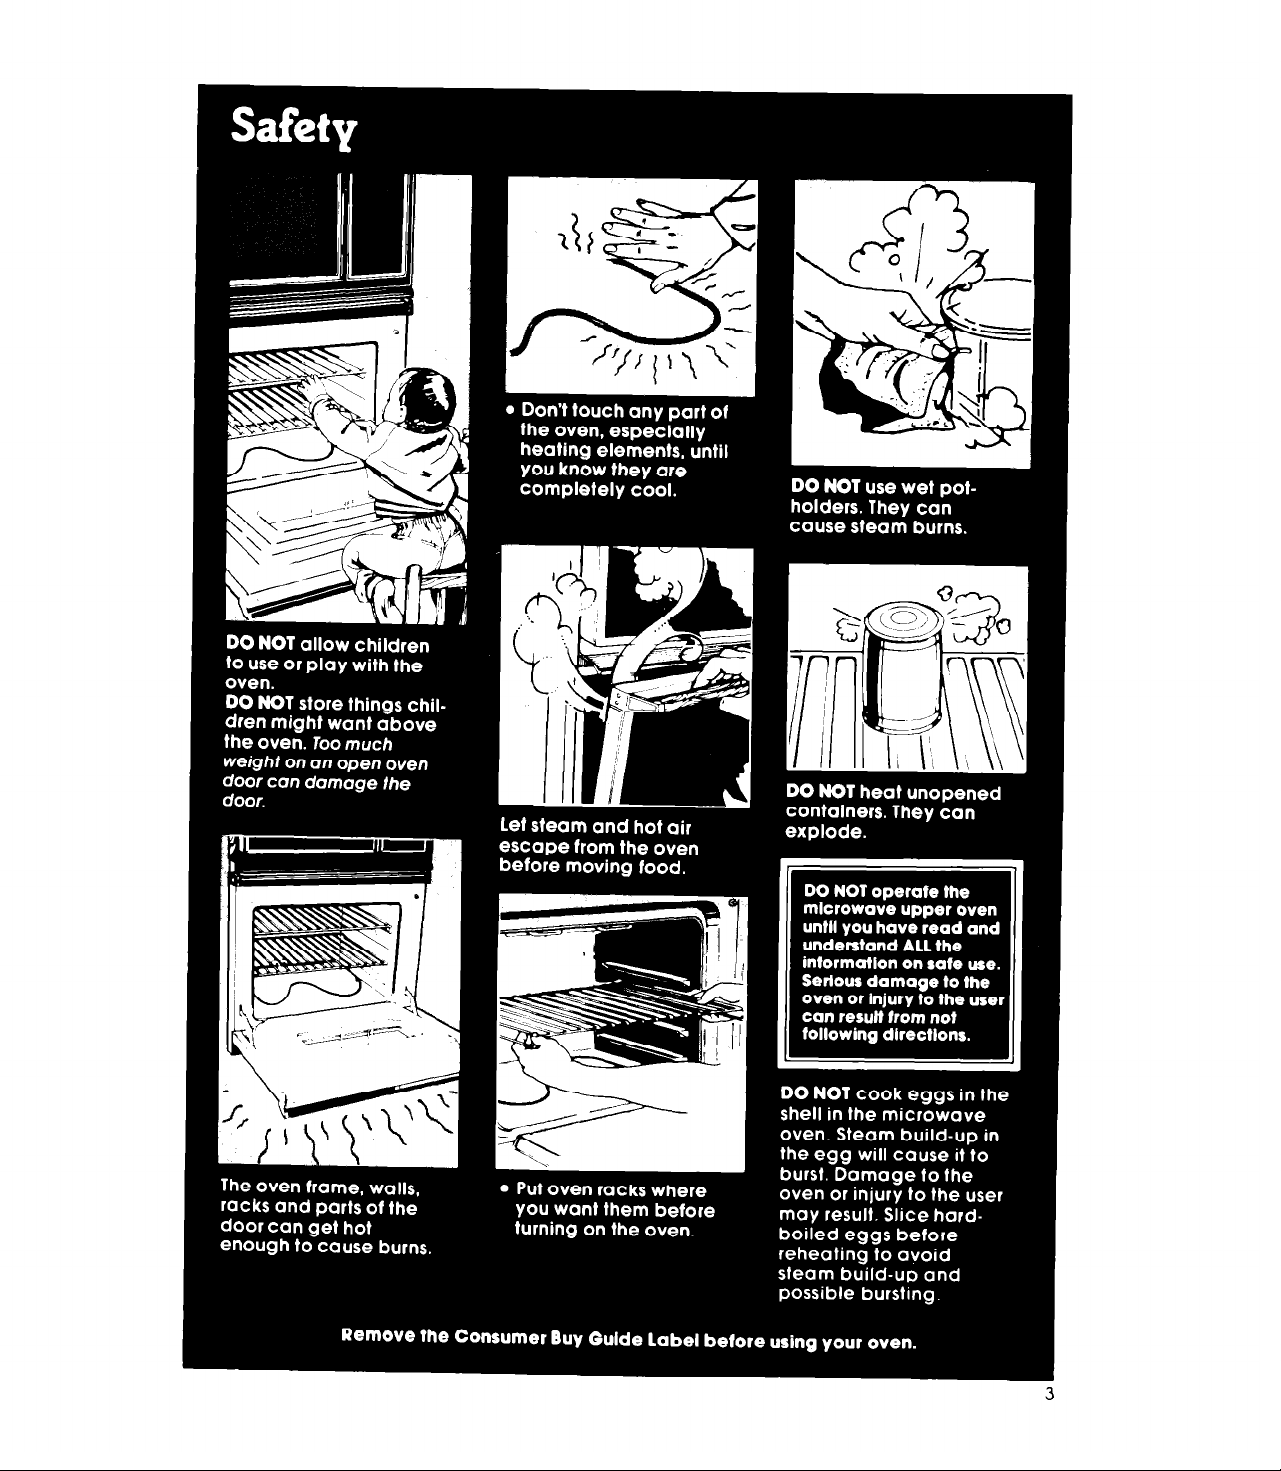
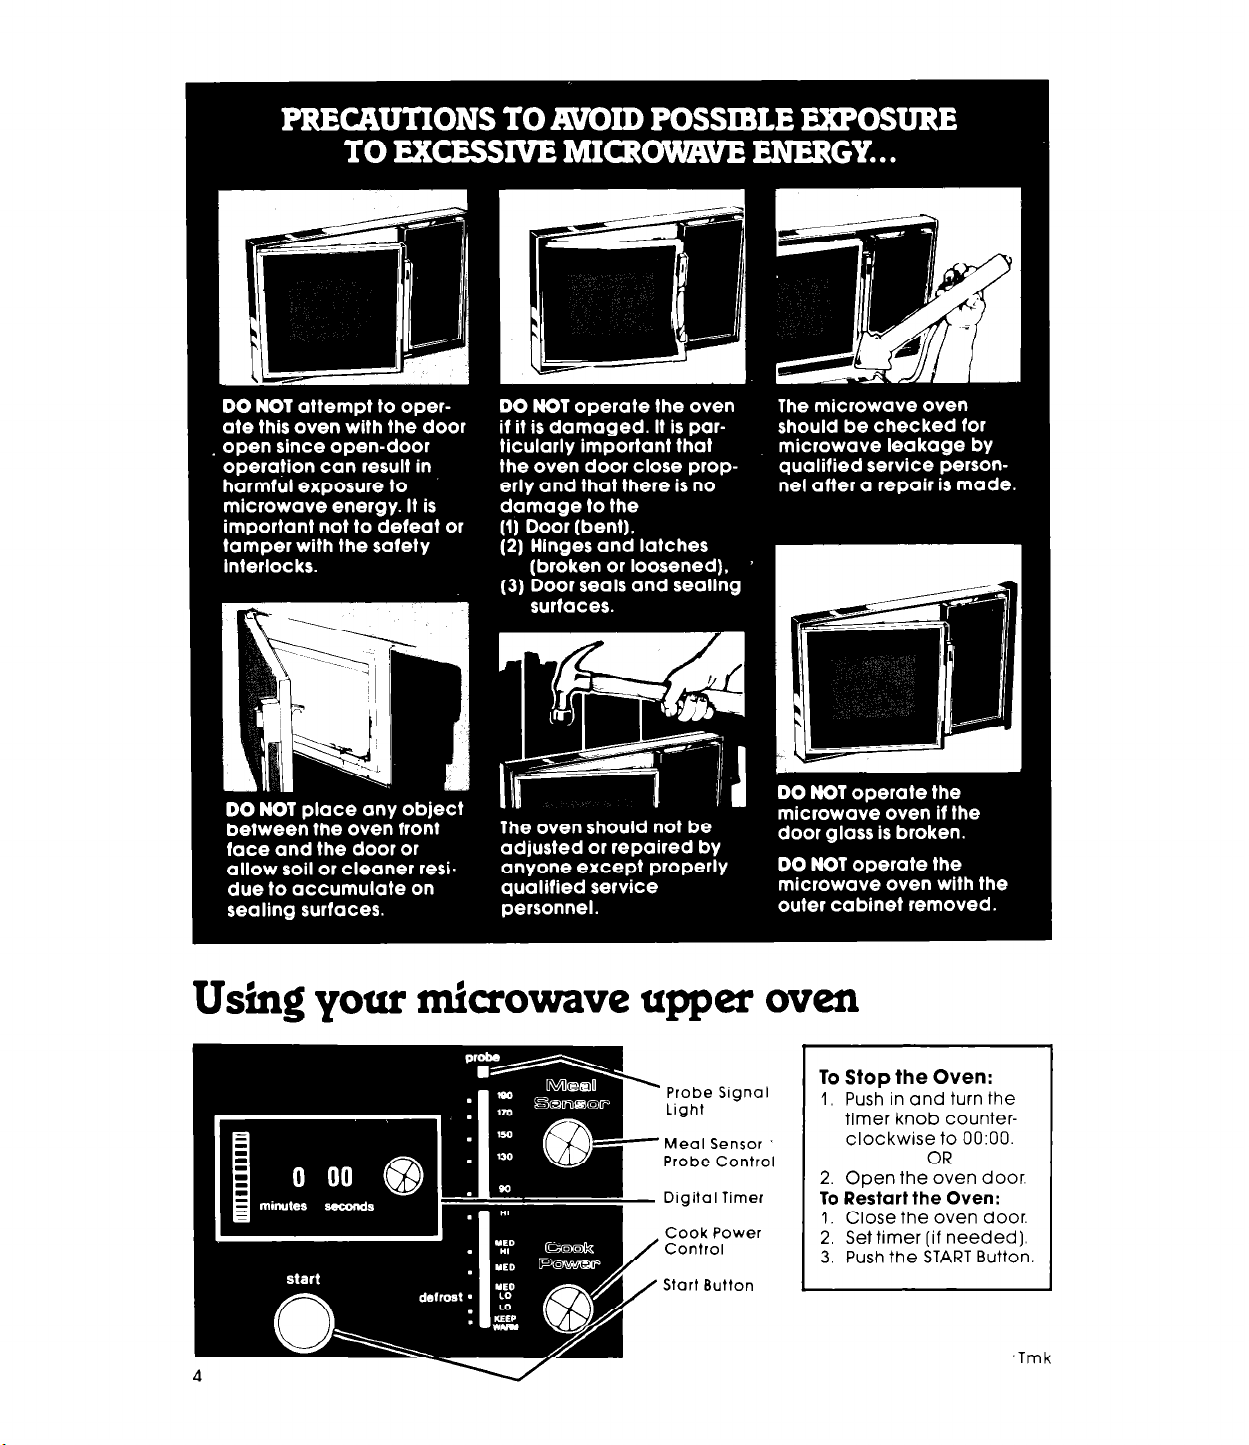
Your responsibilities.
Proper installation and safe use of the ovens are your personal
responsibilities. Read this “Use and Care Guide” and the “Cooking
Guide”carefully for important use and safety information.
Installation
You must be sure your oven is...
l
installed and leveled in a wall
that will hold the weight;
l
installed in a well-ventilated
area protected from the
weather;
Proper use
You must be sure your oven is...
l
used only for jobs expected
of home ovens; operate it properly;
9 properly connected to the cor-
rect electric supply and
grounding. (See “Installation
Instructions.“)
l
used only by people who can
o properly maintained.
l l
I
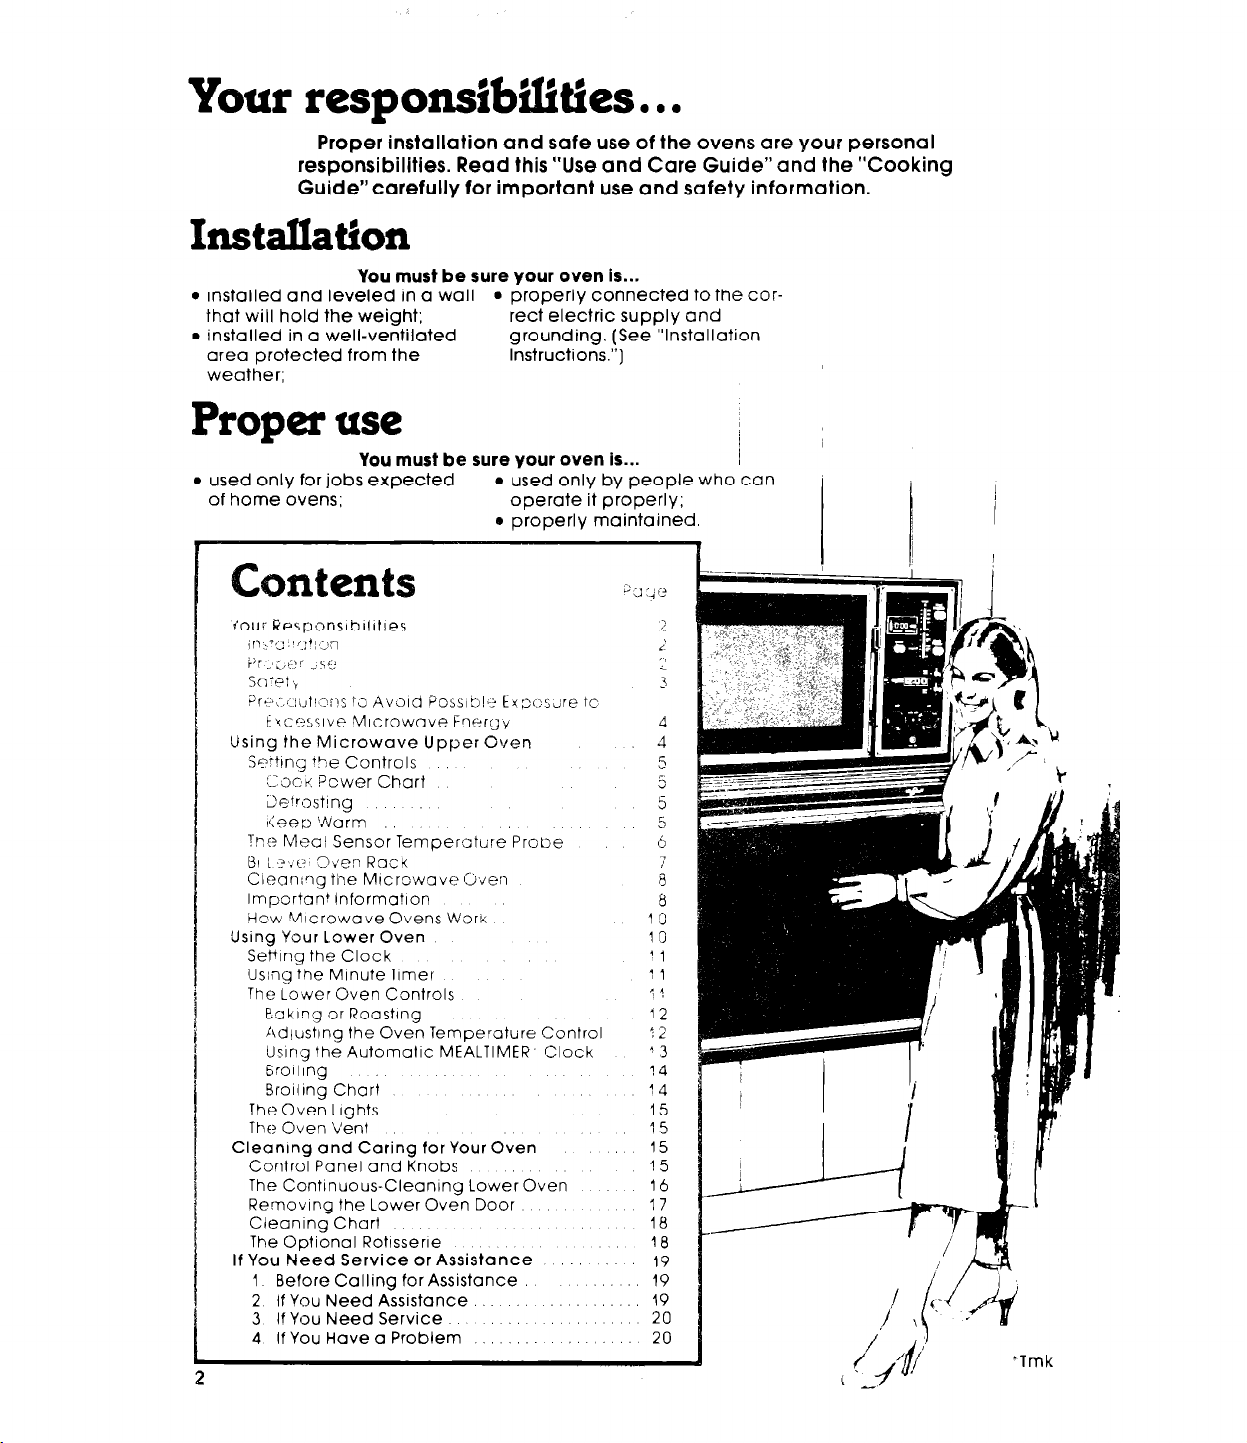
ntents
r’our Responsrbrfrtres
,,,.,‘L:,,fj’; >n
F’;
..‘;;:!’ ki,
So‘Pt \
?ra~~.c~;iJf~~~yc
Using the Microwave Upper Oven
SeTtIn<; ihe Controls
!-nc? Mecji Sensor Temperature Probe 6
61 L “iiJ Z;en ROCK
Clean;ng
Important Informatron
How MIcrowave Ovens Work
Using Your l.ower Oven 1;
Serrng the Clock
Using the Mrnute Timer
The Lovver Oven Controls
The Oven Lights
The Oven Vent
Cleaning and Caring for Your Oven
Control Panel and Knobs
The Contrnuous-Cleanrng Lower Oven
Removing the Lower Oven Door
Cleaning Chart
The Optional Rotrsserre 10
If You Need Service or Assistance
. 1 c
i T3 AVdld PO5Sl2!=’ txp.>s;re to
txces:lve Mvllcrowave Energy 4
:Cmii Pcwer Chart
L\etrostrng
1iee0 Warm 5
the
Mrcrowave Oven
5okrng or Roastrng
Adiustlng the Oven Temperature Control
using the Automatic MEALTIMER, Clock
5:01lrng
Broilrng Chart 14
1 Before Calling for Assistance
2 If You Need Assistance
3 IfYou Need Service
4 If You Have a Problem
2 ;1 :i e
,:
’ 1
11
‘?
12
? 2
^3
14
15
15
15
15
16
17
18
1
i
I,
3
Lz
5
5
5
7
8
19
19
19
20
20
Using your mkrowave upper oven
’ Probe Srgnal
Light
’ Meal Sensor
Probe Control
Digital Timer
Cook Power
Control
Start Button
To Stop the Oven:
I, Push in and turn the
timer knob counterclockwise to 0O:OO.
2.
Open the oven door.
To Restart the Oven:
1. Close the oven door.
2. Set timer (if needed).
3. Push the START Button.
OR
.Tmk
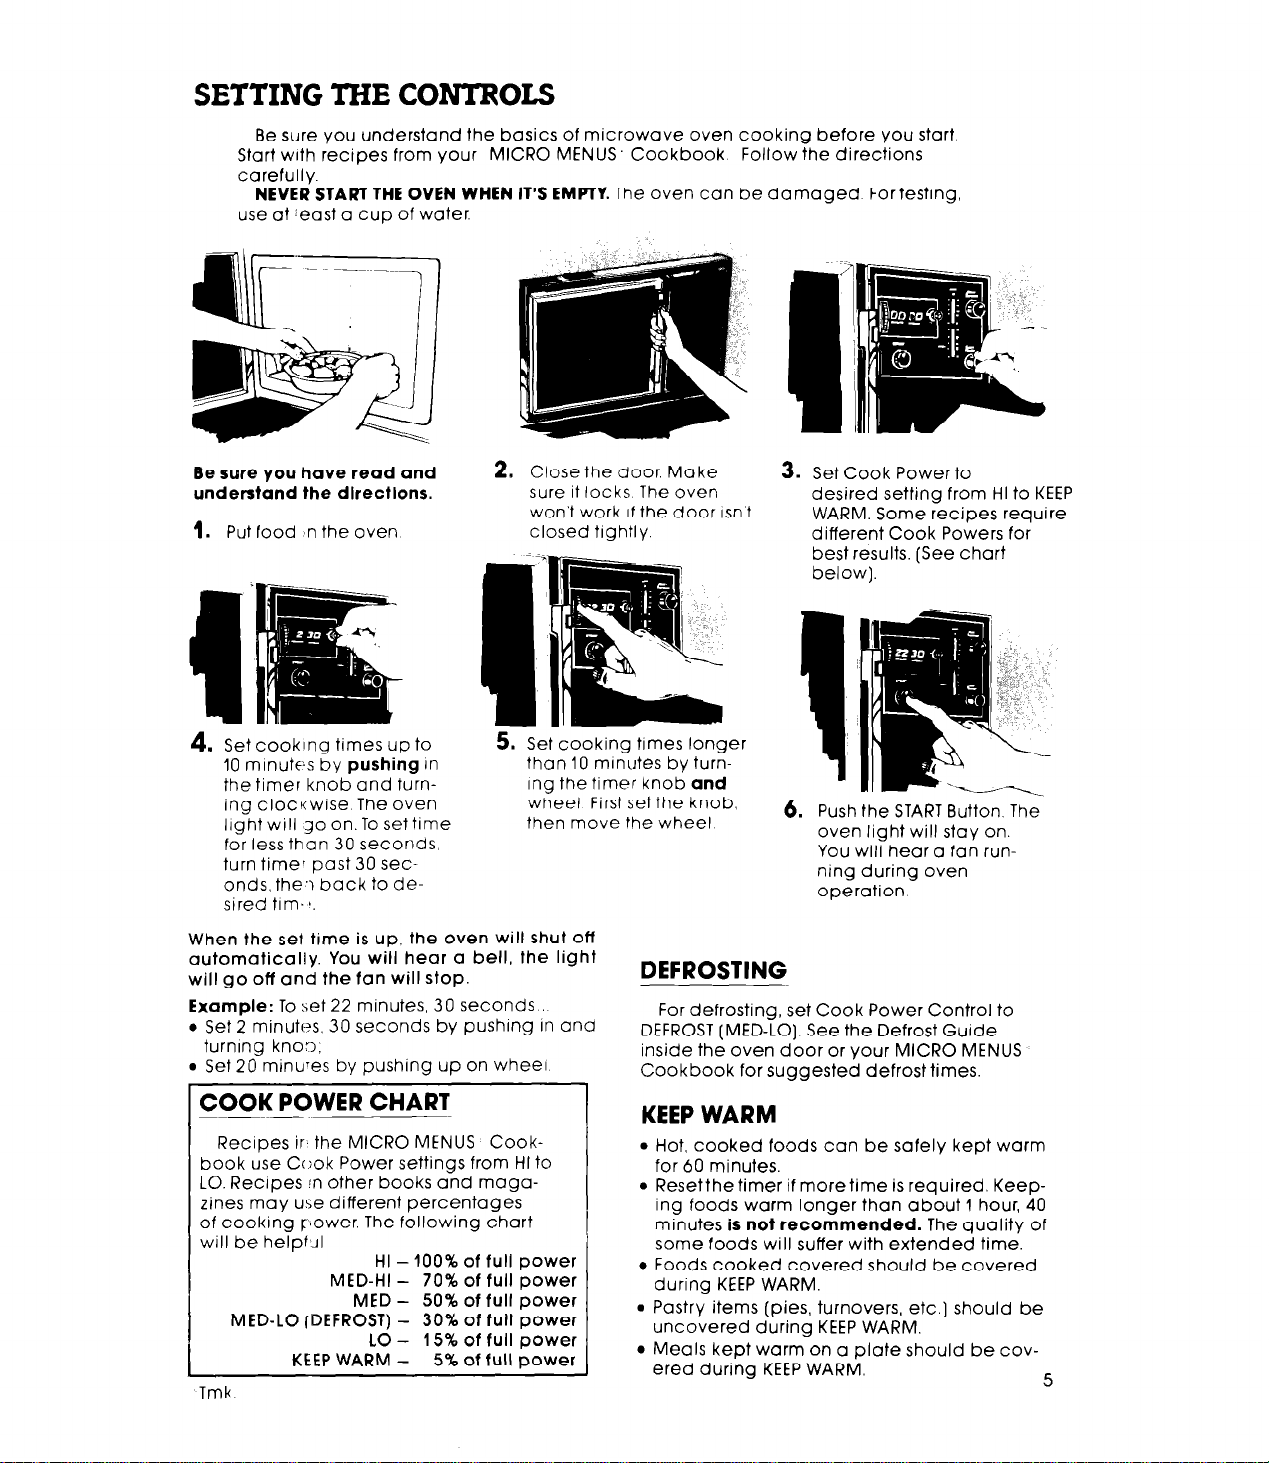
SETTING THE CONTROLS
Be sure You understand the basics of microwave oven cooking before You start
Start with recipes from Your MICRO MENUS’ Cookbook
carefully.
NEVER START THE OVEN WHEN IT’S EMPTY. The oven can be damaged Fortesting,
use at feast a cup of water
Be sure you have read and
understand the dlrectlons.
1.
Put food ‘n the oven
2, Close the door. Make
sure it locks The oven
won’t work If the door Isn t
closed tightly.
Follow the directions
3.
Set Cook Power to
desired setting from HI to KEEP
WARM. Some recipes require
different Cook Powers for
best results. (See chart
below].
Set cooklng times up to
10 minutes by pushing In
the timer knob and turning clocKwise. The oven
light will go on.To set time
for less than 30 seconds,
turn timer past 30 seconds, the,~ back to desired tlrn,‘.
When the set time is up, the oven will shut
automatically. You will hear a bell, the light
will go off and the fan will stop.
Example: To bet 22 minutes, 30 seconds
l
Set 2 minutes, 30 seconds by pushing In and
turning kno:).
l
Set 20 minures by pushing up on wheel
5. Set cooking times longer
than 10 minutes by turn-
Ing the timer knob and
wheel First set the knob,
then move the wheel
off
COOK POWER CHART
Recipes ir, the MICRO MENUS Cookbook use Cook Power settings from HI to
LO. Recipes In other books and magazines may ube different percentages
of cooking F’ower. The following chart
will be helpful
MED-LO (DEFROST) - 30% of full power
KEEP WARM -
Tmk
HI - 100% of full power
MED-HI - 70% of full power
MED - 50% of full power
LO - 15% of full power
5% of full power
1
6. Push the START Button. The
oven light will stay on.
You will hear a fan run-
ning during oven
operation
DEFROSTING
For defrosting, set Cook Power Control to
DEFROST (MED-LO). See the Defrost Guide
inside the oven door or Your MICRO MENUS
Cookbook for suggested defrost times.
KEEP WARM
l
Hot, cooked foods can be safely kept warm
for 60 minutes.
l
Resetthe timer if more time is required. Keeping foods warm longer than about 1 hour,
minutes is not recommended. The quality of
some foods will suffer with extended time.
l
Foods cooked covered should be covered
during KEEP WARM.
l
Pastry items (pies, turnovers, etc.) should be
uncovered during KEEP WARM.
l
Meals kept warm on a plate should be covered during KEEP WARM.
40
5
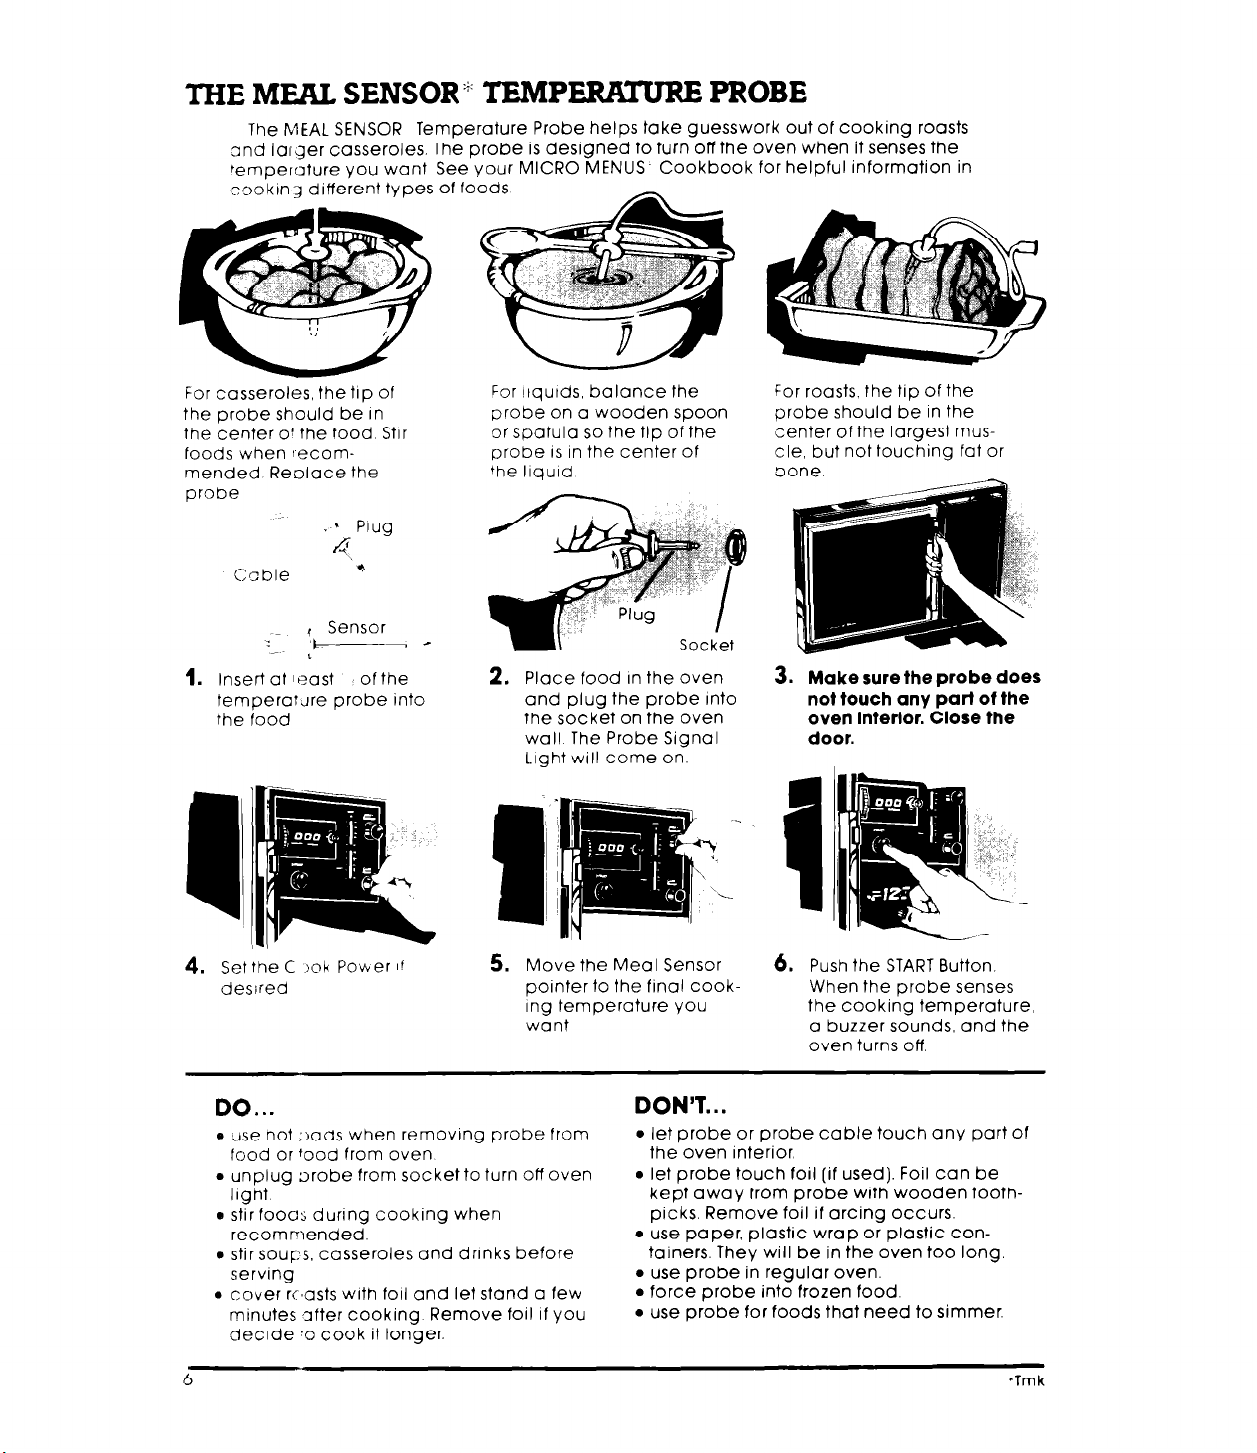
THE MEAL SENSOR” TEMPERATURE PROBE
The MEAL SENSOR
and Ial ger casseroles. The probe is designed to turn off the oven when it senses the
temperature you want See your MICRO MENUS. Cookbook for helpful information in
coo’krn 3 d
iffer ‘er
Temperature Probe helps take guesswork out of cooking roasts
of
lt types
foods
For casseroles, the trp of
the probe should be In
the center or the food Stir
foods when lecom-
mended Reolace the
pro5e
. ’ Plug
4,
Cable
--
Y
1.
Insert at least of the
*
, Sensor
‘C-- -
L
temperat.rre probe into
the food
4.
Set the C ,ok Potter I!
desired
For !tqutds, balance the
orobe on a wooden spoon
or spatula so the tip of the
probe
IS
in the center of
the liqurd
Socket
2. Place food in the oven
and plug the probe Into
the socket on the oven
wall The Probe Signal
l.ight will come on.
5. Move the Meal Sensor
pointer to the final cookrng temperature you
want
For roasts, the tip of the
probe should be in the
center of the largest muscle, but not touching fat or
oone
3.
Make sure the probe does
not touch any part of the
oven Interior. Close the
door.
6. Push the START Button.
When the probe senses
the cooking temperature,
a buzzer sounds, and the
oven turns off.
. ;ise hot aads when removing probe from
food or food from oven
l
unplug probe from socket to turn off oven
lrght
0 stir foocs during cooking when
recommended.
l
stir soups, casseroles and drunks before
serving
l
cover rc,asts with foil and let stand a few
minutes lfter cooking Remove foil If you
decide ‘o cook it longer.
b
DON’T...
l
let probe or probe cable touch any part of
the oven interior
l
let probe touch foil [if used). Foil can be
kept away from probe with wooden toothpicks. Remove foil if arcing occurs.
0 use paper, plastic wrap or plastic con-
tainers. They will be in the oven too long.
l
use probe in regular oven.
l
force probe into frozen food.
l
use probe for foods that need to simmer.
-Tmk
 Loading...