

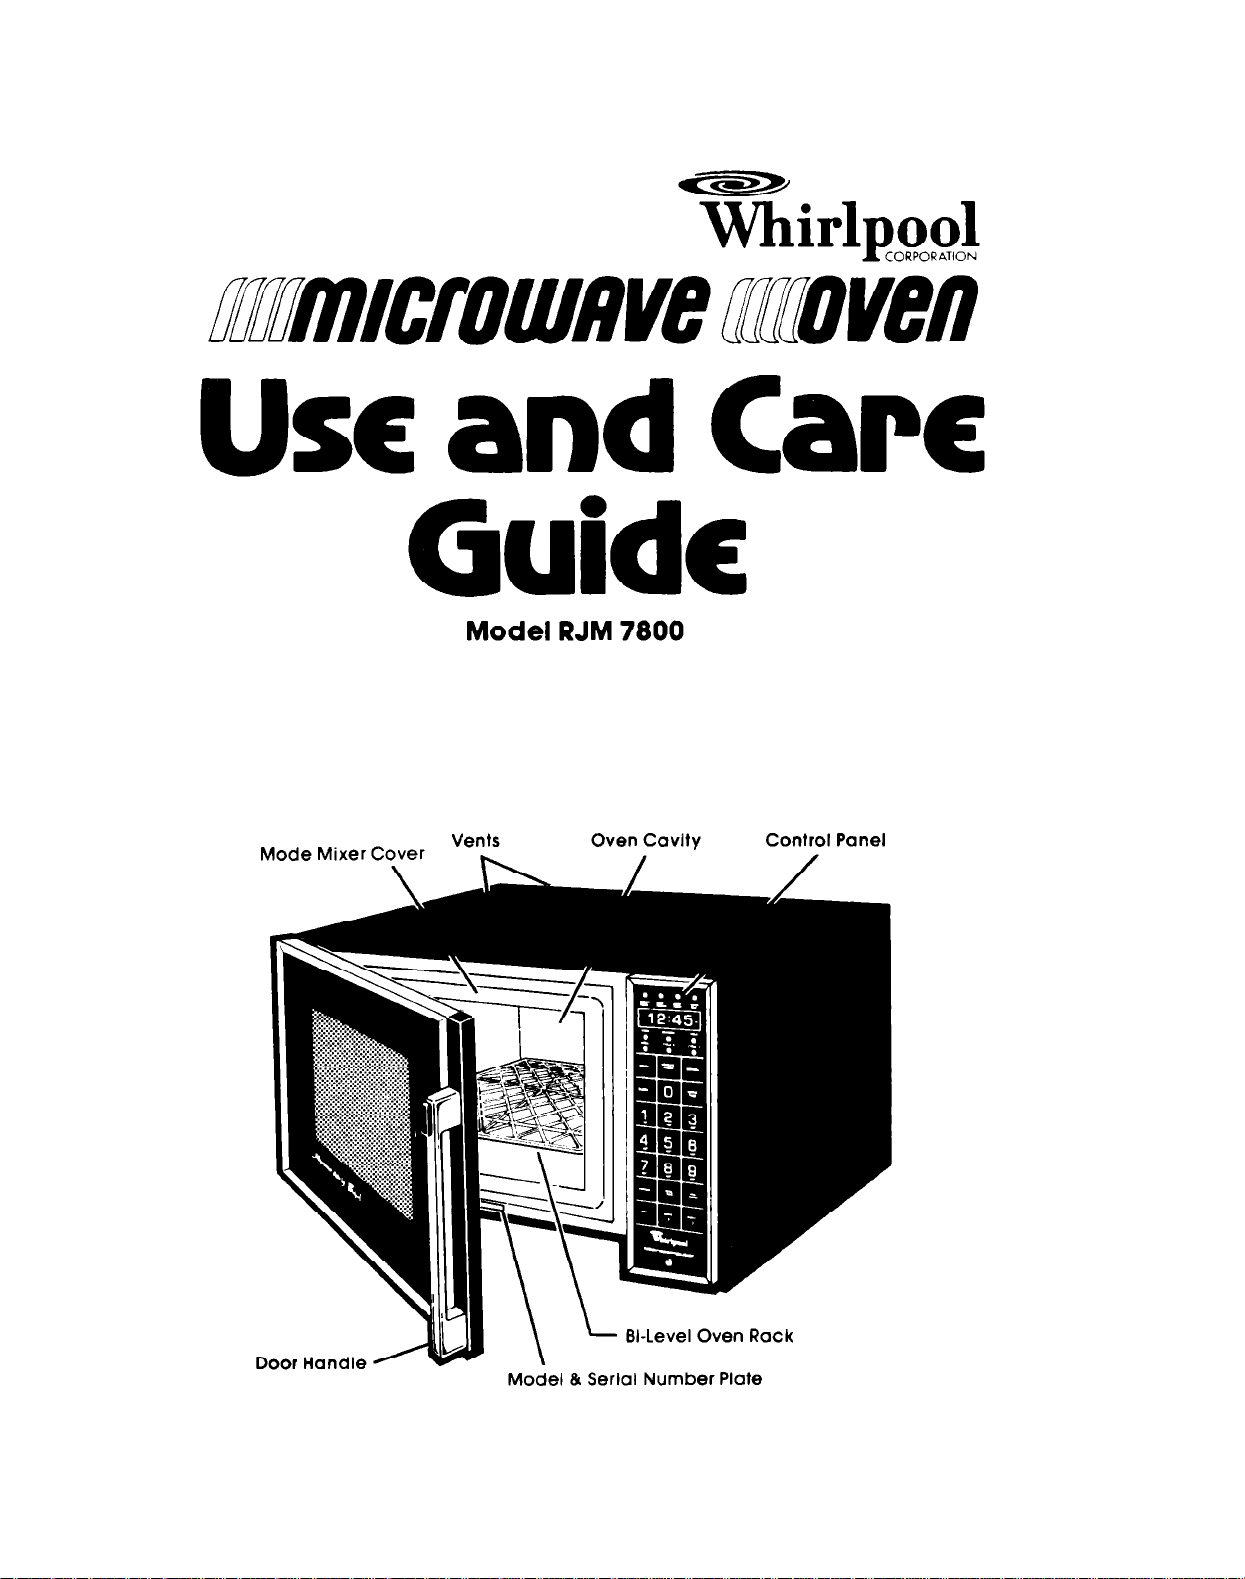
Whirlpool RJM 7800 User Manual
~irlpool
CORPORATION
Use
and
Guide
Mode Mixer Cover
\ / /
Vents
Care
Model RJM 7800
Oven Cavity Control Panel
Door Hand,e 3 \ L W-Level Oven Rack
Model & Serial Number Plate

_ Jst
Before you do onythrng else
please read thus gurde all the
way through Then, keep rt
handy for future use
’ Model and
Serial No Plate
Table of Contents
fill in these spaces
Dealer/ Date Purchased
___~-__
Service Phone No
Page
7-0
B-11
11
12-13
13
13
2
Using the Temperature Probe at
3
3
A
4
5
6
6
7
7
Different Cook Power Levels
Cooking Toward a Serve Time
Serve Time and the Temperature Probe
Bi-Level Oven Rack
Other Handy Operating Hlnts
To Recall What You Have Set
To Change or Cancel
To Change or Cancel the Minute Timer
To Stop Cooking
To RestarttheOven
Reminders
Do’s
Don’ts
Cleanlng Your Mtcrowave Oven
Replaclng the Oven light Bulb
Before Calling for Service
If You Need Service
Before You Use Your Microwave Oven
Installation Instructions
Safety Precautions
How a Microwave Oven Works
Using the On/Off Switch
Your Microwave Oven Control Panel
Setting the Clock to the Right Time
Using the Minute Timer
Cooking with lime
Cooklng In One Cycle (Full Power)
Cooklng In One Cycle (Selected
Cook Power)
Cooklng In More Than One Cycle at
Dtfferent Cook Power Levels
Defrosting in Your Microwave Oven
Defrosting and Cooking
Foster or Slower Defrosting
Cooking with the Temperature Probe
If You Have a Problem
Before You Use Your Mlcrowave Oven
l
Whirlpool Microwave Ovens are built to
last. It is up to you to make sure your mlcro-
wave oven Is properly installed, used and
maintained. You have to be sure that your
Whirlpool Microwave Oven is...
l
installed according to Installation
instructions.
l
Installed where it is protected from the
weather.
l
Installed on a counter, or shelf strong
enough for Its welght.
l
connected to an electrlcal clrcult according to the lnstallatlon Insfructlans.
grounded accardlng to the lnstallatlon
Instructions.
l
used only for the job expected of a
home mlcrowave oven.
l
not used by children or others who might
not understand how to use It properly.
l
kept clean and In good repair.
l
serviced or repalred only by quallfied
service technlclans.
Instructions
Page
14
15
15
15
16
16
lb
16
16
16
16
17
17
18
,. 18
19
19
19
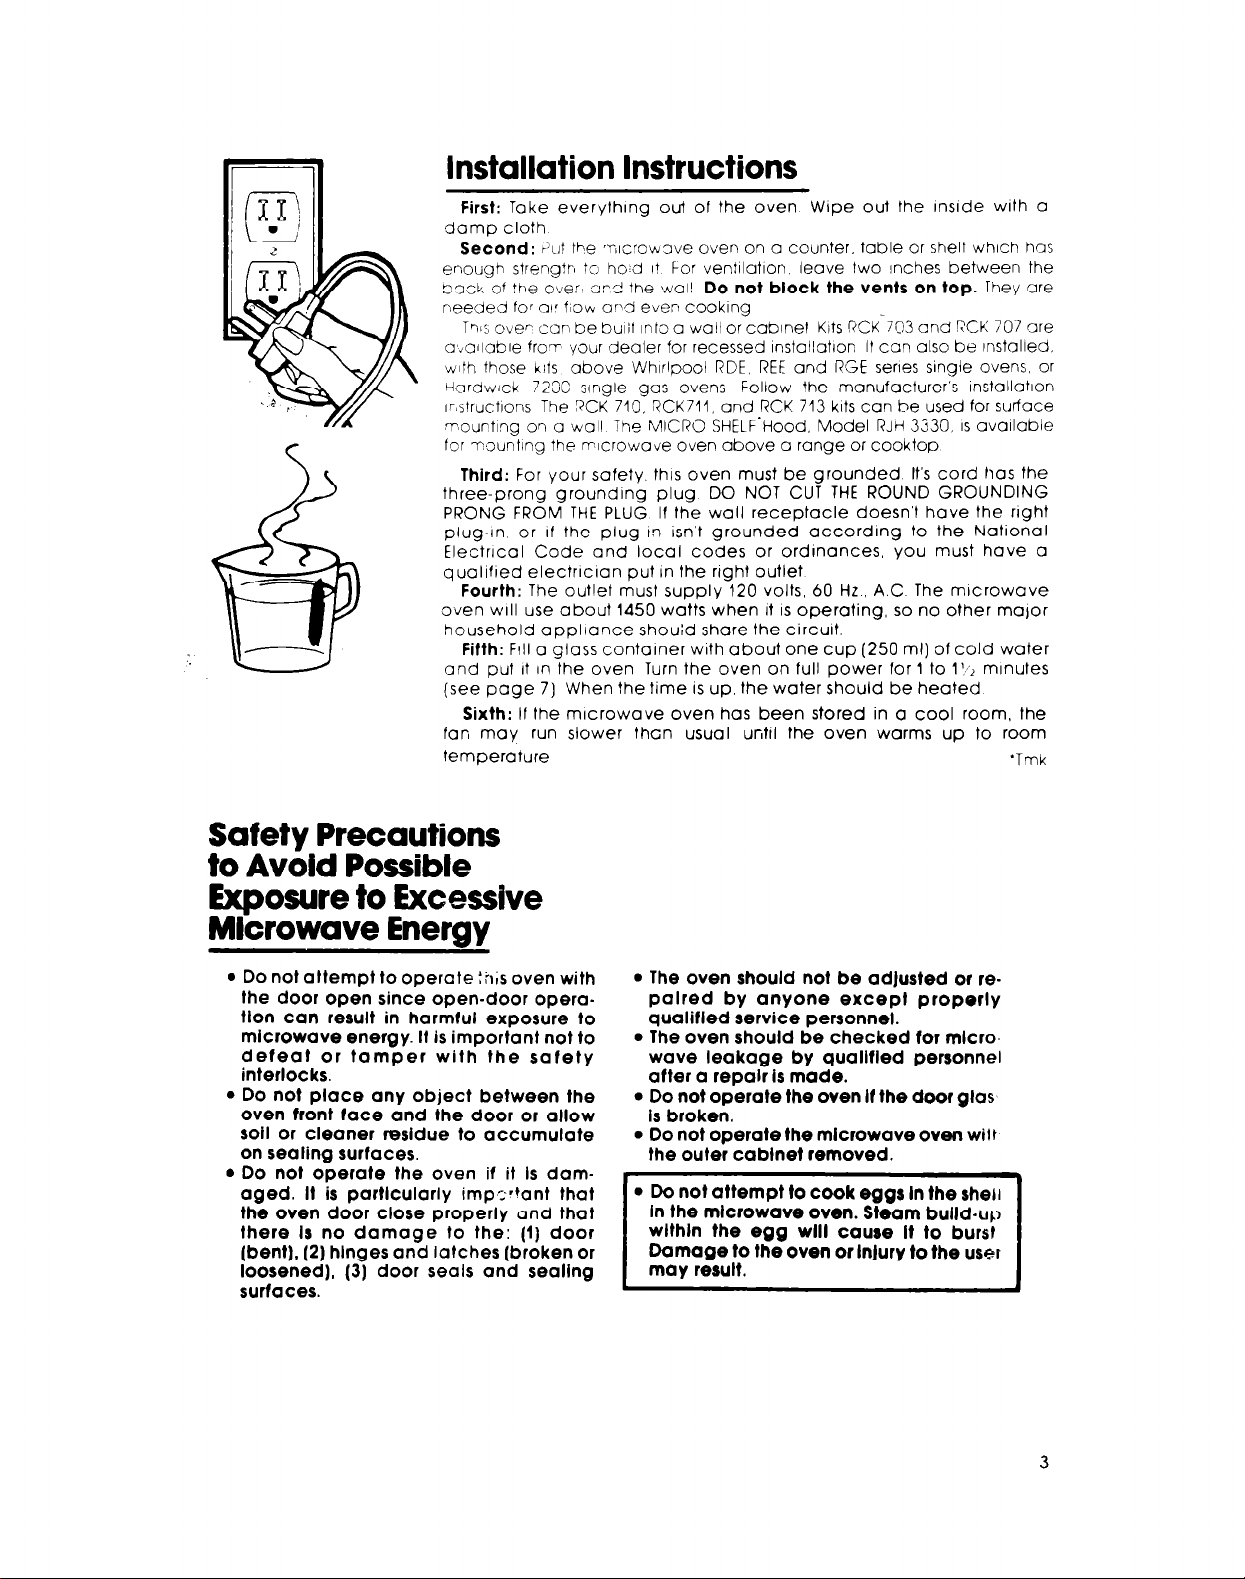
Installation Instructions
First:
Take everythlng out of the oven Wipe out the Inside with c
damp cloth
Second:
enough streng?h to ho,d I? For ventilctlon leave two Inches between the
5cxk of the over8 3rd the wall
needed for 01’ flow 04 ever1 cooking
TQIS over ccn be bulil Into c wall or ccblnet Kits RCK-703 end RCK 701 ore
o~ialicble from your dealer for recessed lnstcllotlon It can also be Installed.
with those
Hordwlck 7230 single gas ovens
IrIslructlons The RCK 710. RCK711, and RCK 713 kits can be used for surface
mounting on c wall The MICRO SHELF’Hood, Model RJH 3330,
for rountlng the rrlcrowcve oven above a range or cooktop
Third:
three-prong grounding plug DO NOT CUT THE ROUND GROUNDING
PRONG FROM THE PLUG If the wall receptacle doesn’t have the right
plug-In or
ElectrIcal Code and local codes or ordinances, you must have a
quaIlfled electrician put in the right outlet
Fourth:
oven
household appliance shouid share the circuit.
Fifth:
and put It In the oven Turn the oven on full power for 1 to 111 minutes
(see page 7) When the time
Sixth:
fan may run slower then usual ufitil the oven warms
temperature
?ut the ‘7?Icrowove oven on c counter, table or shelf which has
Do not block the vents on top.
kh
above Whirlpool RDE. REE and RGE series single ovens, or
For your safety. this oven must be grounded It’s cord has the
if
the plug-tn Isn’t grounded according to the Notional
The outlet must supply 120 volts, 60 Hz, A.C The microwave
will
use about 1450 watts when It
FIII a glass container with about one cup (250 ml) of cold water
If the microwave oven has been stored in a cool room, the
iollow the manufacturer’s installation
IS
operating, so no other mator
IS
up, the water should be heated
up
They are
IS
cvcllcble
to room
‘Tmk
Safety Precautions
to Avoid Possible
Exposure to Excessive
Microwave Enerav
l
Do not attempt to operate :?I& oven with
the door open since open-door opera-
tlOn
can result in harmful exposure to
microwave energy. It is important not to
defeat or tamper with the safety
interlocks.
l
Do not place any object between the
oven front face and the door or allow
soil or cleaner residue to accumulate
on sealing surfaces.
l
Do not operate the oven
aged. It is particularly implant that
the oven door close properly and that
there Is no damage to the: (1) door
(bent), (2) hinges and latches (broken or
loosened), (3) door seals and sealing
surfaces.
il it
is dam-
l
The oven should not be adlusted or repaired by anyone except properly
qualified service personnel.
l
The oven should be checked for mlcrowave leakage by quailfled personnel
after a repalr is made.
l
Do not operate the oven If the door gias
is broken.
l
Do not operate the microwave oven witr
the outer cabinet removed.
l
Do not attempt to cook eggs In the shell
in the mlcrowave oven. Steam build-up
wlthln the egg wlil cause it to burst
Damage to the oven or InJury to the user
3

WAVEGUIDE
\
MICROWAVE BASICS
MODE
MIXER
sy;;L:‘n METAL
MICROWAVES BOUNCE UP FROM
THE BOTTOM
/
BOTTOM
How a Microwave Oven Works
Microwaves are like radio waves or radar waves. They will
glass, plastic. paper and most other types of containers that are not metal
MIcrowaves
absorbs microwaves. heat IS created because water molecules in the food
are disturbed and bounce around colllding with each other Heat is created
by this bouncing and colliding like when you warm your hands by
rubbing them together.
When all safety systems are secure (door shut completely and the START
pad touched). electric current is allowed to reach the
The magnetron tube uses electricity to create microwaves. They pass
through a metal tunnel called the
the
oven cavity.
Just at the point where the mlcrowaves are about to go into the oven
cavity. WhIrlpool Microwave Ovens use a
metal fan) to scatter them. If all the microwaves went in the same direction.
they’d all bounce in the same direction, like water from a hose. Some parts
of the food wouldn’t be touched. The
spread mIcrowaves all around.
The walls, top and bottom of the oven cavity are metal. Microwaves will
bounce. around inside the oven until they are absorbed by food.
The food container rests on a sealed-in shelf above the metal bottom of
the oven cavity Because the food is above the metal bottom, microwaves
can get under it. through the shelf, to bounce up from the bottom Into the
food
The screen in the door
allow you to see inside.
There are three safety interlock switches designed to make sure that
microwave oven will not operate unless the door is closed and microwaves
are sealed tnside.
bounce
off metal and are absotied by food. When food
wavegulde,
past the
mode mixer
mode mixer
IS
designed to keep microwaves in the oven, yet
works like a sprinkler to
Do not tamper with any of these Interlock switches.
pass through
magnetron tube.
wavetuner,
(a slow-moving
Into
MUST BE ON FOR COOKING
THE SWITCH
Usin the
On/ 8 ff Switch
On the frame just Inside the door is an on off switch When fhe switch is
OFF, the microwave oven cannot be started accidentally The switch is
designed to help keep “little inquisitive fingers” from using the oven unless
you want them to When it is OFF, the clock will work, and you can use the
Minute Timer. but you cannot set the oven to cook or defrost
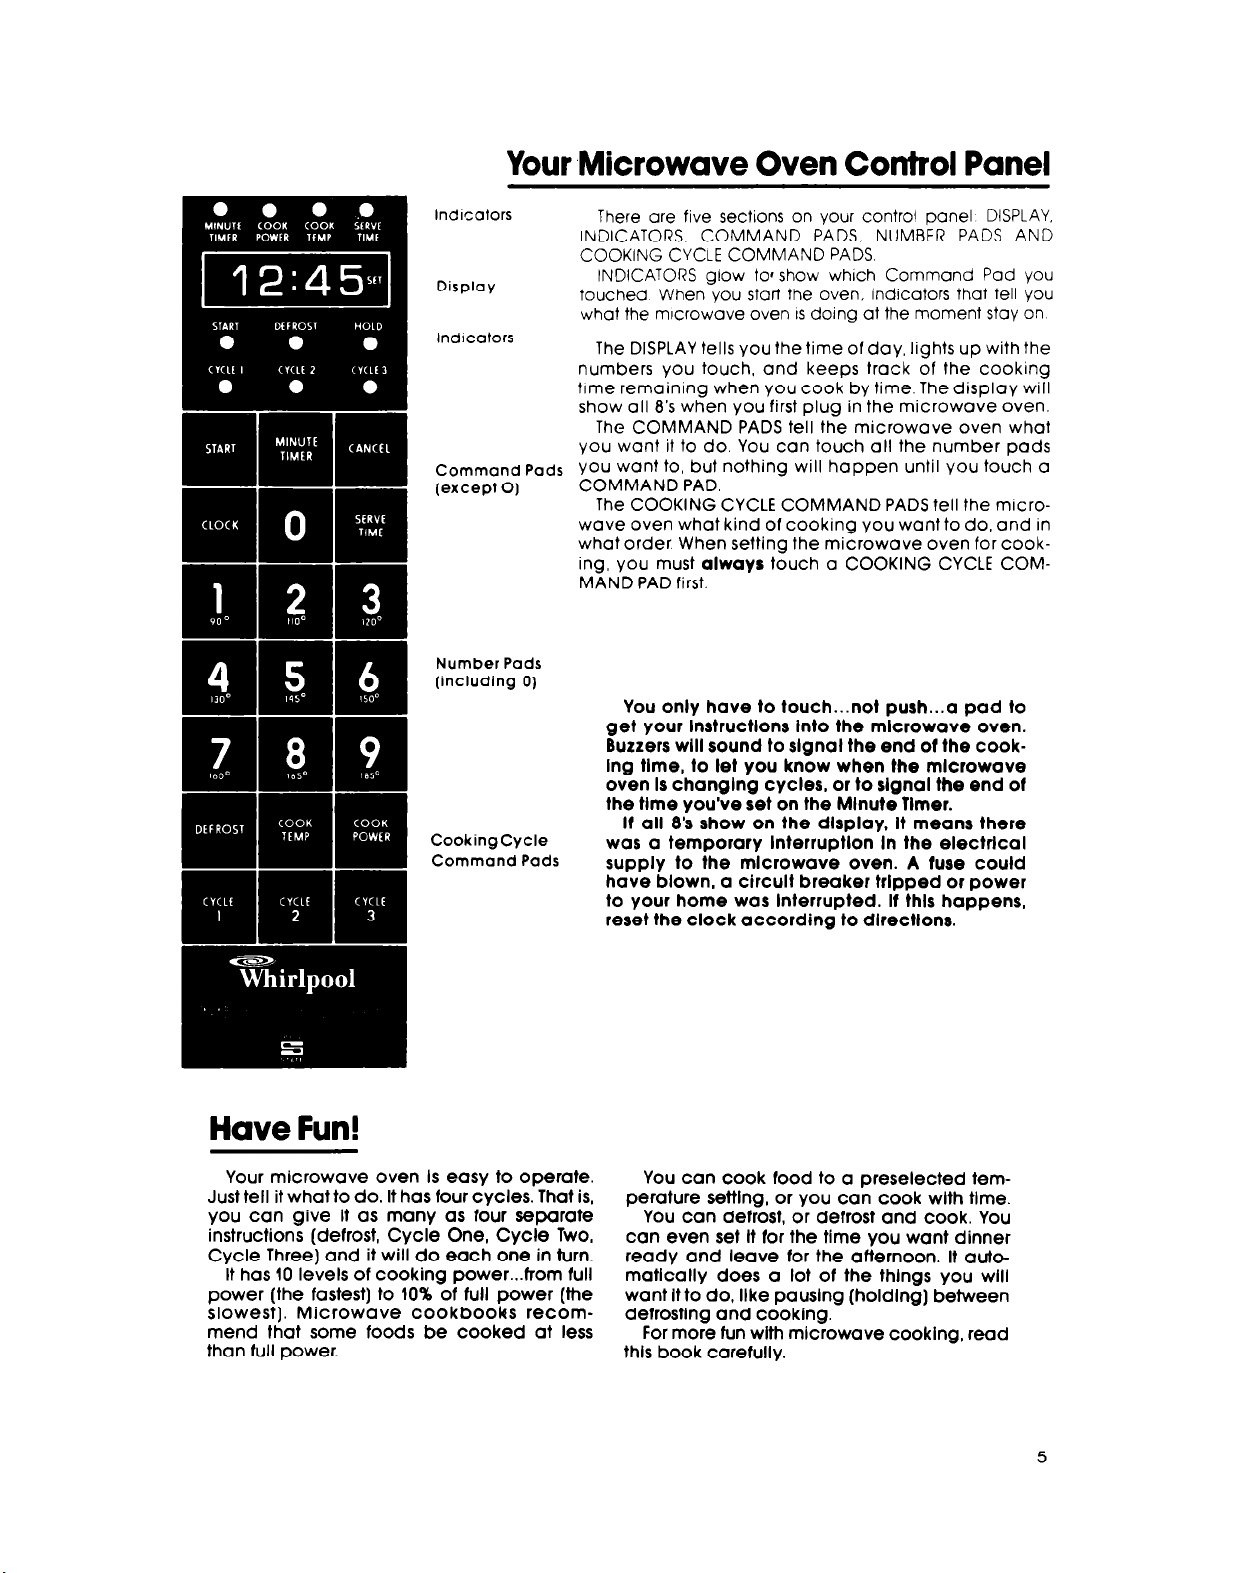
Your ,Microwave Oven Control Panel
Indicators
Display
lndlcotors
Commond
(except 0)
Number Pads
(including 0)
CookingCycle
Command Pads
Pads
There are five sections on your control panel DISPLAY.
INDICATORS, COMMAND PADS. NUMBER PADS AND
COOKING CYCLE COMMAND PADS.
INDICATORS glow tolshow which Command Pad you
touched When you start the oven, Indicators that tell you
what the mlcrowave oven IS doing at the moment stay on
The DISPLAY tells you the time of day. lights up with the
numbers you touch, and keeps track of the cooking
time remaining when You cook by time. The display will
show all 8’s when you first plug in the microwave oven.
The COMMAND PADS tell the microwave oven what
you want it to do. You can touch all the number pads
You want to, but nothing will happen until You touch a
COMMAND PAD.
The COOKING CYCLE COMMAND PADS tell the microwave oven what kind of cooking you want to do, and in
what order. When setting the microwave oven for cooking, You must
MAND PAD first.
always
touch a COOKING CYCLE COM-
You only have to touch...not push...a pad to
get your lnstructlons Into the mlcrowave oven.
Buzzers will sound to slgnal the end ot the cookIng tlme, to let you know when the mlcrowave
oven Is changing cycles, or to slgnal the end of
the tlme you’ve set on the Mlnute flmer.
If all 8’s show on the display. It means there
was a temporary lnterruptlon In the electrical
supply to the mlcrowave oven. A tuse could
have blown, a circuit breaker trlpped or power
to your home was Interrupted. If this happens,
reset the clock according to dlrectlons.
Have Fun!
Your
Just tell it what
microwave oven
to do. It has four cycles. That is,
You can give it as many as four separate
instructions (defrost, Cycle One, Cycle Two,
Cycle Three) and it will do each one in turn.
It has 10 levels of cooking power...from full
power (the fastest) to 10% of full power (the
slowest). Microwave cookbooks recommend that some foods be cooked at less
than full power.
Is easy to operate.
You can cook food to a preselected tem-
perature setting, or you can cook wlth time.
You can defrost, or defrost and cook. You
can even set It for the time you want dinner
ready and leave for the afternoon. It automatlcally does a lot of the things you will
want It to do, llke pauslng (holdlng) between
defrosting and cooklng.
For more fun wlth microwave cooking, read
this book carefully.
5
Setting Clock
Setting the Clock to the Right lime
You ccn cook in ?he oven ‘ivrthout first setting the clock ou! !he
d~sproy wtll be blank after cookrng You must set the crock to use SERVE
TIME Close the oven door before setttng the clock or minute timer
1.
Touch the Clock Pad.
have 5 seconds to start setting the time. If the ltght goes off before You
set the fr!st number of the time touch the CLOCK pad agaln
The word “SET” WIII glow on the display You
Touch Number -
Pads In Order
Touch
Minute
Timer
m
m
Display Reads Zero
mml
Display Will Show What
YOU
Touched
2. Touch the Numbers for the Time of Day.
that order For l:30. touch 1-3-O for 5 46. touch 5-4-6 Remember you
-
have 5seconds after louchrng the CLOCK
of the time you
3. Touch the Start pad.
drsplaY WIII go off and the START INDICATOR WI/I go oh for about 5 seconds
When II goes off, the ciock IS set
are
setting
When you touch the START pad the
If it IS 12 45, touch I-2-4-5. In
pad
to touch the first number
light
on the
Using the Minute Timer
The Minute Timer doesn’t start or stop cookrng, it just operates a
buzzer Like other timers. it can be used to time eggs, to remind You to
turn somethrnq off, make a call. or
1.
Touch the Minute Timer Pad.
a “0” will appear on the drsplay and the MINUTE TIMER INDICATOR will come
on You now have about 5 seconds to touch in the frrst number
2. Now Touch the Numbers for the Minutes and Seconds.
ample, the time wanted IS l-minute and 30 seconds...l-3-0.
whatever
When you touch the MINUTE TIMER PAD.
In the ex-
Touch
Start
3. Touch Start Pad.
After about 5 seconds It WIII go off The Minute Timer INDICATOR WIII stay on
until the time you touched in IS over A countdown of the time will show on the
drsplay unless You also selected a COOKING CYCLE
4. A buzzer will sound when the set time IS up. The time of day will
show on the drsplay again
If you wait longer than 5 seconds after You touch the MINUTE TIMER
pad before You start touching in the time You want, the time of day will
show on the display again Start over by touching the
pad.
The Minute Timer can be used while the oven is cooking. If the
DISPLAY is busy counting down a cooking time, you will not see the
Minute Timer setting on it unless you touch the MINUTE TtMER Pad.
When You touch START, the INDICATOR will come on
MINUTE TIMER
 Loading...