

Whirlpool RF367BXV User Manual
!o Clothes Dryers. Freezers. Relrlgeralor Freezers Ice Makers. 06hwashers. BuWn Ovens and Surlace Umls. Ranges. Mwowave Ovens. Trash Compactor
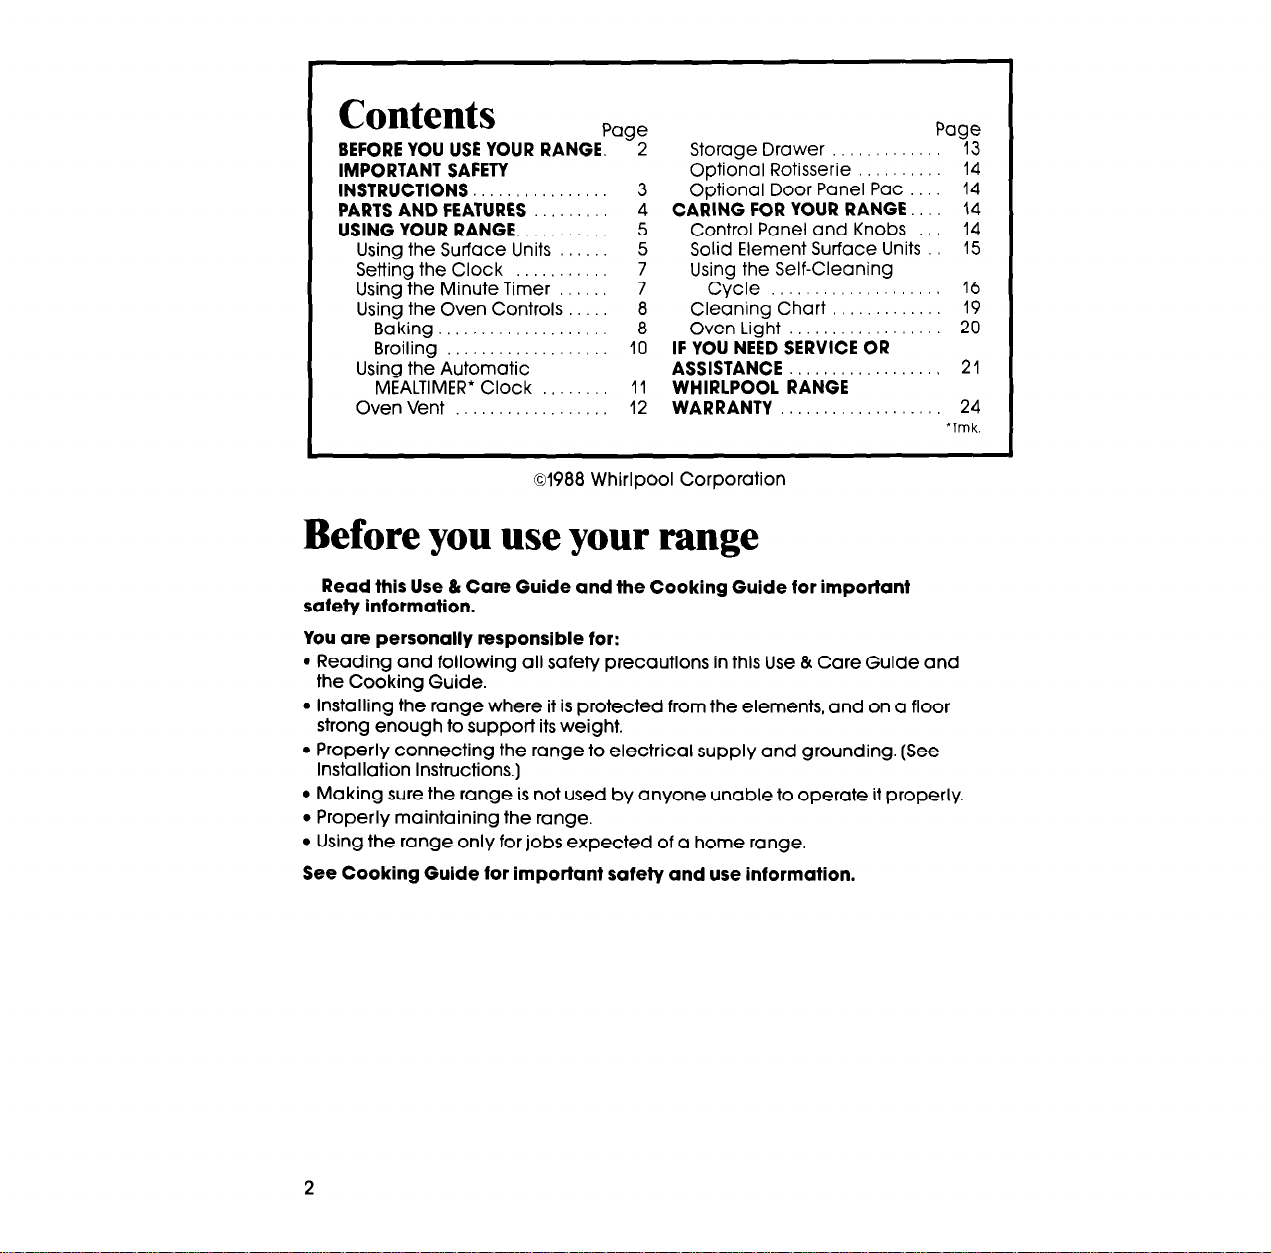
Contents
BEFORE YOU USE YOUR RANGE. - 2
IMPORTANT SAFETY
INSTRUCTIONS.. 3
PARTS AND FEATURES 4
USING YOUR RANGE.. 5
Using the Surface Units 5
Setting the Clock 7
Using the Minute Timer 7
Using the Oven Controls 8
Baking 8
Broiling 10
Using the Automatic
MEALTIMER* Clock 11
Oven Vent 12
01988 Whirlpool Corporation
Paw
Storage Drawer 13
Optional Rotisserie 14
Optional Door Panel Pat 14
CARING FOR YOUR RANGE. 14
Control Panel and Knobs 14
Solid Element Surface Units 15
Using the Self-Cleaning
Cycle 16
Cleaning Chart 19
Oven Light 20
IF YOU NEED SERVICE OR
ASSISTANCE 2 1
WHIRLPOOL RANGE
WARRANTY 24
Page
Before you use your range
Read this Use & Care Guide and the Cooking Guide for important
safety information.
You are personally responsible for:
. Reading and following all safety precautions in this Use & Care Guide and
the Cooking Guide.
l
Installing the range where it is protected from the elements, and on a floor
strong enough to support its weight.
l
Properly connecting the range to electrical supply and grounding. (See
Installation Instructions.)
l
Making sure the range is not used by anyone unable to operate it properly.
l
Properly maintaining the range.
l
Using the range only for jobs expected of a home range.
See Cooking Guide for important safety and use information.
‘Tmk.
L
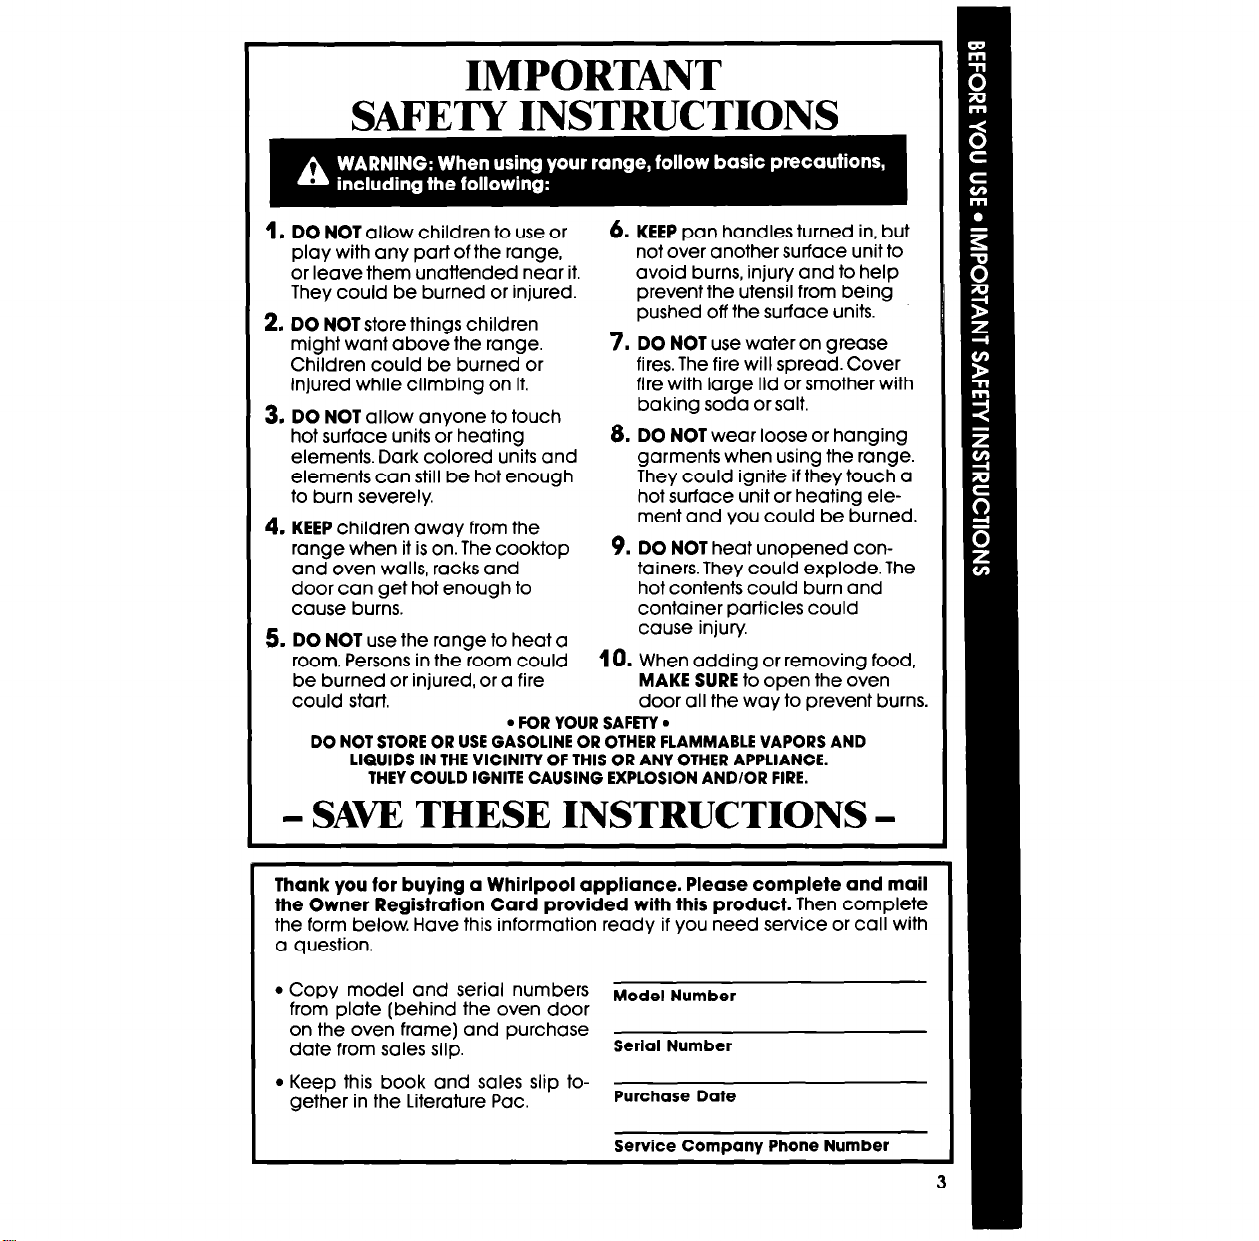
IMPORTANT
SAFETY INSTRUCTIONS
1, DO NOT allow children to use or
ploy with any partof the range,
or leave them unattended near it.
They could be burned or injured.
2. DO NOT store things children
might wont above the range.
Children could be burned or
injured while climbing on it.
3. DO NOT allow anyone to touch
hot surface units or heating
elements. Dark colored units and
elements
to burn severely.
4. KEEP children away from the
range when it is on. The cooktop
and oven walls, rocks and
door con get hot enough to
cause burns.
5. DO NOT use the range to heat a
room. Persons in the room could
be burned or injured, or a fire
could start. door all the way to prevent burns.
DO NOT STORE OR USE GASOLINE OR OTHER FLAMMABLE VAPORS AND
con
still be hot enough
. FOR YOUR SAFEW .
LIQUIDS IN THE VICINITY OF THIS OR ANY OTHER APPLIANCE.
THEY COULD IGNITE CAUSING EXPLOSION AND/OR FIRE.
6. KEEP pan handles turned in, but
not over another surface unit to
ovoid burns, injury and to help
prevent the utensil from being
pushed off the surface units.
7. DO NOT use water on grease
fires. The fire will spread. Cover
fire with large lid or smother with
baking soda or salt.
8. DO NOT weor loose or hanging
garments when using the range.
They could ignite if they touch a
hot surface unit or heating element and you could be burned.
9. DO NOT heat unopened containers. They could explode. The
hot contents could burn and
container particles could
cause injury
10. When adding or removing food,
MAKE SURE to open the oven
- SAVE THESE INSTRUCTIONS -
L
Thank you for buying a Whirlpool appliance. Please complete and mail
the Owner Registration Card provided with this product. Then complete
the form below. Hove this information ready if you need service or cull with
a question.
l
Copy model and Serial numbers
from plate (behind the oven door
on the oven frame) and purchase
dote from sales slip.
l
Keep this book and soles slip together in the Literature Pac.
Model NUr,,ber
Serial Number
Purchase Date
Service ComDanv Phone Number

Parts and features
Model RF367BXV
AUTOMATIC MEALTIMER*
CONTROL PANE/
SOLID ELEMENT
SURFACE UNIT
MODEL AND SERIAL
NUMBER PLATE
HEAT SEAL
SELF-CLEANING
OVEN
REMOVABLE
STORAGE DRAWER
LITERATURE
(In drawer)
&--;
AUTOMATIC OVEN
LIGHT SWITCH
BROIL
‘Tmk.
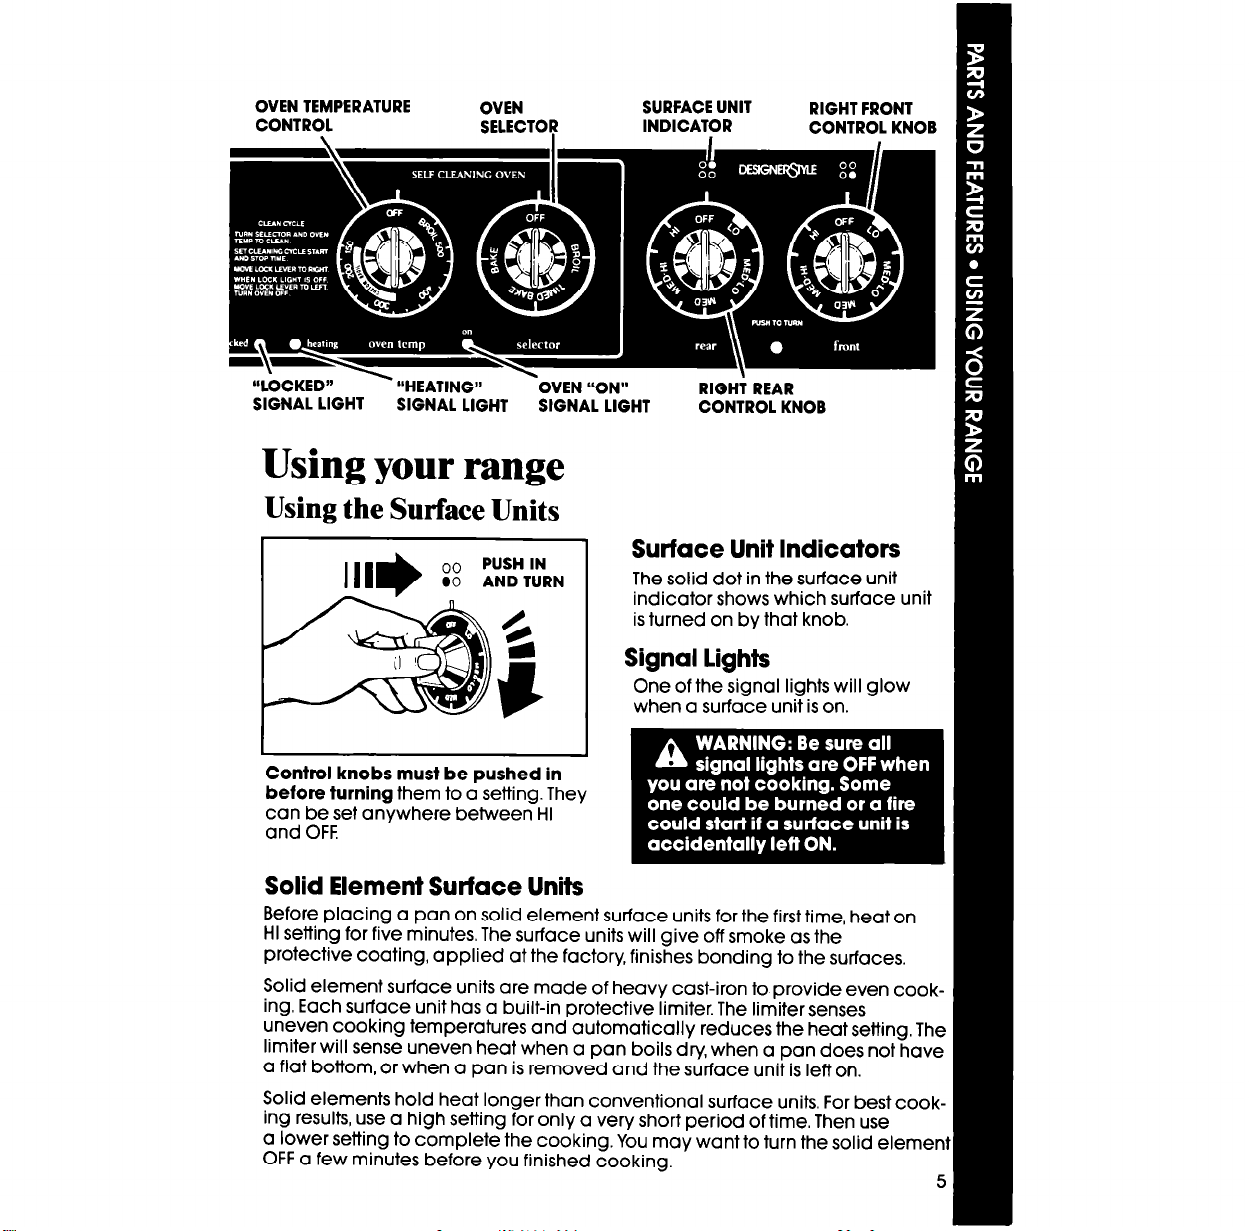
OVEN TEMPERATURE
CONTROL
OVEN
SELECTOR
SURFACE UNIT
INDICATOR
RIGHT FRONT
CONTROL KNOB
“LOCKED”
SIGNAL LIGHT
- “HEATING”
SIGNAL LIGHT SIGNAL LIGHT
‘OVEN “ON”
RIGHi REAR
CONTROL KNOB
Using your range
Using the Surface Units
PUSH IN
:: ANDTURN
Control knobs must be pushed in
before turning them to a setting. They
can be set anywhere between HI
and OFF.
Solid Element Surface Units
Before placing a pan on solid element surface units for the first time, heat on
HI setting for five minutes. The surface units will give off smoke as the
protective coating, applied at the factory, finishes bonding to the surfaces.
Solid element surface units are made of heavy cast-iron to provide even cooking. Each surface unit has a built-in protective limiter. The limiter senses
uneven cooking temperatures and automatically reduces the heat setting. The
limiter will sense uneven heat when a pan boils dry, when a pan does not have
a flat bottom, or when a pan is removed and the surface unit is left on.
Solid elements hold heat longer than conventional surface units. For best cooking reSUltS, use a high setting for only a very short period of time. Then use
a lower setting to complete the cooking. You may want to turn the solid element
OFF a few minutes before you finished cooking.
Surface Unit Indicators
The solid dot in the surface unit
I
indicator shows which surface unit
is turned on by that knob.
Signal lights
One of the signal lights will glow
when a surface unit is on.
5
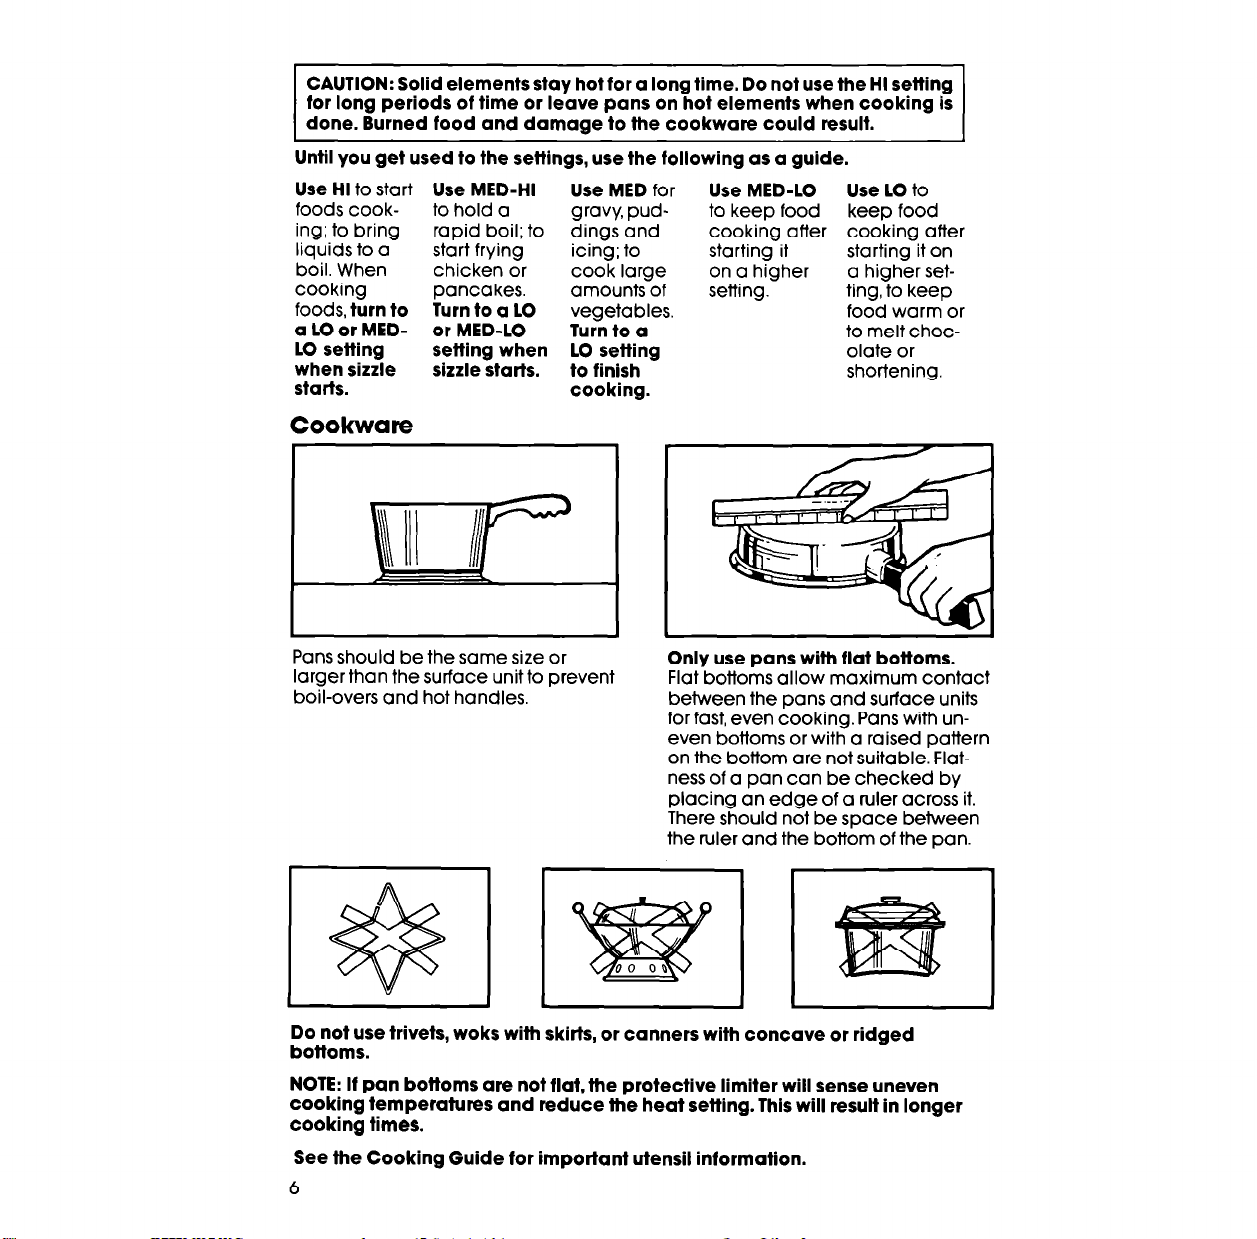
CAUTION: Solid elements stay hot for a long time. Do not use the HI setting
for long periods of time or leave pans on hot elements when cooking is
done. Burned food and damage to the cookware could result.
Until you get used to the settings, use the following as a guide.
Use HI to start Use MED-HI
foods cooking; to bring
liquids to a
boil. When
cooking
foods, turn to Turn to a LO
a LO or MED- or MED-LO
LO setting
when sizzle sizzle starts.
starts.
to hold a
rapid boil; to
start frying icing; to
chicken or
pancakes. amounts of
setting when LO setting olate or
Use MED for Use MED-LO
gravy, puddings and
cook large on a higher
vegetables.
Turn to a
to finish
cooking.
to keep food
cooking after cooking after
starting it
setting.
Use LO to
keep food
starting it on
a higher setting, to keep
food warm or
to melt choc-
shortening.
Cookware
Pans should be the same size or
larger than the surface unit to prevent
boil-overs and hot handles.
Do not use trivets, woks with skirts, or canners with concave or ridged
bottoms.
NOTE: If pan bottoms are not flat,the protective limiter will sense uneven
cooking temperatures and reduce the heat setting. This will result in longer
cooking times.
See the Cooking Guide for important utensil information.
6
Only use pans with flat bottoms.
Flat bottoms allow maximum contact
between the pans and surface units
for fast, even cooking. Pans with uneven bottoms or with a raised pattern
on the bottom are not suitable. Flatness of a pan can be checked by
placing an edge of a ruler across it.
There should not be space between
the ruler and the bottom of the pan.
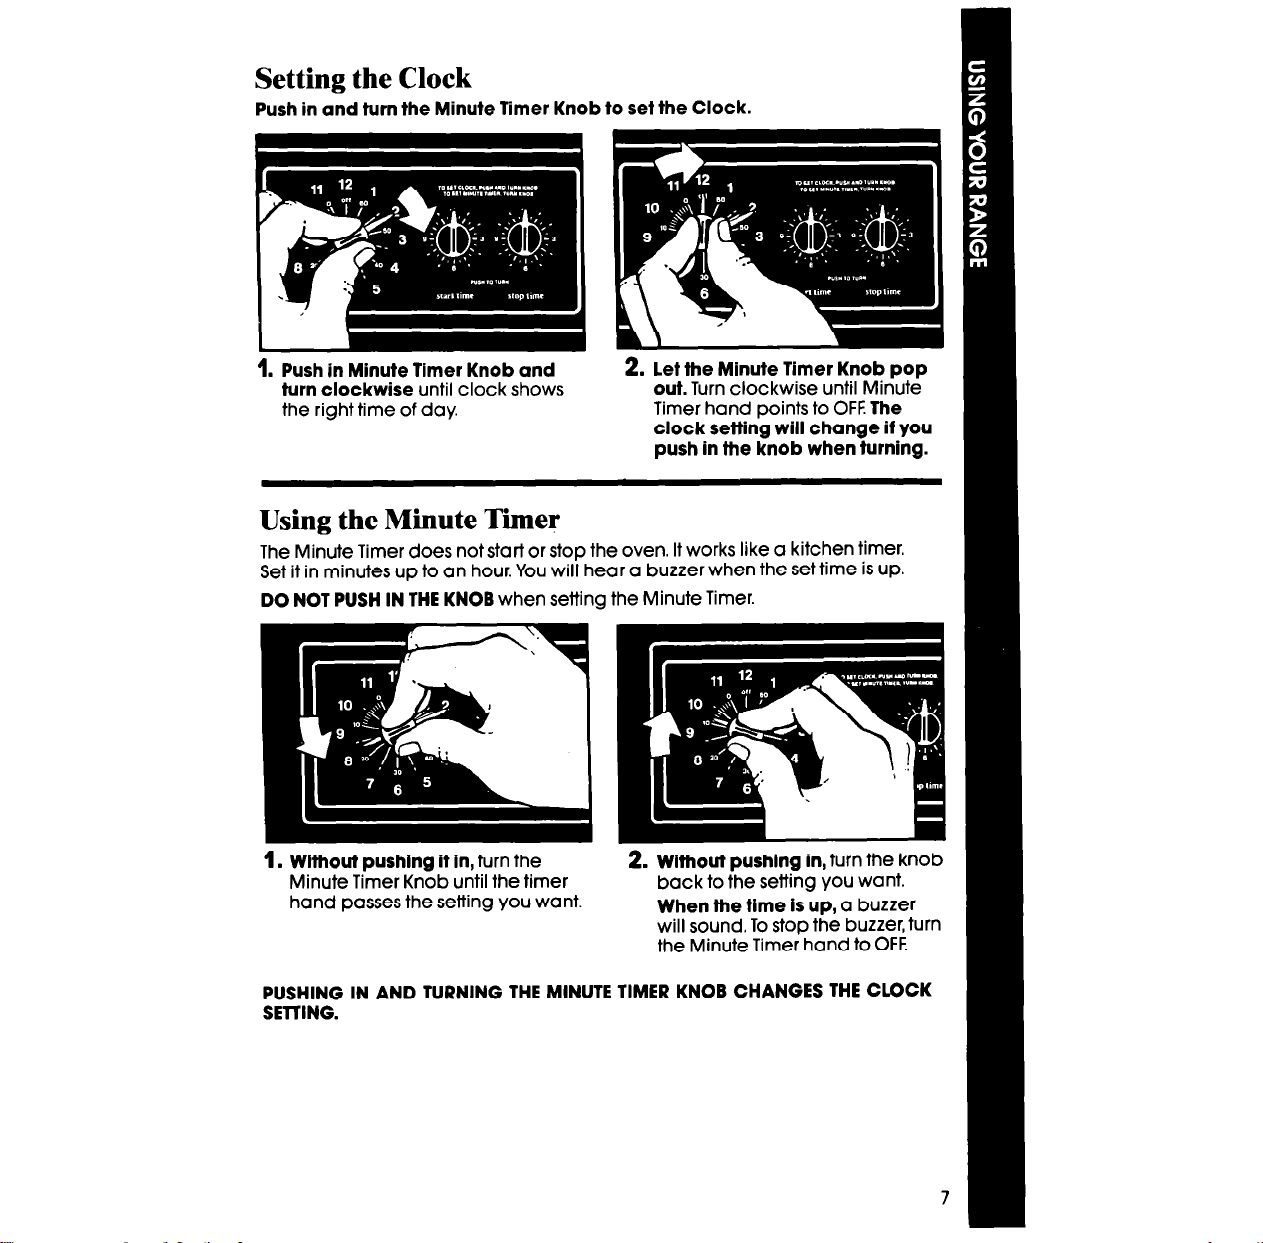
Setting the Clock
Push in and turn the Minute Timer Knob to set the Clock.
1. Push in Minute Timer Knob and
turn clockwise until clock shows
the right time of day.
2. let the Minute Timer Knob pop
out. Turn clockwise until Minute
Timer hand points to OFF. The
clock setting will change if you
push in the knob when turning.
Using the Minute Timer
The Minute Timer does not start or stop the oven. It works like a kitchen timer.
Set it in minutes up to an hour. You will hear a buzzer when the set time is up.
DO NOT PUSH IN THE KNOB when setting the Minute Timer.
1. Wlthout pushing It in, turn the
Minute Timer Knob until the timer
hand passes the setting you want.
2. Without pushlng In, turn the knob
back to the setting you want.
When the time is up, a buzzer
will sound. To stop the buzzer, turn
the Minute Timer hand to OFF.
PUSHING IN AND TURNING THE MINUTE TIMER KNOB CHANGES THE CLOCK
SETTING.
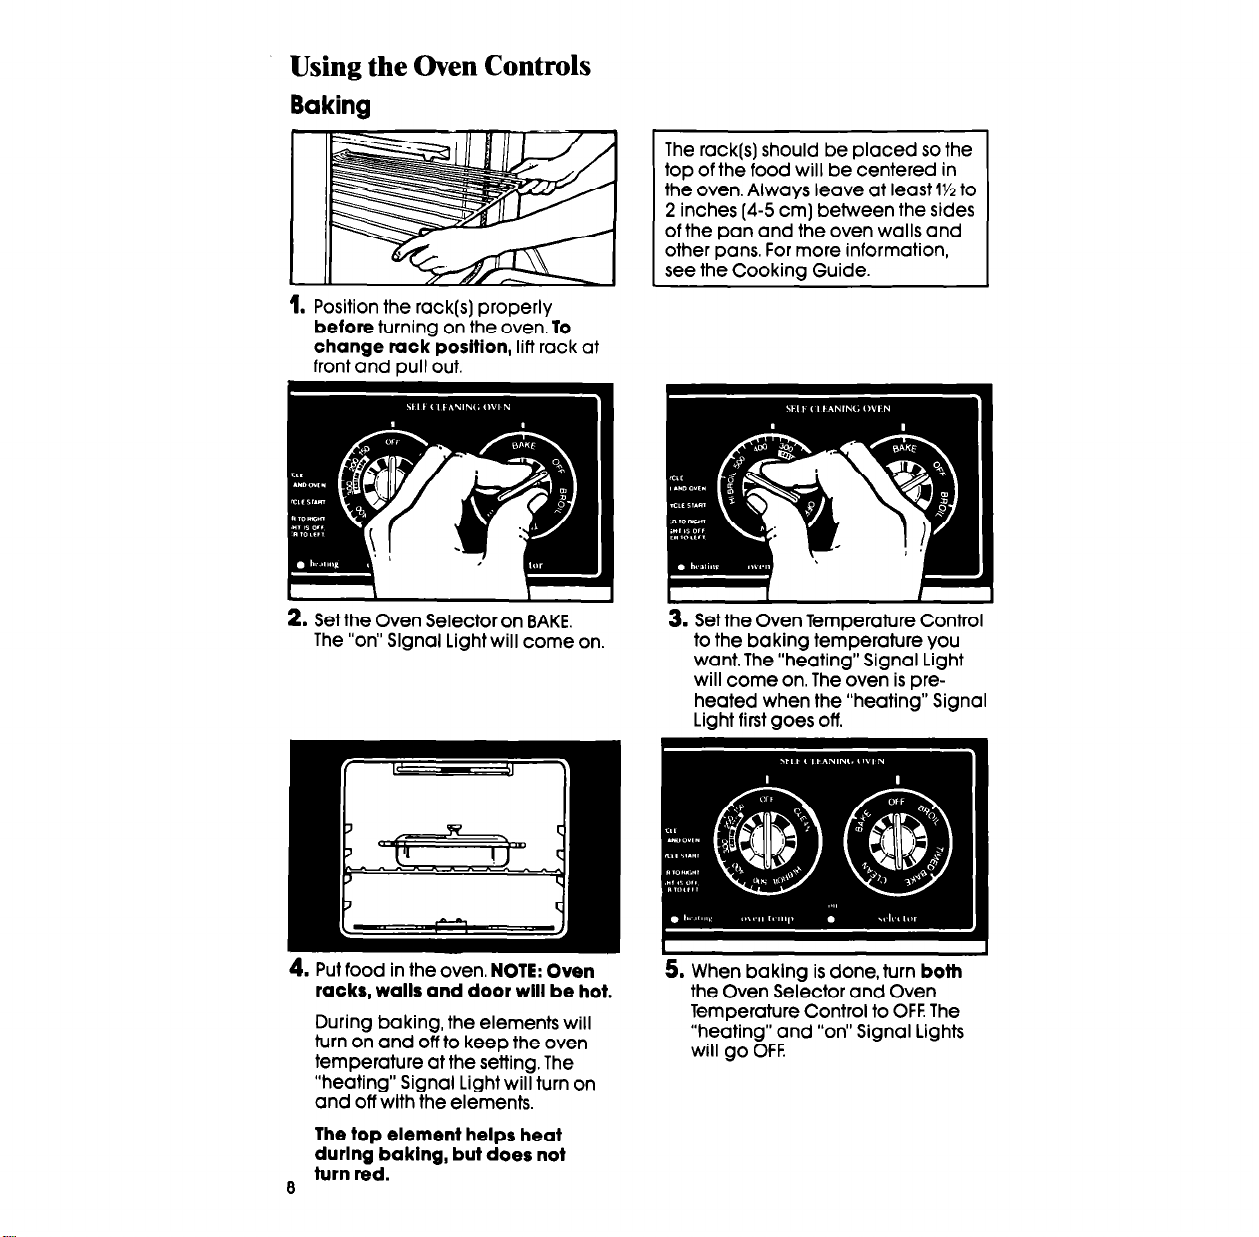
Using the Oven Controls
Baking
1. Position the rack(s) properly
before turning on the oven. To
change rack position, lift rack at
front and pull out.
2. Set the Oven Selector on BAKE.
The “on” Slgnal Light will come on.
The rack(s) should be placed so the
top of the food will be centered in
the oven. Always leave at least V/Z to
2 inches (4-5 cm) between the sides
of the pan and the oven walls and
other pans. For more information,
see the Cooking Guide.
I
3. Set the Oven Temperature Control
to the baking temperature you
want. The “heating” Signal Light
will come on. The oven is preheated when the “heating” Signal
Light first goes
I
off.
,
1
1
4.
Put food in the oven. NOTE: Oven
racks, walls and door will be hot.
During baking, the elements will
turn on and off to keep the oven
temperature at the setting. The
“heating” Signal Light will turn on
and off with the elements.
The top element helps heat
durlng baking, but does not
turn red.
8
5. When baklng is done, turn both
the Oven Selector and Oven
Temperature Control to OFF The
“heating” and “on” Signal Lights
will go OFF
 Loading...