

Whirlpool LXR9245EQ0 User Manual
Home Appliances
Use And Care
GUIDE
A Note to You ......................... 2
Washer Safety ........................ 3
Parts and Features ................ 4
Operating Your Washer......... 5
Starting your washer .......... 5
Stopping/restarting
your washer........................ 7
Selecting a cycle and time ... 7
Using rinse and spin........... 8
Using drain and spin........... 8
Understanding normal
washer sounds ................... 8
Understanding what
happens in each cycle........ 9
MAGIC CLEAN® lint filter ..... 9
Adding liquid chlorine
bleach............................... 10
Adding liquid fabric
softener ............................ 10
Caring for Your Washer ...... 11
Laundry Tips ........................ 12
Removing Stains.................. 16
Troubleshooting................... 19
Requesting Assistance
or Service ............................. 21
Warranty ............................... 24
PART NO. 3363574
1-800-253-1301
Call us with questions or comments.
TWO SPEED AUTOMATIC WASHERS
WITH QUICK WASH

A Note to You
Thank you for buying a WHIRLPOOL® appliance.
Because your life is getting busier and more complicated, WHIRLPOOL washers are easy
to use, save time, and help you manage your home better. To ensure that you enjoy years
of trouble-free operation, we developed this Use and Care Guide. It contains valuable information about how to operate and maintain your washer properly and safely. Please read it
carefully.
Also, please complete and mail in the Ownership Registration Card provided with your
appliance. The card helps us notify you about any new information on your appliance.
Please record your model’s information.
Whenever you call to request service on
your appliance, you need to know your
complete model number and serial number.
You can find this information on the model
and serial number plate (see diagram on
page 4 for location of plate).
Please also record the purchase date of
your appliance and your dealer’s name,
address, and telephone number.
Keep this book and the sales slip together in a safe place for future reference.
Model Number _________________________
Serial Number _________________________
Purchase Date _________________________
Dealer Name __________________________
Dealer Address ________________________
Dealer Phone __________________________
Our Consumer Assistance Center
number is toll-free.
1-800-253-1301
2

Washer Safety
Your safety is important to us.
This guide contains safety statements
under warning symbols. Please pay special
attention to these symbols and follow any
instructions given. Here is a brief explanation of the symbol.
IMPORTANT SAFETY INSTRUCTIONS
This symbol alerts you to
hazards such as fire,
electrical shock, or
other injuries.
WARNING – To reduce the risk of fire, electric shock, or injury to
persons when using the washer, follow basic precautions, including the
following:
•Read all instructions before using
the washer.
•Do not wash articles that have
been previously cleaned in,
washed in, soaked in, or spotted
with gasoline, dry-cleaning
solvents, other flammable, or
explosive substances as they
give off vapors that could ignite
or explode.
•Do not add gasoline, dry-cleaning
solvents, or other flammable, or
explosive substances to the wash
water. These substances give
off vapors that could ignite or
explode.
•Under certain conditions, hydro-
gen gas may be produced in a
hot water system that has not
been used for 2 weeks or more.
HYDROGEN GAS IS EXPLOSIVE. If the hot water system has
not been used for such a period,
before using a washing machine,
turn on all hot water faucets and
let the water flow from each for
several minutes. This will release
any accumulated hydrogen gas.
As the gas is flammable, do not
smoke or use an open flame
during this time.
•Do not allow children to play on
or in the washer. Close supervision of children is necessary
when the washer is used near
children.
•Before the washer is removed
from service or discarded, remove the door.
•Do not reach into the washer if
the tub or agitator is moving.
•Do not install or store the washer
where it will be exposed to the
weather.
•Do not tamper with controls.
•Do not repair or replace any part
of the washer or attempt any
servicing unless specifically
recommended in this Use and
Care Guide or in published
user-repair instructions that you
understand and have the skills to
carry out.
•See Installation Instructions for
grounding requirements.
– SAVE THESE INSTRUCTIONS –
3
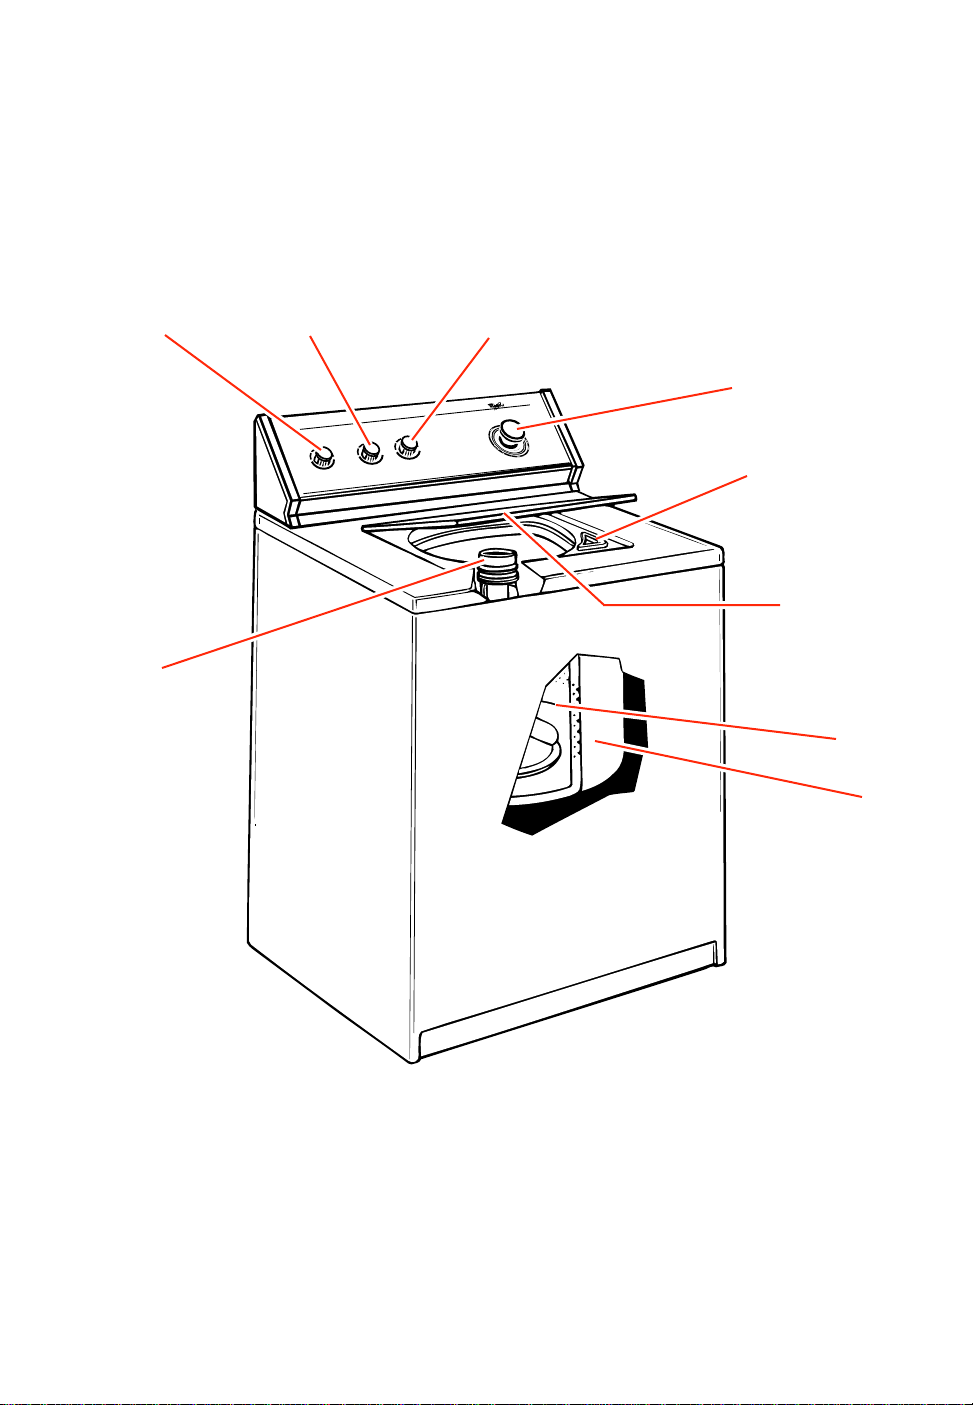
Par ts and Features
The parts and features of your washer are illustrated on this page. Become familiar with all
parts and features before using your washer. Page references are included next to some
features. Refer to those pages for more information about the features.
Load size
selector
(p. 6)
Liquid fabric
softener
dispenser
(p. 10)
Water temperature
selector
(p. 6)
HEAVY DUTY
MediumMedium
all
Sm
Small
arm
W
Warm
ColdCold
HotHot
ColdCold
SMALSMAL
ColdCold
HotHot
ExtraExtra
arm
W
Warm
LargeLarge
ASH
W
WASH
RINSERINSE
TemperatureTemperature
Load SizeLoad Size
Extra rinse
selector
(p. 6)
Cycle control knob
NORMAL
OFFOFF
10
6
PERMANENT
arm
W
Warm
ColdCold
LARGE CAPACITYLARGE CAPACITY
ColdCold
2 SPEED 7 CYCLE2 SPEED 7 CYCLE
MAGIC CLEAN FILTERMAGIC CLEAN FILTER
ASH
W
WASH
RINSERINSE
Extra RinseExtra Rinse
Except Regular CycleExcept Regular Cycle
PRESS
REGULAR
OFFOFF
NORMAL
8
10
NORMAL
LIGHT
LIGHT
6
14
HEAVY
HEAVY
4
KNITS GENTLE
SUPER WASH
OFFOFF
PULL START • PUSH STOPPULL START • PUSH STOP
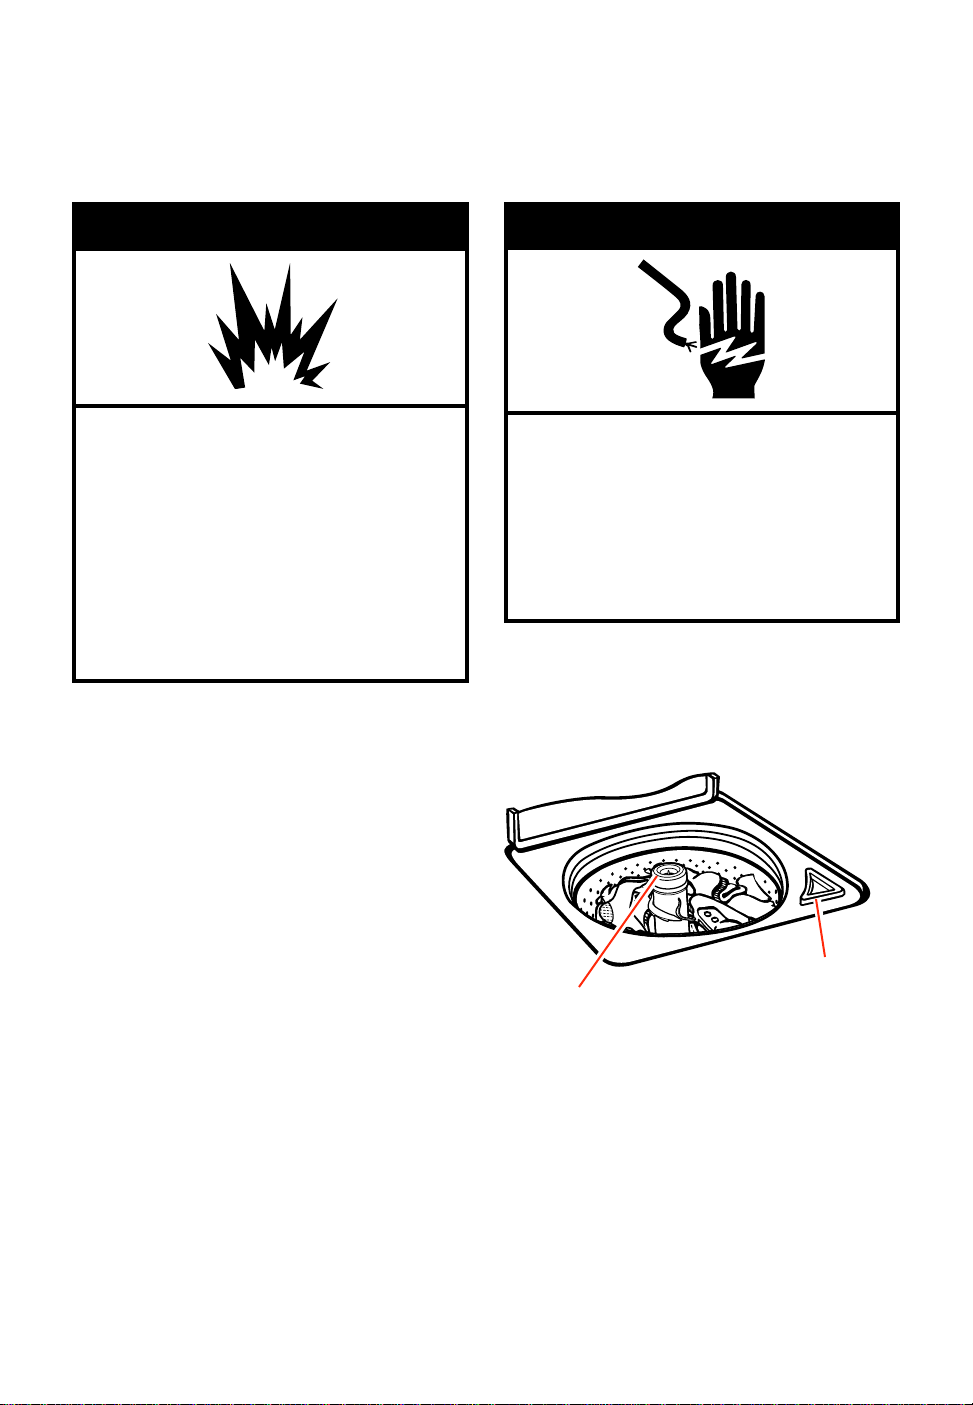
Liquid chlorine
bleach dispenser
(pp. 6-8)
(p. 10)
Model and serial
number plate
(under lid)
Basket
Tub
MAGIC CLEAN
®
lint filter
(bottom of washer basket)
(p. 9)
4
Operating Your Washer
To obtain the best washing results, you must operate your washer properly. This section
gives you this important information. Page references are included for more information.
wWARNING
Explosion Hazard
Never place items in the washer that
are dampened with gasoline or
other flammable fluids.
Do not wash or dry items soiled with
vegetable or cooking oils because
they may contain some oil after
laundering.
Doing so can result in death, explosion, or fire.
Starting your washer
1. Add measured detergent to the
washer. Then place a sorted load of
clothes in the washer.
• Sort and load clothes as described on
pages 12 and 13.
• If desired, you may also add color safe
bleach or extra detergent for the Super
Wash cycle.
2. (OPTIONAL STEP) If desired, pour
measured liquid chlorine bleach into
the liquid bleach dispenser. See
page 10.
• Use only liquid chlorine bleach in the
bleach dispenser.
3. (OPTIONAL STEP) If desired, pour
measured liquid fabric softener into
the dispenser. See page 10.
4. Close the washer lid.
wWARNING
Electrical Shock Hazard
Plug into a grounded 3 prong outlet.
Do not remove ground prong.
Do not use an adapter.
Failure to follow these instructions
can result in death, fire, or electrical
shock.
Bleach dispenser
Fabric softener
dispenser
continued on next page
5
OPERATING YOUR WASHER
5. Turn the Load Size Selector to the
setting that corresponds with the size
of your wash load and the type of
fabric being washed.
• The Load Size Selector is a rotary
knob. Your washer has five load size
settings
• To change the load size setting after
the washer has started to fill, turn the
Selector to the desired new setting.
6. Select a wash-rinse temperature with
the Water Temperature Selector. Match
the water temperatures with the type
of fabric and soils being washed.
• See page 14 for water temperature
guidelines.
7. (OPTIONAL STEP) If desired, set the
Extra Rinse Selector to On for an
additional rinse and spin to the end of
the wash cycle.
Extra
Small
Hot
Cold
Small
Load Size
Warm
Cold
Temperature
Off
Medium
Wash
Rinse
Cold
Cold
On
Large
Warm
Warm
Extra
Large
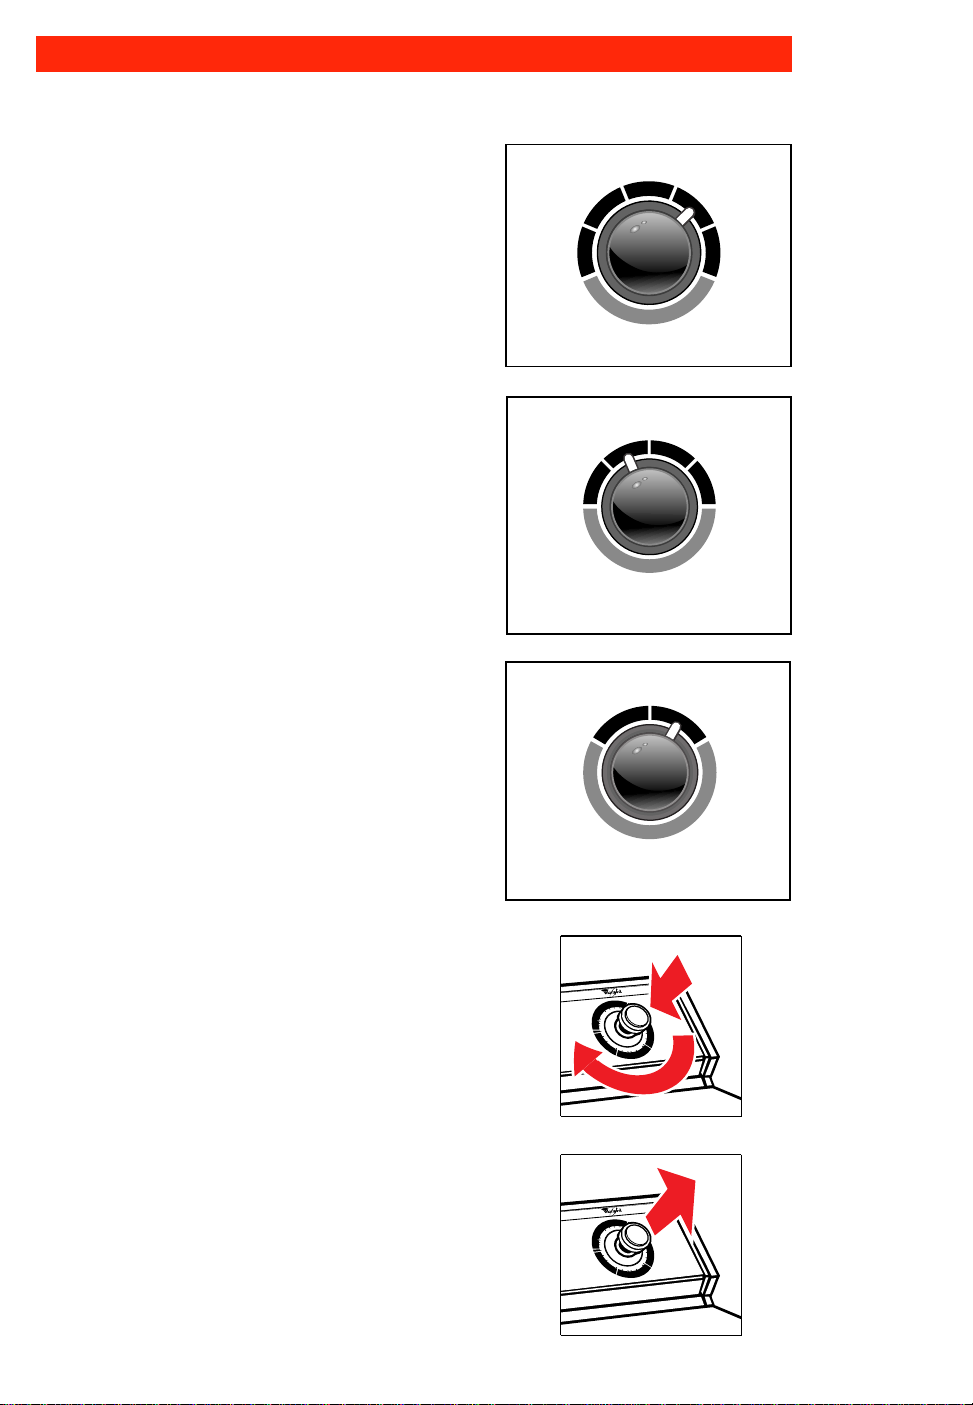
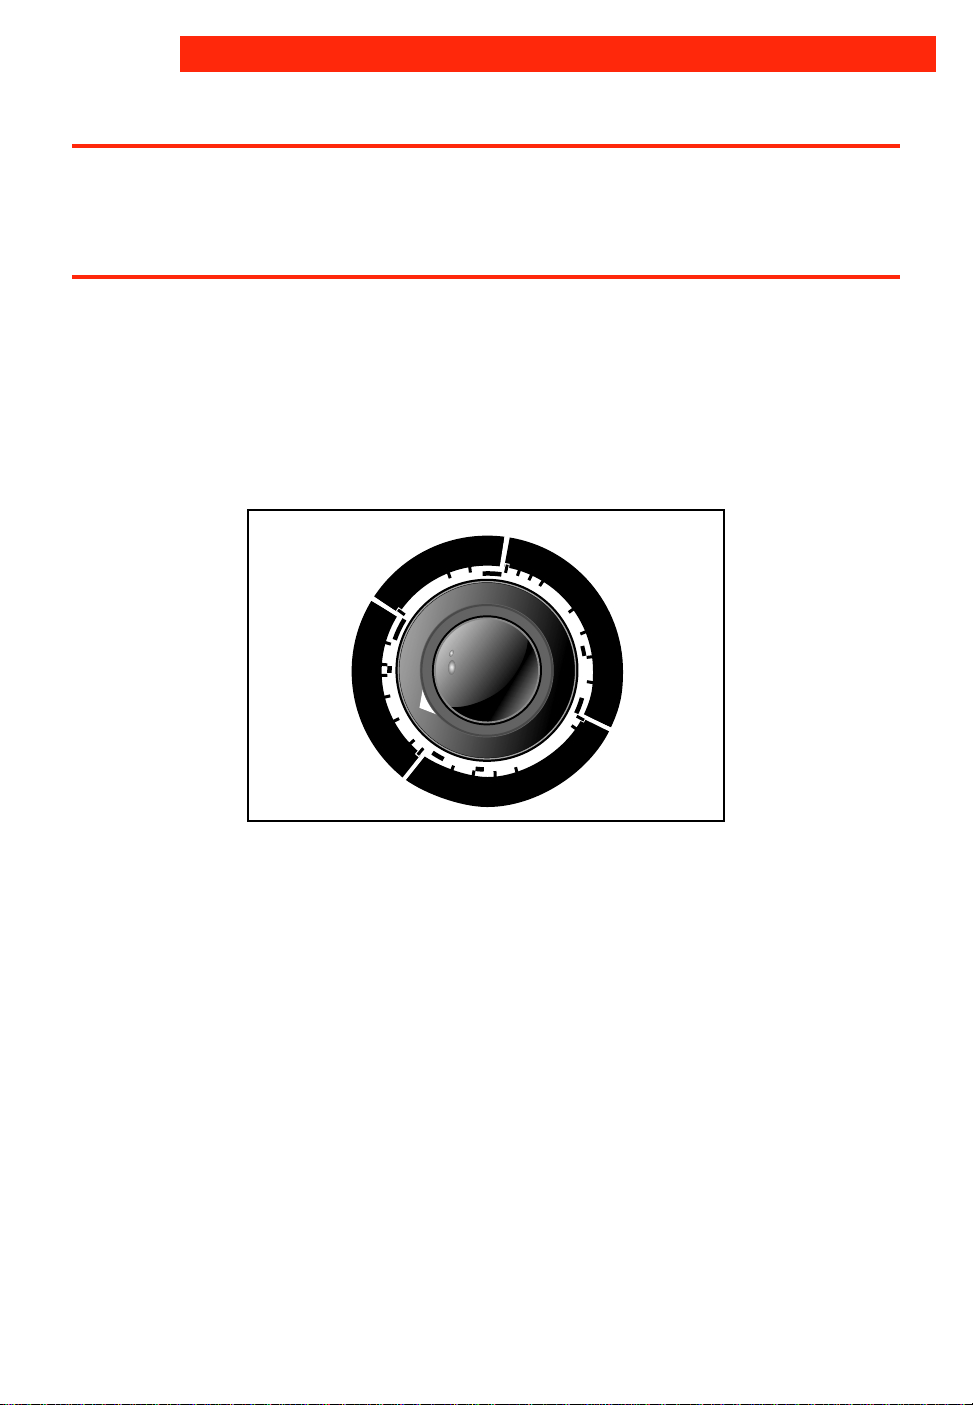
8. Push in the Cycle Control Knob and
turn it clockwise to the wash cycle you
want. See pages 7 and 8.
9. Pull out the Cycle Control Knob to
start the washer.
6
Extra Rinse
OPERATING YOUR WASHER
Stopping/restarting your washer
• To stop the washer at any time, push in
the Cycle Control Knob.
• To restart the washer, close the lid (if
open) and pull out the Cycle
Control Knob.
Selecting a cycle and time
This section illustrates and describes the
wash cycles you can select with the Cycle
Control Knob. Use this information to help
you make the best cycle selections for your
wash loads. Each cycle is designed for
different types of fabrics and soil levels.
Quick Wash
Rinse
6
Off
Spin
Extra
Rinse
Off
Spin
Rinse
3
Light
Regular
Delicates
6
Off
Spin
• The washer pauses briefly throughout
each cycle. These pauses are normal for
washer operation.
• Refer to page 8 to learn more about the
sounds you may hear during a wash cycle.
• Refer to page 9 to help you understand
what happens during a wash cycle.
Ex Heavy
Spin
Extra
Rinse
Off
Off
Spin
Heavy
Regular
15
12
9
6
Pause
Cool
Down
Rinse
Softwash
Rinse
Spin
Off
Extra
Rinse
Spin
Off
9
6
Regular
Light
Permanent
Press
Normal
Normal cycle
The Normal cycle features the Gentle Wash
system, high agitation speeds, and longer
spin speeds to shorten drying time. Use this
cycle for cleaning cotton and linen fabrics.
Select 9 (Regular), 12 (Heavy), or 15 (Ex
Heavy) minutes of wash time, depending
on whether your load is moderately or
heavily soiled.
For lightly soiled cotton and linen fabrics,
use the 6-minute Softwash setting.
Permanent Press cycle
The Permanent Press cycle features the
Gentle Wash system, a cool-down rinse,
and low spin speeds to reduce wrinkling.
Use this cycle for cleaning permanent press
and some synthetic fabrics. Select 6 (Light)
or 9 (Regular) minutes of wash time,
depending on whether your wash load is
lightly or moderately soiled.
Delicates cycles
The Delicates cycle features a reduced
agitation speed for gentle soil removal. Low
spin speeds reduce wrinkling. Use 3 (Light)
or 6 (Regular) minutes of wash time for
cleaning lightly to moderately soiled delicate
items and washable knits.
Quick Wash cycle
The Quick Wash cycle features a reduced
agitation speed for gentle soil removal while
providing high spin speeds to shorten drying
times. Select this cycle for small loads of
lightly soiled items that you need in a hurry.
7
OPERATING YOUR WASHER
Using rinse and spin
NOTE: An Extra Rinse option is available in
some cycles. See page 6.
When using extra detergent for heavily
soiled clothes, or washing special-care
items, you may find an extra rinse and spin
is needed.
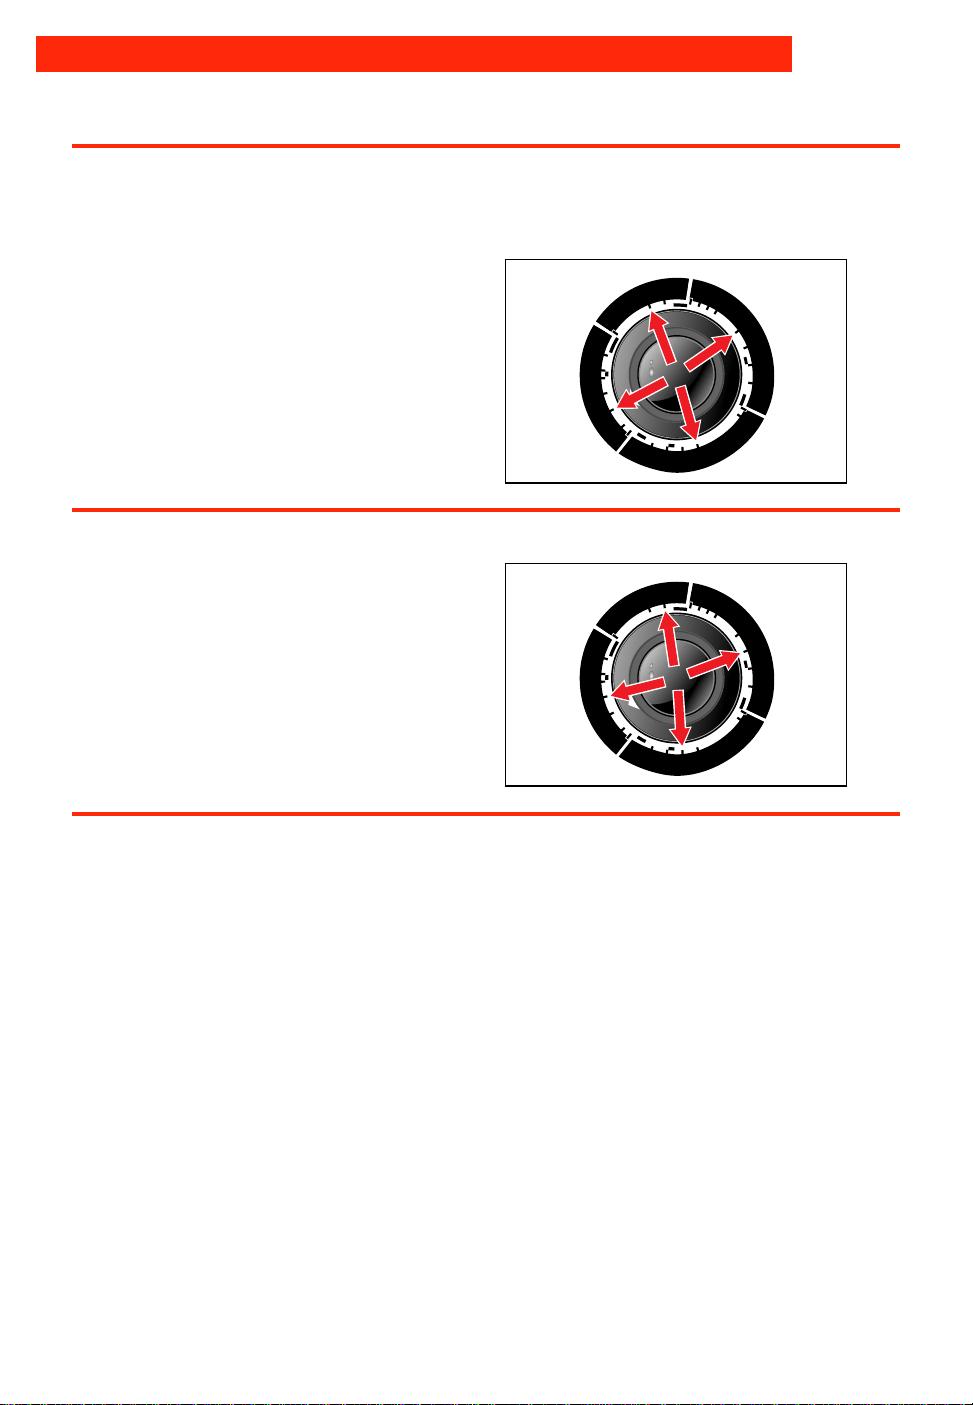
1. To add an additional rinse, push in the
Cycle Control Knob and turn clockwise
to Rinse, as illustrated.
2. Pull out the Cycle Control Knob. The
washer fills to selected load size,
agitates, drains, and spins.
Using drain and spin
A drain and spin may help shorten drying
times for some heavy fabrics or special-care
items by removing excess water.
1. Push in the Cycle Control Knob and turn
clockwise to Spin, as illustrated.
2. Pull out the Cycle Control Knob. The
washer drains, then spins.
Quick Wash
Spin
Extra
Rinse
Off
Spin
Light
Regular
Delicates
Quick Wash
Spin
Extra
Rinse
Off
Spin
Light
Regular
Delicates
Off
Rinse
Off
Rinse
Ex Heavy
Heavy
Normal
Regular
Off
15
Spin
12
Softwash
Rinse
6
3
6
Off
Spin
Spin
Rinse
6
3
6
Off
Spin
9
6
Rinse
Spin
Off
Extra
Rinse
Spin
Off
9
6
Regular
Pause
Light
Cool
Down
Rinse
Extra
Off
Spin
Rinse
Off
Extra
Off
Spin
Rinse
Ex Heavy
15
12
Rinse
9
Heavy
Cool
Down
6
Regular
Pause
Permanent
Press
Softwash
Rinse
Spin
Off
Extra
Rinse
Spin
Off
9
6
Regular
Light
Permanent
Press
Normal
Understanding normal washer sounds
Your new washer may make sounds that
your old one didn’t. Because the sounds are
unfamiliar, you may be concerned about
them. Don’t be; most of them are normal.
The following describes some of the
sounds you may hear and what causes
them.
During washing
When you select a small load size setting
for a small wash load, the water level in your
washer is lower. With this lower water level,
you may hear a clicking sound from the
upper portion of the agitator.
8
During drain
The rate that water is drained from your
washer depends on your installation. If water
is drained quickly from the washer, you may
hear air being pulled through the pump. This
happens during the end of draining.
After drain and before spin
When the cycle changes from draining to
spinning, you may hear gears engaging.
 Loading...