

Whirlpool LTG6234DT5, LTG6234DQ5 Installation Guide

27"(69CM)GASWASHER/DRYER
INSTALLATIONINSTRUCTIONS
Table of Contents
WASHER/DRYER SAFETY.............................. 2
INSTALLATIONINSTRUCTIONS....................2
Toolsand Parts.............................................2
AlternateParts...............................................3
Location Requirements................................3
DrainSystem.................................................4
ElectricalRequirements ................................5
Gas SupplyRequirements............................5
Venting Requirements...................................6
RemoveShipping Strap................................7
InstallLevelingLegs......................................8
Connect the DrainHose................................8
Connect the Inlet Hoses................................8
Securethe DrainHose..................................9
PlanVent System........................................10
InstallVent System......................................11
LevelWasher/Dryer.....................................11
MakeGas Connection.................................11
Connect Vent...............................................12
Complete Installation...................................12
WASHER/DRYERSAFETY
Your safety and the safety of others are very important.
We have provided many important safety messages in this manual and on your appliance. Always read and obey all safety
messages.
This is the safety alert symbol.
This symbol alerts you to potential hazards that can kill or hurt you and others.
All safety messages will follow the safety alert symbol and either the word "DANGER" or "WARNING."
These words mean:
You can be killed or seriously injured if you don't immediately
follow instructions.
You can be killed or seriously injured if you don't follow
instructions.
All safety messages will tell you what the potential hazard is, tell you how to reduce the chance of injury, and tell you what can
happen if the instructions are not followed.
IMPORTANT SAFETY INSTRUCTIONS
When discarding or storing your old clothes dryer, remove the door.
SAVE TH ESE iNSTRUCTiONS
W10112502
WARNING: For your safety, the information in this manual must be followed to minimize
the risk of fire or explosion, or to prevent property damage, personal injury, or death.
- Do not store or use gasoline or other flammable vapors and liquids in the vicinity of this
or any other appliance.
- WHAT TO DO IF YOU SMELL GAS:
• Do not try to light any appliance.
• Do not touch any electrical switch; do not use any phone in your building.
• Clear the room, building, or area of all occupants.
• Immediately call your gas supplier from a neighbor's phone. Follow the gas supplier's
instructions.
• If you cannot reach your gas supplier, call the fire department.
- Installation and service must be performed by a qualified installer, service agency, or
the gas supplier.
In the State of Massachusetts, the following installation instructions apply:
• Installations and repairs must be performed by a qualified or licensed contractor, plumber, or gasfitter qualified or licensed by
the State of Massachusetts.
• If using a ball valve, it shall be a T-handle type.
• A flexible gas connector, when used, must not exceed 3 feet.
INSTALLATIONINSTRUCTIONS
Gather the required tools and parts before starting installation.
Read and follow the instructions provided with any tools listed
here.
Parts needed for washer (not provided:):
• Inlet hoses • Flat washers
To order:
• Call the dealer from whom you purchased your washer/dryer.
• Call the toll-free number listed on the cover of the Washer/
Dryer User Instructions.
• Visit the website listed on the cover of the Washer/Dryer User
Instructions.
NOTE: Replace inlet hoses after 5 years of use to reduce the risk
of hose failure. Record hose installation or replacement dates for
future reference.
Tools needed:
8" or 10" adjustable
wrench (for gas
connections)
Flat-blade screwdriver
Adjustable wrench that
opens to 1" (2.5 cm) or
%6"(14 mm) open-end
wrench (for adjusting
washer/dryer feet)
Level
1A"nut driver or socket
wrench (recommended)
Wood block (for leveling)
Ruler or measuring tape
Knife
Vent clamps
Pipe-joint compound
resistant to LP gas
Caulking gun and
compound (for installing
new exhaust vent)
Pliers that open to
19/16'' (3.95 cm)
Scissors
Tin snips (new vent
installation)
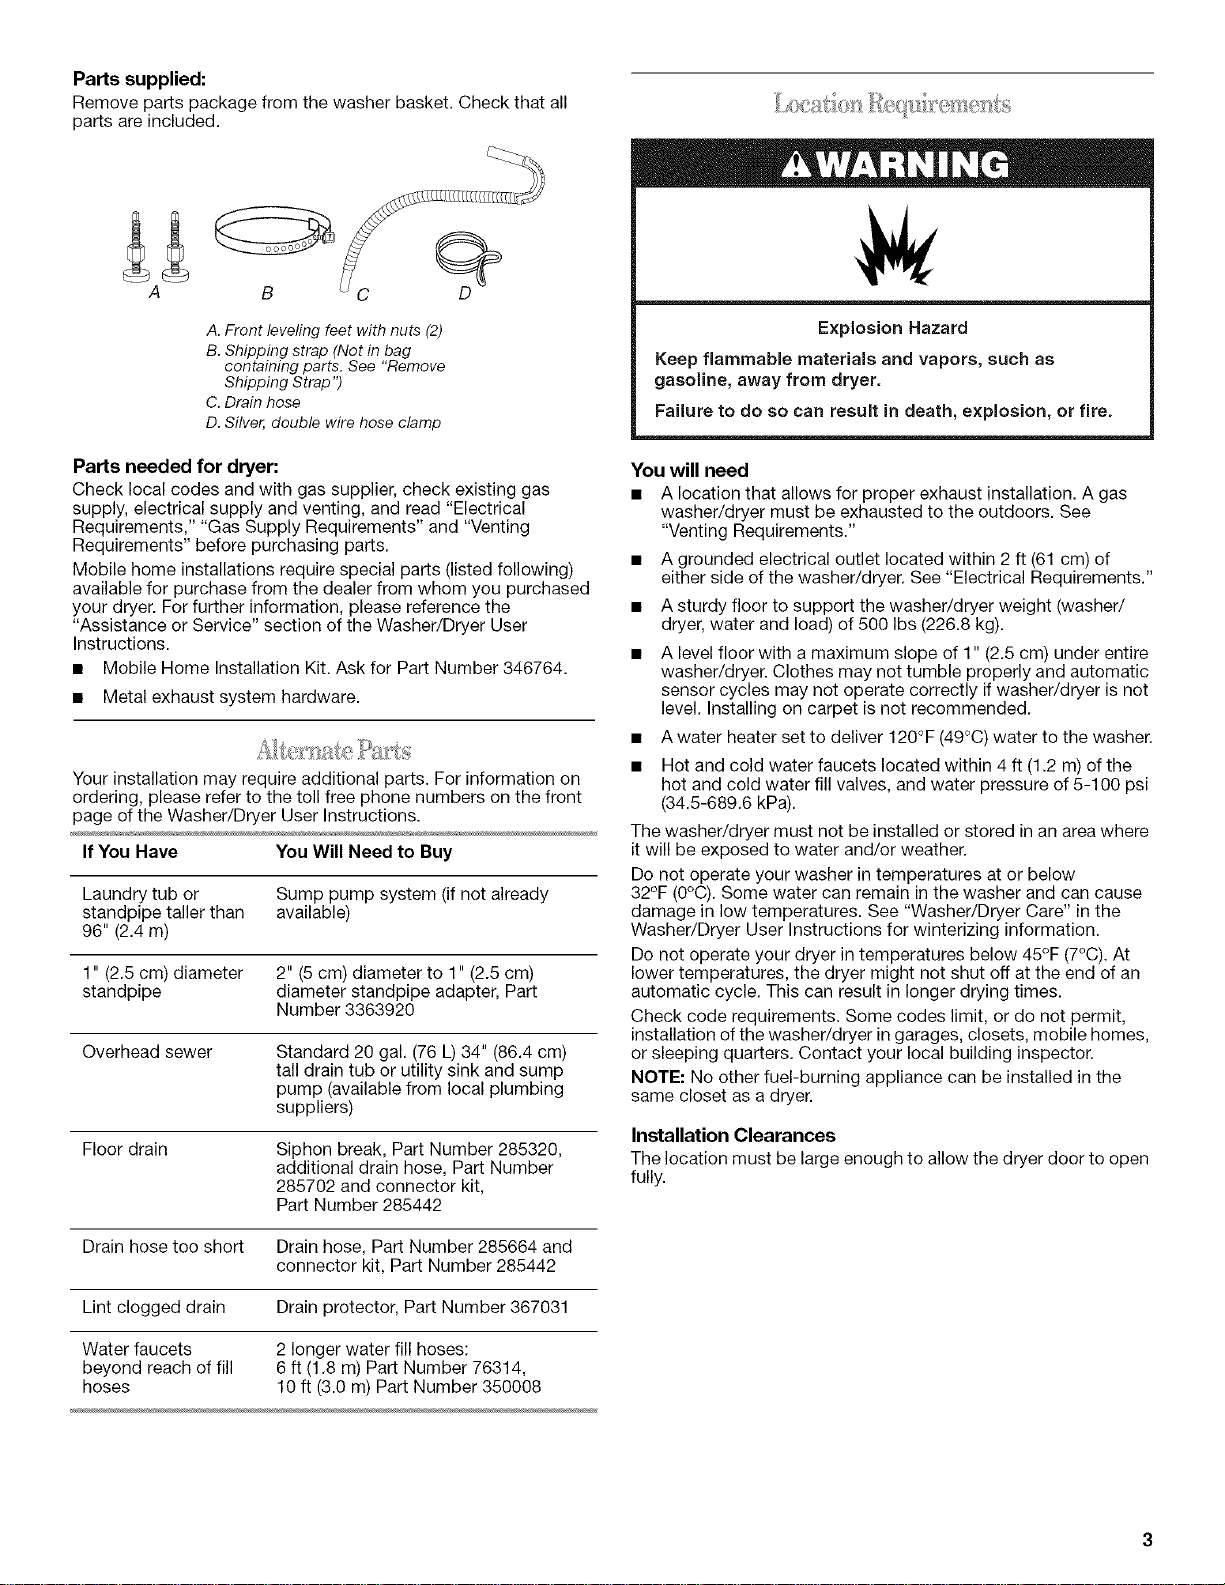
Parts supplied:
Remove parts package from the washer basket. Check that all
parts are included.
A
B
A. Front leveling feet with nuts (2)
B. Shipping strap (Not in bag
containing parts. See "Remove
Shipping Strap")
C. Drain hose
D. Silver, double wire hose clamp
Parts needed for dryer:
Check local codes and with gas supplier, check existing gas
supply, electrical supply and venting, and read "Electrical
Requirements," "Gas Supply Requirements" and "Venting
Requirements" before purchasing parts.
Mobile home installations require special parts (listed following)
available for purchase from the dealer from whom you purchased
your dryer. For further information, please reference the
"Assistance or Service" section of the Washer/Dryer User
Instructions.
• Mobile Home Installation Kit. Ask for Part Number 346764.
• Metal exhaust system hardware.
Your installation may require additional parts. For information on
ordering, please refer to the toll free phone numbers on the front
page of the Washer/Dryer User Instructions.
If You Have You Will Need to Buy
Laundry tub or Sump pump system (if not already
standpipe taller than available)
96" (2.4 m)
1" (2.5 cm) diameter 2" (5 cm) diameter to 1" (2.5 cm)
standpipe diameter standpipe adapter, Part
Number 3363920
Overhead sewer Standard 20 gal. (76 L) 34" (86.4 cm)
tall drain tub or utility sink and sump
pump (available from local plumbing
suppliers)
Floor drain Siphon break, Part Number 285320,
additional drain hose, Part Number
285702 and connector kit,
Part Number 285442
Explosion Hazard
Keep flammable materials and vapors, such as
gasoline, away from dryer.
Failure to do so can result in death, explosion, or fire.
You will need
• A location that allows for proper exhaust installation. A gas
washer/dryer must be exhausted to the outdoors. See
"Venting Requirements."
• A grounded electrical outlet located within 2 ft (61 cm) of
either side of the washer/dryer. See "Electrical Requirements."
• A sturdy floor to support the washer/dryer weight (washer/
dryer, water and load) of 500 Ibs (226.8 kg).
• A level floor with a maximum slope of 1" (2.5 cm) under entire
washer/dryer. Clothes may not tumble properly and automatic
sensor cycles may not operate correctly if washer/dryer is not
level. Installing on carpet is not recommended.
• A water heater set to deliver 120°F (49°C) water to the washer.
• Hot and cold water faucets located within 4 ft (1.2 m) of the
hot and cold water fill valves, and water pressure of 5-100 psi
(34.5-689.6 kPa).
The washer/dryer must not be installed or stored in an area where
it will be exposed to water and/or weather.
Do not operate your washer in temperatures at or below
32°F (0°C). Some water can remain in the washer and can cause
damage in low temperatures. See "Washer/Dryer Care" in the
Washer/Dryer User Instructions for winterizing information.
Do not operate your dryer in temperatures below 45°F (7°C). At
lower temperatures, the dryer might not shut off at the end of an
automatic cycle. This can result in longer drying times.
Check code requirements. Some codes limit, or do not permit,
installation of the washer/dryer ingarages, closets, mobile homes,
or sleeping quarters. Contact your local building inspector.
NOTE: No other fuel-burning appliance can be installed in the
same closet as a dryer.
Installation Clearances
The location must be large enough to allow the dryer door to open
fully.
Drain hose too short Drain hose, Part Number 285664 and
connector kit, Part Number 285442
Lint clogged drain Drain protector, Part Number 367031
Water faucets 2 longer water fill hoses:
beyond reach of fill 6 ft (1.8 m) Part Number 76314,
hoses 10 ft (3.0 m) Part Number 350008
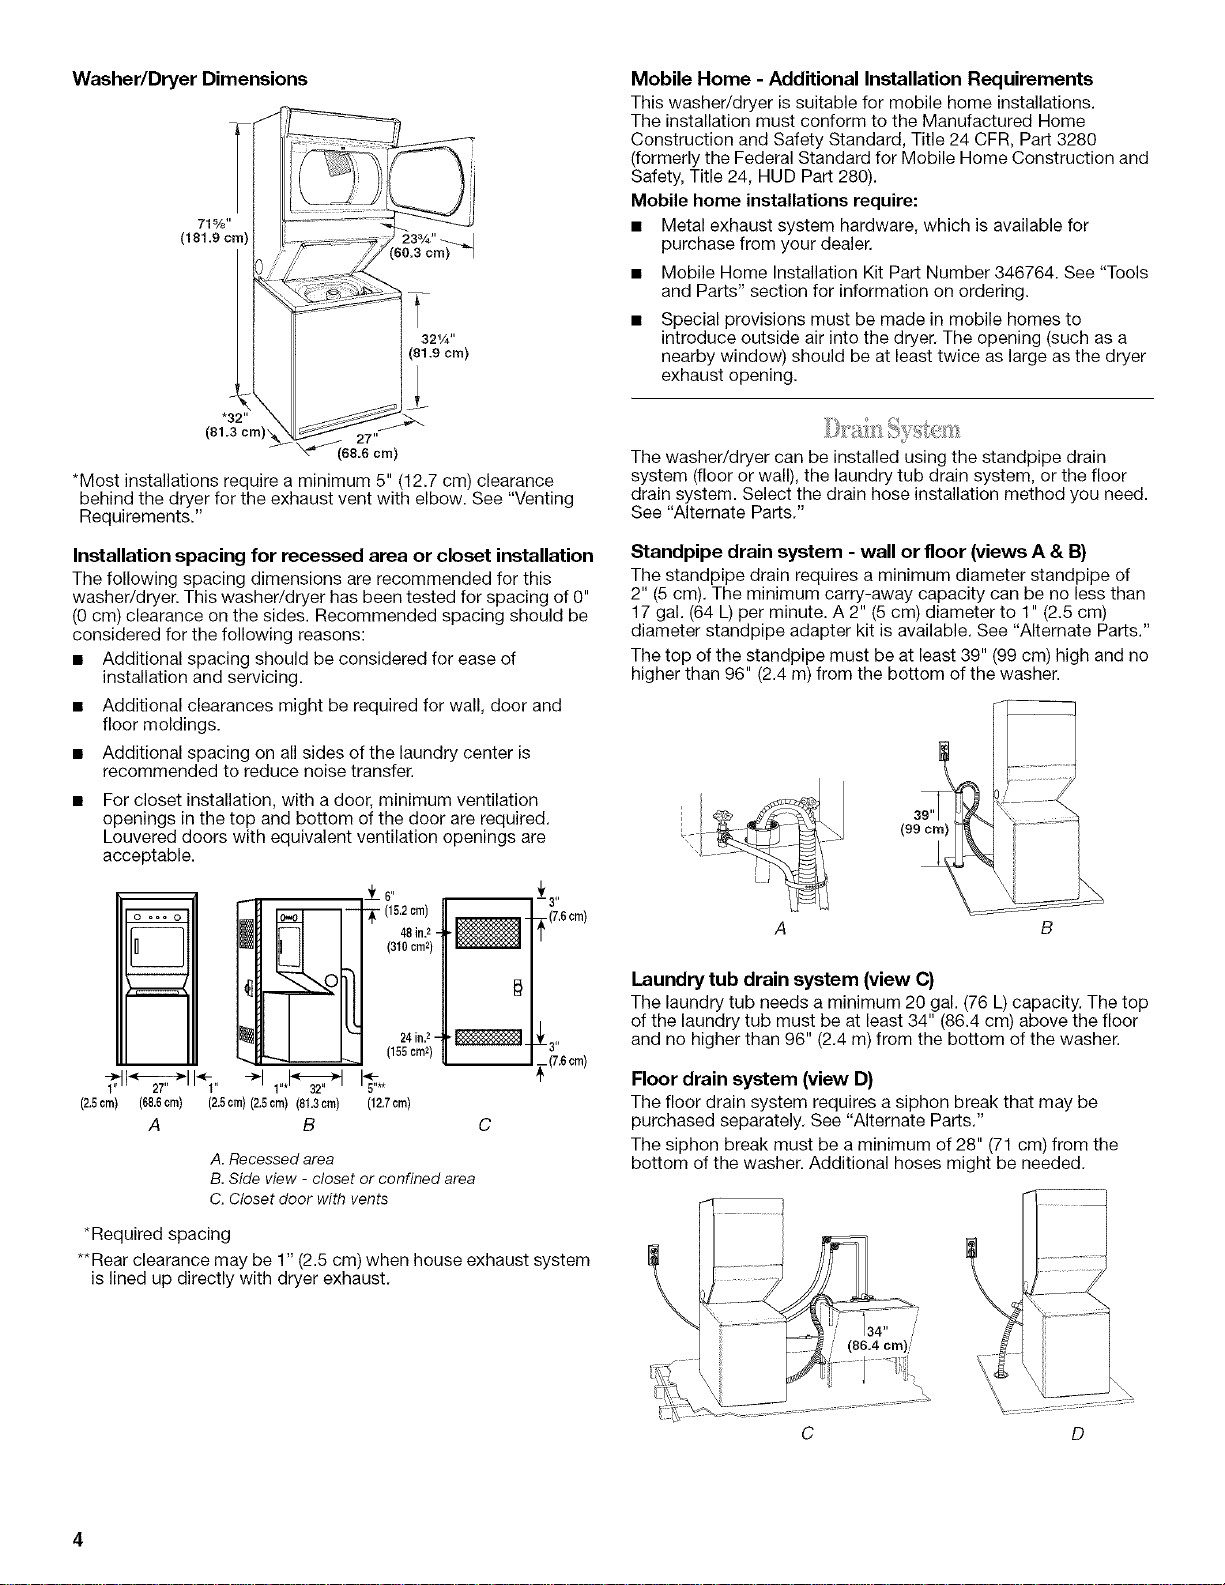
Washer/Dryer Dimensions
71%"
(181.9 cm)
*32"
(81.3 cm) 27"
(68.6 cm)
*Most installations require a minimum 5" (12.7 cm) clearance
behind the dryer for the exhaust vent with elbow. See "Venting
Requirements."
Mobile Home - Additional Installation Requirements
This washer/dryer is suitable for mobile home installations.
The installation must conform to the Manufactured Home
Construction and Safety Standard, Title 24 CFR, Part 3280
(formerly the Federal Standard for Mobile Home Construction and
Safety, Title 24, HUD Part 280).
Mobile home installations require:
• Metal exhaust system hardware, which is available for
purchase from your dealer.
• Mobile Home Installation Kit Part Number 346764. See "Tools
and Parts" section for information on ordering.
• Special provisions must be made in mobile homes to
introduce outside air into the dryer. The opening (such as a
nearby window) should be at least twice as large as the dryer
exhaust opening.
The washer/dryer can be installed using the standpipe drain
system (floor or wall), the laundry tub drain system, or the floor
drain system. Select the drain hose installation method you need.
See "Alternate Parts."
Installation spacing for recessed area or closet installation
The following spacing dimensions are recommended for this
washer/dryer. This washer/dryer has been tested for spacing of 0"
(0 cm) clearance on the sides. Recommended spacing should be
considered for the following reasons:
• Additional spacing should be considered for ease of
installation and servicing.
• Additional clearances might be required for wall, door and
floor moldings.
• Additional spacing on all sides of the laundry center is
recommended to reduce noise transfer.
For closet installation, with a door, minimum ventilation
openings in the top and bottom of the door are required.
Louvered doors with equivalent ventilation openings are
acceptable.
!6 _
o --oO
II I
m
(16.2cr.)|
¥
(310cm2)/
(166crn2)|
46in.2
24in,2
]
(7,6 cm)
.(7,6crn)
_127,H, I1_,,
(66,6orn)
(2,6cm)
(2.5crn)(2.6crn) (81.3era) (12,7cm)
A
A. Recessed area
B. Side view - closet or confined area
C. Closet door with vents
B C
Standpipe drain system - wall or floor (views A & B)
The standpipe drain requires a minimum diameter standpipe of
2" (5 cm). The minimum carry-away capacity can be no less than
17 gal. (64 L) per minute. A 2" (5 cm) diameter to 1" (2.5 cm)
diameter standpipe adapter kit is available. See "Alternate Parts."
The top of the standpipe must be at least 39" (99 cm) high and no
higher than 96" (2.4 m) from the bottom of the washer.
A B
Laundry tub drain system (view (3}
The laundry tub needs a minimum 20 gal. (76 L) capacity. The top
of the laundry tub must be at least 34" (86.4 cm) above the floor
and no higher than 96" (2.4 m) from the bottom of the washer.
Floor drain system (view D)
The floor drain system requires a siphon break that may be
purchased separately. See "Alternate Parts."
The siphon break must be a minimum of 28" (71 cm) from the
bottom of the washer. Additional hoses might be needed.
*Required spacing
**Rear clearance may be 1" (2.5 cm) when house exhaust system
is lined up directly with dryer exhaust.
C
 Loading...