

Page 1

LPR 9028- LPR 9030 PRODUCT DESCRIPTION SHEET
GB
To p
shelf
Bottom
shelf
To p
shelf
Bottom
shelf
ACCESSORIES
•
Grid
To p O v e n
1. Control panel
2. Top oven cooling fan* (not visible)
3. Top oven light
4. Top oven grill heating element
5. Top oven bottom heating element (not visible)
6. Top oven door hinges
7. Top oven door
Lower Oven:
8. Lower oven cooling fan
9. Lower oven light
10. Lower oven round heating element (not visible)
11.Cavity fan (not visible)
12.Lower oven door hinges
13. Lower oven cool door
*N.B.:
The lower oven cooling fan switches on only when the oven
has reached a certain temperature. The top oven cooling fan start
immediately. After the oven switches off, the cooling fans may,
however, continue to run for a certain time to ensure proper cooling,
while the lower oven cooling fan switches off when the selector knob
turns off.
•
Grill pan set
LOWER OVEN FUNCTIONS TABLE
Function
0Oven OFF
LAMP
FAN/THERMO-VENTILATED
THAWING
TOP OVEN FUNCTIONS TABLE
Function Description of function
0Oven OFF
LAMP
STATIC
BOTTOM HEATING ELEMENT
Adjustable
temperature
- -
- To switch on the oven light.
50°C - 250°C
-
To switch on the oven light.
• To cook meat, fish and poultry in the oven.
• To finish cooking fruit or cheese cakes or to thicken sauce.
• To cook (without preheating) foods that require the same
cooking temperature on one or more shelves.
• Ideal for thawing frozen food at room temperature.
• The food should be placed in the oven in its wrapping to
prevent it from drying out.
Description of function
Lower Oven:
1. Function selector knob
2. Programmer
3. Thermostat knob
To p O v e n :
4. Grill knob ON
5. Thermostat knob
6. Function selector knob
7. Red thermostat led (For top oven)
! "
SINGLE GRILL
USING THE LOWER OVEN:
Please refer to the separate instructions for use of the electronic programmer
USING THE TOP OVEN:
#
$
%
Grill Function:
Grill :
Oven Light
Static
1.
2.
turn the grill knob (5) to the required grilling position.
: turn the function selector knob (7) to the required position.
and
Turn the function selector knob (7) to the required position.
Turn the thermostat knob (6) to the required temperature.
Bottom heating
function:
• To cook meat (smoked bacon, steaks, sausages, etc.) and to make toast.
• Turn the food during grilling.
5019 610 56199
Page 2
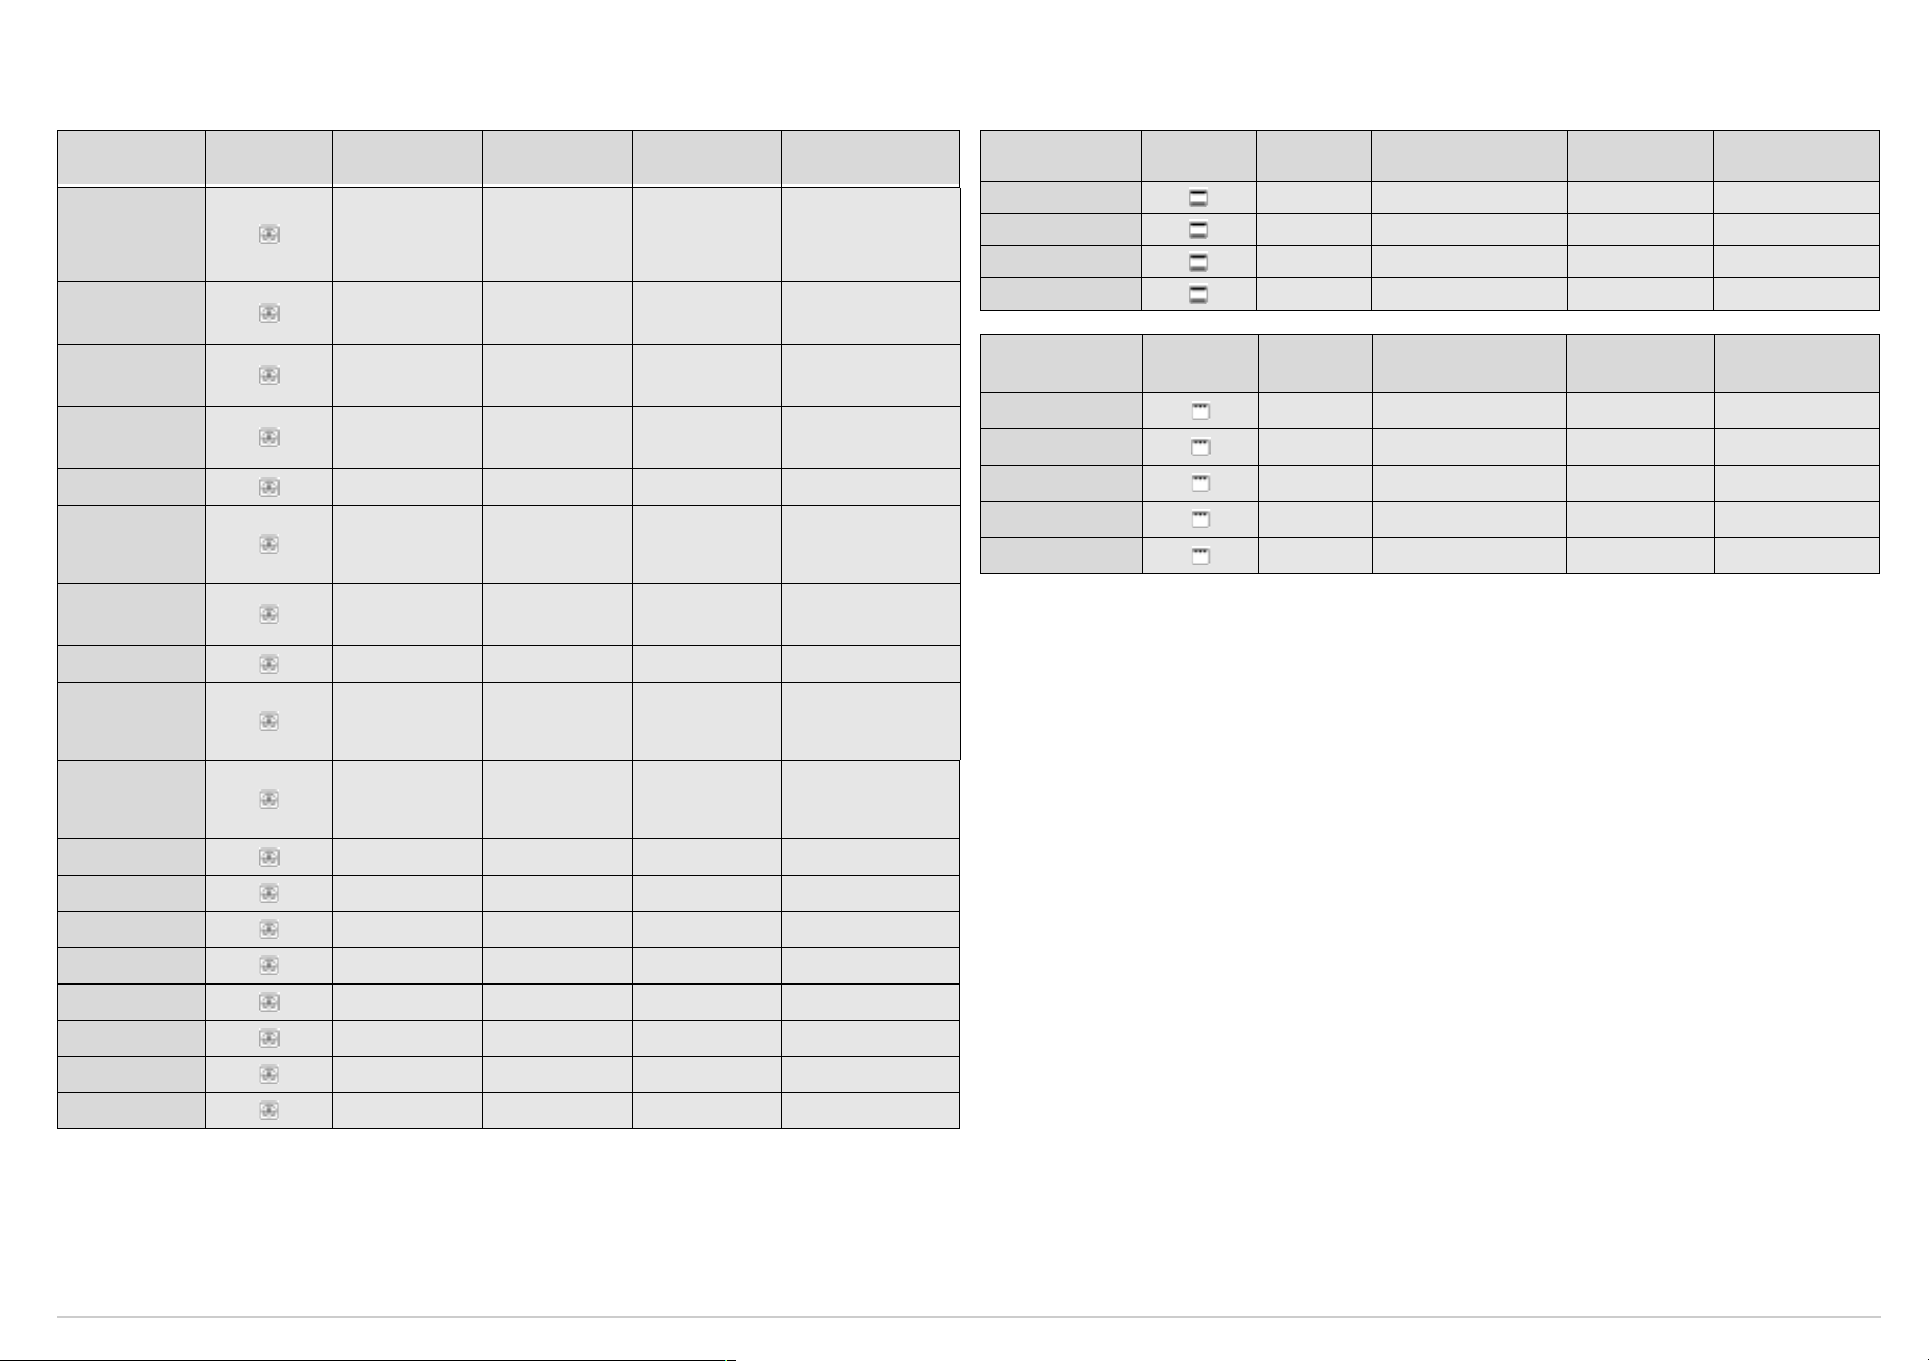
LOWER OVEN FOOD COOKING TABLES
TOP OVEN FOOD COOKING TABLES
FOOD Function Preheating
MEAT
Lamb,
Kid,
Mutton
(kg. 1)
Roast
(Veal, Pork, Beef)
(kg. 1)
Chicken,
Rabbit,
Duck
Tu rkey (k g . 6 ) +
level. 3
browning
Goose (2 Kg) - 2 190 90 - 110
FISH (WHOLE)
(1-2 kg)
Gilt-head, Bass, Tuna,
Salmon, Trout
VEGETABLES
Stuffed
tomatos/peppers
Baked potatoes - 2 190 45 - 50
Raw vegetables au
gratin (e.g. Fennel,
Cabbage, Asparagus,
Celery)
SWEETS,
PASTRIES, ETC.
Raising cakes
(sponges)
Ta rt s - 2 180 35 - 45
- 2 190 75 - 95
- 2 190 70 - 90
- 2 190 60 - 80
- 1 190 170 - 180
- 2 190 40 - 60
- 2 200 50 - 60
- 2 200 50 - 60
- 3 160 35 - 45
Shelf (from the
bottom)
Te m p e r a t u r e
(°C)
Cooking time
(min. approx.)
FOOD Function Preheating
Scones X 1 200 20-25
Victoria Sandwich cake X 1 170 20-30
Small cakes X 1 160 20-30
Rich fruit cake X 1 150 100-110
FOOD Function
To a s t s X 2 Pan set 4 1-3
Pork chops X 1/2 Pan set 4 30-35
Spits X 1/2 Pan set 4 35-40
Bacon rasher X 1/2 Pan set 4 5-10
Sausages X 1/2 Pan set 4 15-20
N.B.:
Cooking times and temperatures are given merely as a guide.
Preheating
(5 minutes)
Shelf (from the
bottom)
Shelf (from the
bottom)
Te m p e r a t u r e
(°C)
Power level
Cooking Time
(min. approx.)
Cooking Time
(min. approx.)
Rich fruit cake - 2 160 100 - 110
Biscuits - 1 - 3 160 25 - 35
Cream puffs - 1 - 3 180 40 - 50
Savoury Pies - 3 190 45 - 55
Lasagne - 2 200 45 - 55
Meringues - 1 - 3 80 150 - 180
Vol -au -vent s X 1 - 3 200 20 - 25
Page 3
GB
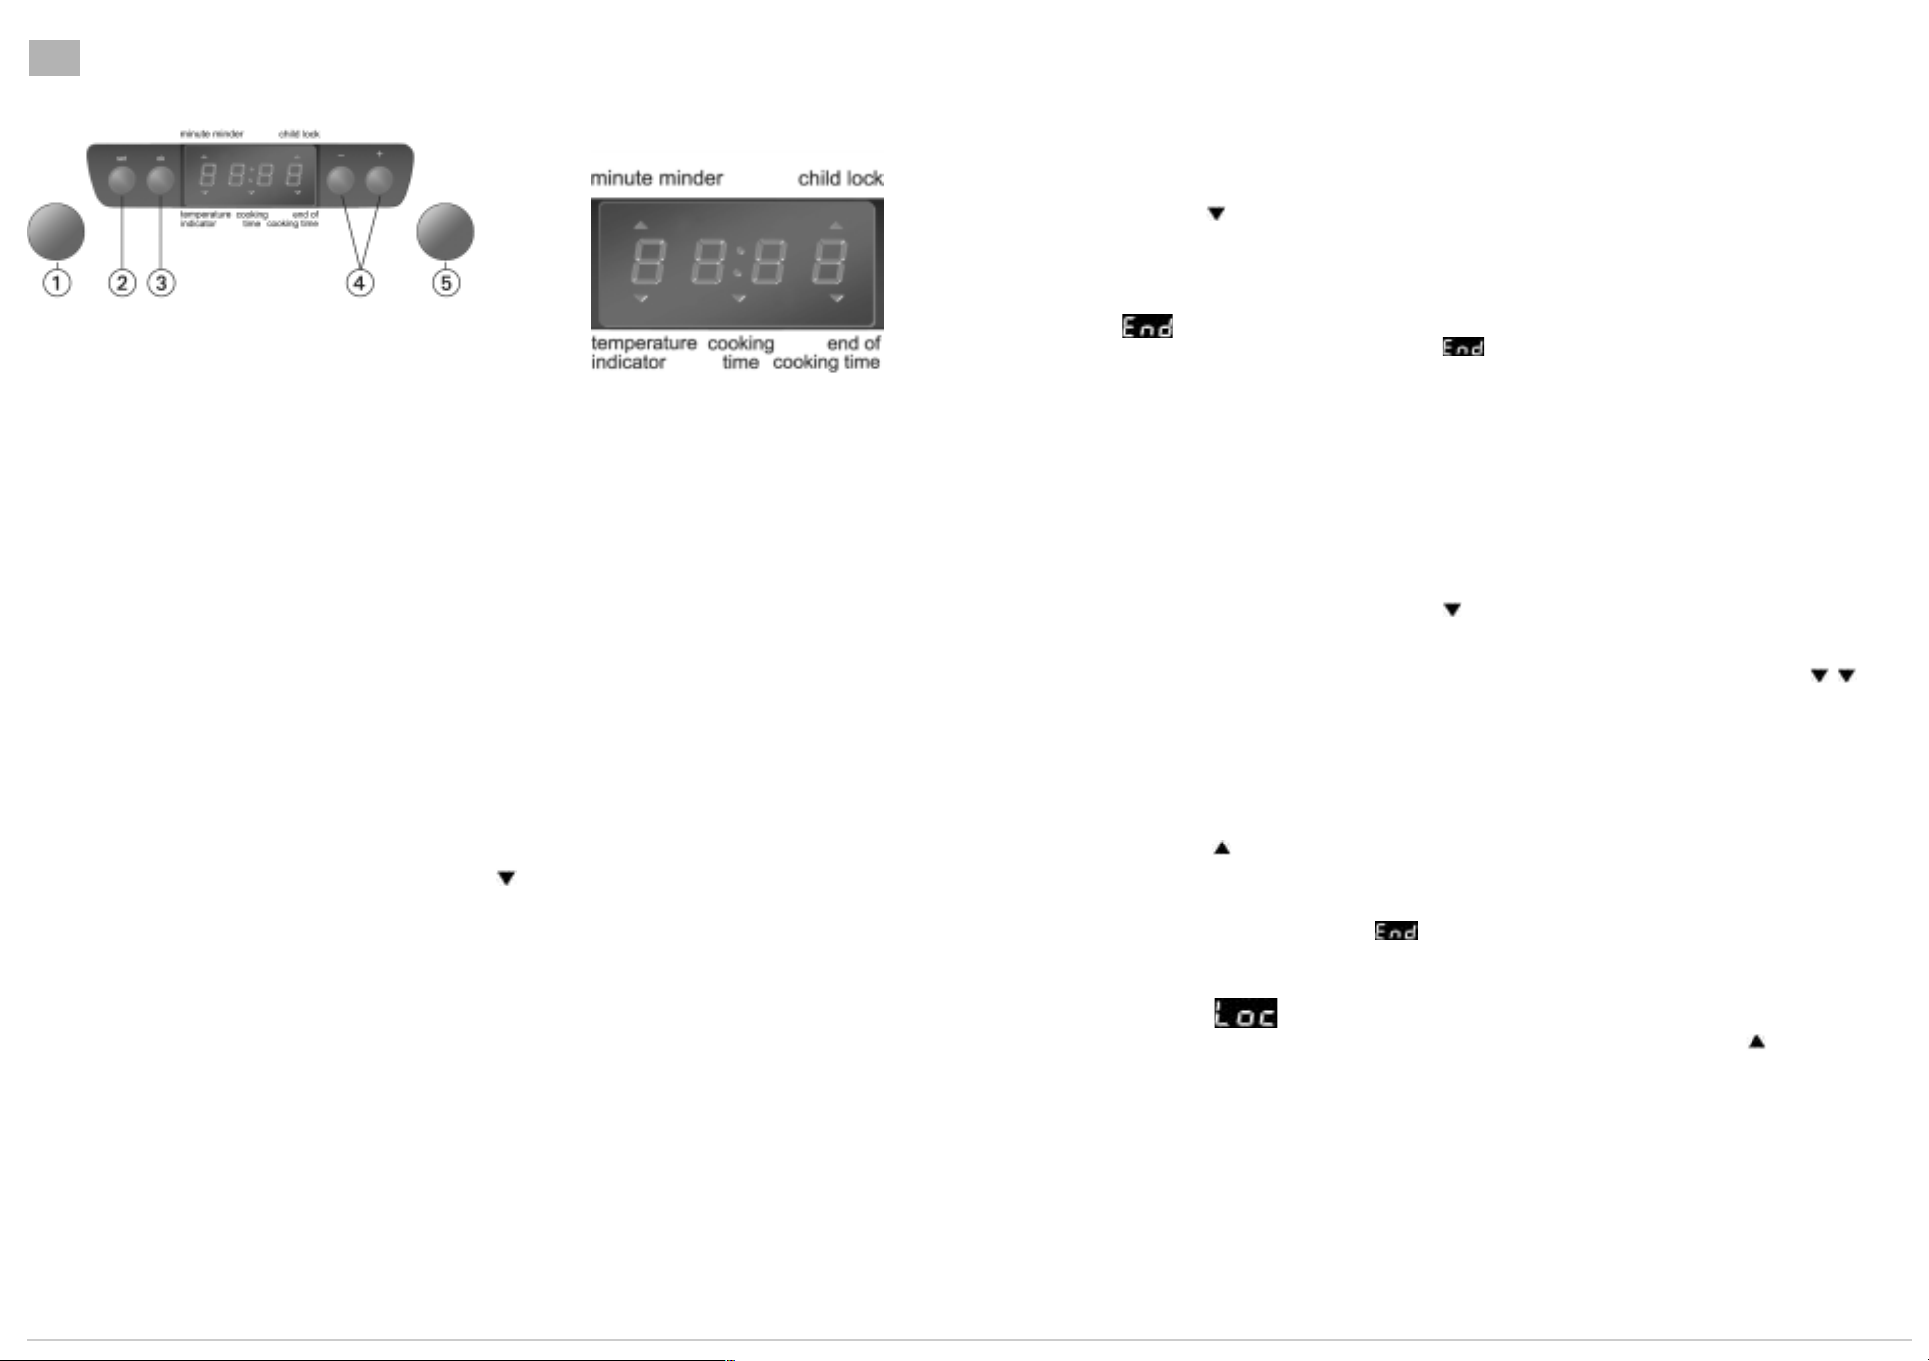
INSTRUCTIONS FOR USING THE ELECTRONIC TIMER
Electronic timer
Display
Function selector knob
Setting button: (“set”)
Confirmation button (“ok”)
!
- +
Buttons for changing time
"
Thermostat knob
#
(
)
Starting the oven
When the oven is connected to the power supply for the first time, or reconnected after a power failure, the display indicates
12.00
”.
“
Selecting and changing the clock time:
1. Press “ok”. The time of day flashes on the display.
“-”
“-”
or
or
“+”
“+”
to set the hour.
to set the minutes.
2. Press button
3. Press “ok” and
4. Press “ok” to confirm.
To change the time:
Press and hold “ok” for 2 seconds. until the time flashes on the display. Repeat the steps described above.
Selecting the cooking function:
1.
Tu rn kn o b to the chosen function.
2.
Tu rn kn o b # to select the temperature.
3. Press “ok” to confirm; the oven will switch on. The indicator above “Temperature indicator” switches off when the
selected temperature is reached.
To change the temperature:
1.
Tu rn kn o b # and select the desired temperature.
Important notes:
“0”
To cancel any selection, turn knob
selected functions.
to
. Alternatively, press “ok” to switch the oven off, maintaining the previously
Selecting the cooking time:
Select the cooking time (available with any function, except for the special functions) to turn the oven on for a set time, after
which the oven will switch off automatically. The maximum programmed cooking time is 6 hours.
1. Set the function and the temperature (see chapter: “Selecting the cooking function”) up to point 2 without confirming by
pressing “ok”.
2. Press “set” (the indicator above “Cooking time” lights up) and, within 8 minutes, select the required cooking time using
“-”
buttons
3. Confirm the selection by pressing “ok”; the oven switches on and the display shows the remaining cooking time.
4.
To change the previous temperature setting, turn knob
To return to the remaining cooking time, wait 5 seconds.
Appearance of on the display:
Once the set time has elapsed, an acoustic signal sounds and appears on the display.
The oven will switch off automatically.
To change the cooking time, use button
1.
Tu r n k n o b to “0”
The time of day appears again on the display.
To increase the cooking time, use button
or
“+”
.
#.
“-”
“+”
or
“-”
. Return to point 3 chapter “Selecting the cooking time”.
“+”
or
.
Selecting the end of cooking time
Using this function it is possible to preset the end of cooking time. The maximum programmed cooking time is 23 hours and
59 minutes.
1. Proceed as described in points 1 and 2 chapter “Selecting the cooking time”
2. Press set to set the end of cooking time: The indicator above End of cooking time lights up.
“-”
3. Set the end of cooking time using button
4. Press ok to confirm the end of cooking time.
The oven will turn on automatically at the end of cooking time minus cooking time: the indicators on the display above
Cooking time
End of cooking time
and
will light up.
or
“+”
.
Minute minder
The minute minder can only be set when the oven is not in use and allows a maximum setting of 6 hours.
To set the minute minder:
“-”
“0”
. The display shows the time of the day.
“+”
or
to set the desired time.
1.
Leave knob on
2. Press “set”. The indicator under “Minute minder” lights up.
Use buttons
3. Press “ok” to confirm the selection.
Once the set time has elapsed:
An acoustic signal sounds and flashes on the display .
Press “ok”: The acoustic signal stops. The time of day appears again on the display.
Childproof lock :
1.
With knobs and # set to “0”, press buttons “ok” and - at the same time for 3sec. the indicator under “Child lock”
lights up.
2. The oven functions will not operate while the childproof lock is activated.
3. To deactivate the lock, repeat the sequence described in point 1.
 Loading...