

Whirlpool LE7680XMW0, LG7681XMW0 Owner’s Manual
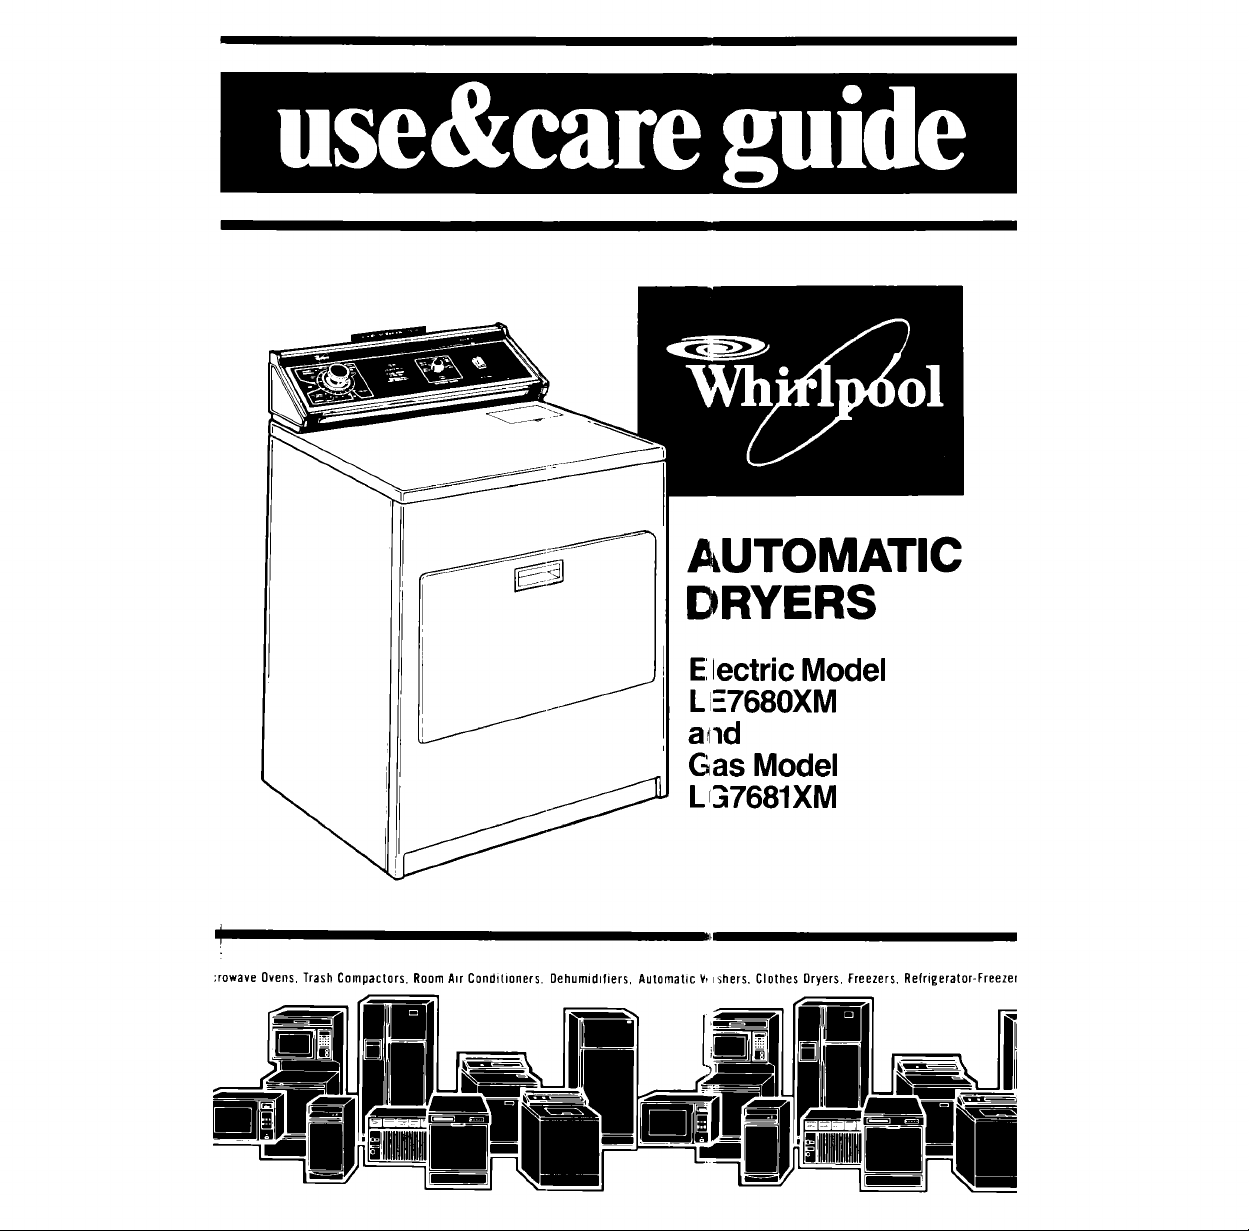
AUTOMATIC
DRYERS
E:lectric Model
LI-7680XM
a,11d
Gas Model
LI._7681XM
!
;rowave Ovens, Trash Compactors, Room A_r Conditioners. Oehumid=fiers, Automatic V, _shers, Clothes Oryers, Freezers, Refrigerator-Freezer

Parts and features
CYCLE CONTROL KNOB
I _ LAUNDRY
___ INFORMATION CENTER
__ _\ TEM PERATURESELECTOR
;_'""'"_"'-START BUTTON
_,,_w- _ LINT SCREEN
[_ " 1 DRYER DRUM
LOADING DOOR
MODEL
AND SERIAL
PLATE
Cop) )our Model and Serial Numbers here
When you need service or call with a
question, have this information ready
1. Complete Model and Serial Numbers
[from the plate located as shown/
2. Purchase date from salesslip
Copy this information in these spaces
Keep this book, your warranty, sales slip
and "Dryer Guide" in the Laundry Infor
marion Center on the back of the dryer Service Company and
console Telephone Number
There is no warranty registration to return Proof-of-purchase is all
that is required tar in-warranty service
Complete Model Number
Complete Serial Number
Purchase Date
Remove the Con-
sumer Buy Guide la-
bel before using
your dryer. It will be
easier to remove.
Wipe out the
dryer drum with a
damp cloth to re-
move dust from stor-
ing or shipping.
Contents Page
PARTSAND FEATURES........... 2
YOUR RESPONSIBILITIES......... 3
SAFETYFIRST................... 3
SELECTING A CYCLE AND
STARTINGYOUR DRYER ....... 4
OPERATING INSTRUCTIONS ..... 6
Automatic Cycles ........... 6
Timed Drying ............... 6
DRYING TIPS................... 7
FLUFFAIR Setting ............. 7
TUMBLEPRESS_Control ....... 7
Drying Times ................ 7
Mixed Loads ................ 7
c 1984 Whirlpool Corporation
End-of-Cycle Signal ......... 8
Page
LintSignal ................... 8
LINTSCREEN .................. 8
LINTREMOVAL ................. 9
CARING FORYOUR DRYER...... 10
Vacation Ca re .............. 10
IF YOU NEED SERVICE OR
ASSISTANCE ................. 11
I. Before Calling for
Assistance ................ 11
2, If You Need Assistance .... 11
3, If You Need Service ....... 11
4. IfYou Have a Problem ..... 11
Your
Responsibilities
Read this "Use and Care Guide"
and your "Dryer Guide" carefully for
important use and safety information.
You are personally responsible for
making sure that your dryer...
• isinstalledby a qualified installer.
• isproperly maintained,
• is installed in an area protected
from the weather.
• is properly installed and leveled in
a well ventilated room* on a floor
that can support the weight.
• is located in an area where the tem-
perature is above 45"F (7.2 C).
• is connected to the right kind of out-
let, electric supply and grounding."
• is properly connected to fuel and
exhaust systems.*
• is used only for jobs normally ex-
pected of home clothes dryers.
• is not run where there may be explo-
sive fumes.
• is not used by children or anyone
unable to operate it properly.
"See the "Installation Instructions" for
complete information.
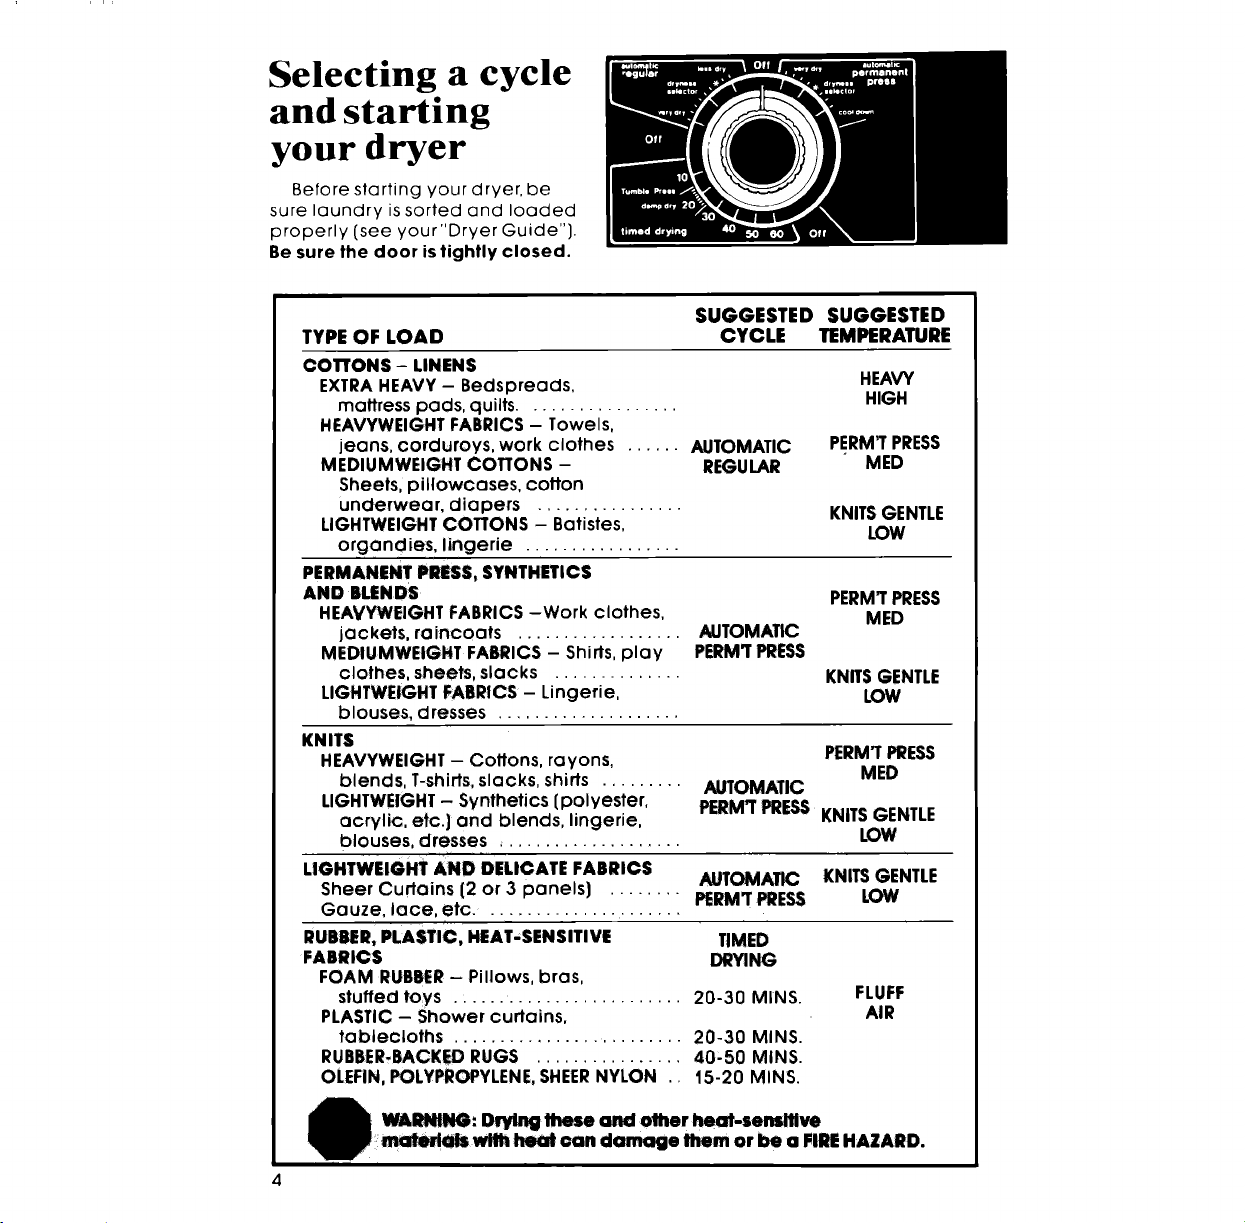
Selecting a cycle
and starting
your dryer
Before starting your dryer, be
sure laundry is sorted and loaded
properly [see your "Dryer Guide"].
Be sure the door is tightly closed.
SUGGESTED SUGGESTED
TYPE OF LOAD CYCLE TEMPERATURE
COTTONS - LINENS
EXTRA HEAVY - Bedspreads,
mattress pads, quilts.................
HEAVYWEIGHT FABRICS - Towels,
jeans, corduroys, work clothes ...... AUTOMATIC
MEDIUMWEIGHT COTTONS - REGULAR
Sheets, pillowcases, cotton
underwear, diapers ................
LIGHTWEIGHT COTTONS - Batistes,
organdies, lingerie .................
PERMANENT PRESS, SYNTHETICS
AND BLENDS
HEAVYWEIGHT FABRICS -Work clothes,
jackets, raincoats .................. AUTOMATIC
MEDIUMWEIGHT FABRICS - Shirts, play PERM'TPRESS
clothes, sheets, slacks ..............
LIGHTWE|GHT FABRICS- Lingerie,
blouses, dresses ....................
KNITS
HEAVYWEIGHT - Cottons, rayons,
blends, T-shirts, slacks, shirts .........
LIGHTWEIGHT - Synthetics [polyester,
acrylic, etc.)and blends, lingerie,
blouses, dresses ....................
LIGHTWEIGHT AND DELICATE FABRICS
Sheer Curtains(2 or 3 panels] AUTOMATIC
Gauze, lace, etc. .....................
RUBBER, PLASTIC, HEAT,SENSITIVE TIMED
FABRICS DRYING
FOAM RUBBER - Pillows, bras,
stuffed toys . : .... ................... 20-30 MINS.
PLASTIC - Shower curtains,
tablecloths ......................... 20-30 MINS.
RUBBER+BACKED RUGS ................ 40,50 MINS.
OLEFIN, POLYPROPYLENE, SHEERNYLON .. 15-20 MINS.
........ PERM'r PRESS
AUTOMATIC
PERM'TPRESSKNITSGENTLE
HEAVY
HIGH
PERM'TPRESS
MED
KNITSGENTLE
LOW
PERM'TPRESS
MED
KNITSGENTLE
LOW
PERM'[PRESS
MED
LOW
KNITSGENTLE
LOW
FLUFF
AIR
WARNING: Drvlngthese and onmr heat-sensltlve
_wtth heat can damage lhem or be a FIREHAZARD.
4
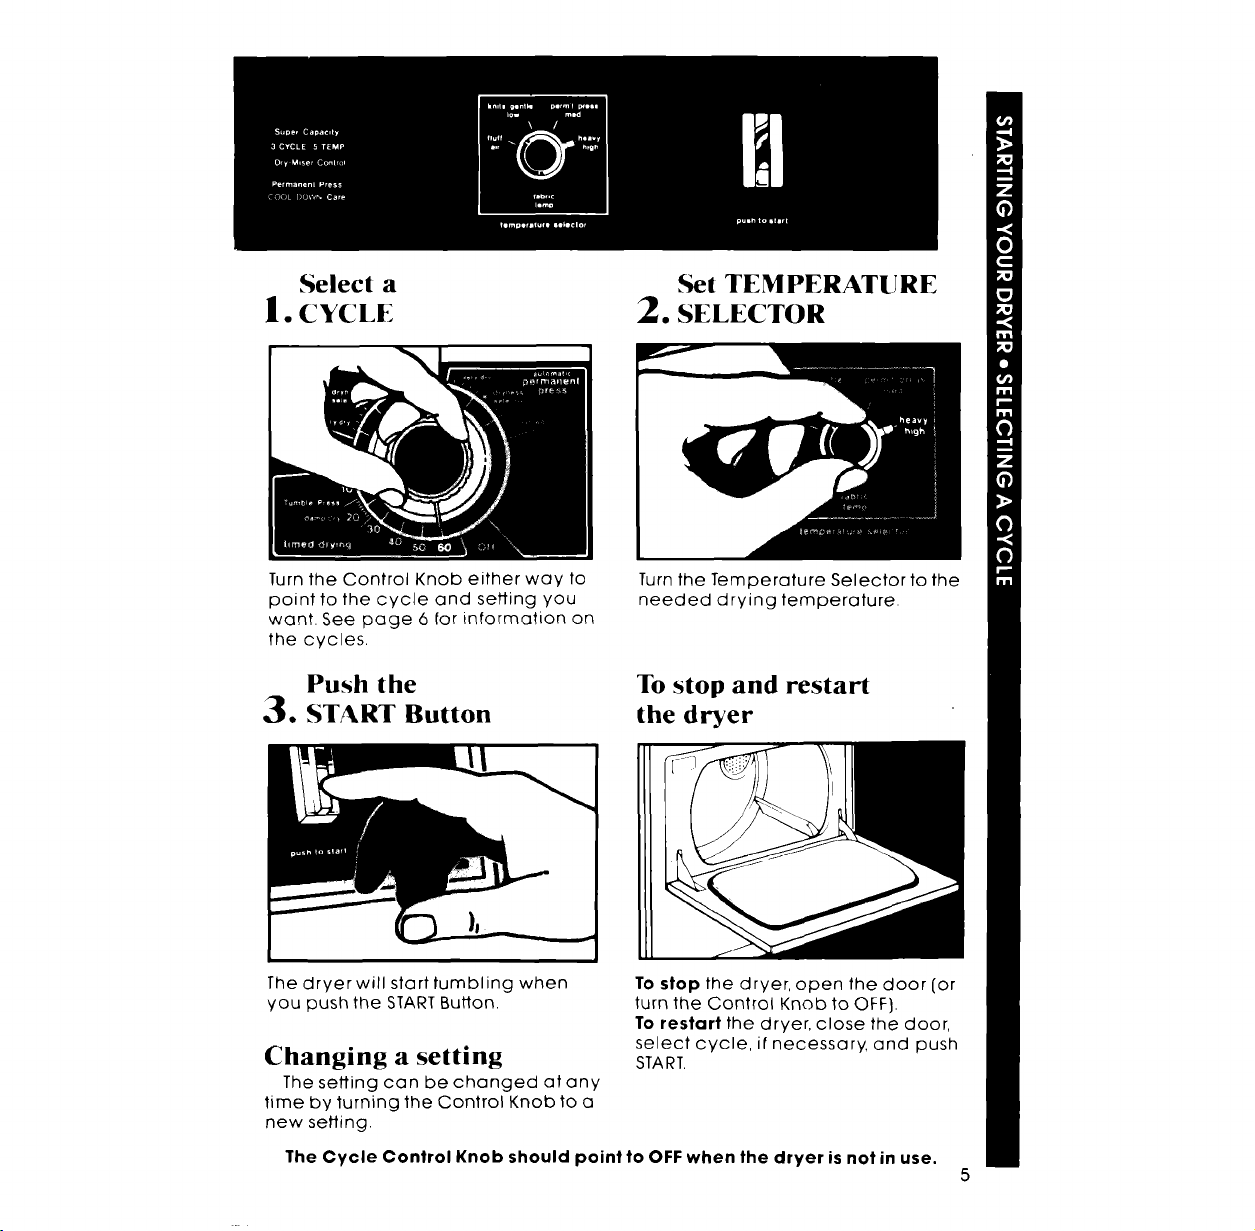
Select a
1. CYCLE
Set TEMPERATURE
2. SELECTOR
Turn the Control Knob either way to
point to the cycle and setting you
want. See page 6 for information on
the cycles.
Push the
3. START Button
The dryer will start tumbling when
you push the START Button.
Changing a setting
The setting can be changed at any
time by turning the Control Knob to a
new setting.
The Cycle Control Knob should point to OFF when the dryer is not in use.
Turn the Temperature Selector to the
needed drying temperature.
To stop and restart
the dryer
To stop the dryer, open the door [or
turn the Control Knob to OFF].
To restart the dryer, close the door,
select cycle, if necessary, and push
START.
5
Operating instructions
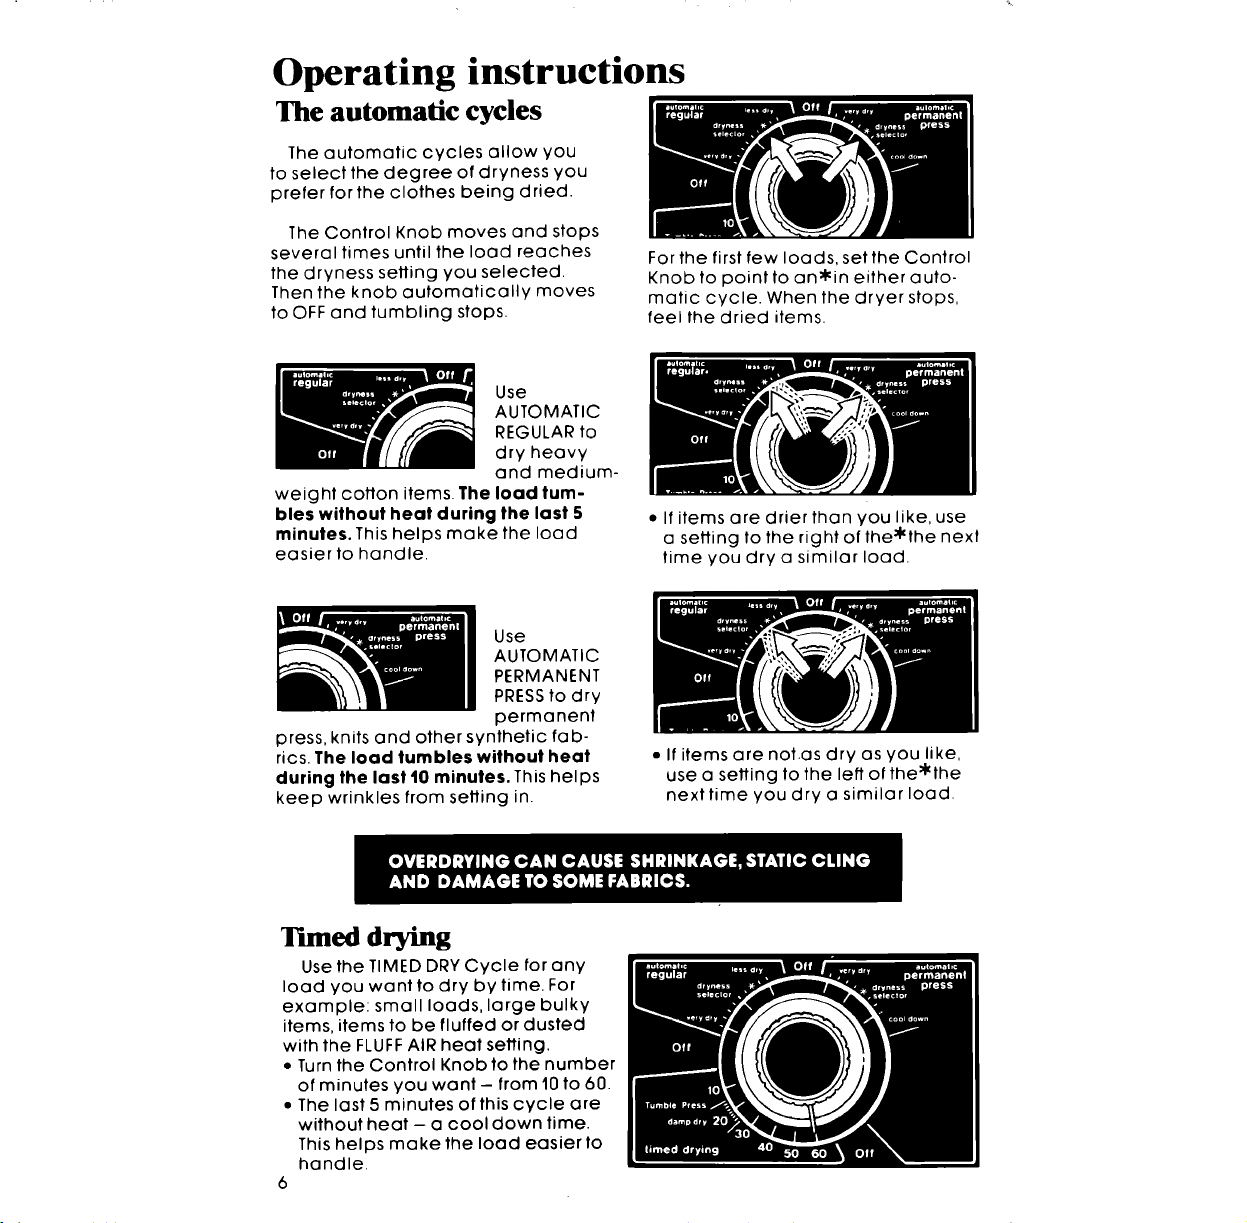
The automatic cycles
The automatic cycles allow you
to select the degree of dryness you
prefer for the clothes being dried.
The Control Knob moves and stops
several times until the load reaches
the dryness setting you selected.
Then the knob automatically moves
to OFF and tumbling stops.
Use
AUTOMATIC
REGULAR to
dry heavy
and medium-
weight cotton items, the load tum-
bles without heat during the last 5
minutes. This helps make the load
easier to handle.
Use
AUTOMATIC
PERMANENT
PRESSto dry
permanent
press, knits and other synthetic fab-
rics. The load tumbles without heat
during the last 10 minutes. This helps
keep wrinkles from setting in.
For the first few loads, set the Control
Knob to point to an*in either auto-
matic cycle. When the dryer stops,
feel the dried items.
• If items are drier than you like, use
a setting to the right of the*the next
time you dry a similar load.
• If items are not.as dry as you like,
use a setting to the left of the*the
next time you dry a similar load.
Timed drying
Use the TIMED DRY Cycle for any
load you want to dry by time. For
example: small loads, large bulky
items, items to be fluffed or dusted
with the FLUFF AIR heat setting.
• Turn the Control Knob to the number
of minutes you want- from 10 to 60.
• The last 5 minutes of this cycle are
without heat - a cool down time.
This helps make the load easier to
handle.
6
Drying
FLUFF A_
The dryer does not heat when the
Temperature Selector is set on FLUFF
AIR. This setting can be used to fluff
bedding, plastic tablecloths, foam
rubber pillows, stuffed toys, sneakers,
etc.
1. Turn the Temperature Selector to
FLUFFAIR.
2. Turn the Control Knob to the num-
ber of minutes you want in the
TIMED DRYING Cycle.
3. Push the START Button.
Drying times
Drying times will vary depending onl
• amount of moisture in the clothes.
• type and weight of the fabric.
• size of the load.
• room temperature around the
dryer.
• temperature of the wash rinse
water.
• amount of lint in the lint screen.
• dryer temperature selection.
See page 6 in your "Dryer Guide"
for more information,
Mixed loads
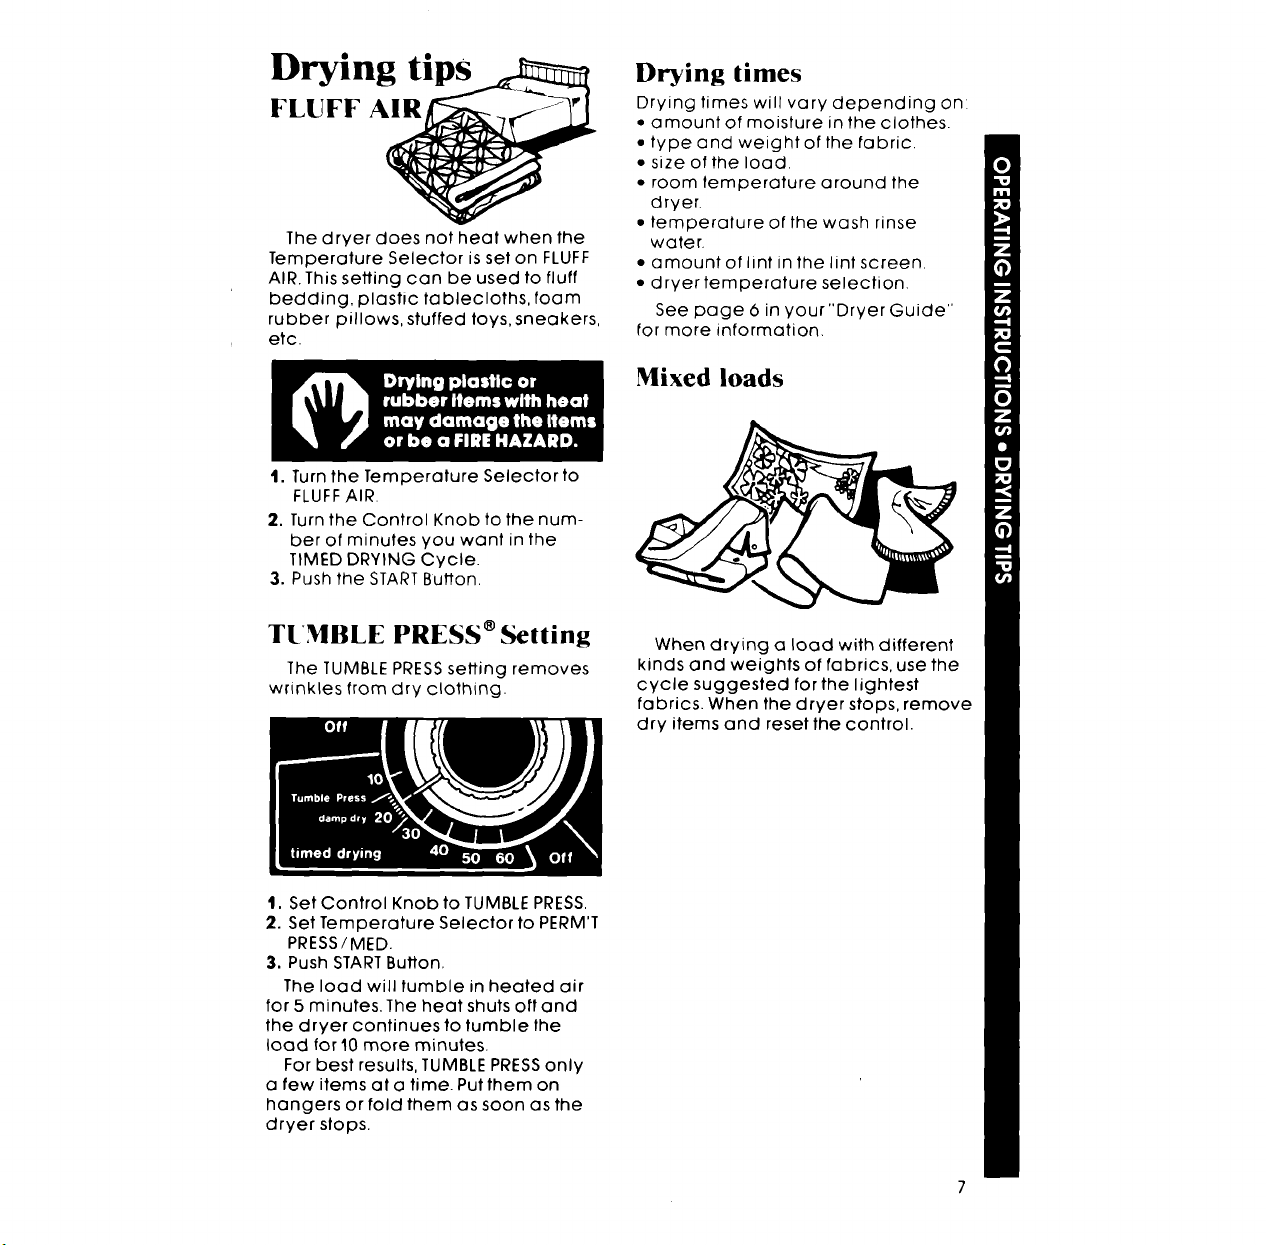
TUMBLE PRESS ®Setting
The TUMBLE PRESS setting removes
wrinkles from dry clothing.
t. Set Control Knob to TUMBLEPRESS,
2. Set Temperature Selector to PERM'T
PRESS/MED.
3. Push STARTButton,
The load will tumble in heated air
for 5 minutes. The heat shuts art and
the dryer continues to tumble the
load for 10more minutes.
For best results, TUMBLE PRESSonly
a few items at a time. Put them on
hangers or fold them as soon as the
dryer stops.
When drying a load with different
kinds and weights of fabrics, use the
cycle suggested for the lightest
fabrics. When the dryer stops, remove
dry items and reset the control.

End-of-cycle signal
The dryer sounds a signal to let you know
when the cycle is finished. The signal cannot be
turned off and is not adjustable.
The signal is helpful when you are drying
permanent press, synthetics and other items
that should be taken out as soon as the dryer
stops.
Lint signal
Ifyou neglect to clean your lint screen, the signal
will sound. The [whistle tone] signal lets you know
the air flow is being restricted. Restricted air flow
reduces drying efficiency.
Turn off the dryer and clean the lint screen as
shown below.
Lint screen
Clean the lint screen before each load. A screen blocked by lint can
increase drying time and may be a FIREHAZARD.
Open the lid and pull the lint screen
straight out.
dryer with the lint screen
t ARNING: DO NOT run the
heating, can damage fabrics and
can be a FIRE HAZARD.
loose, damaged or missing.
Doing so can cause over-
ROLL the lint off the screen
with your fingers.
DO NOT rinse or wash the screen.
Push the screen firmly back into
place.
 Loading...