

Whirlpool LE3005XP User Manual
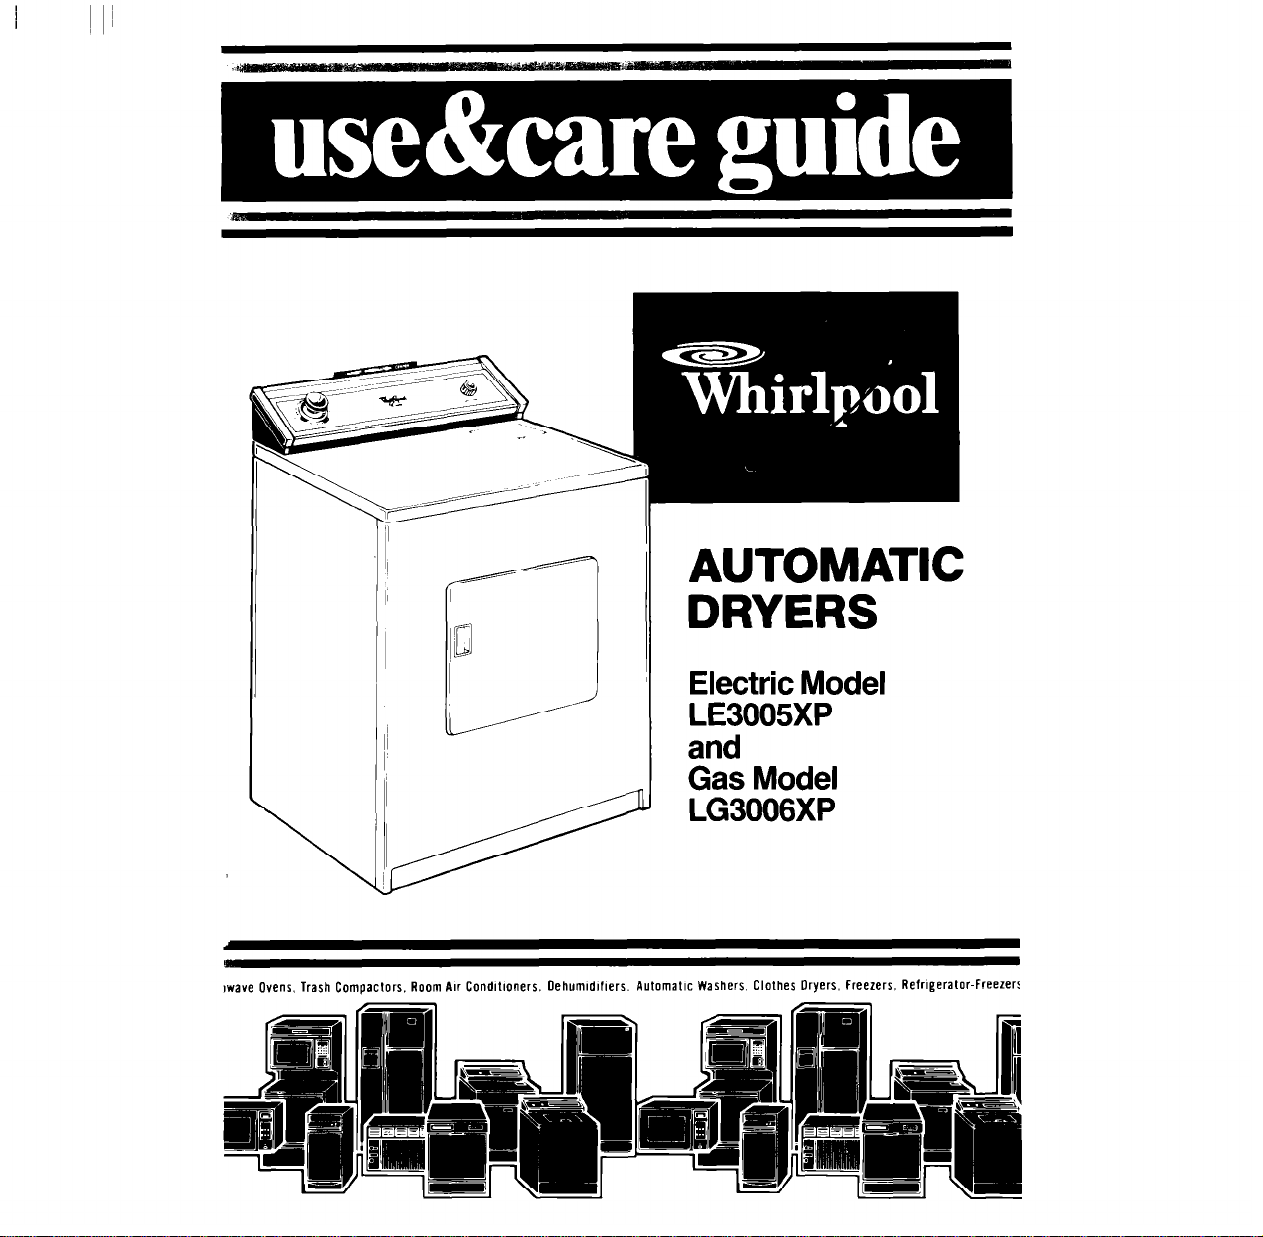
AUTOMATIC
DRYERS
Electric Model
LE3005XP
and
Gas Model
LG3006XP
wave Ovens, Trash Compaclors. Room AM Condllloners. Oehumldlflers. Automallc Washers, Clothes Dryers. Freezers, RefrlAeralor-Freezer:
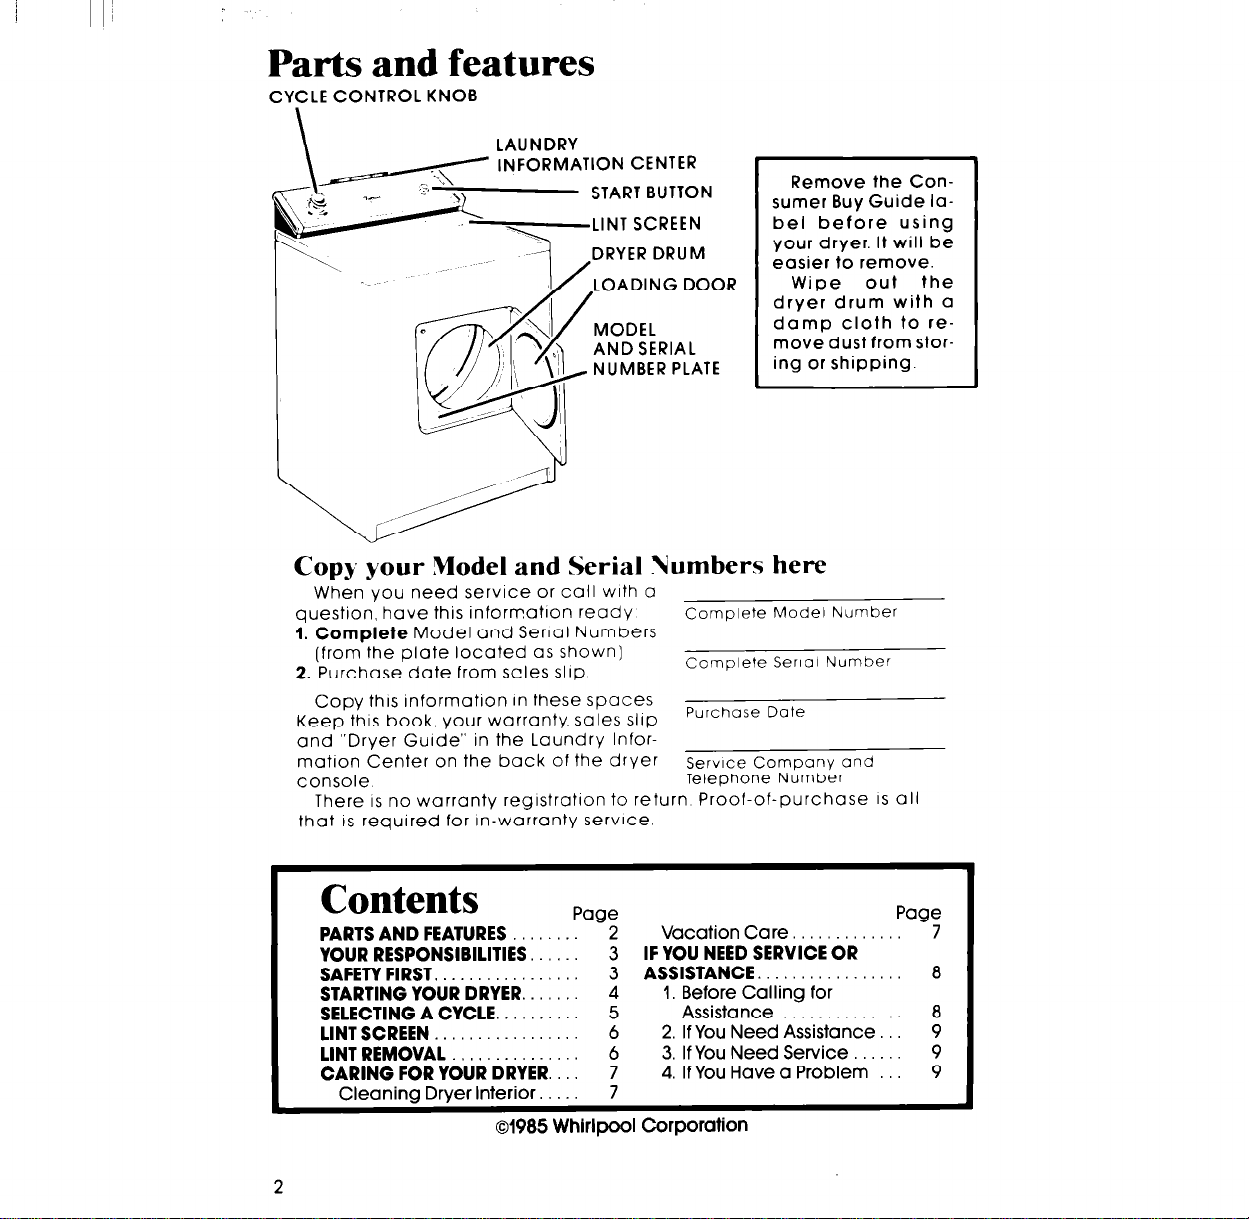
Parts and features
CYCLE CONTROL KNOB
LAUNDRY
INFORMATION CENTER
START BUTTON
LINT SCREEN
DRYER DRUM
LOADING DOOR
MODEL
AND SERIAL
NUMBER PLATE
Copy your Model and Serial Numbers here
When you need service or call wrth a
question, have this informatron ready
1. Complete
(from-the plate located as shown]
2. Purchase date from scles
Copy this information In these spaces
Keep this book, your warranty, sales
and “Dryer Guide” in the Laundry Informatron Center on the back of the dryer
console
There
that
IS
Model and Serral Numbers
slip
IS
no warranty regrstratron to return Proof-of-purchase
required for in-warranty service.
Complete
Complete Serial Number
Purchase Date
slop
Service Company and
Telephone Number
Remove the Consumer Buy Guide label before using
Your dryer. It will be
easier to remove.
IS
the
all
Wipe out
dryer drum with a
damp cloth to remove dust from storing or shipping.
Model Number
Contents
PARTS AND FEATURES
YOUR RESPONSIBILITIES.
SAFETY FIRST.
STARTING YOUR DRYER.
SELECTING A CYCLE.
LINT SCREEN
LINT REMOVAL
CARING FOR YOUR DRYER.
Cleaning Dryer Interior, 7
2
Page
2 Vacation Care.
3 IF YOU NEED SERVICE OR
3
ASSISTANCE.
4
I. Before Calling for
5
6 2. If You Need Assistance
6 3. If You Need Service
7 4. If You Have a Problem
Assistance
01985 Whirlpool Corporation
8
8
9
9
9
Your Responsibilities
Read this “Use and Care Guide”
and your “Dryer Guide” carefully for
important use and safety information.
You are personally responsible for
making sure that your dryer...
l
is installed by a qualified installer.
l
is properly maintained.
l
is installed in an area protected
from the weather.
9 is properly installed and leveled in
a well ventilated room’ on a floor
that can support the weight.
is located in an area where the temperature is above 45°F (7.2 C].
is connected to the right kind of outlet, electric supply and grounding:
is properly connected to fuel and
exhaust systems.’
is used only for jobs normally ex-
pected of home clothes dryers.
is not run where there may be explo-
sive fumes.
IS not used by children or anyone
unable to operate it properly.
the “Installation Instructions” f
complete information
l
FOR YOUR SAFETY
IF YOU SMELL
1. OPEN WINDOWS.
2. DON’T TOUCH ELECTRICAL SWITCHES.
3. EXTINGUISH ANY OPEN
FLAME.
4. IMMEDIATELY CALL
YOUR GAS SUPPLIER.
l
FOR YOUR SAFETY
DO NOT STORE OR
I
FLAMMABLE VAPORS AND
LIQUIDS IN THE VICINITY
OF THIS OR ANY OTHER
APPLIANCE.
I
GAS:
l
l
USE
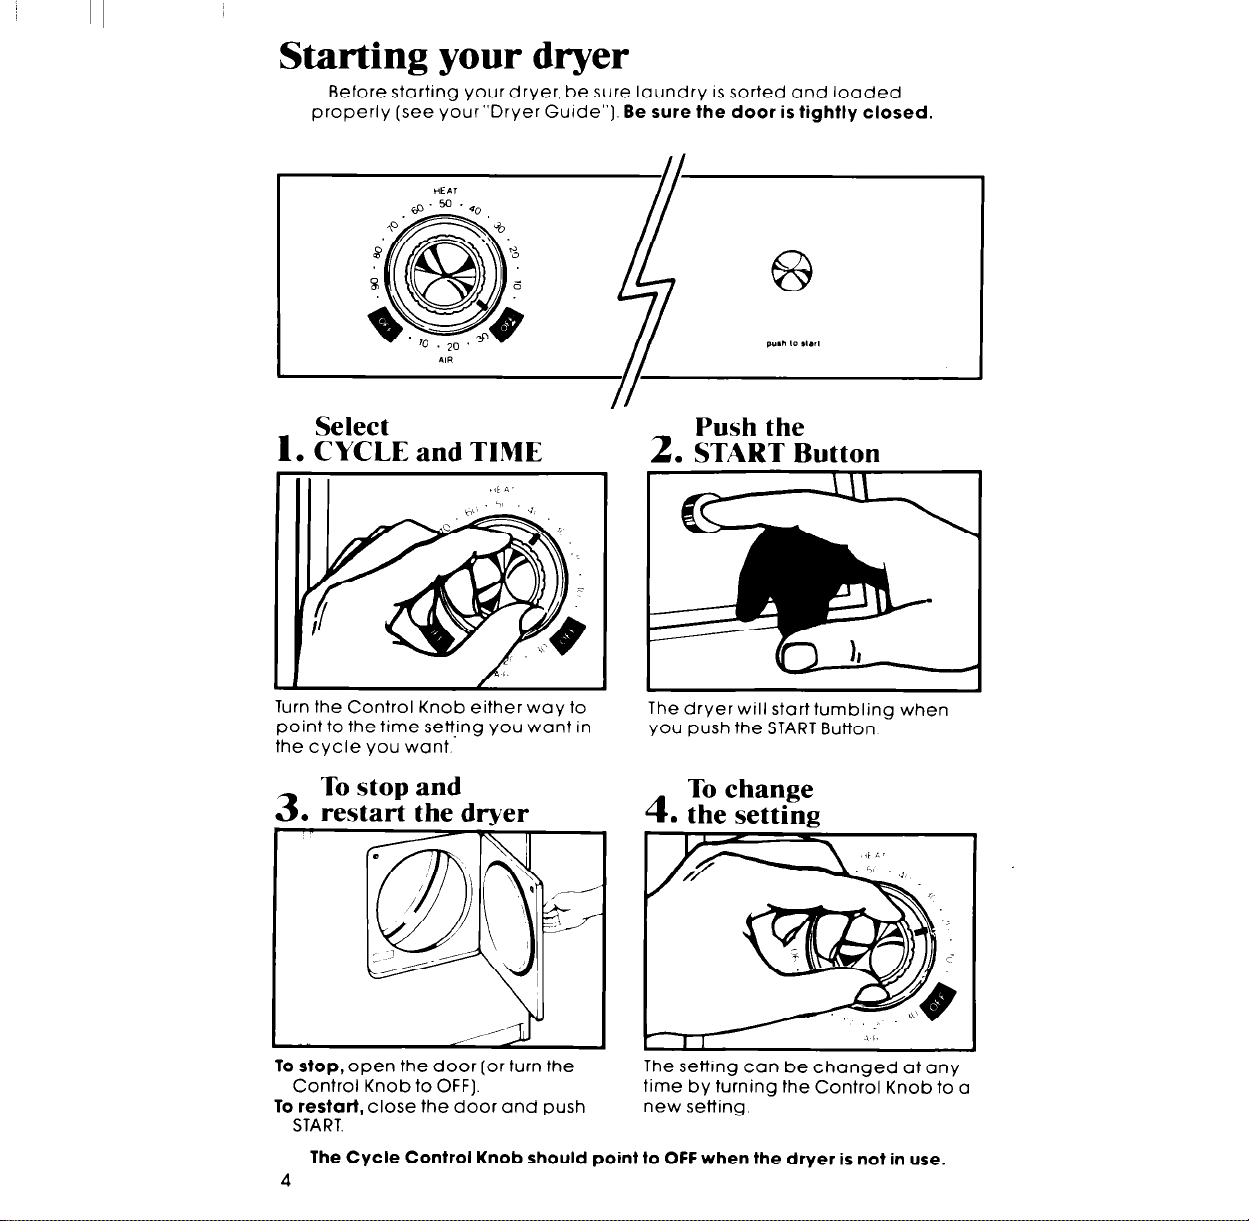
Starting your dryer
Before starting your dryer, be sure laundry IS sorted and loaded
properly (see your”Dryer Guide”). Be sure the door is tightly closed.
1. ?i!%E and TIME
Turn the Control Knob either way to
point to the time setting you want in
the cycle you want.
The dryer will start tumbling when
you push the START Button
To stop and
3. restart the dryer
To stop, open the door (or turn the
Control Knob to OFF].
To restart, close the door and push
START.
The Cycle Control Knob should point to OFF when the dryer is not in use.
4
The settrng can be changed at any
time by turning the Control Knob to a
new setting
 Loading...