


use&care guide
Whirlpool
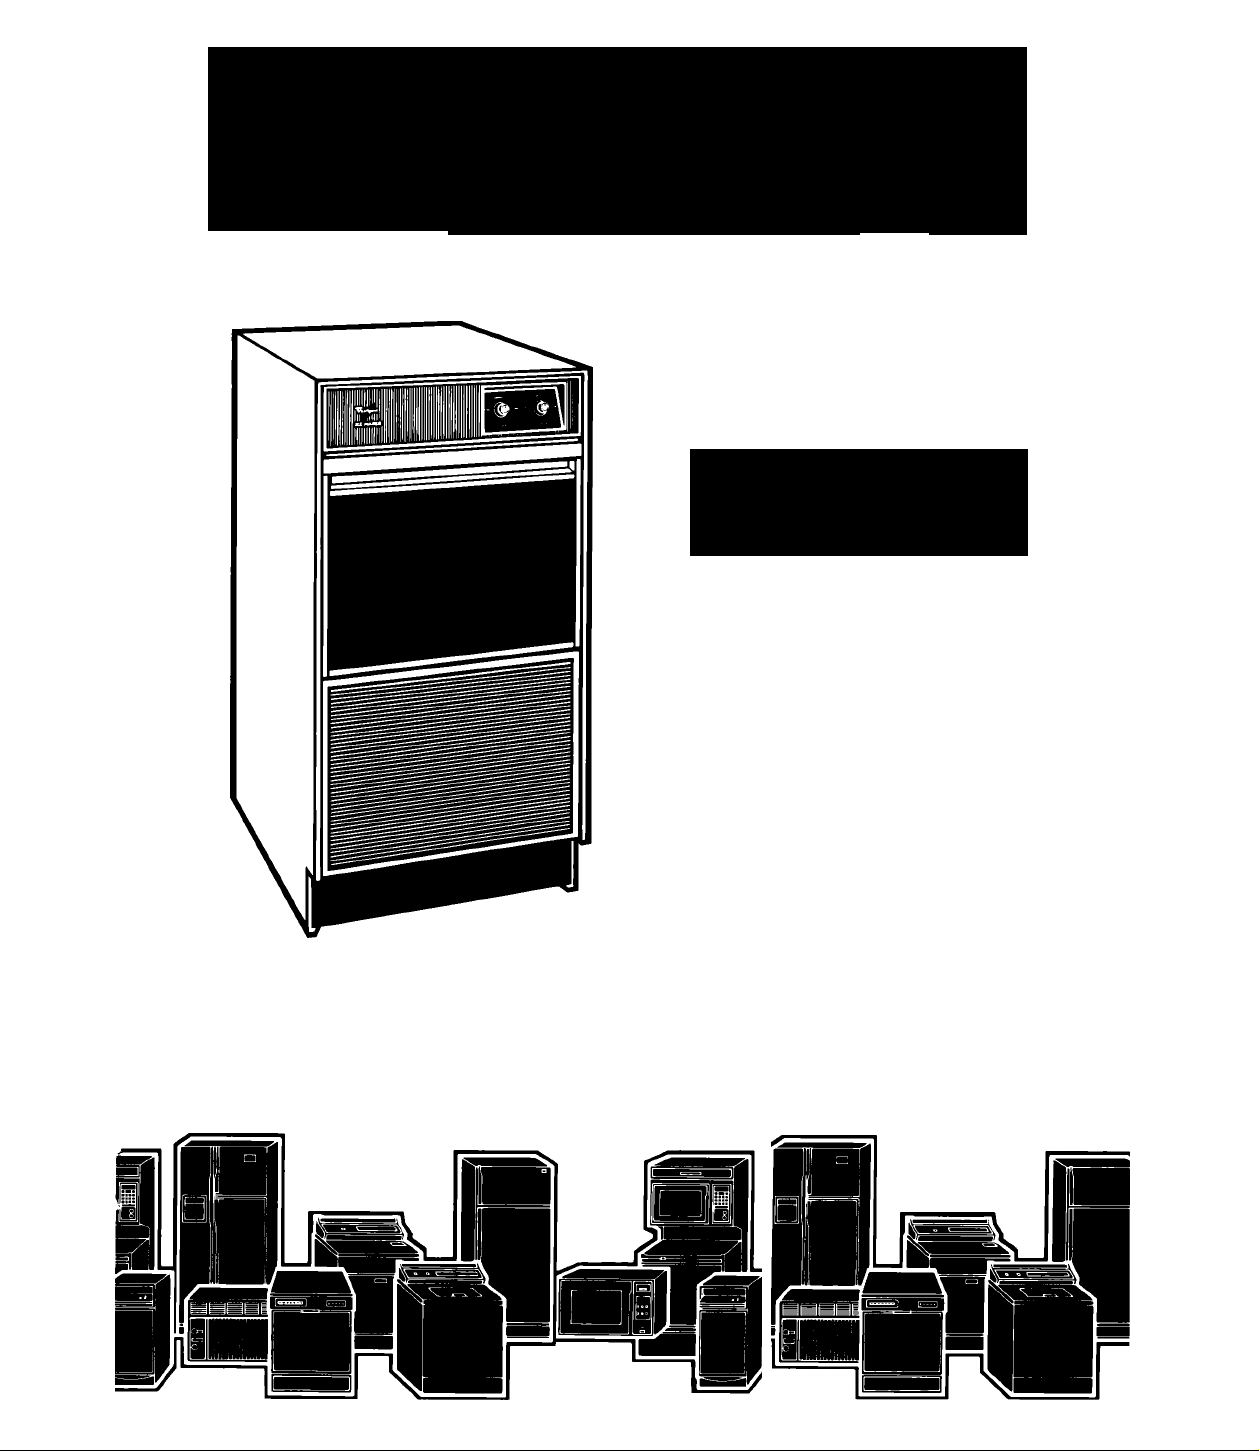
AUTOMATIC
ICE MAKER
Model EC5100XP
!. Freezers. Refrigerator-Freezers. Ice Makers. Dishwashers. Built-In Ovens and Surface Units. Ranges. Microwave Ovens. Trash Compactors. Room Air Conditioners. Dehumidifier:

Please read this
Use and Care Guide
before you do anything else...
This booklet tells you how to use and clean your
ice maker.
Treat your ice maker with care, use it only to do
what ice makers are designed to do.
Parts and features
ICE THICKNESS
CONTROL
CONTROL
BIN
MODEL AND SERIAL
NUMBER PLATE
(not Shown)
ICE RETAINER
BAFFLE
GRILLE
Copy your Model and Serial Numbers here...
When you need servic«, or coll with n qi ip.<:-
tion, have this information ready;
1. Complete Model and Serial Numbers (from
the plate located as shown).
2. Purchase date from sales slip.
Copy this information in these spaces. Keep
this book, your warranty and sales slip together
in a handy place. There is no warranty regis
tration to return. Proof-of-purchase is all that is
required for in-warranty service.
Model Number
Serial Number
Purchase Date
Service Company and Telephone Number
SCOOP

Contents
BEFORE YOU PLUG IT IN
USING YOUR ICE MAKER
Howthe Ice Maker Works
Setting the Controls........................ 4
Changing the Bin Door Panel ............. 5
CLEANING AND CARING FOR YOUR
ICE MAKER..................................................... 6
Cleaning Exterior Surfaces
Cleaning the Condenser
......................
......................
..................
................
...................
©1985 Whirlpool Corporation
Before you plug it in
IMPORTANT
Before using your ice maker, you are
personally responsible for making sure that it...
• has been installed where it is protected from
the elements.
• is located so that the front is not blocked to
restrict incoming or discharge air flow.
• is properly leveled.
• is located in a well ventilated area with
temperatures above 55°F (13°C) and below
110°F (43°C). Best results are obtained
at temperatures between 70°F (21°C)
and 90°F (32°C).
3
4
4
6
6
Cleaning the Ice Maker System
Cleaning the Interior Components.. 8
Filtering and Treating Water
VACATION AND MOVING CARE
IF YOU NEED SERVICE OR ASSISTANCE 10
1. Before Calling for Assistance
2. If You Need Assistance
3. If You Need Service
4. If You Have a Problem
• is properly connected to a water supply and
drain.
• is properly connected to electricity. A115
Volt, 60 Hz., 15 amp fused electrical supply is
required. NOTE: Time delay fuse or circuit
breaker is recommended.
• is properly electrically grounded.
• is not operated by anyone unable to use
if properly.
• is used only for the job it was designed to
perform.
• is properly maintained.
.................
........
...........
.............
..............
.......
......
Page
7
9
9
10
11
11
11
Using your ice maker
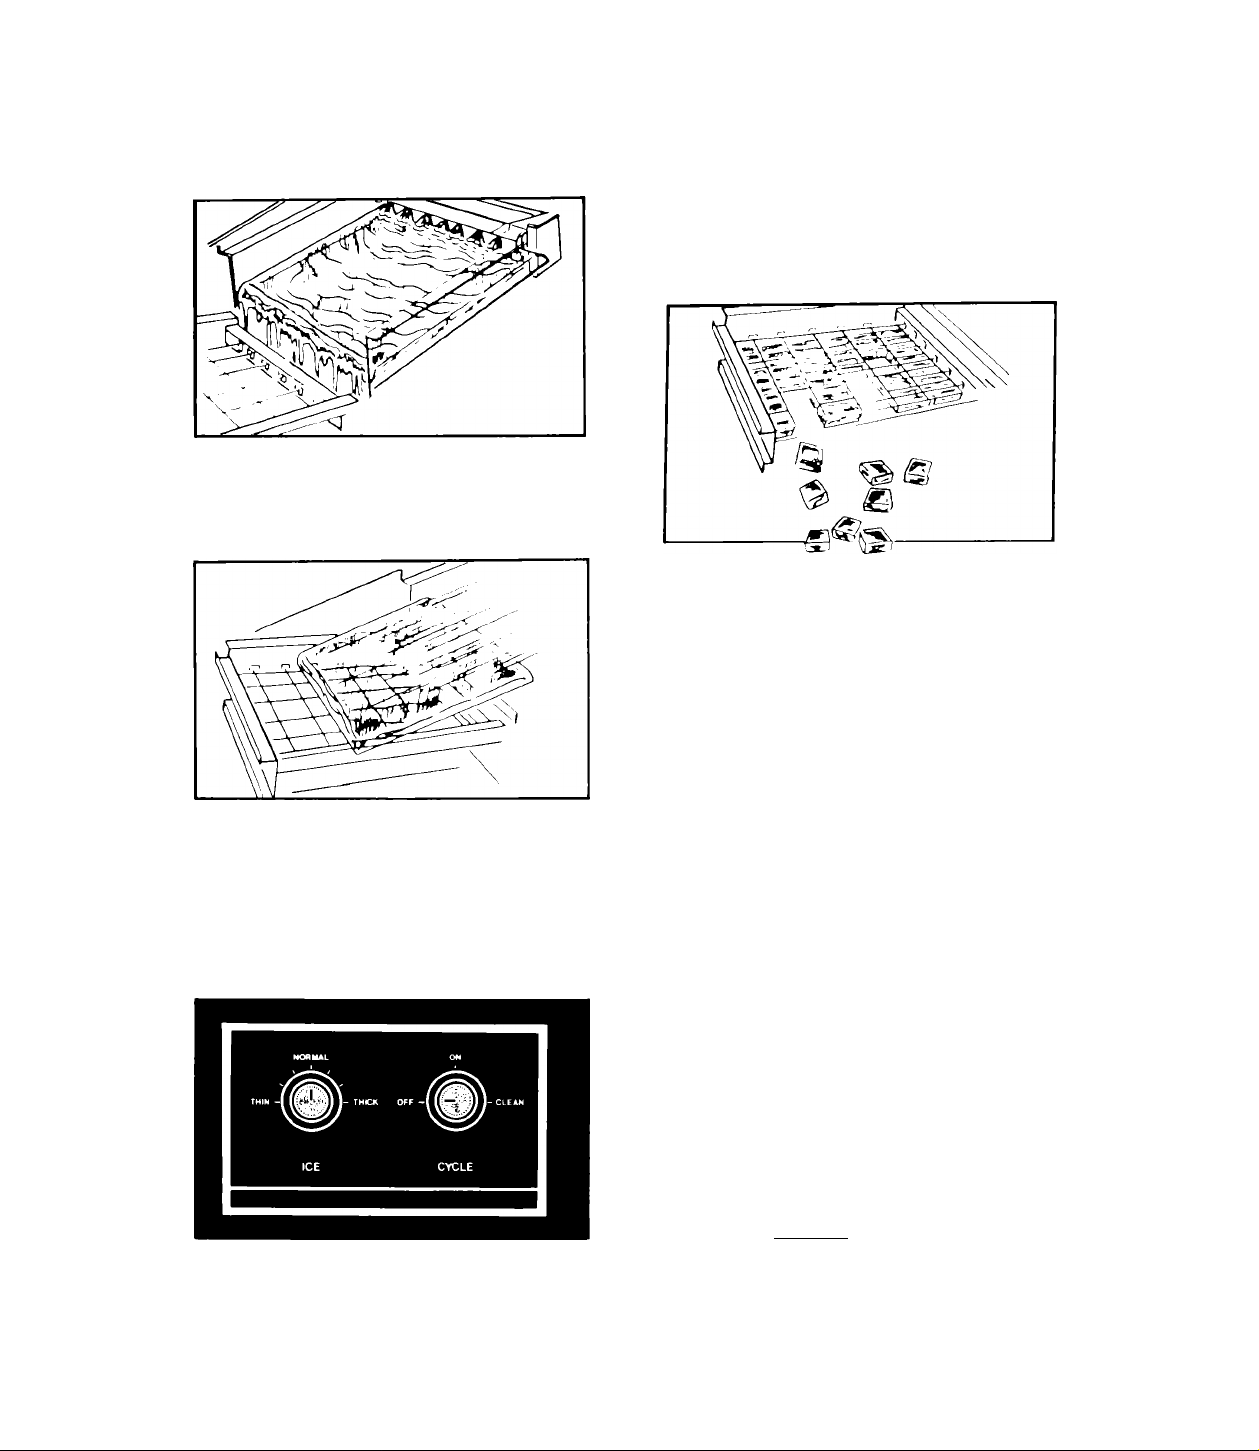
How the ice maker works...
1. Water is constantly circulated over a freez
ing plate. As the water freezes into ice the min
erals in the water are rejected. This produces a
clear sheet of ice with a low mineral oontent.
3. The water containing the rejected minerals
is drained after each freezing cycle.
4. Fresh water enters the machine for the next
ice making cycle.
5. Cubes fall into the storage bin. When the
bin is full the ice maker shuts off automatically
and restarts when more ice is needed.
2. When the desired thickness is reached, the
ice sheet is released and slides on to a cutter
grid. The grid divides the sheet into individual
cubes.
Setting the controls...
1. Select ice thickness. The ice maker has
been pre-set to produce ice approximately '/2"
thick, while operating in a room ambient of
70°F(21°C).
Operation in different ambient temperatures
may require readjusting the control toward
"THICK" or “THIN”
Best operation will be obtained with ice Vi' to
%" thick.
It operating in a warm room ambient (above
90°F [32°C]) DO NOT set control to maximum
thickness or the unit may malfunotion.