

Whirlpool DU920QWDQ4, DU920QWDB4 Owner’s Manual
Making Yaur World
A Little Easier."
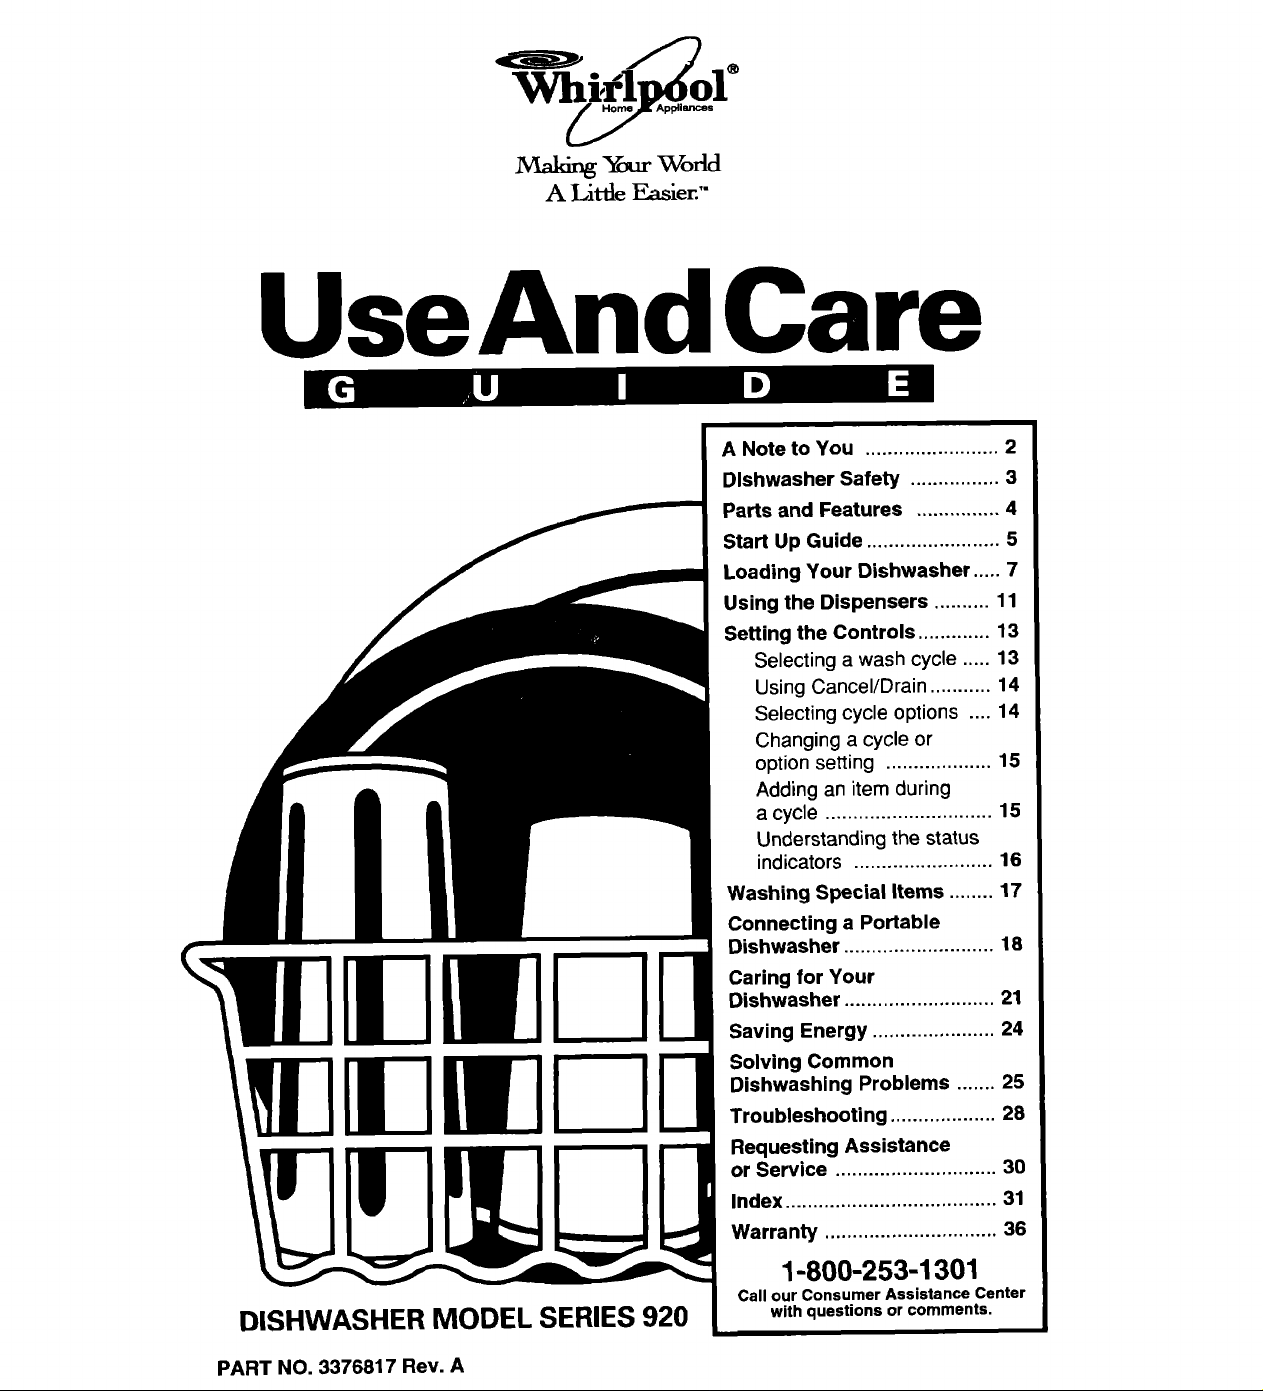
UseAndCare
A Note to You ........................ 2
Dishwasher Safety ................ 3
Parts and Features ............... 4
Start Up Guide ........................ 5
Loading Your Dishwasher ..... 7
Using the Dispensers .......... 11
Setting the Controls ............. 13
Selecting a wash cycle ..... 13
Using Cancel/Drain ........... 14
Selecting cycle options .... 14
Changing a cycle or
option setting ................... 15
Adding an item during
a cycle .............................. 15
Understanding the status
indicators ......................... 16
Washing Special Items ........ 17
Connecting a Portable
Dishwasher ........................... 18
Caring for Your
Dishwasher ........................... 21
Saving Energy ...................... 24
Solving Common
Dishwashing Problems ....... 25
Troubleshooting ................... 28
Requesting Assistance
or Service ............................. 30
Index ...................................... 31
Warranty ............................... 36
DISHWASHER MODEL SERIES 920
PART NO. 3376817 Rev. A
1-800-253-1301
Call our Consumer Assistance Center
with questions or comments.

A Note to You
Thank you for buying a WHIRLPOOL ® appliance.
Because your life is getting busier and more complicated, WHIRLPOOL dishwashers are
easy to use, save time, and help you manage your home better. To ensure you enjoy years
of trouble-free operation, we developed this Use and Care Guide. Itcontains valuable
information about how to operate and maintain your appliance properly and safely. Please
read it carefully.
Also, please complete and mail the Ownership Registration Card provided with your
appliance. This card helps us notify you about any new information on your appliance.
Please record your model's information.
Whenever you call to request service for
your appliance, you need to know your
complete model number and serial number.
You can find this information on the model
and serial number label (see the "Parts and
Features" section for location of label).
Please also record the purchase date of
your appliance and your dealer's name,
address, and telephone number.
Keep this book and the sales slip together in a safe place for future reference.
Model Number
Serial Number
Purchase Date
Dealer Name
Dealer Address
Dealer Phone
number is toll-free.
I ur Consumer Assistance Center
Help us help you
Please:
• Have your dishwasher installed by a
qualified installer.
• Install where dishwasher is protected from
the elements.
• Install and level dishwasher on a floor that
will hold the weight, and in an area suitable
for its size and use.
• Properly connect dishwasher to electricity,
water, and drain.*
* See Installation Instructions for complete
information.
1-800-253-1301 I
• Remove all shipping plugs from hoses
and connectors (such as the cap on the
drain outlet) before installing.*
• Remove all hang tags and temporary
labels.
• Make sure dishwasher is not used by
anyone unable to operate itproperly.
• Properly maintain dishwasher. See the
"Caring for Your Dishwasher" section.
2

Dishwasher Safety
Your safety and the safety of others is very important.
We have provided many important safety messages in this manual and on your
appliance. Always read and obey all safety messages.
This is the safety alert symbol.
This symbol alerts you to hazards that can kill or hurt you and others.
All safety messages will be preceded by the safety alert symbol and the
word "DANGER" or "WARNING." These words mean:
You will be killed or seriously injured
if you don't follow instructions.
You can be killed or seriously injured
if you don't follow instructions.
All safety messages will identify the hazard, tell you how to reduce the chance of injury,
and tell you what can happen if the instructions are not followed.
IMPORTANT SAFETY INSTRUCTIONS
WARNING - When using the
dishwasher, follow basic precautions,
including the following:
• Read all instructions before using the
dishwasher.
• Use the dishwasher only for its
intended function.
• Use only detergents or rinse agents
recommended for use in a dishwasher
and keep them out of the reach of
children.
• When loading items to be washed:
1) Locate sharp items so that they
are not likely to damage the door
seal; and
2) Load sharp knives with the handles
up to reduce the risk of cut-type
injuries.
• Do not wash plastic items unless they
are marked "dishwasher safe" or the
equivalent. For plastic items not so
marked, check the manufacturer's
recommendations.
• Do not touch the heating element
during or immediately after use.
- SAVE THESE INSTRUCTIONS -
• Do not operate the dishwasher unless
all enclosure panels are properly in
place.
• Do not tamper with controls.
• Do not abuse, sit on, or stand on the
door or dish racks of the dishwasher.
• To reduce the risk of injury, do not
allow children to play in or on the
dishwasher.
• Under certain conditions, hydrogen gas
may be produced in a hot water system
that has not been used for two weeks
or more. HYDROGEN GAS IS EXPLO-
SIVE. If the hot water system has not
been used for such a period, before
using the dishwasher turn on all hot
water faucets and let the water flow
from each for several minutes. This will
release any accumulated hydrogen gas.
As the gas is flammable, do not smoke
or use an open flame during this time.
• Remove the door to the washing
compartment when removing an old
dishwasher from service or discarding it.

Parts and Features
Your dishwasher is illustrated below with the parts and features called out. To help you find
information on specific parts or features quickly, page references are included.
Third level
(p. 9)
Adjustable top rack
(p. 10)
Water inlet opening ' tower
(p. 9) (p. 9)
Rack bumper ,serial number label
(p. 9) (on right side)
rack adjuster
(p. 10)
spray arm
(p. 9)
Model and
Bottom rack POWER CLEAN TM
(p. 9) (p. 32)
Heating element
Lower spray arm
I
Silverware Overfill protector
(p. 8)
Door latch
Door color panel
* Sea Installation Instructions
for more Information.
module
(p. 9)
(p. 22)
Detergent
dispensers
(p. 11)
Rinse agent
dispenser
(p. 12)
Access panel*
Control panel
Your dishwasher has a row of push pads to select cycles and options. You must select a
cycle to start your dishwasher. You may select one or more options.
Status
indicators
Start Up Guide
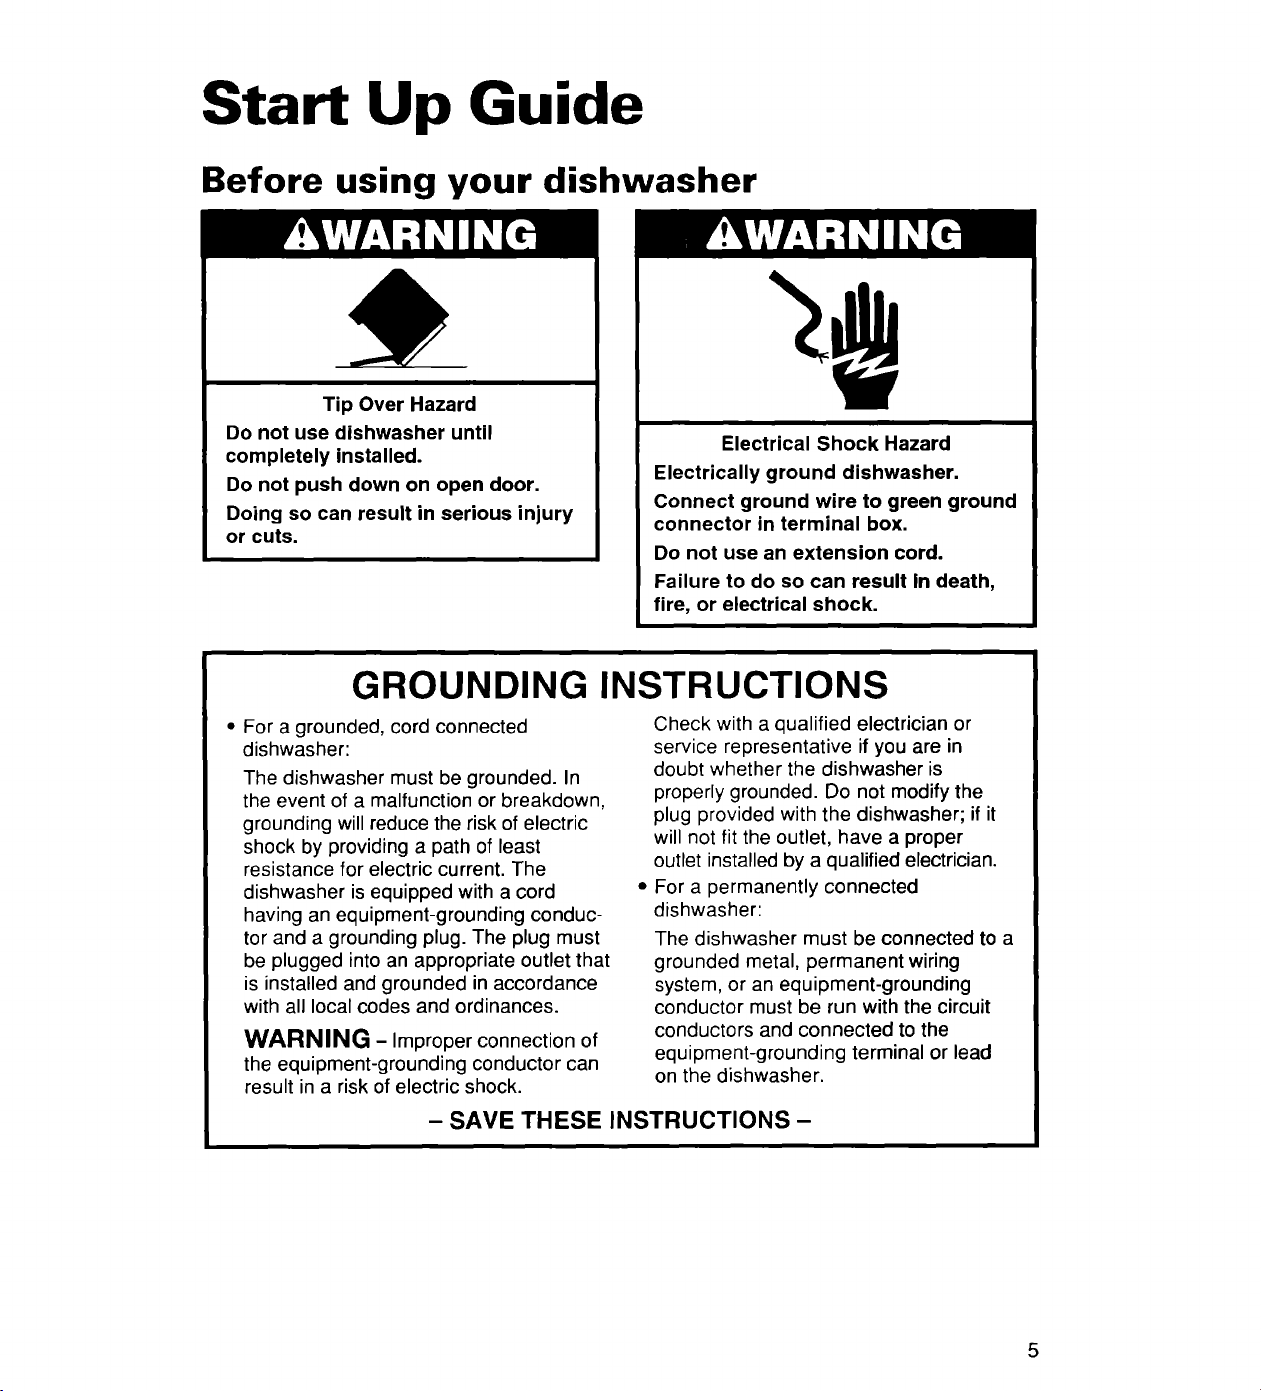
Before using your dishwasher
Tip Over Hazard
Do not use dishwasher until
completely installed.
Do not push down on open door.
Doing so can result in serious injury
or cuts.
GROUNDING INSTRUCTIONS
Electrically ground dishwasher.
Connect ground wire to green ground
connector in terminal box.
Do not use an extension cord.
Failure to do so can result in death,
fire, or electrical shock.
Electrical Shock Hazard
• For a grounded, cord connected
dishwasher:
The dishwasher must be grounded. In
the event of a malfunction or breakdown,
grounding will reduce the risk of electric
shock by providing a path of least
resistance for electric current. The
dishwasher is equipped with a cord
having an equipment-grounding conduc-
tor and a grounding plug. The plug must
be plugged into an appropriate outlet that
is installed and grounded in accordance
with all local codes and ordinances.
WARNING - Improper connection of
the equipment-grounding conductor can
result in a risk of electric shock.
- SAVE THESE INSTRUCTIONS -
Check with a qualified electrician or
service representative if you are in
doubt whether the dishwasher is
properly grounded. Do not modify the
plug provided with the dishwasher; if it
will not fit the outlet, have a proper
outlet installed by a qualified electrician.
For a permanently connected
dishwasher:
The dishwasher must be connected to a
grounded metal, permanent wiring
system, or an equipment-grounding
conductor must be run with the circuit
conductors and connected to the
equipment-grounding terminal or lead
on the dishwasher.
5
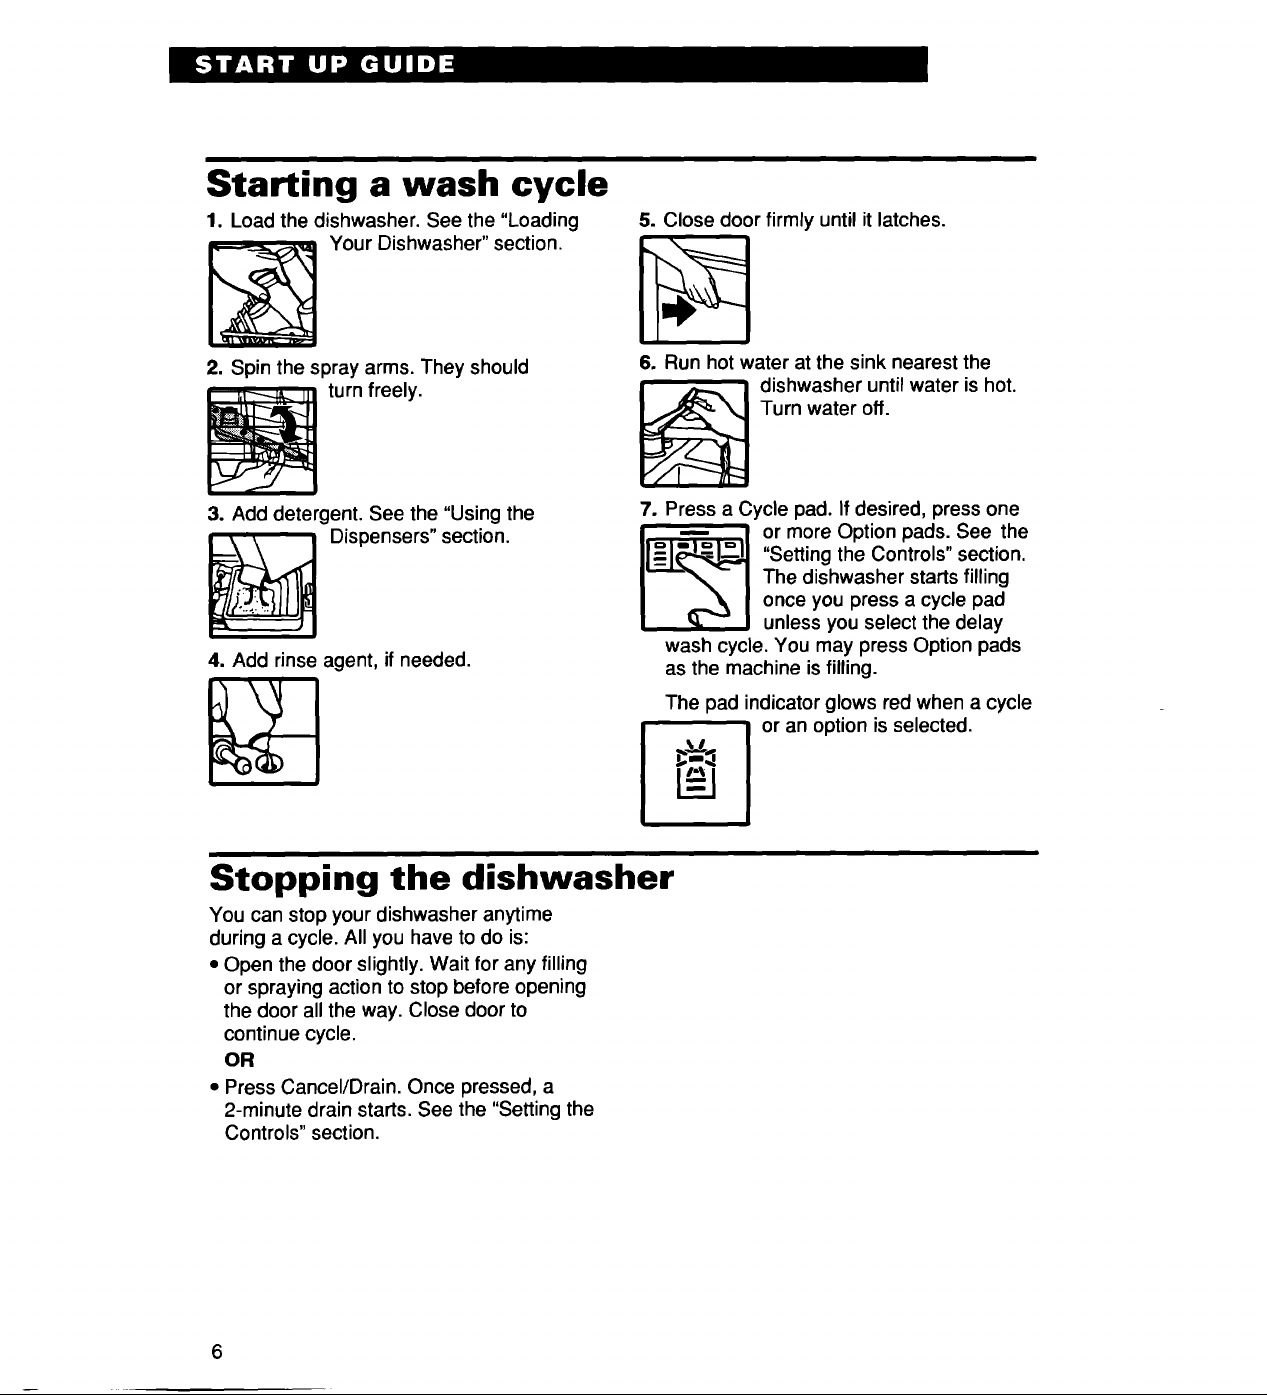
Starting a wash cycle
1. Load the dishwasher. See the "Loading
Your Dishwasher" section.
5. Close door firmly until it latches.
2. Spin the spray arms. They should
turn freely.
3. Add detergent. See the "Using the
Dispensers" section.
4. Add rinse agent, if needed.
Stopping the dishwasher
You can stop your dishwasher anytime
during a cycle. All you have to do is:
• Open the door slightly. Wait for any filling
or spraying action to stop before opening
the door all the way. Close door to
continue cycle.
OR
• Press Cancel/Drain. Once pressed, a
2-minute drain starts. See the "Setting the
Controls" section.
6. Run hot water at the sink nearest the
Turn water off.
_ dishwasher until water is hot.
7. Press a Cycle pad. If desired, press one
"Setting the Controls" section.
I1__1_1_ or more Opti°n pads" See the
wash cycle. You may press Option pads
as the machine is filling.
The pad indicator glows red when a cycle
_,.;j
The dishwasher starts filling
once you press a cycle pad
unless you select the delay
or an option is selected.
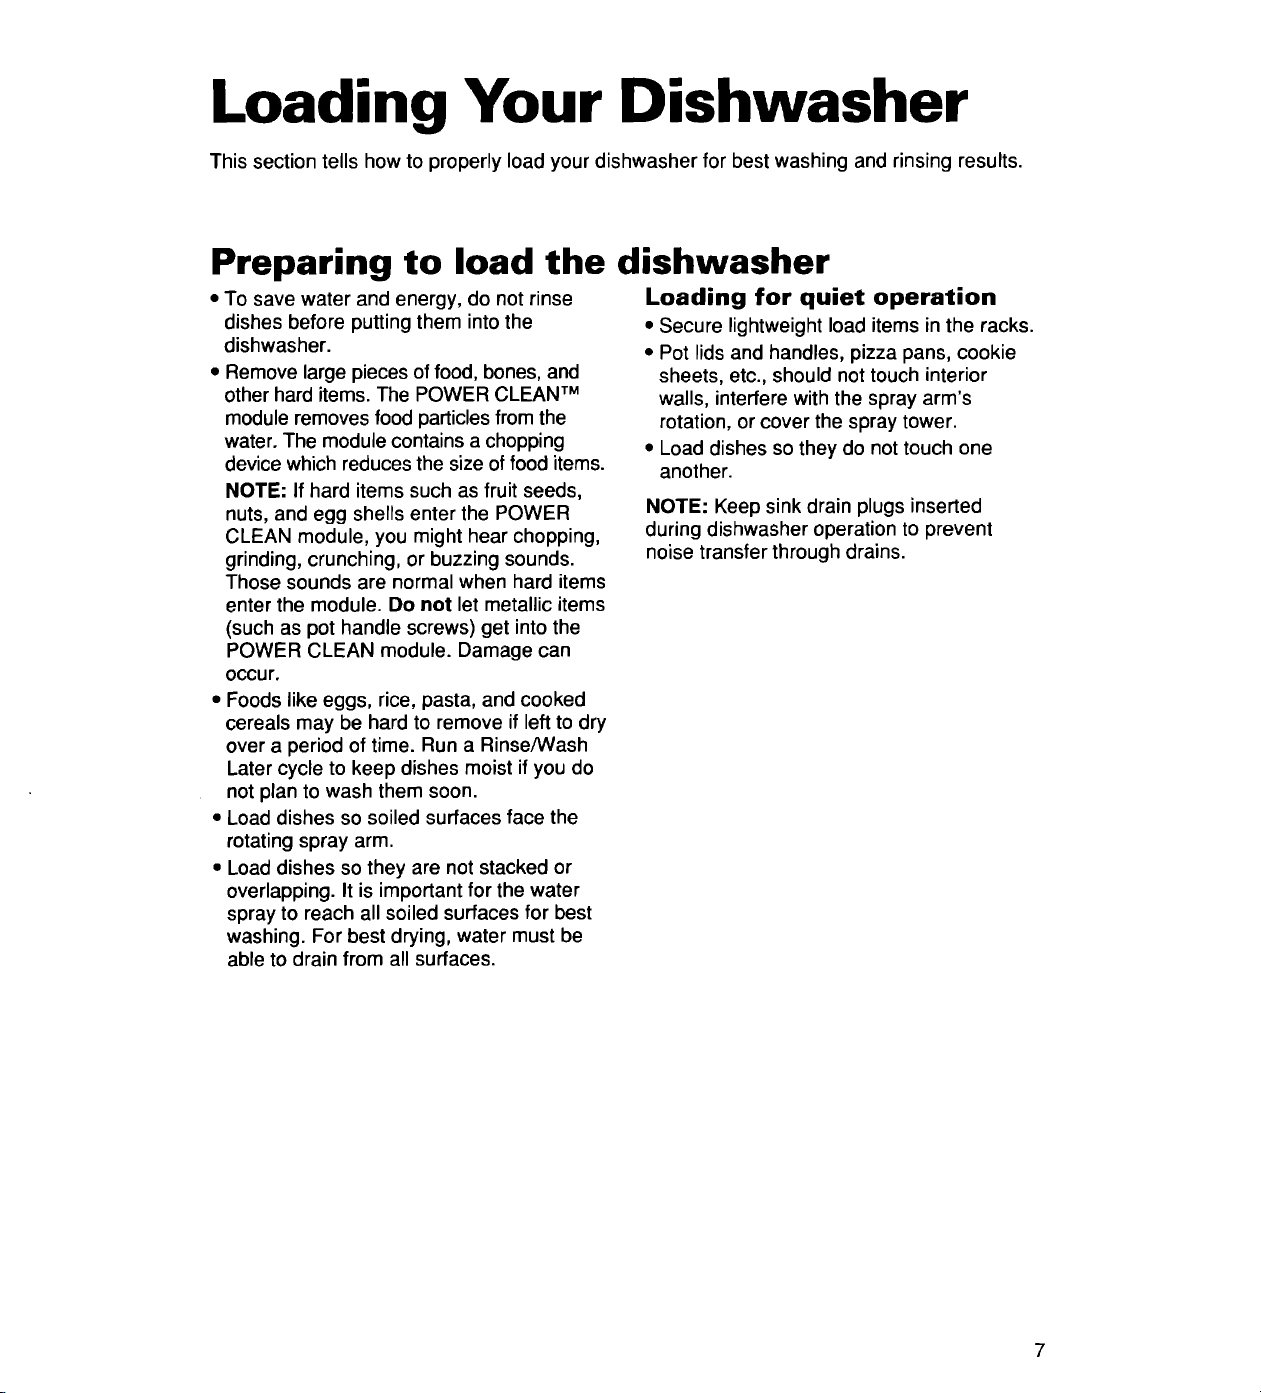
Loading Your Dishwasher
This section tells how to properly load your dishwasher for best washing and rinsing results.
Preparing to load the dishwasher
• To save water and energy, do not rinse
dishes before putting them into the
dishwasher.
• Remove large pieces of food, bones, and
other hard items. The POWER CLEAN TM
module removes food particles from the
water. The module contains a chopping
device which reduces the size of food items.
NOTE- If hard items such as fruit seeds,
nuts, and egg shells enter the POWER
CLEAN module, you might hear chopping,
grinding, crunching, or buzzing sounds.
Those sounds are normal when hard items
enter the module. Do not let metallic items
(such as pot handle screws) get into the
POWER CLEAN module. Damage can
occur.
• Foods like eggs, rice, pasta, and cooked
cereals may be hard to remove if leftto dry
over a period of time. Run a Rinse/Wash
Later cycle to keep dishes moist ifyou do
not plan to wash them soon.
• Load dishes so soiled surfaces face the
rotating spray arm.
• Load dishes so they are not stacked or
overlapping. It is important for the water
spray to reach all soiled surfaces for best
washing. For best drying, water must be
able to drain from all surfaces.
Loading for quiet operation
• Secure lightweight load items in the racks.
• Pot lids and handles, pizza pans, cookie
sheets, etc., should not touch interior
walls, interfere with the spray arm's
rotation, or cover the spray tower.
• Load dishes so they do not touch one
another.
NOTE: Keep sink drain plugs inserted
during dishwasher operation to prevent
noise transfer through drains.

Loading the silverware basket
• Load the silverware basket while it is in the
door or take the basket out for loading on a
counter or table.
• Mix items in each section of the basket
with some pointing up and some down to
avoid nesting. Spray cannot reach nested
items.
IMPORTANT: Always load sharp items
(knives, skewers, forks, etc.) pointing
down.
• Put small items (baby bottle caps, jar lids,
etc.) in any section.
• You can also remove the basket for easy
unloading. Always unload or remove the
basket before unloading the racks to avoid
spilling water on the silverware.
To remove the basket:
1. Grab the basket by the handle and slide
it toward the top of the door.
2. Lift the basket off the holding buttons.
To replace the basket:
1. Set the basket on the holding buttons.
2. Slide the basket towards the bottom of
the door until it locks in place.
To open the basket:
• Unhook the latch as shown.
NOTE: Be sure the cover is completely
latched before pulling out the bottom rack
and before closing the dishwasher door.
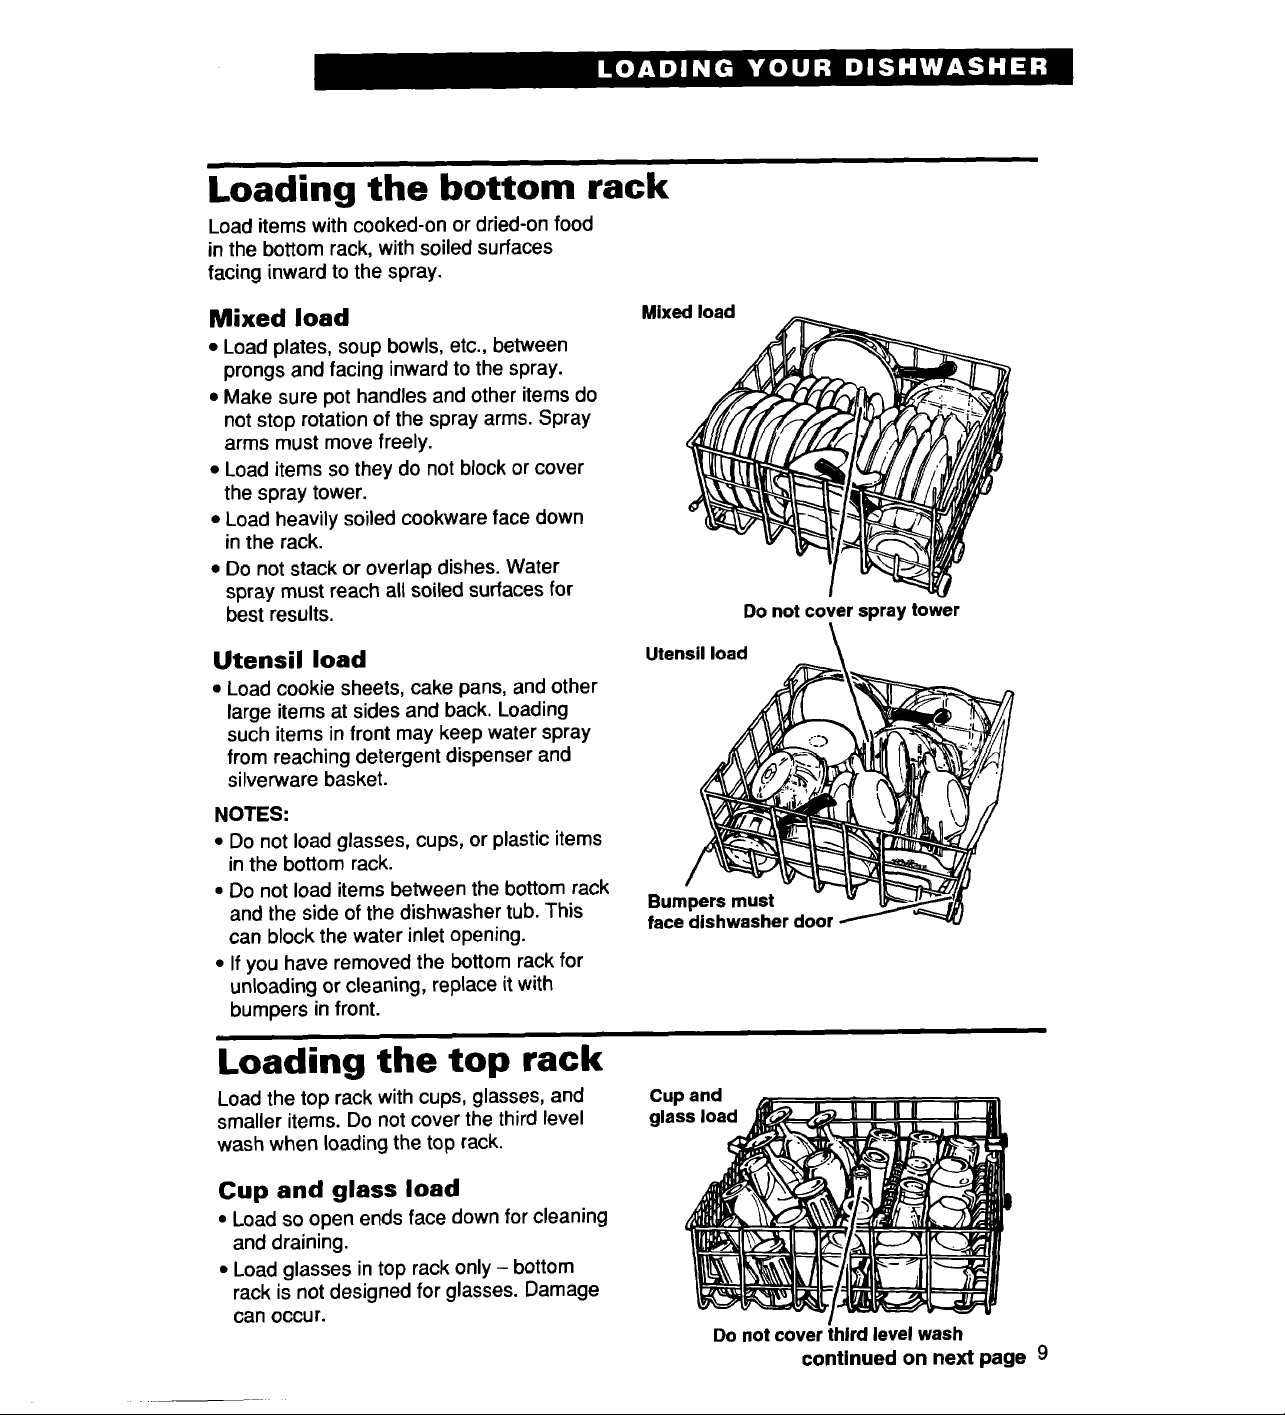
Loading the bottom rack
Load items with cooked-on or dried-on food
in the bottom rack, with soiled surfaces
facing inward to the spray.
Mixed load
• Load plates, soup bowls, etc., between
prongs and facing inward to the spray.
• Make sure pot handles and other items do
not stop rotation of the spray arms. Spray
arms must move freely.
• Load items so they do not block or cover
the spray tower.
• Load heavily soiled cookware face down
in the rack.
• Do not stack or overlap dishes. Water
spray must reach all soiled surfaces for
best results.
Utensil load
• Load cookie sheets, cake pans, and other
large items at sides and back. Loading
such items in front may keep water spray
from reaching detergent dispenser and
silverware basket.
NOTES:
• Do not load glasses, cups, or plastic items
in the bottom rack.
• Do not load items between the bottom rack
and the side of the dishwasher tub. This Bumpers must
can block the water inlet opening.
• If you have removed the bottom rack for
unloading orcleaning, replace itwith
bumpers in front.
Mixed load
Utensil load
face dishwasher door
Do not cover spray tower
Loading the top rack
Load the top rack with cups, glasses, and Cup and
smaller items. Do not cover the thirdlevel glass load
wash when loading the top rack.
Cup and glass load
• Load so open ends face down for cleaning
and draining.
• Load glasses intop rack only - bottom
rack is not designed for glasses. Damage
can occur.
Do not cover third level wash
continued on next page 9
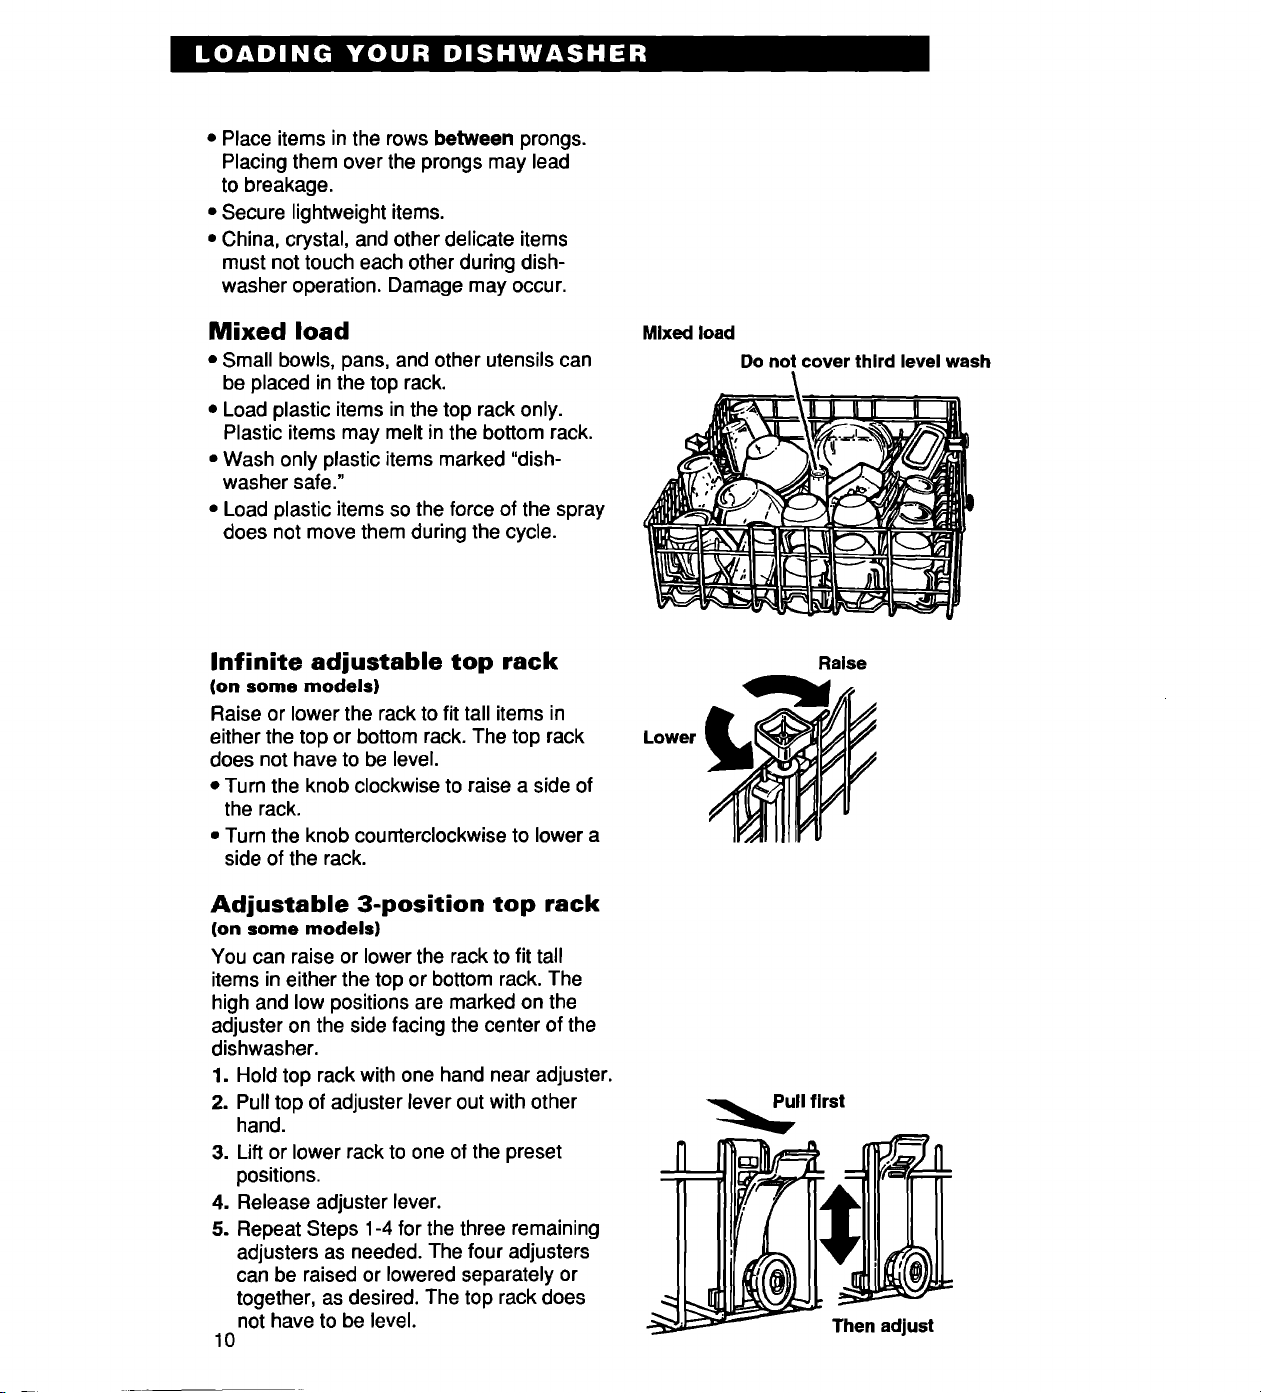
• Place items in the rows between prongs.
Placing them over the prongs may lead
to breakage.
• Secure lightweight items.
• China, crystal, and other delicate items
must not touch each other during dish-
washer operation. Damage may occur.
Mixed load
• Small bowls, pans, and other utensils can
be placed in the top rack.
• Load plastic items in the top rack only.
Plastic items may melt in the bottom rack.
• Wash only plastic items marked "dish-
washer safe."
• Load plastic items so the force of the spray
does not move them during the cycle.
Infinite adjustable top rack
(on some models)
Raise or lower the rack to fit tall items in
either the top or bottom rack. The top rack
does not have to be level.
• Turn the knob clockwise to raise a side of
the rack.
• Turn the knob counterclockwise to lower a
side of the rack.
Adjustable 3-position top rack
(on some models)
You can raise or lower the rack to fit tall
items in either the top or bottom rack. The
high and low positions are marked on the
adjuster on the side facing the center of the
dishwasher.
1. Hold top rack with one hand near adjuster.
2. Pull top of adjuster lever out with other
hand.
3. Lift or lower rack to one of the preset
positions.
4. Release adjuster lever.
5. Repeat Steps 1-4 for the three remaining
adjusters as needed. The four adjusters
can be raised or lowered separately or
together, as desired. The top rack does
not have to be level.
10
Mixed load
Do not cover third level wash
Raise
Lower
Then adjust
 Loading...