

Whirlpool DU1099XT3, DU1099XT2, DU1099XT1, DU1099XT0 Owner’s Manual
IIIIIHIIIIIIIlUlIIIIIIIIIIIIlUlIIIIIIIIII
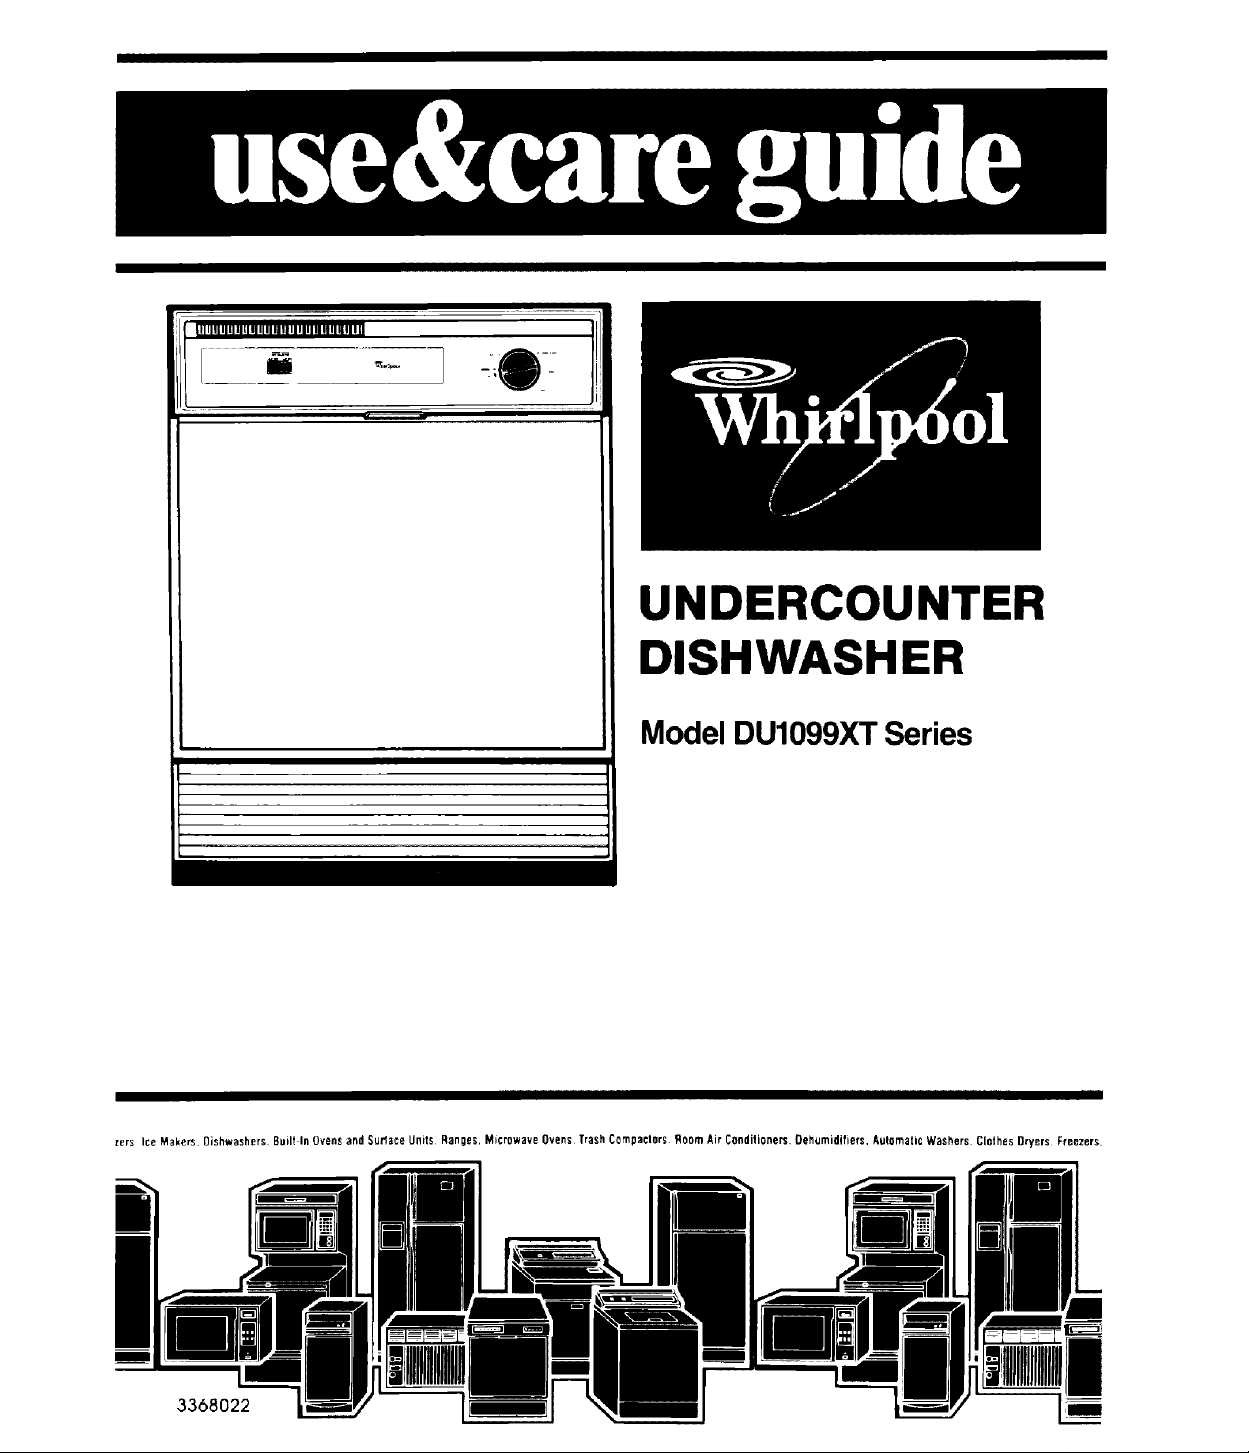
UNDERCOUNTER
DISHWASHER
Model DU1099XT Series
_ers Ice Makers Oishwashers Built In Ovens and SuMace Uilits RallOes Microwave Ovens Trash C0mpaelors Room Air Coflditioner_ Dehumidifiers, Automatic Washers Clothes Dryers Freezers
3368022

Contents
BEFORE YOU USE YOUR DISHWASHER
IMPORTANT SAFETY INSTRUCTIONS :_
PARTS AND FEATURES
FOR BESTRESULTS
The F 'tering System
Quiet Dperating h_)s
PROPER LOADING :.
fop R :cK Loading :,
Bolto_ _Pack Loading 0
SHverware Basket Loading 6
ADDING DETERGENT ......... 7
Jc:1988Whirlpool Corporation
BEFORE STARTING YOUR DISHWASHER 8
STARTING YOUR DISHWASHER 8
Selecting a Cycle .... 8
HEAl DRY or AIR DRY .......... 9
Changing a Setting ..... 9
To Add a Dish After Starting 9
ENERGY SAVING TIPS ..... 10
SPECIAL TIPS ......................... 11
COMMON DISHWASHING PROBLEMS.. 12
IF YOU NEED SERVICE OR ASSISTANCE. 15
WHIRLPOOL DISHWASHER WARRANTY 16
Before you use your dishwasher
It is your personal responsibility and obligation to be sure your dishwasher:
• Is installed by a qualified installer.
• Has been installed where it is protected from the elements.
• Has been installed on a floor strong enough to support itsweight.
• Has been properly connected to electricity, water and draint'
• Has been properly electrically grounded;*
• Has had all hang tags and temporary labels removed.
• Is nol used by children or anyone unable to operate it properly.
• Is properly maintained.
•See installation instructions for complete information.
Page
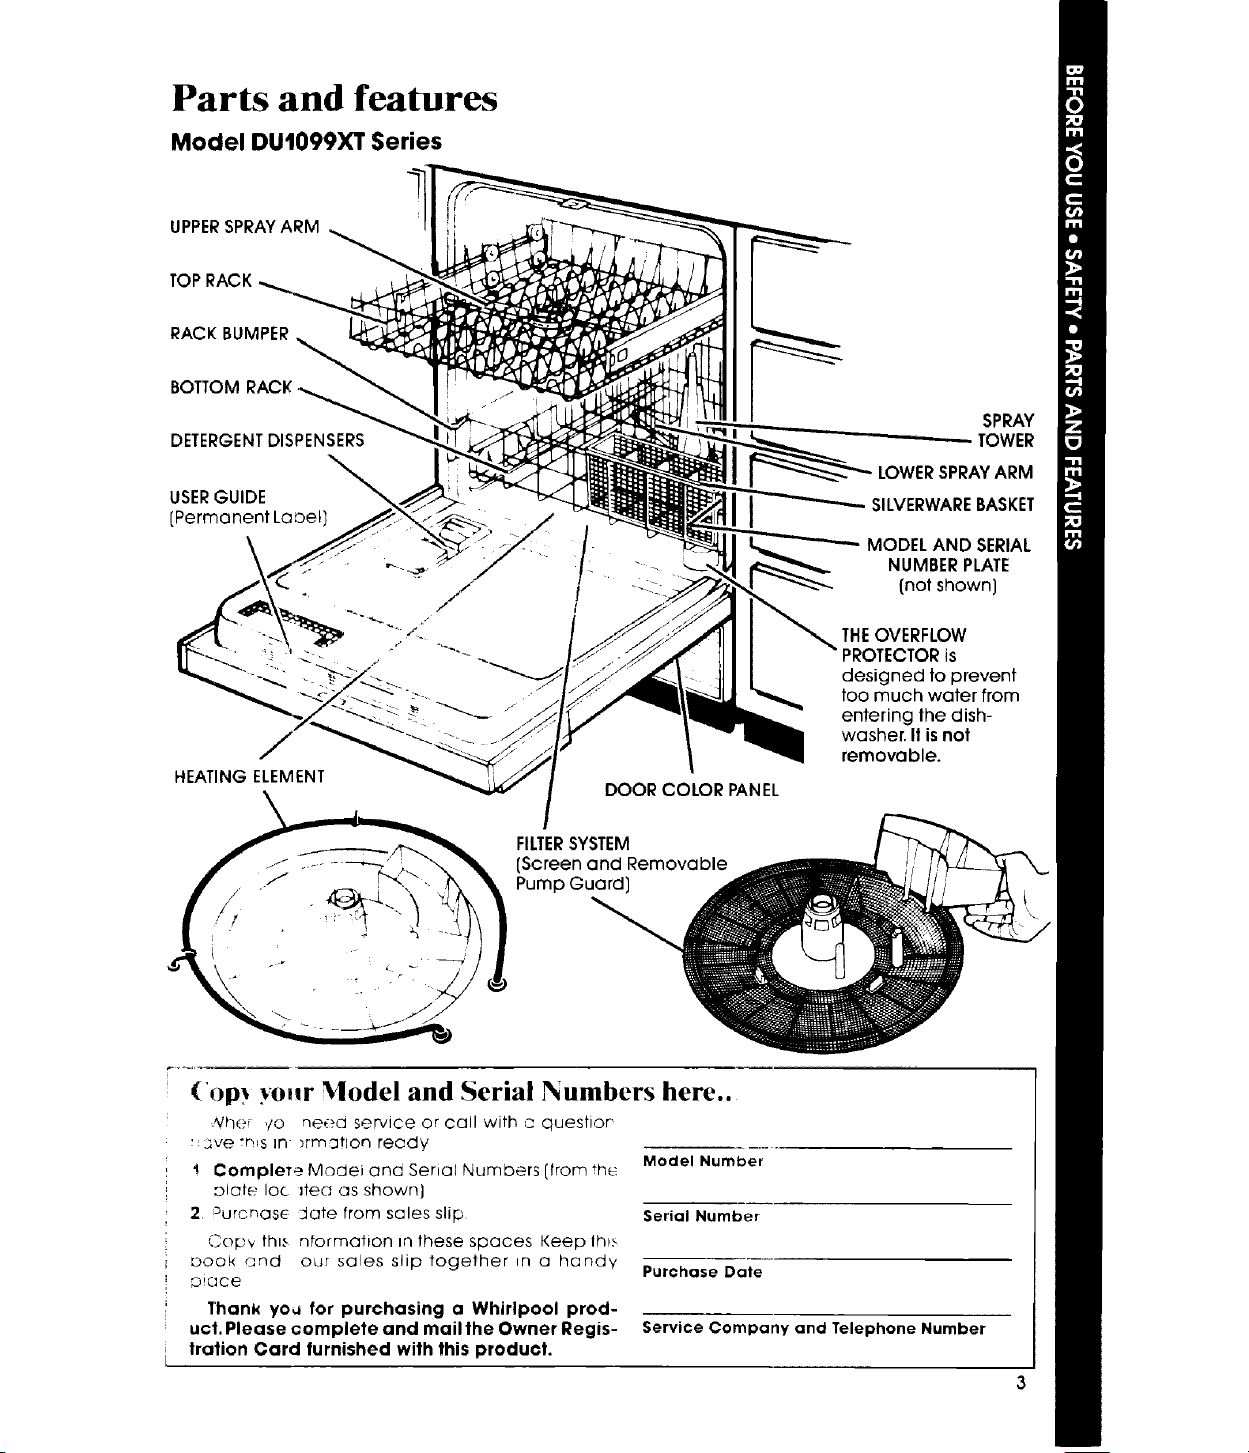
Parts and features
Model DU1099XT Series
UPPERSPRAYARM
TOP RACK
RACK BUMPER
BOTTOM
DETERGENTDISPENSERS
USERGUIDE
[Permanent Laoel
HEATING ELEMENT
SPRAY
TOWER
LOWERSPRAYARM
SILVERWAREBASKET
MODEL AND SERIAL
NUMBER PLATE
(not shown]
THEOVERFLOW
PROTECTORis
designed to prevent
too much water from
entering the dish-
washer. II is not
removable.
DOOR COLOR PANEL
FILTERSYSTEM
(Screen and Removable
Pump Guard]
(Op_ yo.r Model and Serial Numbers here..
,_/he_ ,/o need service or call with a questior
' 2,re :r_s ID )rmation ready
'! Complete Model and Serial Numbers (from th_
oldie Ioc #ea as shown}
2, Durcnasc date from sales slip
Copy this nformation in these spaces Keep lh_s
book and our sales slip together in a handy
o!ace
Thank yoa for purchasing a Whirlpool prod-
uct. Please complete and mail the Owner Regis-
tration Card furnished with this product.
Model Number
Serial Number
Purchase Date
Service Company and Telephone Number
For Best Results
Your dishwasher cleans by spraying a mix-
ture of hot, clean water and detergent against
soiled surfaces of dishes When a cycle is
started, the dishwasher fills with water to about
the level of the heating element This water is
pumped through the rotating spray arms,
drained through the filter system which re-
moves food and soil, and pumped back
through the rotating spray arms. Soiled water
bspumped out and replaced with clean water
during a cycie-the number of times depends
on the cycle oeing used.
The self-cleaning filtering system and
removable pump guard help eliminate pre-
rinsing by removing food particles from the
water.
The filtering system
It is not necessary to rinse dishes before
putting them into the dishwasher. Just remove
large pieces and quantities of food and bones,
The filtering system helps keep food particles
out of the wash water. Small particles are flushed
away as water is pumped out. Larger particles
are trapped in the pump guard
To remove the pump guard for cleaning..
I Wait at least 20 minutes after a cycle tar
the heating element to cool down.
2. Unload and remove the bottom rack.
Load dishes so soiled surfaces face pow-
erful spray from rotating arms.
3. Press the outside wail of the pump guard at
the center to release the latch.
4. Lift out and rinse clean.
To replace the pump guard..
1 Insert pump guard legs (on inside wall] into
matching openings in filter screen.
2. Press down on outside wall until latch snaps
into place
3. Replace bottom rack with rack bumpers in
front
140 F
Water must be hot
For best cleaning and drying results, water should be at least
140°F {60°C).
t. Turn on hot water faucet nearest the dishwasher, Let water run
until it is as hot as possible.
2. Hold a candy or meat thermometer in the stream of hot water to
Check Water
Temperature
measure the temperature,
3. It the temperature is too low, have a qualified person raise the
water heater thermostat setting,
Quiet operating tips
To avoid thumping and clattering noises dunng
operation:
* Make sure lightweight load items are secured
in the rack.
• Make sure pot lids and handles, pizza pans,
cookie sheets, et¢, do not touch interior walls
or interfere with either of the spray arms
rotation.
• Load dishes so they don't touch one another.
NOTE: Keep sink drain plugs inserted during
dlshwasher operation to prevent noise trans-
fer through dralns.
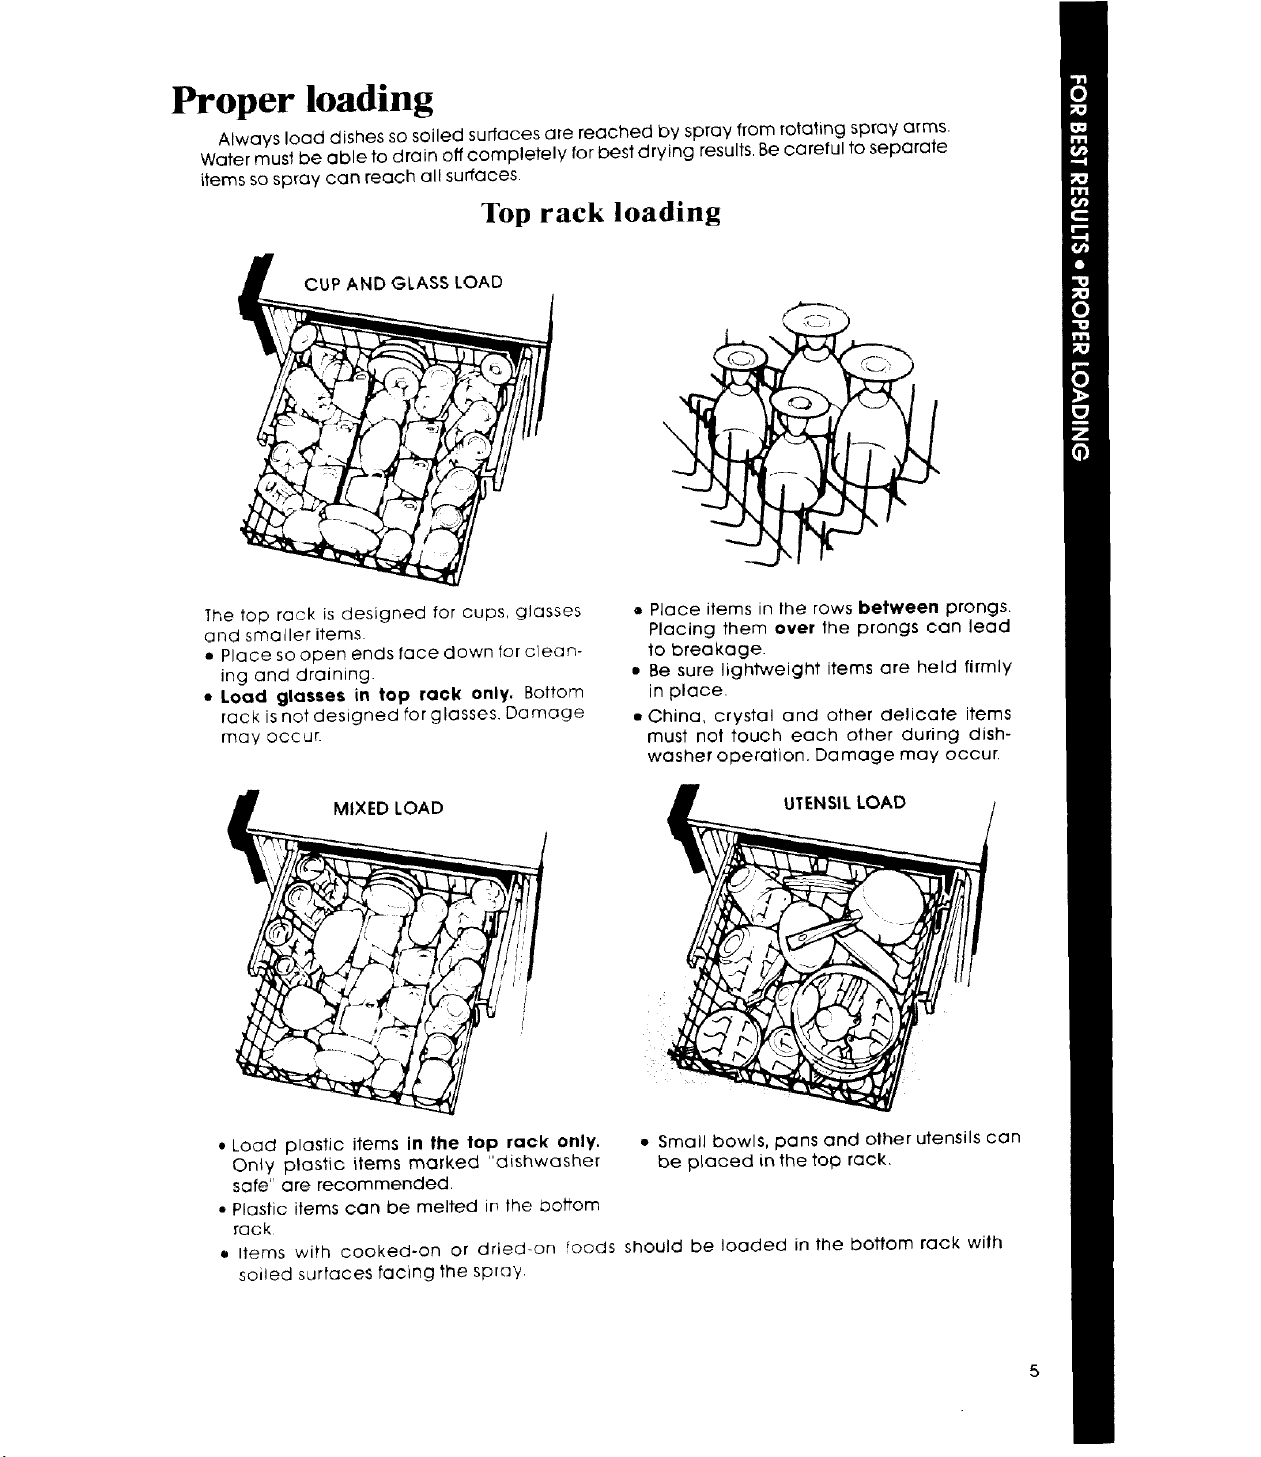
Proper loading
Always load dishes so soiled surfaces are reached by spray from rolating spray arms.
Water must be able to drain off completely for best drying results. Be careful to separate
items so spray can reach all surfaces.
Top rack leading
Ii
The top rack is designed for cups, glasses
and smaller items.
a Place so open ends face down for clean-
ing and draining.
• Load glosses in top rock only. Bottom
rack is not designed for glasses. Damage
mQy occur.
MIXED LOAD
• Load plastic items in the top rack only. • Small bowls, pans and other utensils can
Only plastic items marked "dishwasher be placed in the top rack.
safe" are recommended.
• Plastic items can be melted in the bottom
rack
• Items with cooked-on or dried-on roods should be loaded in the bottom rack wilh
soiled surfaces facing the spray
• Place items in the rows between prongs.
Placing them over the prongs can lead
to breakage.
• Be sure lightweight items are held firmly
in place.
• China, crystal and other delioate items
must not touch each other during dish-
washer operation. Damage may occur.
UTENSIL LOAD
 Loading...