

Whirlpool CHW9060AW0, CHW9050AW0 Installation Guide

INSTALLATION INSTRUCTIONS
COMMERCIAL FRONT-LOAD WASHER
INSTRUCTIONS D’INSTALLATION
LAVEUSE COMMERCIALE À CHARGEMENT FRONTAL
Table of Contents/Table des matières . . . . . . . . . . . . . . . . . . . . . . . . . . . . . . . . . . . . . . . . 2
www.whirlpoolcommerciallaundry.com
W10726004B

TABLE OF CONTENTS
WASHER SAFETY ................................................................................... 3
INSTALLATION REQUIREMENTS
Tools and Parts
Accessories
Options
Location Requirements
Drain System
Electrical Requirements........................................................................6
INSTALLATION INSTRUCTIONS
Remove Transport System
Connect the Inlet Hoses
Connect the Drain Hose
Secure the Drain Hose
Level the Washer
Complete Installation............................................................................9
USER & SET-UP INSTRUCTIONS
General User Information
Control Set-up Procedures
Start Operating Set-up
WASHER CARE
Cleaning Your Washer
Water Inlet Hoses
ASSISTANCE OR SERVICE
WARRANTY
.....................................................................................4
.......................................................................................... 4
................................................................................................. 4
........................................................................ 5
........................................................................................ 5
.........................................................................8
.................................................................................. 9
....................................................................... 11
..................................................................................... 13
........................................................................ 13
............................................................................... 13
........................................................................................... 14
.......................................................... 4
............................................................6
................................................................... 6
....................................................................... 7
....................................................................... 8
........................................................ 10
................................................................... 10
................................................................10
.................................................................. 13
TABLE DES MATIÈRES
SÉCURITÉ DE LA LAVEUSE ................................................................15
EXIGENCES D’INSTALLATION
Outillage et pièces
Accessoires
Options
............................................................................................... 17
Exigences d’emplacement
Système de vidange
Spécifications électriques
INSTRUCTIONS D’INSTALLATION
Dépose du système de transport
Raccordement des tuyaux d’alimentation..........................................20
Raccordement du tuyau de vidange
Immobilisation du tuyau de vidange
Réglage de l’aplomb de la laveuse
Achever l’installation
INSTRUCTIONS D’UTILISATION ET D’INSTALLATION
Informations générales
Procédures de réglage des systèmes de commande
Paramétrage pour mise en marche
ENTRETIEN DE LA LAVEUSE
Nettoyage de la laveuse
Tuyaux d’arrivée d’eau
ASSISTANCE OU SERVICE
GARANTIE
............................................................................................. 27
.............................................................................. 16
........................................................................................ 16
........................................................................... 18
..........................................................................22
............................................................16
................................................................. 17
.................................................................. 18
...................................................... 19
....................................................... 19
.................................................. 21
..................................................21
....................................................22
.....................23
....................................................................... 23
........................ 23
.................................................... 24
.............................................................. 26
.................................................................... 26
....................................................................... 27
.................................................................. 27
2
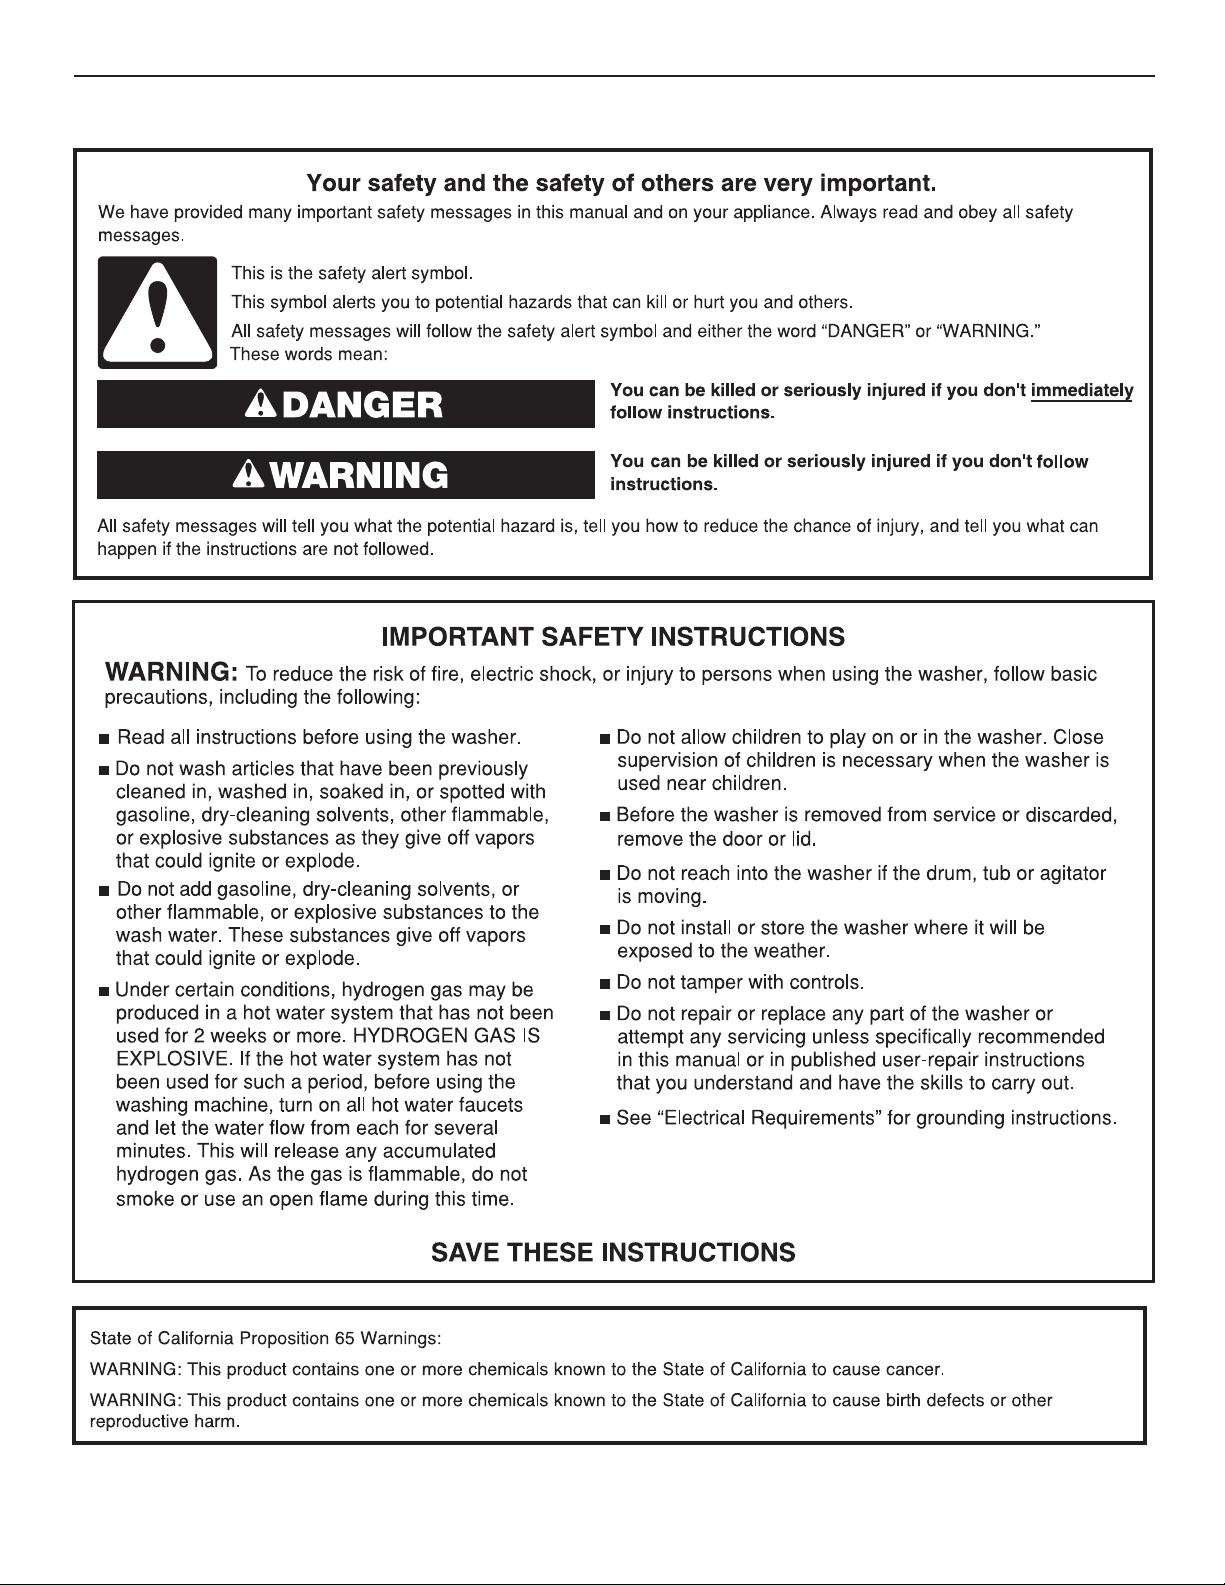
WASHER SAFETY
3
INSTALLATION REQUIREMENTS
Tools and Parts
Gather the required tools and parts before starting installation.
The parts supplied are in the washer drum.
Tools needed for connecting the water inlet hoses:
■ Pliers (that open to
9
⁄16" [39.5 mm])
1
Tools needed for installation:
■ Open end wrenches
½" and
■ Torx T-20
9
⁄16"
®†
Security
screwdriver
■ ¼" Nut driver
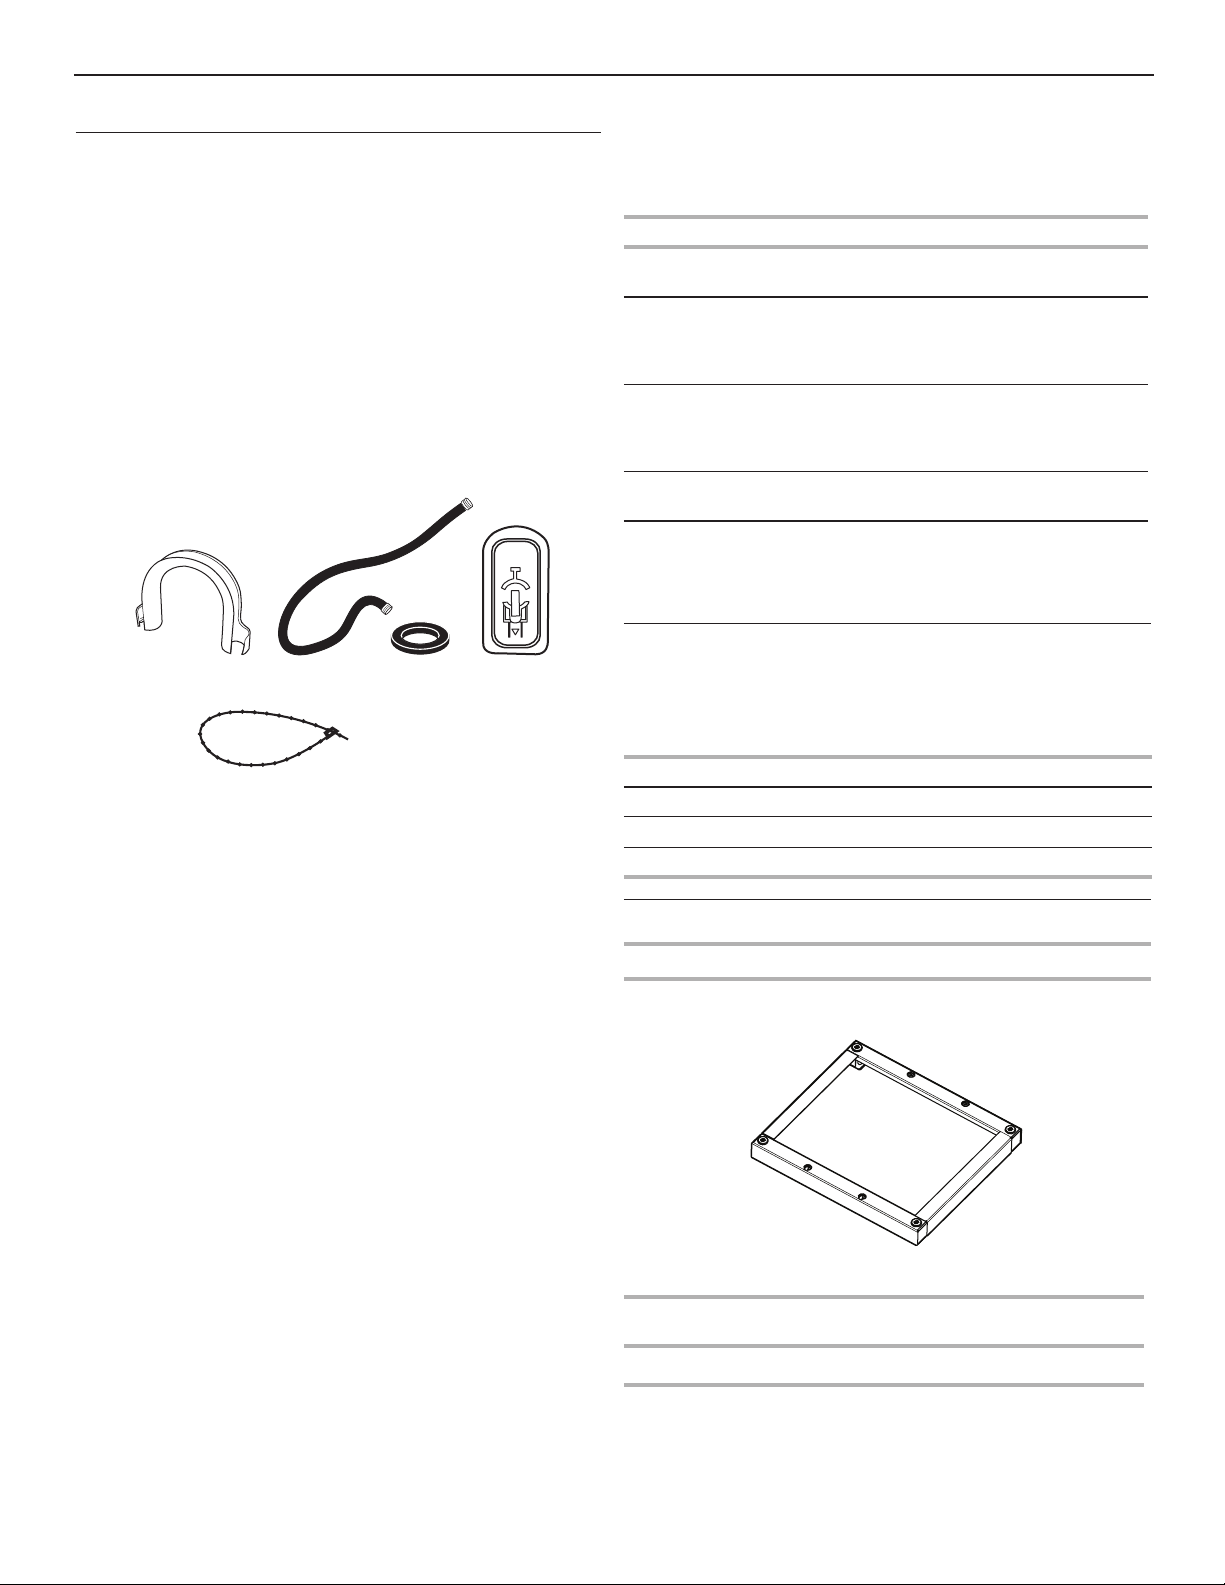
Parts supplied:
A B
■ Flashlight (optional)
■ Level
■ Wood block
■ Ruler or measuring tape
C
D
Alternate Parts
Your installation may require additional parts. If you are interested
in purchasing one of the items listed here, call the toll-free number
in the “Assistance or Service” section.
If you have You will need to buy
Laundry tub or standpipe
taller than 96" (2.4 m)
Sump pump system (if not already
available)
Overhead sewer Standard 20 gal. (76 L), 30"
(762 mm) tall drain tub or utility sink
and sump pump (available from
local plumbing suppliers)
Floor drain Siphon break, Part Number 285834;
additional drain hose,
Part Number 8318155; and
connector kit, Part Number 285835
Drain hose too short 4 ft (1.2 m) drain hose extension kit,
Part Number 285863
Water faucets beyond
reach of fill hoses
2 longer water fill hoses:
6 ft (1.8 m) Part Number 76314
10 ft (3.0 m) Part Number 350008
Accessories
Enhance your washer with these premium accessories.
For more high-quality items or to order, call 1-800-901-2042,
or visit us at www.whirlpool.com/accessories. In Canada call:
1-800-807-6777 or visit us at www.whirlpoolparts.ca.
E
A. U-shaped hose form
B. Water inlet hoses (2)
C. Inlet hose washers (4)
D. Transit bolt hole plug (4)
E. Beaded tie strap
Part Number Accessory
8212526
31682
1903WH
Washer drip trays, fits under all
All purpose appliance cleaner
Laundry supply storage cart
Options
Pedestal
You have the option of purchasing pedestals separately for this
washer. The pedestal will add to the total height of the washer.
Optional pedestal
Pedestal
Height
7
⁄8" (73 mm) *47.5" (1207 mm) White WHP0400VW
2
Approximate
height with washer Color Part Number
*Add 5⁄8" (16 mm) minimum for leveling feet.
®† TORX and T20 are registered trademarks of Acument Intellectual Properties, LLC.
4
Location Requirements
Selecting the proper location for your washer improves
performance and minimizes noise and possible washer “walk.”
Your washer can be installed under a custom counter, or in a
basement, laundry room, or recessed area. See “Drain System.”
Companion appliance location requirements should also be
considered. Proper installation is your responsibility.
You will need:
■ A water heater set to deliver 120°F (49°C) water to the washer.
■ A grounded electrical outlet located within 6 ft. (1.8 m) of
where the power cord is attached to the back of the washer.
See “Electrical Requirements.”
■ Hot and cold water taps located within 4 ft. (1.2 m) of the hot
and cold water fill valves, and water pressure of 20–100 psi
(137.9–689.6 kPa).
■ A level floor with a maximum slope of 1" (25 mm) under entire
washer. Installing the washer on soft floor surfaces, such as
carpets or surfaces with foam backing, is not recommended.
■ A sturdy and solid floor to support the washer with a total
weight (water and load) of 400 lbs (180 kg).
Do not operate your washer in temperatures below 32°F (0°C).
Some water can remain in the washer and can cause damage
in low temperatures.
Installation clearances
■ The location must be large enough to allow the washer door
to be fully opened.
■ Additional spacing should be considered for ease of
installation and servicing. The door opens more than 90°,
and it is not reversible.
■ Additional clearances might be required for wall, door,
and floor moldings.
■ Additional spacing of 1" (25 mm) on all sides of the washer
is recommended to reduce noise transfer.
■ Companion appliance spacing should also be considered.
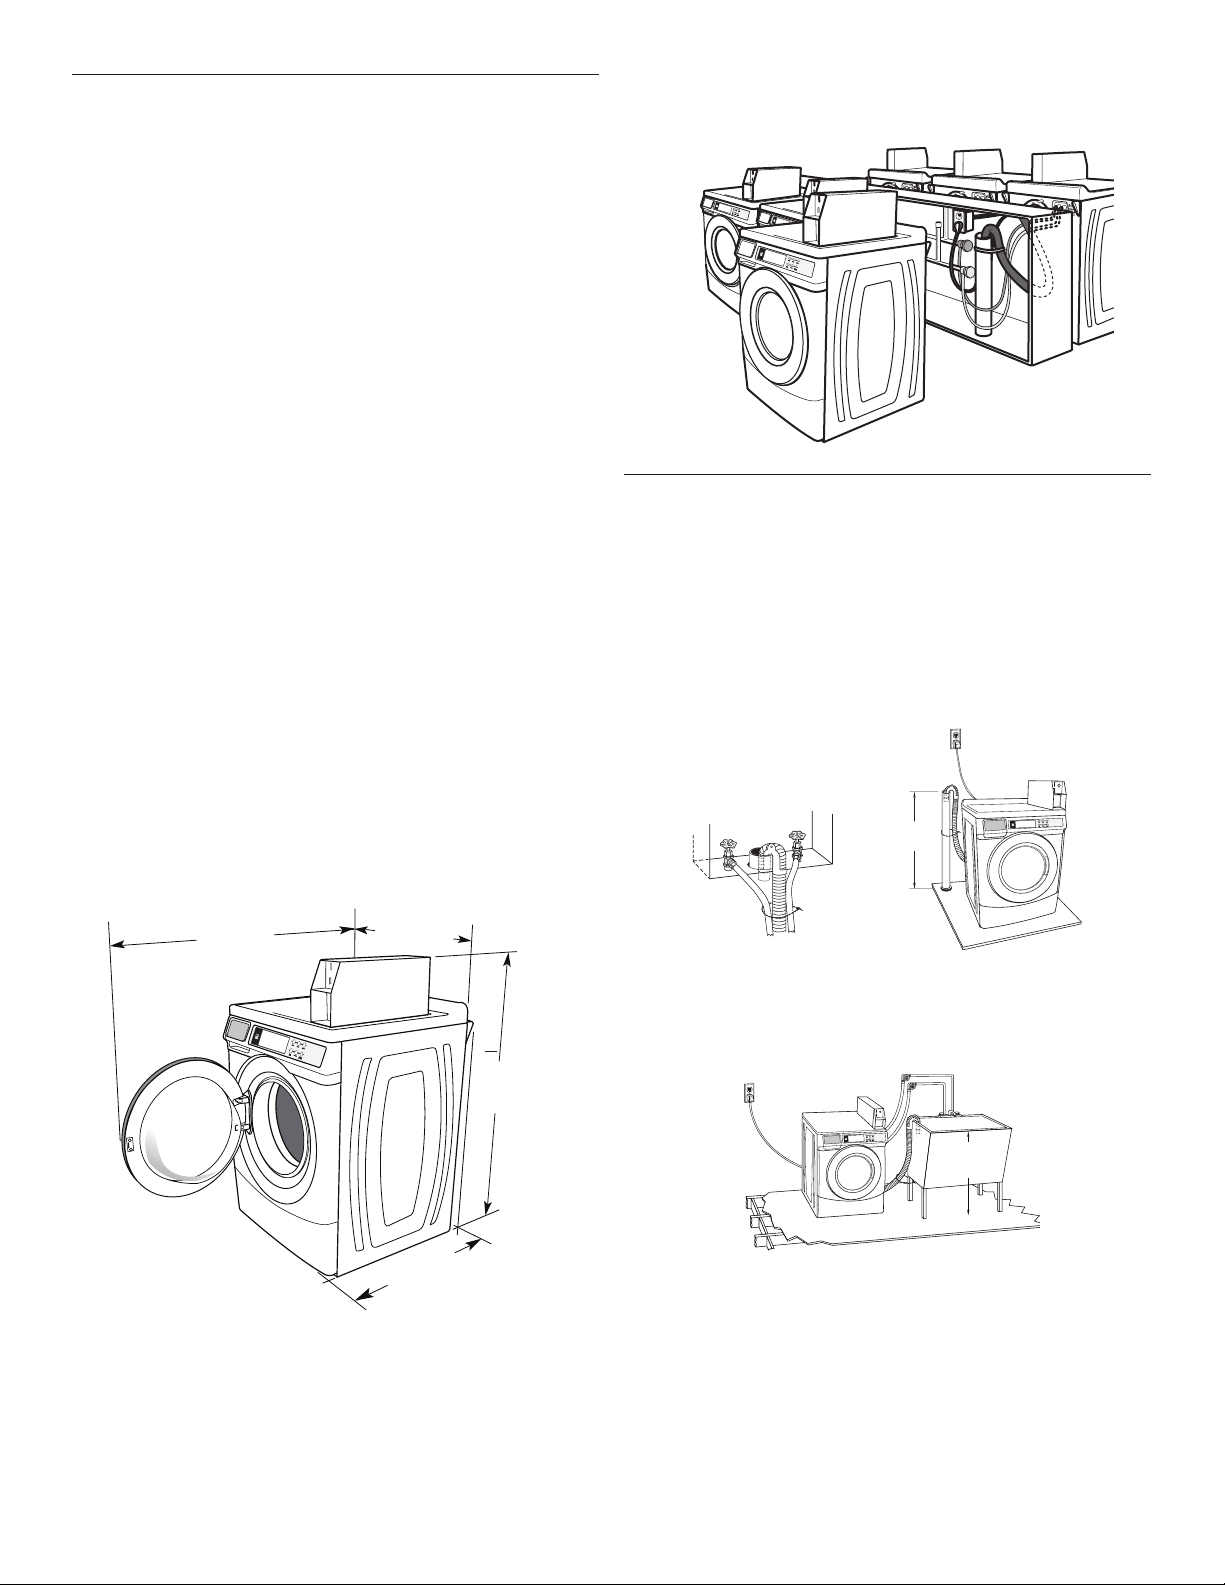
Washer Dimensions
A floor drain should be provided under the bulkhead. Prefabricated
bulkheads with electrical outlets, water inlet lines, and drain facilities
should be used only where local codes permit.
Drain System
The washer can be installed using the standpipe drain system
(floor or wall), the laundry tub drain system, or the floor drain
system. Select the drain hose installation method you need.
See “Tools and Parts.”
Standpipe drain system – wall or floor (views A & B)
The standpipe drain requires a minimum diameter standpipe
of 2" (50 mm). The minimum carry-away capacity can be no less
than 12 gal. (45.5 L) per minute, per washer.
The top of the standpipe must be at least 30" (762 mm) high
and no higher than 96" (2.4 m) from the bottom of the washer.
30" min.
(762 mm)
50 ½"
(1282 mm)
*Height without leveling feet installed.
27"
(686 mm)
13
28
(732 mm)
/16"
5
*
44
/8"
(1134 mm)
A B
Laundry tub drain system
The laundry tub needs a minimum 20 gal. (76 L) capacity. The top
of the laundry tub must be at least 30" (762 mm) above the floor.
30" min.
(762 mm)
5
 Loading...