

English
28
GB
ELECTRICAL CONNECTION AND OPERATION
This appliance has been designed, built and marketed in
compliance with:
- the safety targets of the “Low Voltage” EEC Directive
72/23;
- the protection requirements of the “EMC” EEC Directive
89/336 amended by EEC Directive 93/68.
Check that the voltage on the rating plate, situated at the right
hand side of the crisper corresponds to the voltage in your home
(Fig. 6).
The earthing of this appliance is compulsory by law. The
manufacturer will accept no liability for injury to persons
or damage to objects arising from the non-observance of
this requirement.
If the plug and the wall socket do not comply, have the socket replaced by a qualified electrician.
He should also check that the section of the socket wires can
withstand the power absorbed by the appliance. The use of adapters, multiple sockets and extension cords is not advisable.
If absolutely necessary, use simple or multiple adapters and extenson cords in compliance with local safety regulations, paying attention not to exceed the maximum amperage, which is marked
on the simple adaptors and on extension cords and that of the
total power marked on the multiple adapters. With the appliance
plugged in, the interior light should come on when the refrigerator door is opened, unless the thermostat control knob is set to
●
symbol.
Adjust the thermostat control knob as suggested in the next
chapter. The refrigerator is ready for use.
For Great Britain only:
ELECTRICAL INFORMATION
WARNING - THIS APPLIANCE MUST BE EARTHED
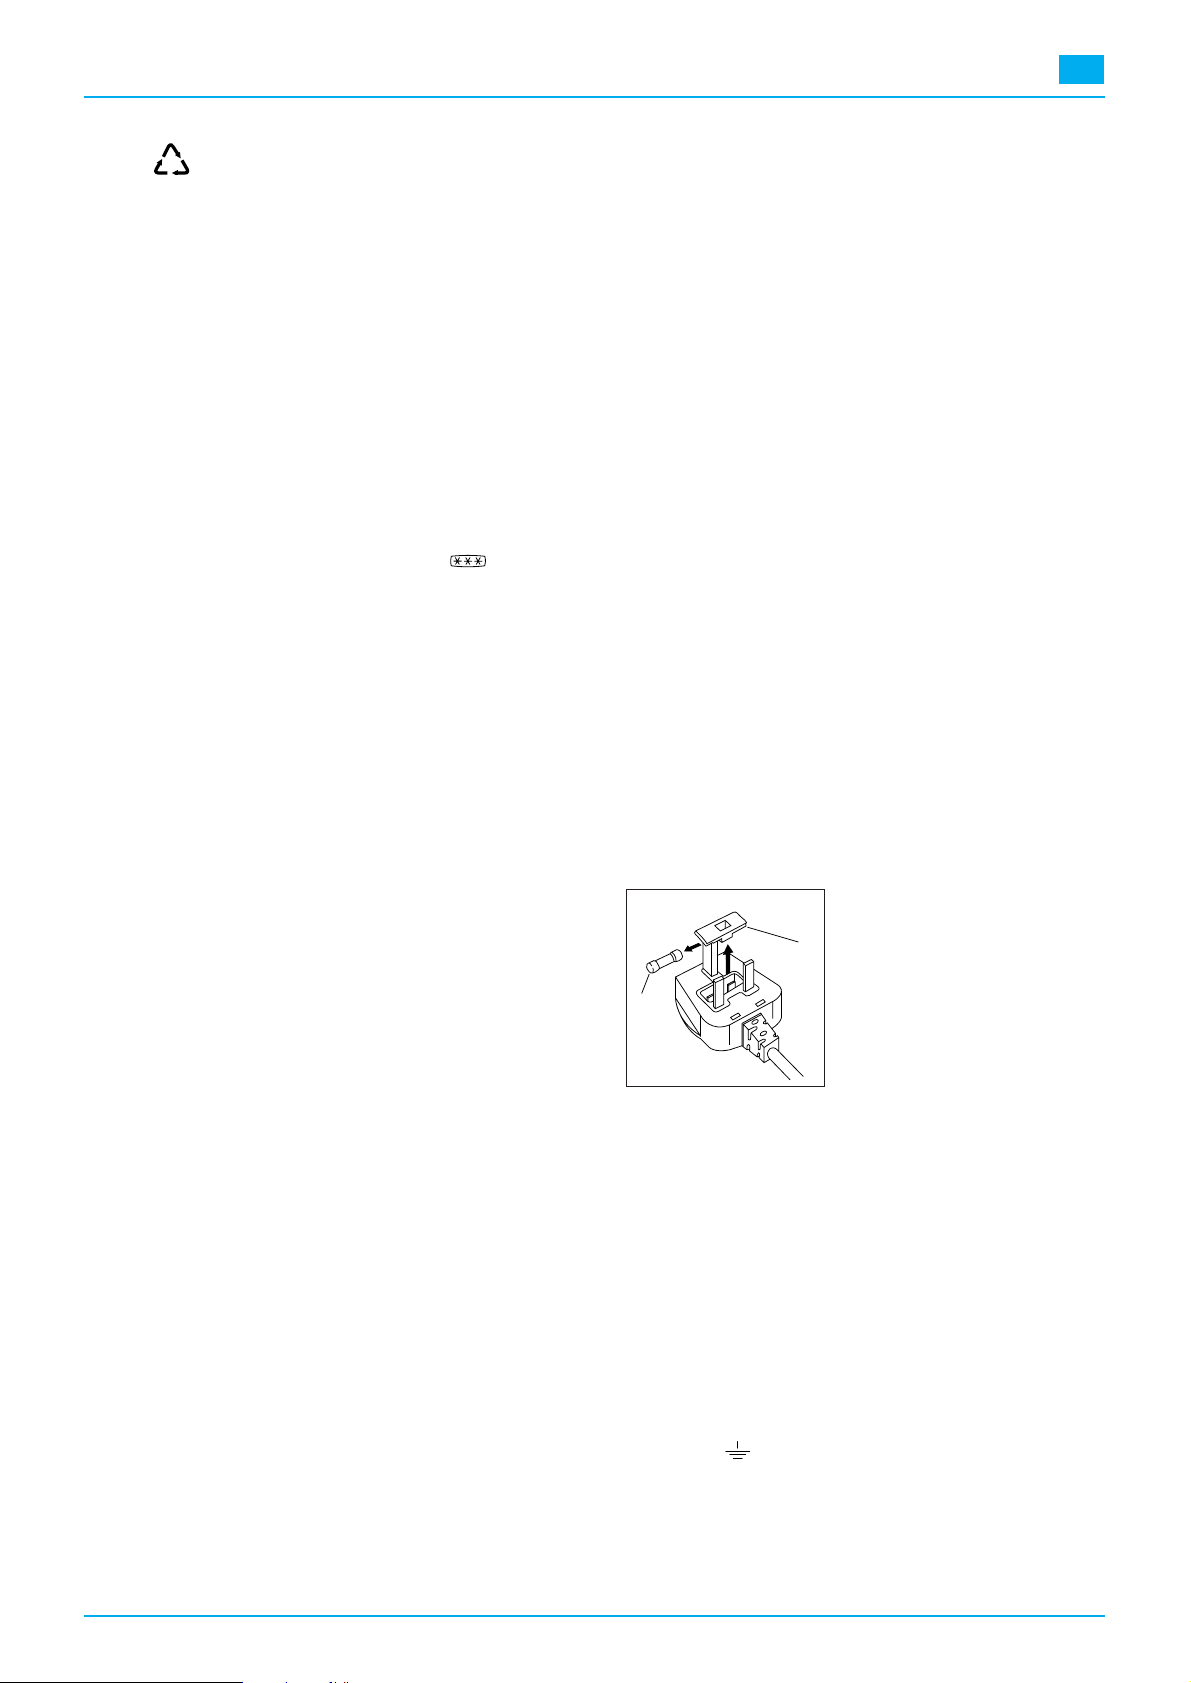
Fuse replacement
If the mains lead of this appliance is fitted with a BS 1363A 13
amp fused plug, to change a fuse in this type of plug use an
A.S.T.A. approved fuse to BS 1362 type and proceed as follows:
1. Remove the fuse cover (A) and
fuse (B)
2. Fit replacement 13A fuse into fuse cover
3. Refit both into plug.
IMPORTANT: The fuse cover must
be refitted when changing a fuse
and if the fuse cover is lost the plug
must not be used until a correct replacement is fitted.
Correct replacements are identified by the colour insert or the
colour embossed in words on the base of the plug.
Replacement fuse covers are available from your local electrical
store.
CONNECTION TO A REWIREABLE PLUG
If the fitted plug is not suitable for your socket outlet, then it
should be cut off and disposed of in order to avoid a possible
shock hazard should it be inserted into a 13A socket elsewhere.
A suitable alternative plug should then be fitted to the cable. The
wires in this mains lead are coloured in accordance with the following code:
BLUE "NEUTRAL" ("N")
BROWN "LIVE" ("L")
GREEN AND YELLOW "EARTH" ("E)
1. The GREEN AND YELLOW wire must be connected to the terminal in the plug which is marked with the letter "E" or by the
Earth symbol or coloured green or green and yellow.
2. The BLUE wire must be connected to the terminal which is
marked with the letter "N" or coloured black.
3. The BROWN wire must be connected to the terminal which is
marked with the letter "L" or coloured red.
ENVIRONMENTAL HINTS
Packing
Do not throw the packing into the garbage: first sort out the different materials (i.e.: steel, cardboard, polystyrene) following local
regulations.
Conformity declaration
This appliance incorporates parts intended to come into contact
with foodstuffs in compliance with EEC Directive 89/109/CEE.
Information
This appliance is free of CFC’s (refrigerant circuit contains R134a) or
free of HFC’s (refrigerant circuit contains R600a - Isobutane).
For more details, please refer to the rating plate on the appliance.
For appliances with Isobutane (R600a)
The refrigerant Isobutane is a natural gas of high environmental
compatibility but which si inflammable. Therefore, it is essential
to ensure that the ducts of the refrigerant circuit do not get damaged.
KNOW YOUR APPLIANCE
The appliance you have just bought allows, dependent on models, the storage of fresh foods and if it is equipped with the low
temperature compartment marked by a symbol , the freezing-in of small quantities of foods, the storage of commercially
frozen foods and the production of ice cubes.
The appliance fitted with super insulation have been designed to
grant high performances with a reduced energy consumption.
Please read these instructions carefully, you will find the description of your appliance and the useful hints to obtain the best
performance to store foods.
DESCRIPTION OF THE APPLIANCE (Fig. 1)
1) Temperature control knob of both compartments (thermostat)
2) Light switch
3) Low temperature compartment
4) Grids (adjustable in height)
5) Separator
6) Crispers
7) Inner door liner with racks
8) Butter and eggs compartment
INSTALLATION
Please ensure that the appliance is undamaged. Transit dam-ages
must be reported to your delaer within 24 h of receipt of the appliance. We suggest you wait 1 hour approx, before connecting
the appliance to the mains to allow the refrigerant circuit to be
effective. The appliance should not be installed close to heat
sources, central heating, cookers, boilers, sunlight, etc. It must
however be located in a well ventilated dry space.
If the appliance is installed under a kitchen furniture, leave a
50mm air gap (Fig. 2). Ensure that the appliance is level; adjust, if
required, the front foot (Fig. 3).
Fit the spacers (if provided) on the top of the condenser (Fig. 4).
To ensure free air circulation, ensure that the ventilation grid situated above the appliance is not obstructed (Fig. 5).
Clean the interior with a sponge dampened in a solution of warm
water and bicarbonate of soda or vinegar.
INSTALLATION OF THE APPLIANCE UNDER
A WORKTOP
This appliance can be installed under a worktop, situated at a distance of 850 mm from the floor. Proceed as follows:
- Remove screws 9 and 10 (at the front and rear) and remove the
worktop of the appliance (Fig. 16).
- Cut a ventilation opening in the worktop (Fig. 17).
- Install the appliance under the worktop and fix it at the front by
means of the screws 10 previously removed from the worktop of
the appliance.
- Mantain the distance from the rear wall as shown (Fig. 17).
B
A
English
29
GB
For the Republic of Ireland only
The information given in respect of Great Britain will frequently
apply, but a third type of plug and socket is also used, the 2-pin,
side earth type. In this case, the wire which is coloured GREEN
AND YELLOW must be connected to the EARTH contact, and the
other two wires to the pins, irrespective of colour. The supply to
the socket must be fitted with a 16 amp fuse. With the appliance
plugged in, the interior light should come on when the door is
opened.After adjustment of the temperature, as indicated in the
next chapter, the refrigerator is ready for use.
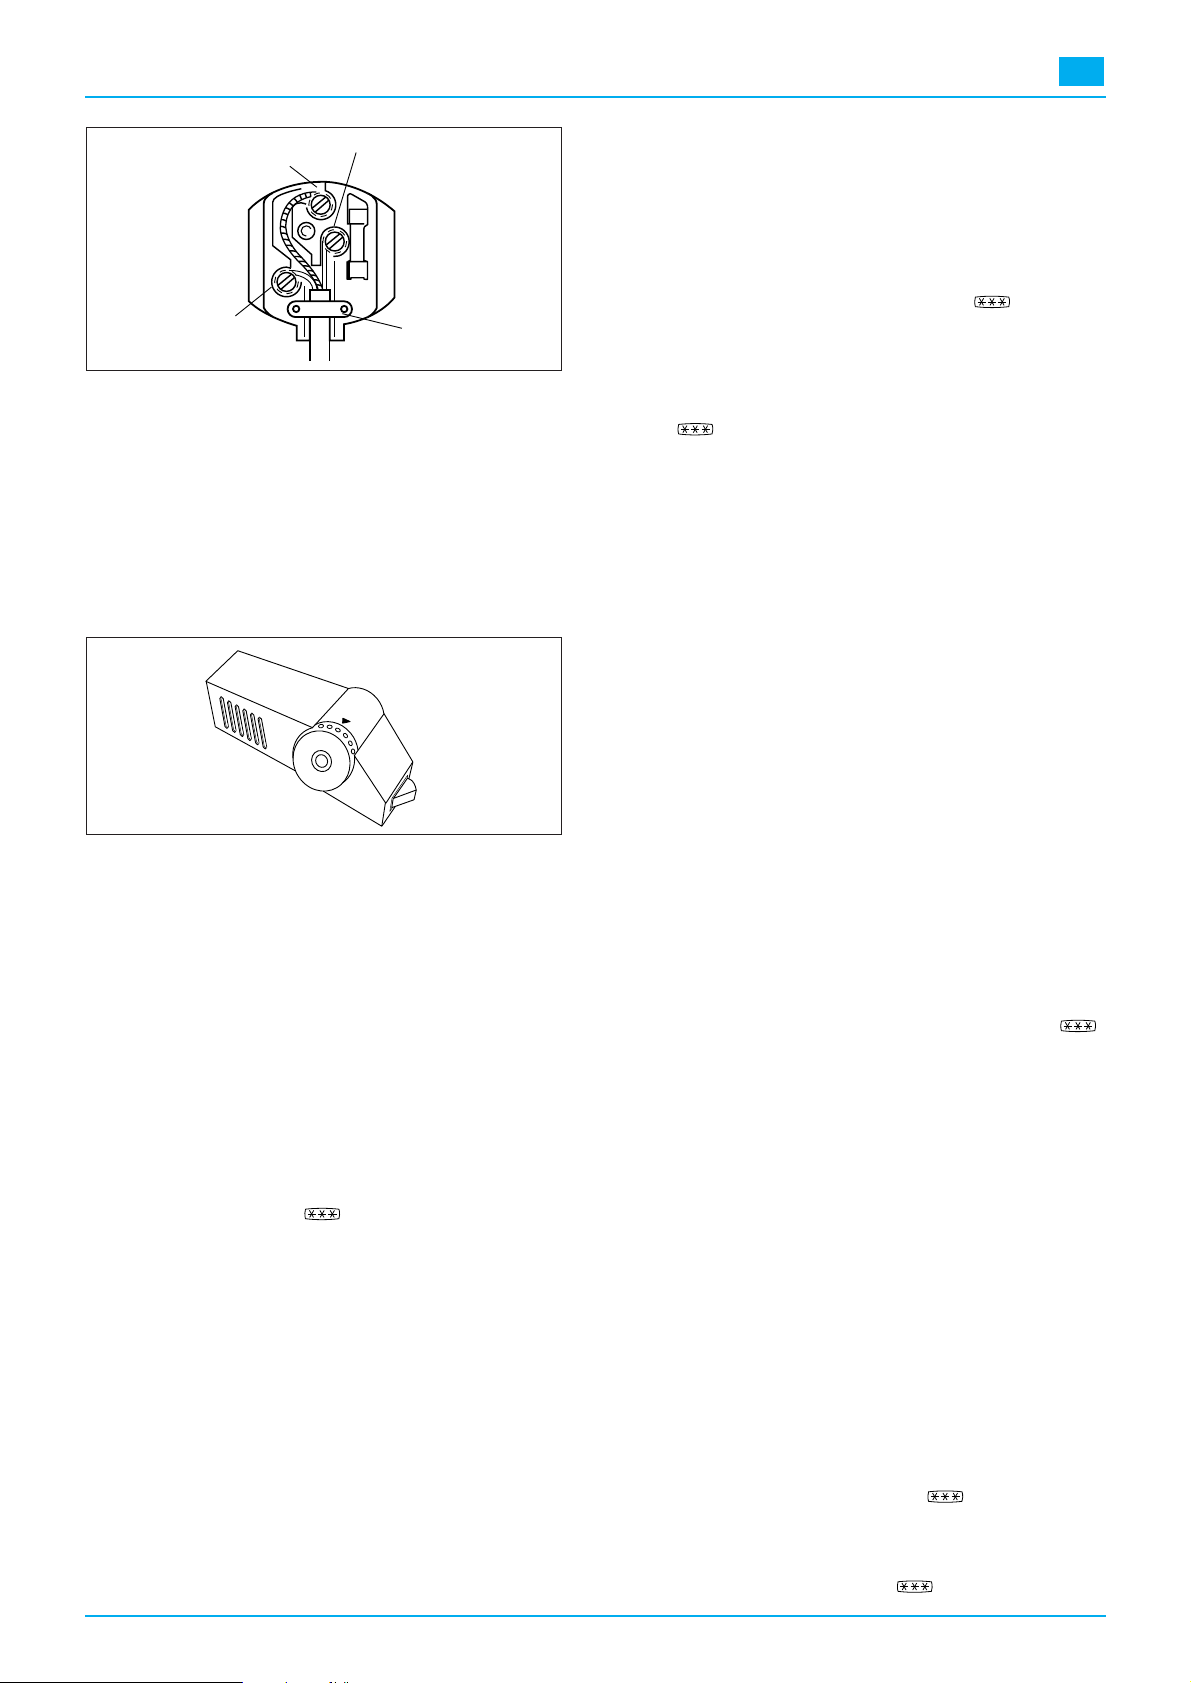
ADJUSTMENT OF THE TEMPERATURE
The thermostat (see figure) controls the temperature inside the
appliance. Position ●means that the operation of the appliance
is interrupted (the interior light is off).
To obtain the best storage of foods, we suggest you adjust the
thermostat control knob to position 4. To obtain colder temperatures in the compartment, set the thermostat control knob to the
higher settings. If the temperature in the compartment is too
cold, turn the thermostat control knob to the lower setting (position 1).
Internal temperatures are affected by the location of the appliance, the temperature of the surrounding air, the frequency of door
opening. The setting of the thermostat may have to be varied to
allow for these factors. Experience will help you
in finding the position best suited to your needs.
USE OF THE REFRIGERATOR COMPARTMENT
(Fig. 7)
The temperature inside the compartment differs dependent on the section. The coldest section is immediately above the
glass separator and near the rear wall.
All items stored in the refrigerator compartment should be wrapped in aluminium or plastic sheetings or kept in a cover-ed container. This prevents food from becoming dry on the surface and
stops strong smells and flavours being passed from one food to
another.
The space inside the refrigerator may be organised moving the
grids dependent on you needs.
Different foods are best stored in the following positions:
Cooked foods, cheese: use the top grids.
Meat, fish, sausages, etc.: these should be stored above the
glass separator.
Fruits and vegetables: these should be stored in the crisper.
Beverages: use the rack of the refrigerator door.
Butter: store in the special compartment of the refrigerator door.
In some models it is possible to adjust the temperature of this
compartment by means of the slot provided; in position ● the
butter can be easily spread.
Canned food: once the can has been opened, transfer un-used
food into a non-metallic container.
CABLE CLAMP
YELLOW & GREEN E
BLUE N
Connection to a
typical 13 amp plug
BROWN L
Important: Do not place foodstuffs or containers so that they do
not allow free circulation of air, or against the rear wall.
Do not cover the grids with paper or plastic. Allow cooked food
to cool before storing in the refrigerator compartment.
USE OF THE LOW TEMPERATURE
COMPARTMENT
(Fig. 7) (if provided)
Your low temperature compartment (marked
)
is for freezing-in small quantities of foods, producing ice cubes and storing
frozen foods.
FREEZING-IN
In the compartment the temperature of -18°C allows the
freezing-in of a maximum quantity of 1,5 kg of foods in 24 h
period.
During freezing-in, we suggest you turn the thermostat control
knob to position 2-3.
Wrap foods to be frozen in aluminium foils or polythene films
and label each packet indicating the type of food and the freezing-in date.
Please make sure that already frozen foods do not come in contact with fresh foods to be frozen.
Do not store warm foods in the low temperature compartment.
Do not re-freeze thawed or partially thawed foods, but use
them up within 24 hours or re-freeze after cooking.
Do not store liquids in glass containers.
PRODUCTION OF ICE CUBES
3/4 fill the ice cube trays, and store in the low temperature compartment. If the tray sticks to the compartment, do not try to detach it with sharp or cutting instruments, which could damage
the appliance, but use the handle of a spoon.
Attenion: Do not eat ice cubes or ice lollies immediately after
their removal from the low temperature compartment, as they
may cause cold burns.
STORAGE OF FROZEN FOODS
When buying commercially frozen foods, make sure that wrapper
or packets is intact. If it bulges or sags or has spots of moisture
on it, it may not have been kept cold enough and the contents
may have lost their original quality. When home, store commercially frozen foods in the low temperature compartment ,
with the least possible delay, as any appreciable rise in temperature may alterate their freshness.
Store commercially frozen foods no longer than the packet instructions recommend.
THAWING
Hera are some basic suggestions:
Raw vegetables: do not thaw, put straight into boiling water
and cook as usually.
Meat (large cuts): thaw in the refrigerator compartment
without unwrapping them. Before cooking, leave at room temperature for some hours, or defrost using your microwave. Please
follow the Manufacturer's recommendations.
(small cuts): thaw at room temperature or cook directly.
Fish: thaw in the refrigerator compartment without unwrapping
or cook directly before being completely thawed.
Previously cooked foods: pre-heat in the oven without removing from its aluminium container.
Fruit: thaw in the refrigerator compartment.
DEFROSTING
- If your appliance is not provided with a compartment, defrosting is automatic. During the defrost cycle some water droplets fall down the rear wall of the liner. The defrost water is
collected into a tray situated on the compressor casing, where it evaporates.
- If your appliance is provided with a compartment, to keep
 Loading...