

Whirlpool AKZ 105/AV, EMZH3463 WS, EMZH3463 BR, EMZH3463 SW PROGRAM CHART

PROGRAMMER DESCRIPTION SHEET
FR DE GB
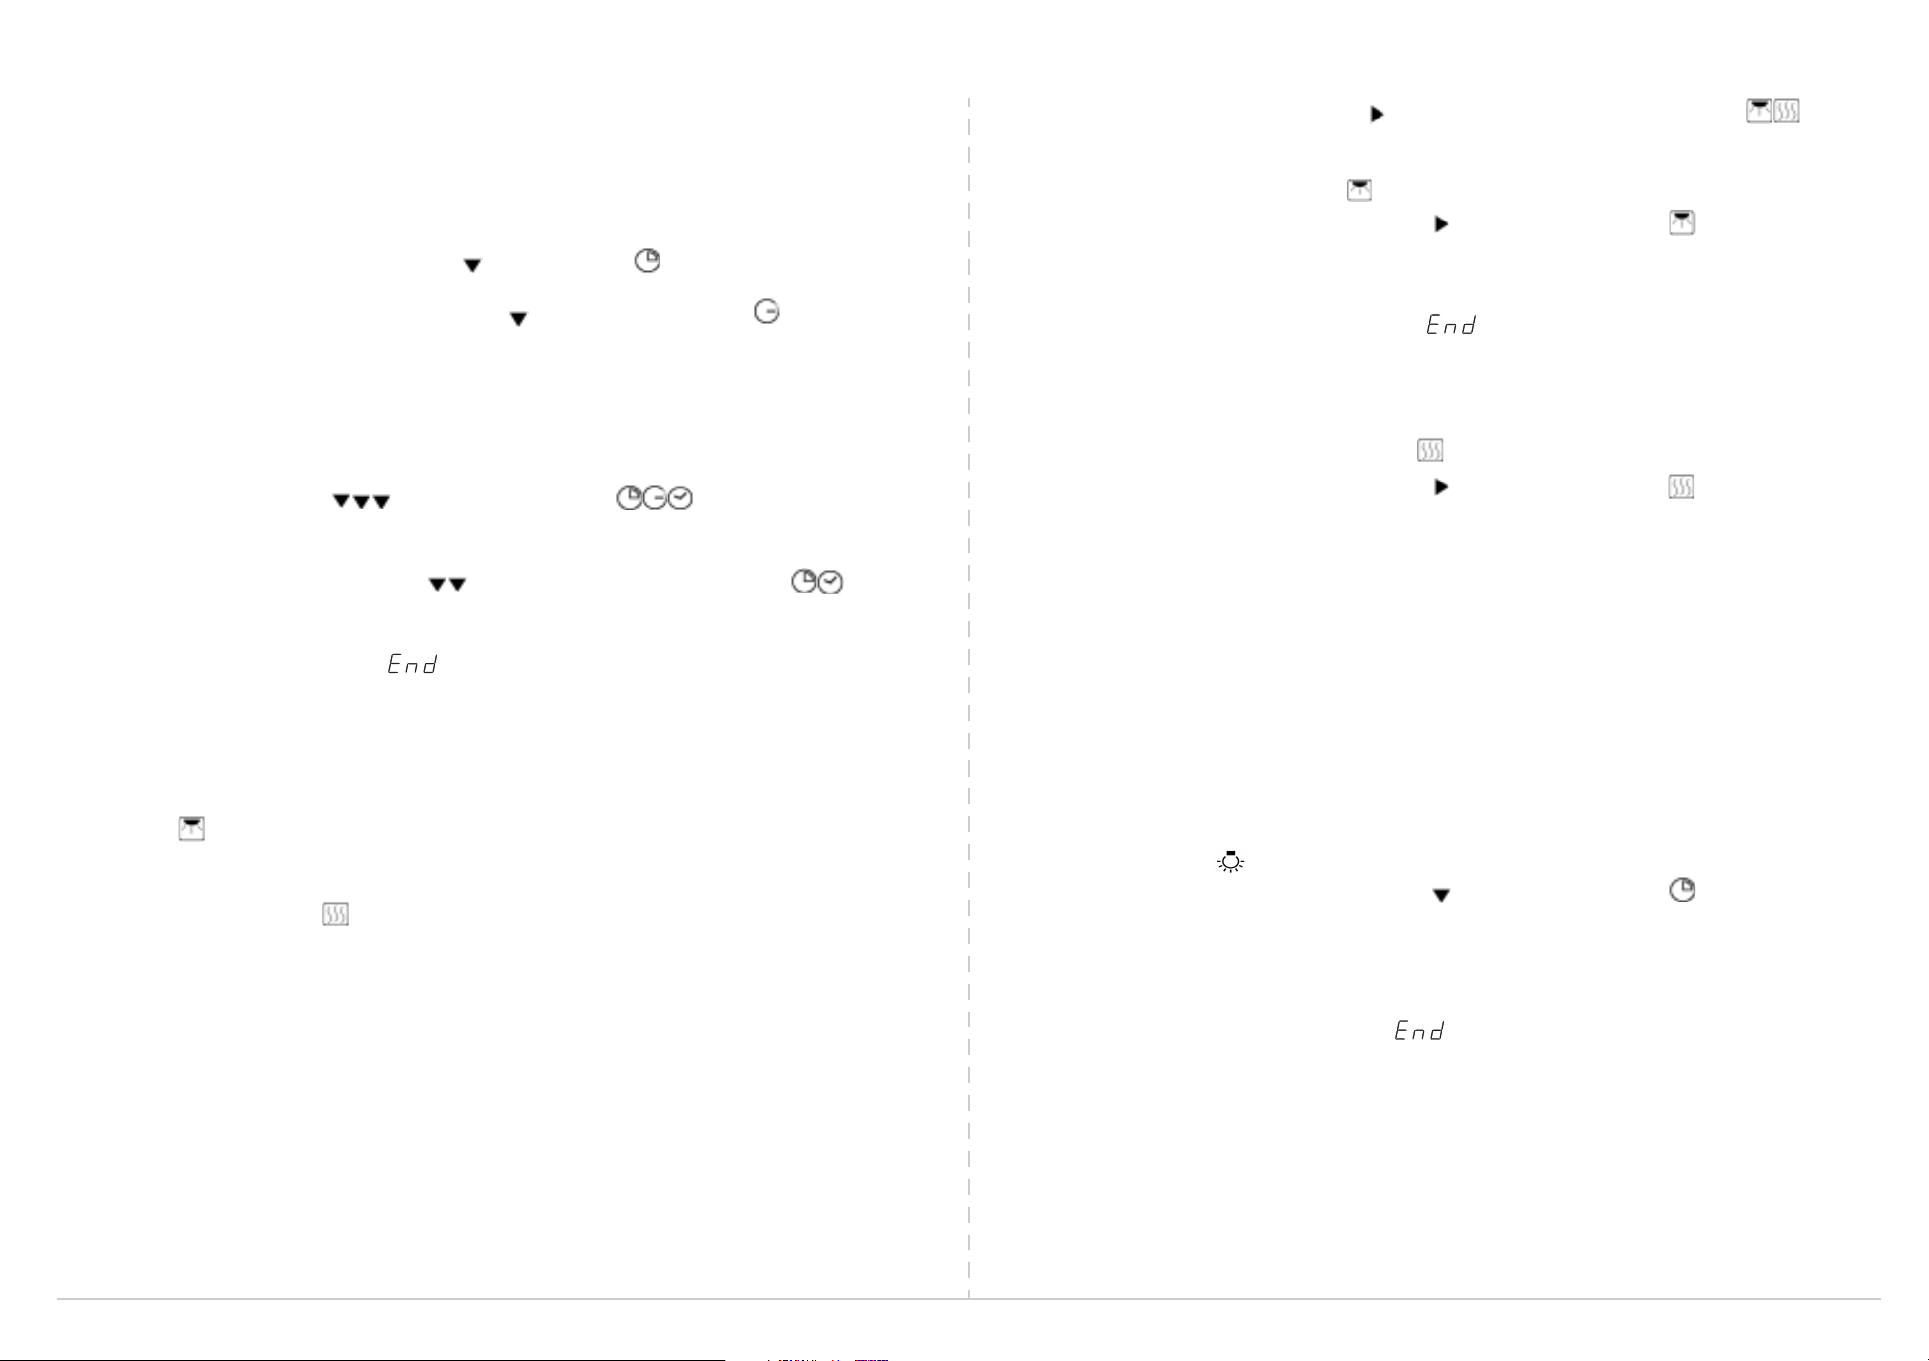
Symbol description
Cooking time Cooking end time Time of day
“Browning”
special function
• The flashing indicators , located in the lower side of the display, show the functions that
can be selected or modified at the time.
“Heat Maintenance”
special function
Scale for heat
OVEN FAST START
NOTE: TO CANCEL ANY SELECTION, SIMPLY TURN KNOB 1 TO “0”.
When the oven is connected to the power supply for the first time, or re-connected after a power failure, the display
will show “ ”.
To start the oven:
1. Turn
2. Press
3. Select the function.
knob 1
button 2
“0”
to
.
. The display shows “--:--”.
321
• The indicators located on the upper portion of the display, corresponding to the scale °C -----,
show the gradual increase of the temperature. When all the indicators are on, the selected temperature is close
to being reached.
• The indicators located on the right side of the display next to the symbols , show the selection of the 2
special functions.
USING THE PROGRAMMER
To select the time of day :
1. Turn
2. Press
3. Turn
4. Press
To modify the time of day:
Turn knob 1 to “0” and repeat the steps above.
knob 1
button 2
knob 3
button 2
“0”
to
.
twice: “12:00” or the time of day will flash on the display . Will appear next to the symbol .
to set time of day: the display will show the time of day (flashing).
or wait 5 seconds to have the value accepted automatically.
SELECTING A FUNCTION
1. Turn
If the displayed value is correct, press
have the value accepted automatically.
To change temperature or grill level:
1. Turn
2. Press
The oven starts: the indicators will light up in sequence on the display showing on the scale °C----- the
temperature increase.
N.B.:
10 seconds after the function has been selected, the oven will start: this does not prevent selecting or changing
the temperature or grill level.
Once the food is cooked:
• Switch off the oven by
knob 1
to the chosen function: the preset temperature or grill level will flash on the display.
button 2
knob 3
: the preset temperature or grill level will flash on the display.
button 2
to
confirm
turning knob 1
wait 10 seconds to have the value accepted automatically.
or
to confirm, or with the exception of function P1,
back to
“0”
.
wait 10 seconds to
General remarks:
• If the position of
•Keeping
knobs and buttons. The acoustic signal is enabled again by pressing
• For safety reasons, after 5 hours of continuous operation the oven will switch off automatically (except for
the oven light and MLTF functions).
button 2
knob 1
is changed while cooking is in progress, all selected options are cancelled.
down for 5 seconds deactivates the audio signal associated with the manipulation of
button 2
for 5 seconds.
5019 610 54191/A
SELECTING A COOKING TIME
Select the cooking time (available with any function) to start the oven on for a specified period of time. At the
end of the specified time the oven will switch off automatically.
(The maximum programmed cooking time is 3 hours and 59 minutes for all functions, with the exception of the
MLTF function (Heat Maintenance) for which it is 9 hours and 59 minutes).
After selecting a function and a temperature or grill level:
1. Press
2. Turn
3. Wait 30 seconds to have the value automatically accepted. The oven will start.
To change the preset temperature or grill level:
1. Turn
Once the food is cooked:
An audio signal begins, the display shows “ ” and the oven will switch off automatically. The oven light will
remain on for 10 minutes.
1. Press
2. Turn
button 2
knob 3
The symbol “-” in front of the selected value indicates that the time will count down to “0”.
To display the previously selected temperature, turn the
knob 3
button 2
knob 1
until the display shows a flashing next to the symbol and “0:00” appears.
clockwise: the display will show the selected time (flashing).
knob 3
and confirm by pressing
to stop the audio signal and switch off the oven light.
back to
“0”.
button 2
, or wait 10 seconds to have the value accepted automatically.
one click.
by
SELECTING A TIME BY WHICH THE COOKING MUST BE COMPLETED
(Using this function it is possible to
automatically at another defined time.)
For example:
switch off at 12:30 pm; the maximum programmed time is 23 hours and 59 minutes).
After selecting a function and a temperature or a grill level:
1. Press
2. Select the cooking time by turning
3. Press
show the time of the day (e.g.: 9:00 + 45 minutes = 9:45).
4. Select the time at which the oven should switch off, turning
5. Press
have the value automatically accepted.
6. The oven will switch on at a time that is the switch-off time minus cooking time: (in the case of the example:
11.45).
The display will show the indicators flashing next to the symbols together with the time of day.
• To
• To verify or modify both the cooking time (45 minutes) and the switch-off time (12:30), press
• When the oven switches on: the indicators are shown on the display next to symbols and the set
cooking time is shown.
Once the food is cooked:
An audio signal begins. The display shows “”, the oven switches off automatically and the oven light stays on
for 10 minutes.
1. Press
2. Turn
if the time is 9:00 am, it is possible to switch on the oven for 45 minutes in such a way that it will
button 2
button 2
button 2
verify
button 2
knob 1
until the display shows a flashing next to the symbol and “0:00” appears.
to confirm the selection: the indicator will flash next to the symbol and the display will
until the time of day is shown again (in the case of the example, 9:00), or wait 30 seconds to
the chosen temperature or grill level, turn
to stop the audio signal and switch off the oven light.
back to
“0”
.
program
knob 3
the oven to switch on at a specified time and have it
: the display will show the selected time (flashing) (e.g.: 45 minutes).
knob 3
knob 3 by one click
(e.g.: 12:30).
.
switched off
button 2
.
SPECIAL FUNCTION
• Browning
This function allows the browning of food
1-2-3
.
• Heat Maintenance function
This function keeps the temperature in the oven at
To cancel the function, turn
Programming the special functions
These functions are available
The two functions can be programmed together or separately.
N.B.:
-The “Heat Maintenance” special function is available and can be used at the end of the following
functions: Static, Pastry, Turbofan, Fan and Booster.
-The “Browning” special function is available and can be used after programming Static, Fan and Booster
functions.
knob 1
only
while
it is cooked. It is possible to choose one of three levels of browning
60°C
at the end of the cooking cycle, for a maximum of 5 hours.
“0”
to
.
when programming cooking time or switch-off time.
• When pressing
the function selected via
After selecting a function, a temperature, a cooking time or the time at which the oven should switch off:
To select the “Browning” special function :
1. Press
2. Turn
3. Press
Once the food is cooked:
An audio signal begins, the display shows the message “” and the oven switches off automatically. The oven
light remains on for 10 minutes.
• Press
• Turn
After selecting a function, a temperature, a cooking time or the time at which the oven should switch off:
To select the “Heat Maintenance” special function
1. Press
2. Turn
3. Press
At the end:
An audio signal begins and the displays shows “60C”.
• Press button 2 to stop the audio signal and switch the light off.
The oven will maintain a temperature of 60°C until
button 2
knob 3
button 2 twice
button 2
knob 1
button 2
appears.
knob 3
button 2
button 2
until the display shows the indicator flashing next to the symbol and “0” appears.
to select the degree of browning:
to stop the audio signal and switch off the light.
back to
until the display shows the indicator flashing next to the symbol and the message “---C”
to select “60°C”.
or wait 30 seconds to have the value accepted automatically.
, if the indicators on the display
knob 1
, the special functions are
1, 2
or 3.
or wait 30 seconds to have the value accepted automatically.
“0”
.
knob 1
DO NOT
NOT
available.
is turned to
flash next to symbols , then for
“0”
.
SELECTING THE TIMER
The oven provides a timer that can be used to control the duration of cooking processes taking place on appliances
other than the oven (e.g.: microwave oven, cooktop, toaster).
(The maximum programmed time is 3 hours and 59 minutes, independent of what the oven is used for in the
meantime.)
To set the time:
1. Keep
2. Press
3. Turn
4. Press
When the set time has elapsed:
• An audio signal begins and the display shows “”.
Press
knob 1
button 2
knob 3
time indicates that the time will be counted down to “0”.
button 2
button 2
“0”
on
clockwise. The selected time will flash on the display. The symbol “-” on the left of the selected
: The audio signal stops. The display shows the time of day.
or . The display shows the time of day.
until the display shows the indicator flashing next to the symbol .
or wait 30 second to have the value automatically accepted.
 Loading...