

Whirlpool AKP 503/WH/02, AKP 503/NB/02 INSTRUCTION FOR USE
N C
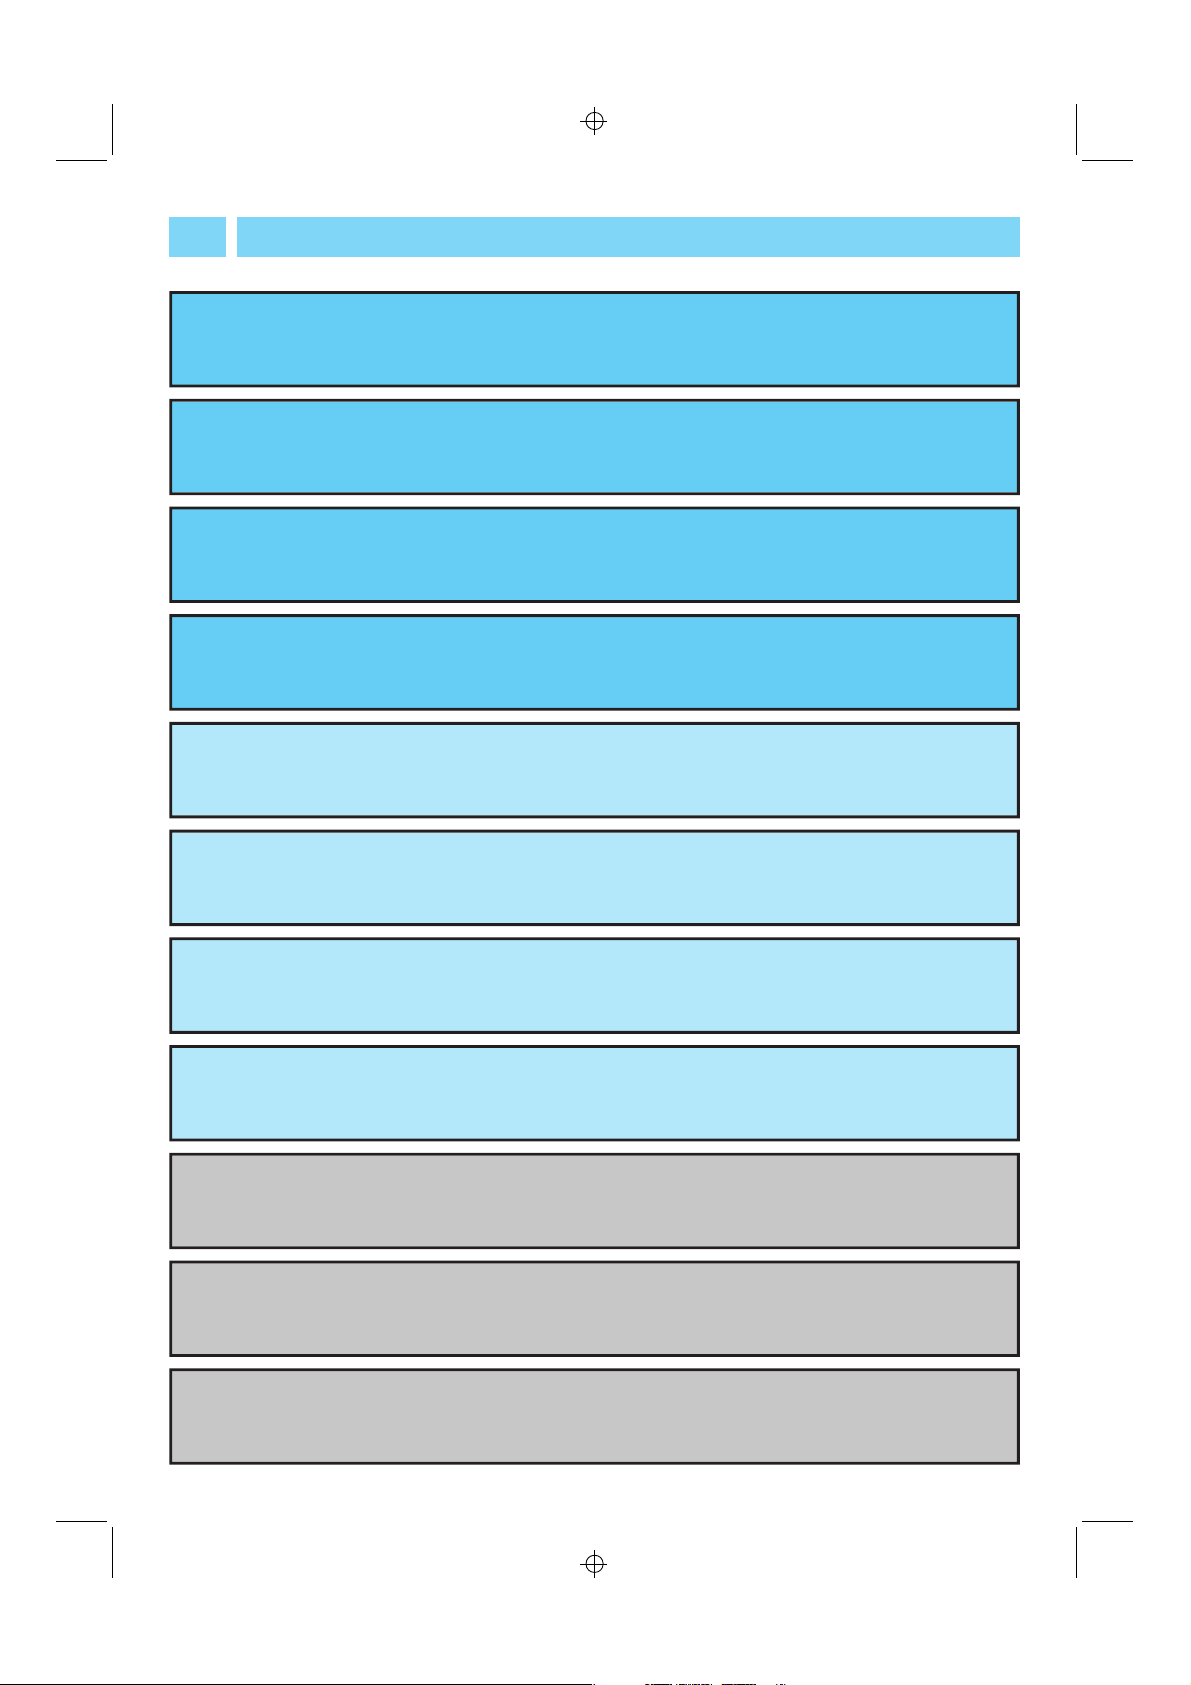
TABLE OF CONTENTSGB
THE OVEN AND ITS ACCESSORIES Page 81
THE PANEL Page 81
BEFORE USING THE OVEN Page 82
PRECAUTIONS AND GENERAL SUGGESTIONS Page 82
HOW TO USE THE OVEN FUNCTIONS Page 83
HOW TO MAINTAIN THE OVEN AND ITS ACCESSORIES Page 87
TROUBLE-SHOOTING GUIDE Page 88
AFTER-SALES SERVICE Page 88
INSTALLATION Page 89
BUILDING-IN Page 89
OVEN COMPLIANCE WITH REGULATIONS Page 90
80
M Y
N C
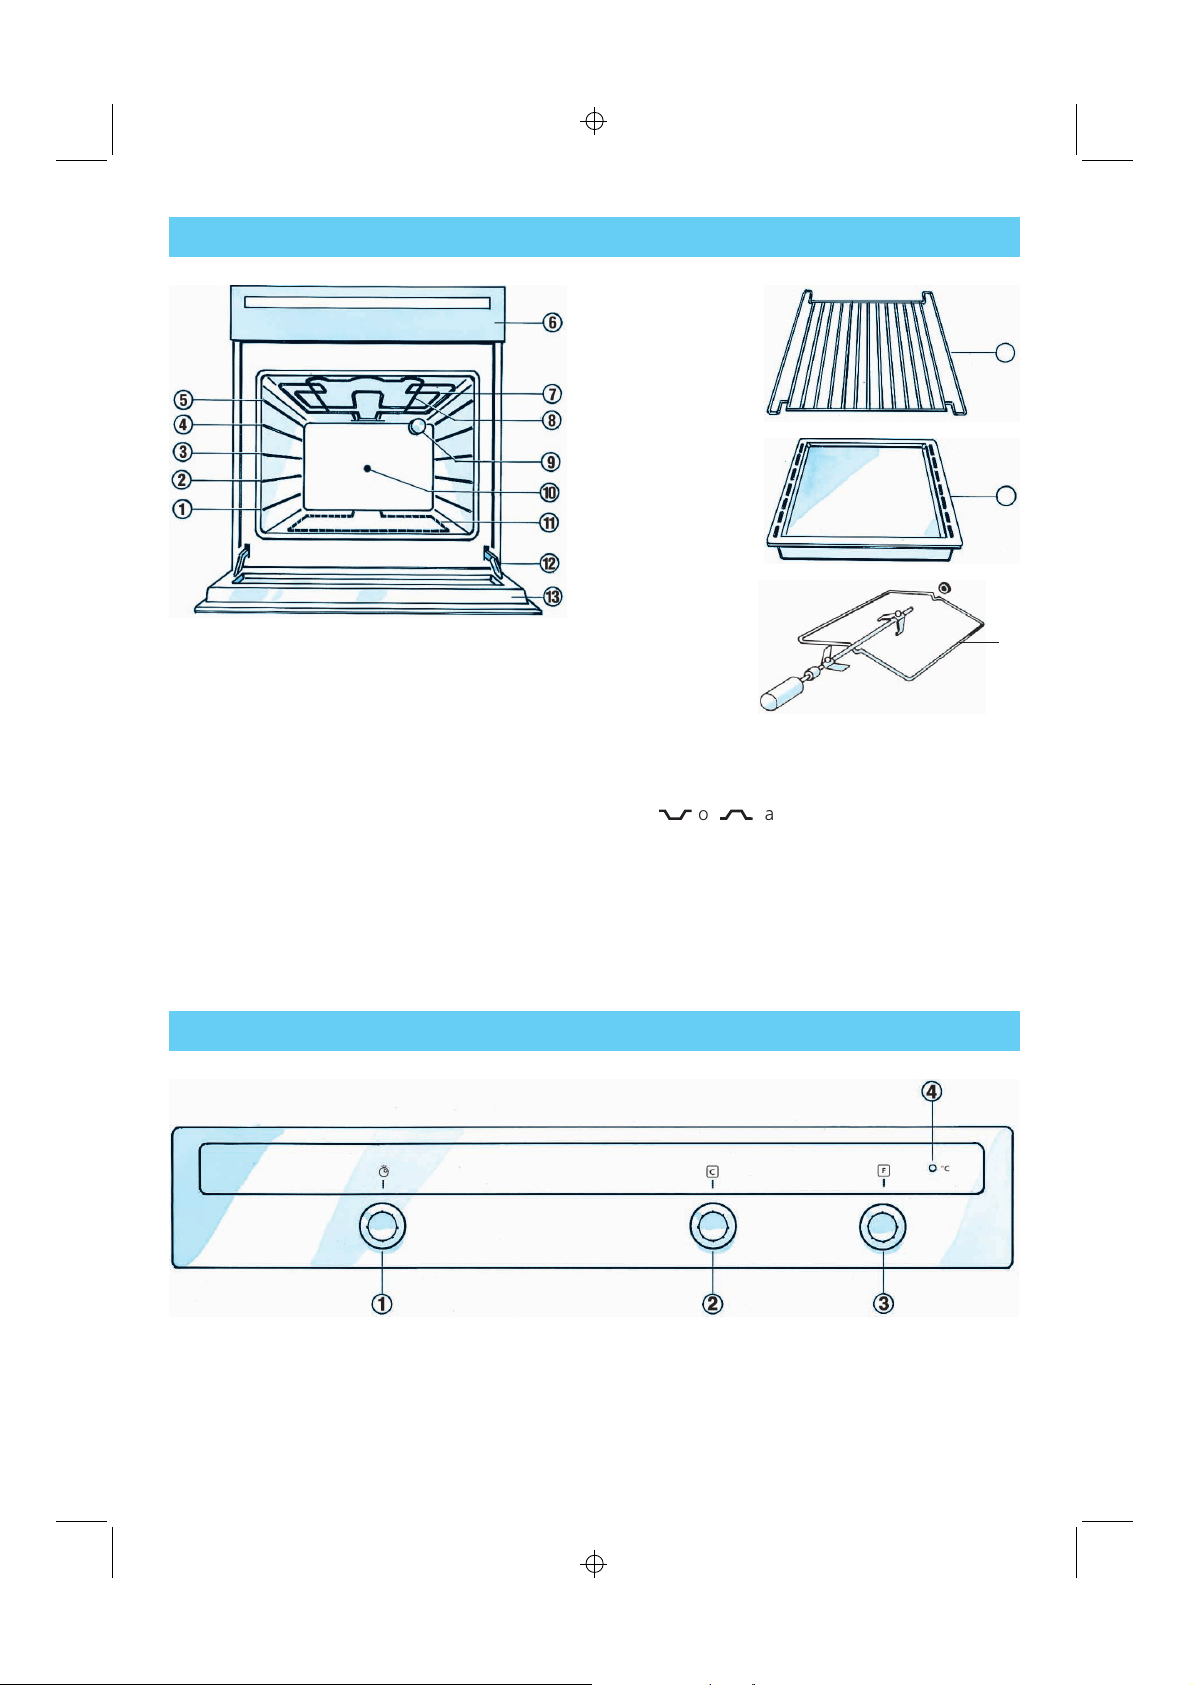
THE OVEN AND ITS ACCESSORIES
4
5
6
X
1-2-3-4-5.
6.
Panel
7.
Grill
8.
Topheatingelement
9.
Oven interior light
10.
Aperture for turnspit
11.
Bottom heating element (not visible)
12.
Oven door hinges
13.
Oven door
Runner positions
14.
15.
16.
THE PANEL
Wire shelf: to be used as a support for
casseroles, cake tins, and any other cooking
utensil.
It can be positioned in two different ways
(
=or}
Fat pan to be used as cooking utensil (i.e.
for meats, chickens, fish with or without
vegetables). It can be positioned under the
wiring shelf when cooking meat to collect
juices. You can pour some water in the fat
pan to reduce smoke and grease spatters.
Turnspit
) and on any available runner.
1.
Minute minder
2.
Thermostat control knob
3.
Functions selector
4.
Red temperature red lamp
81
M Y

N C
BEFORE USING THE OVEN
1. Packaging (plastic bags, polystyrene parts,
etc.) must be stored out of the reach of
children as they are potentially dangerous.
2X. The package is recyclable and is marked with
the recycling symbol
3. Check that the oven is not damaged and
that the door closes tightly.
4. Please ensure that the installation and the
electrical connection have been carried out
by a qualified technician, following the manufacturer’s instructions and in compliance with
local safety regulations.
5. Take out all the accessories in your oven, and
startyourapplianceatthetemperatureof
o
200
C for one hour in order to eliminate bad
smell and fumes, caused by the insulation
and coating protection grease of the heating
elements.
We suggest you to open your windows
during this operation.
d
.
2
X
d
PRECAUTIONS AND GENERAL SUGGESTIONS
1. Warning: Electrical shock hazard.
Before any maintenance operation,
disconnect the electricity leading to the oven
at the main power supply. Failure to do so
could result in electrical shock or personal
injury.
2X. Do not lift the oven by the door handle, but
lift it at the sides as illustrated (see arrow).
3. During the operation and immediately after
use, some oven parts (i.e. oven door glass)
are hot. Avoid touching them.
4. Attention
Accessible parts may be hot when the grill is
in use. Keep young children away from the
oven.
5. Useprotectiveovenglovestoremovehot
dishes or removing pans/trays.
6. Do not keep any inflammable items in the
oven. If the appliance is inadvertently
switched on, they could catch fire.
7. Make sure that electric cables do not get
trapped in the hot oven door.
8. The Manufacturer cannot be held responsible
for injuries to persons or properties derived
from improper, wrong or unreasonable use
of the oven.
82
2
X
9. The appliance is built with re-usable
material. When scrapping follow the local
environmental-protecting regulations.
Render the oven inoperative. Cut the power
cable off.
10. Do not cover the oven bottom with
aluminium foils.
M Y

N C
HOW TO USE THE OVEN FUNCTIONS
OVEN LIGHT
The oven light can be useful when cleaning the
oven.
HOW TO OPERATE
Turn the selector knobto symbol.
STATIC FUNCTION - BOTTOM
2
HEAT ONLY
This function is useful to complete cooking of
filled cakes or when is necessary to dry the
lower surface of food. Use it the last 0-5
minutes of cooking.
HOW TO OPERATE
1
.
Turn selector knobto symbol2. The
X
oven light switches on.
2
.
Turn the thermostat knobclockwise to
X
the temperature required. The red
thermostat lamp switches on.
Whenever the temperature selected has been
attained, the red lamp will switch off.
At the end of cooking
3.
Turn the selector knob anti-clockwise to
position 0.
4.
Turn the thermostat knob anti-clockwise to
position
x
.
X
X
1
2
2
83
M Y
 Loading...