

Wharfedale Pro EVO 4.1, EVO 4.2, EVO 4.S, EVO 4.C, EVO 4.3 User Manual
...
EVO4 Usermanual 91105.pdf 1 2019/11/8 14:18:22
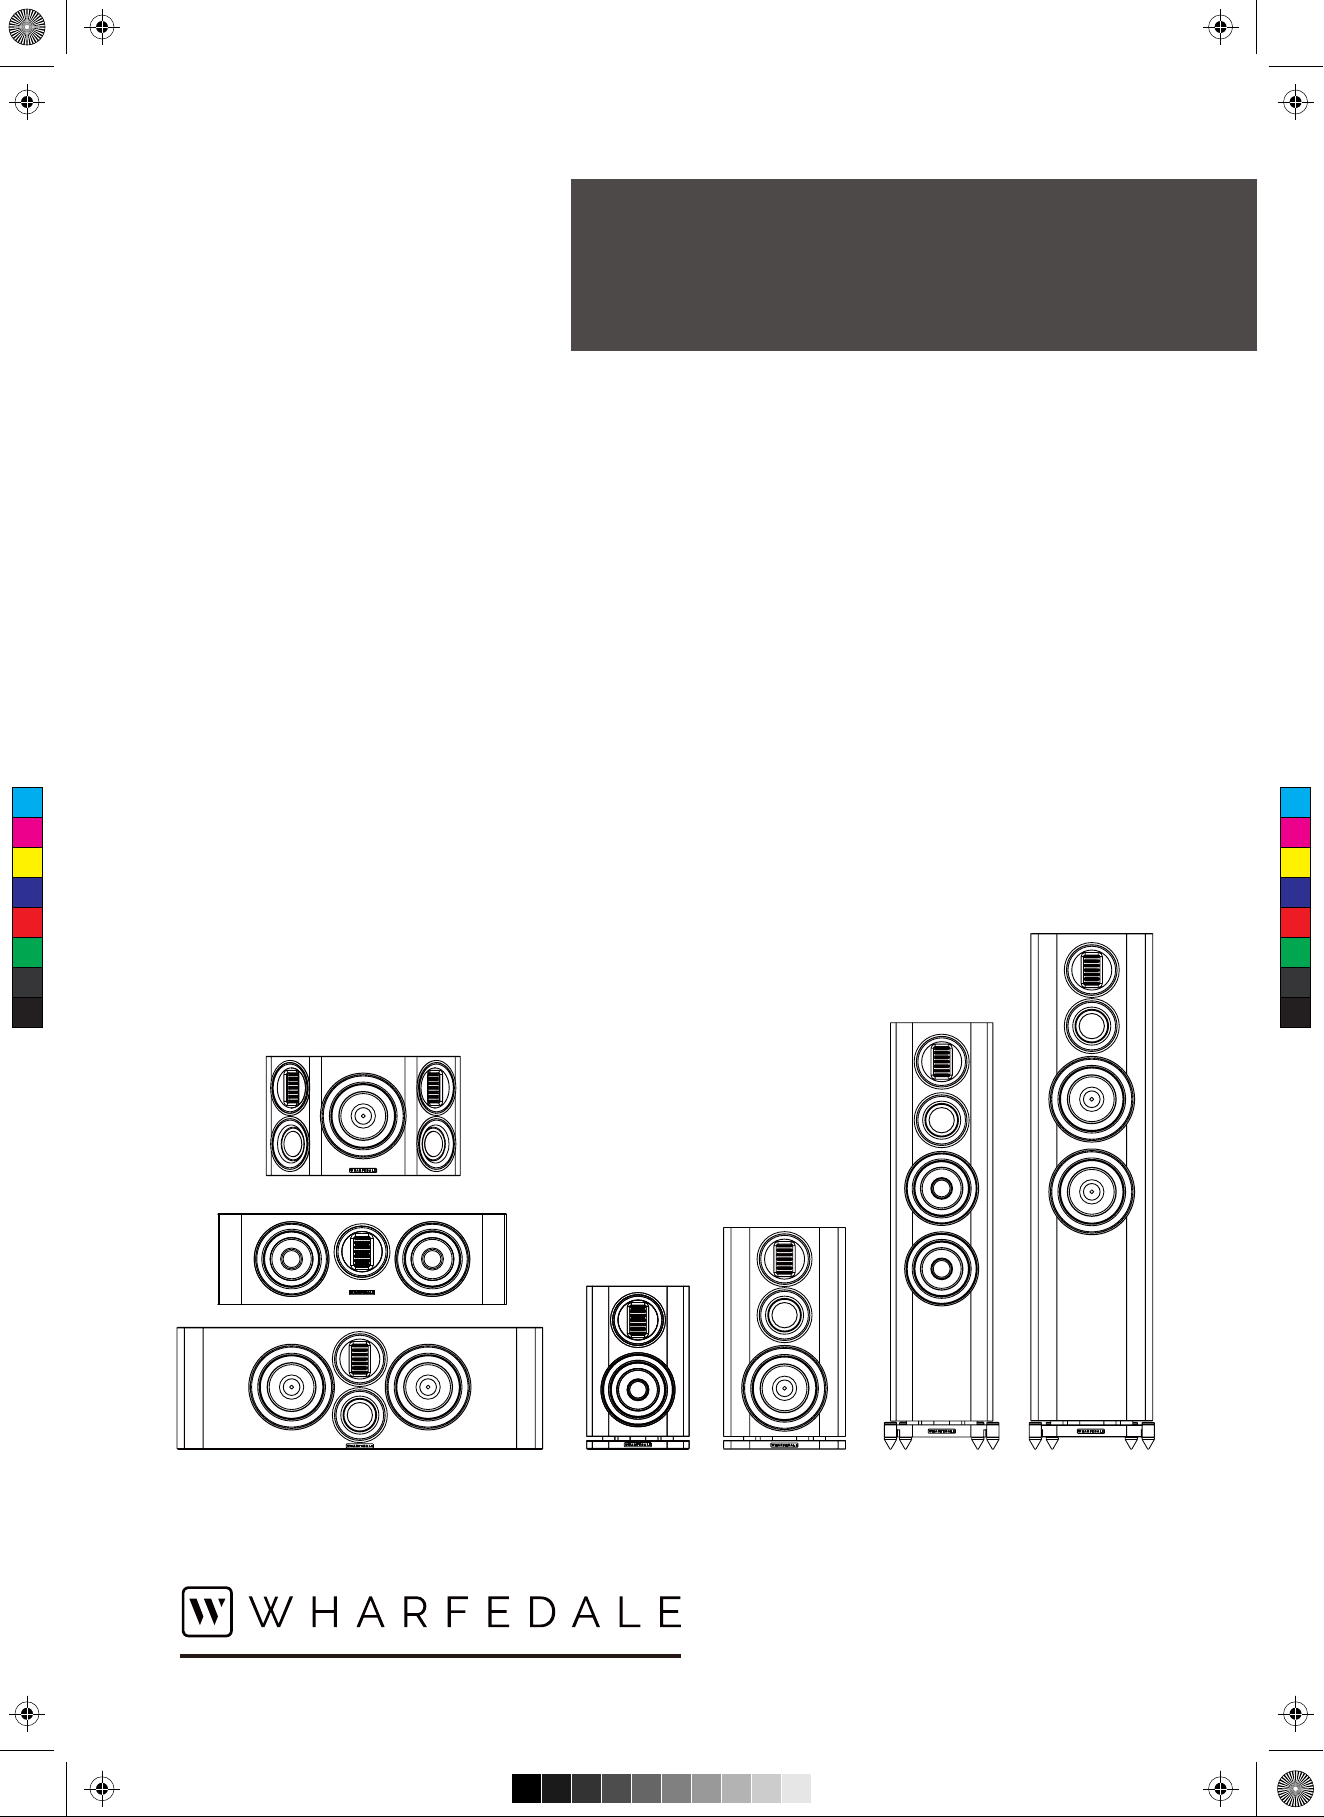
EVO4 Series
EVO 4.1
EVO 4.2
EVO 4.3
EVO 4.4
EVO 4.C
EVO 4.CS
EVO 4.S
C
M
Y
CM
MY
CY
CMY
K
BRITAIN'S MOST FAMOUS LOUDSPEAKERS
User Manual
EVO4 Usermanual 91105.pdf 2 2019/11/8 14:18:22
Important Safety Information
Before installing this product read all these instructions!
This symbol indicates that there are important operating and maintenance instructions in the literature
accompanying this unit.
Read these instructions. Keep these instructions. Heed all warnings. Follow all instructions.
Before making any connections, switch all the units in your system o
Set the volume control at minimum when you switch on your system or change sources, and turn the level up gradually.
DO NOT use your r at full volume.
Ensure that all loudspeakers in the system are correctly wired.
DO NOT subject your loudspeakers to excessive cold, heat, humidity or sunlight.
Loudspeakers should not be placed directly facing other
DO NOT place heavy objects on top of loudspeakers.
Some manufacturers forbid the placing of objects on top of their TV sets. Check your TV handbook before installing the speaker directly on
your TV set. Consult your TV dealer if you are in any doubt.
DO NOT connect speaker terminals to the mains supply.
DO NOT dismantle the loudspeaker. There are no user serviceable parts inside it and you will void the warranty by doing so.
Refer all servicing to
service personnel. Servicing is required when the apparatus has been damaged in any way, the apparatus
has been exposed to rain or moisture, does not operate normally, or has been dropped.
Caution: Changes or
ations not expressly approved by the manufacturer could void the user's authority to operate this device.
at the mains.
r share the same shelf or cabinet.
C
M
Y
CM
MY
CY
CMY
K
Unpacking Your Loudspeaker
EVO4 loudspeakers come in di erent shapes and sizes. If you are unpacking a r stander, please remember that these units are heavy.
We suggest that you have someone to assist you.
Lift the loudspeaker carefully out of the packing. DO NOT try and lift the loudspeaker using the protective bag.
Unpack the accessories carefully.
If there is any sign of damage or if the contents are incomplete, report this to your dealer as soon as possible.
Retain the packing for future safe transport of the product. If you dispose of the packing, do so with respect to any recycling provisions in your
area.
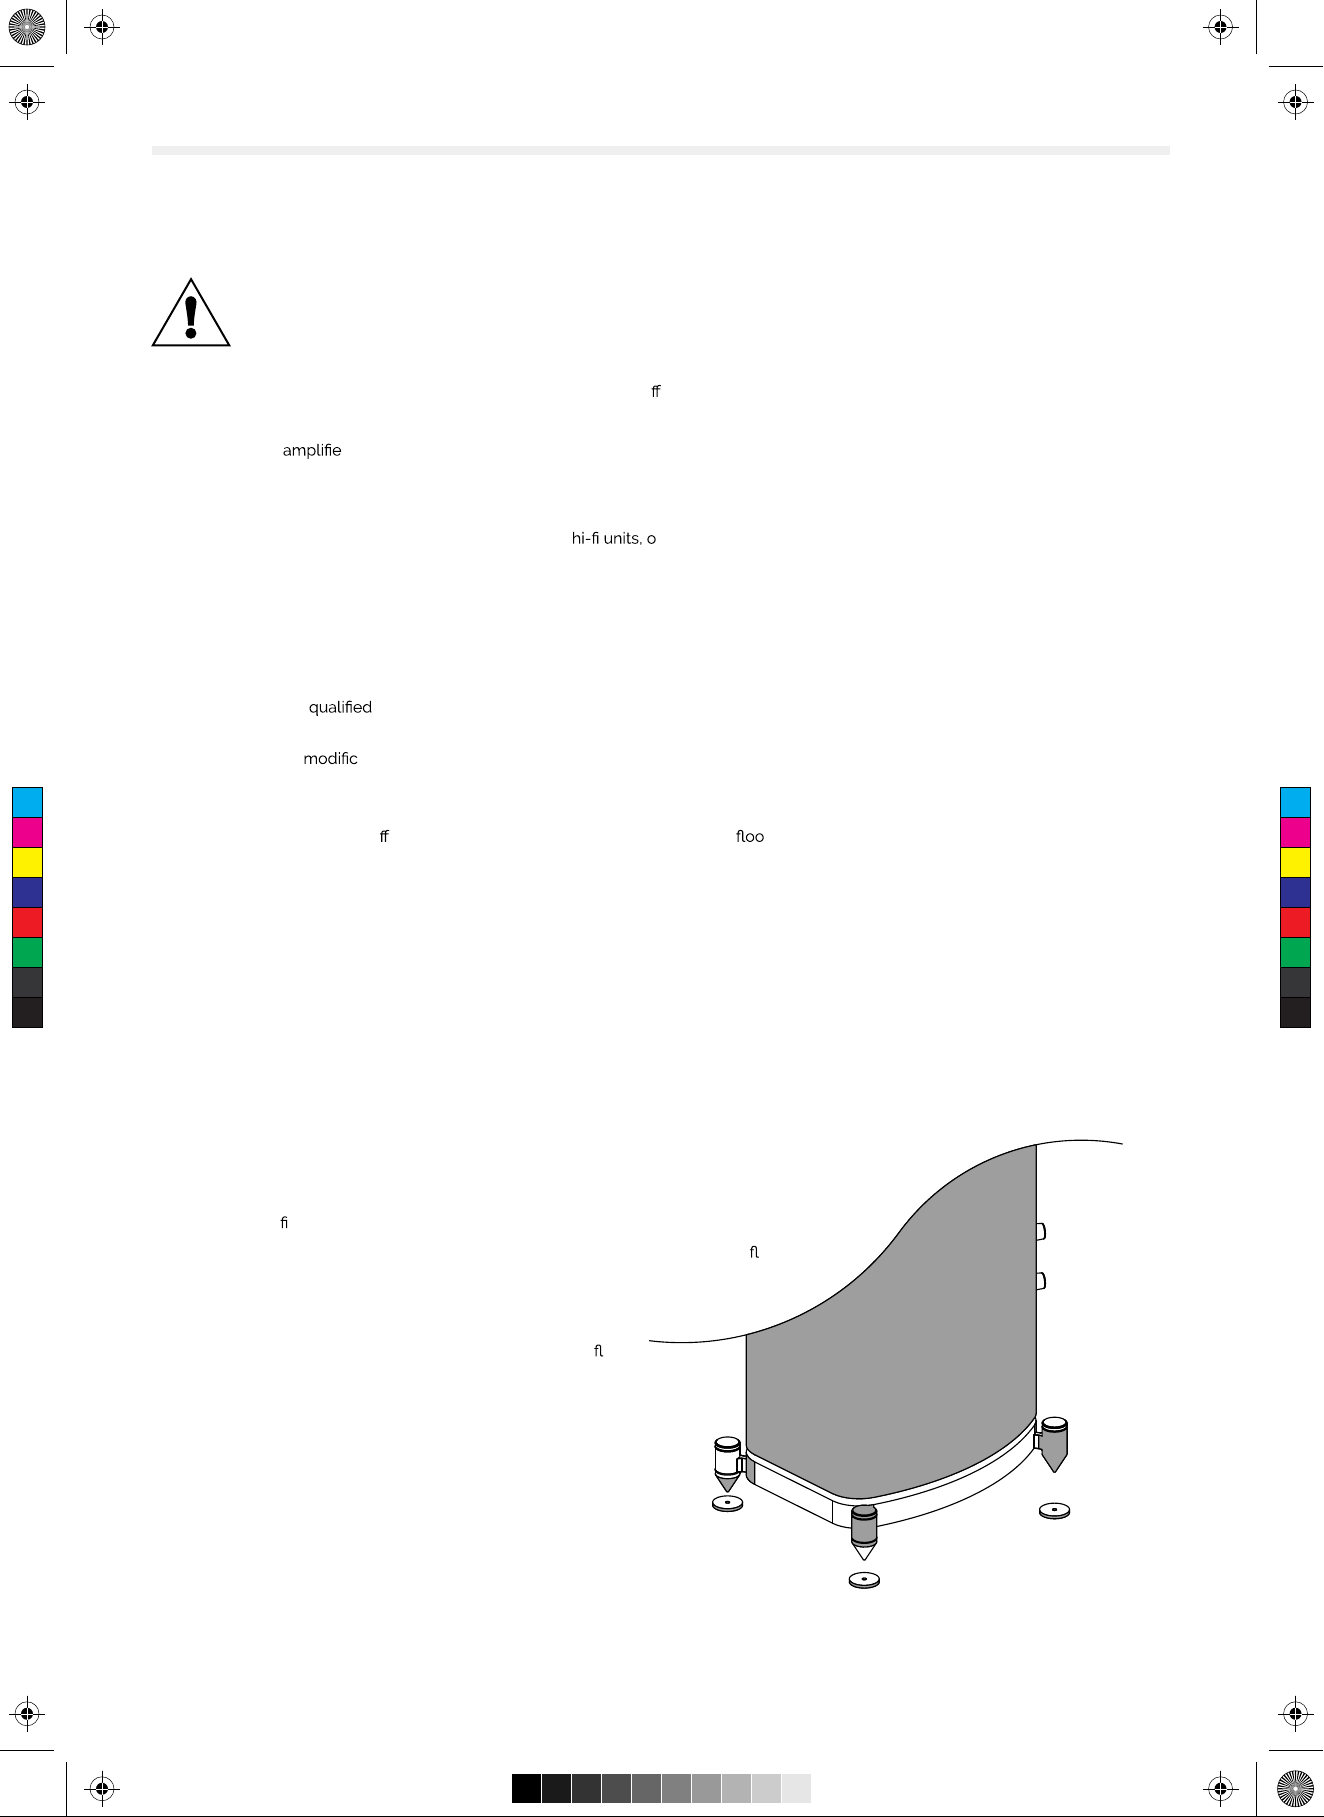
ATTACHING THE SPIKES
CAUTION: SPIKES ARE SHARP.
Make sure that there are no wires or hidden obstacles that could be damaged by the spikes
in the immediate operational area of the speakers.
NEVER drag a loudspeaker on its spikes. always lift it. lf the item is heavy get assistance.
A mounting hole is located at each corner of the plinth. Thread a spike through each hole.
Tighten the collar
After all the spikes are attached, invert the loudspeaker and place it carefully on the
Spike Seats
A set of spike seats is provide to provided to protect sensitive
from possible damage. The loudspeaker should be mounted on the wide
spikes and the spike seats should be placed under each spike as shown.
Level the loudspeakers with the spiker seats in place.
nger tight so that the spike is secure but not locked inplace.
oor.
oors
1
EVO4 Usermanual 91105.pdf 3 2019/11/8 14:18:22
Preparing the EVO4 Loudspeakers
Stands and Brackets
The bookshelf loudspeakers are intended primarily for stand mounting, though they can be mounted on wall brackets or even on sturdy
shelves. The quality of loudspeaker stands greatly in ces the performance of your loudspeakers, please do no sy products.
Centre Channel Loudspeakers
Each centre channel loudspeaker is supplied with one set of mounting feet. By using combination of large and small feet the loudspeaker
may be angled to point directly at the listening position. This will be found useful when the centre speaker is positioned under the TV
screen.
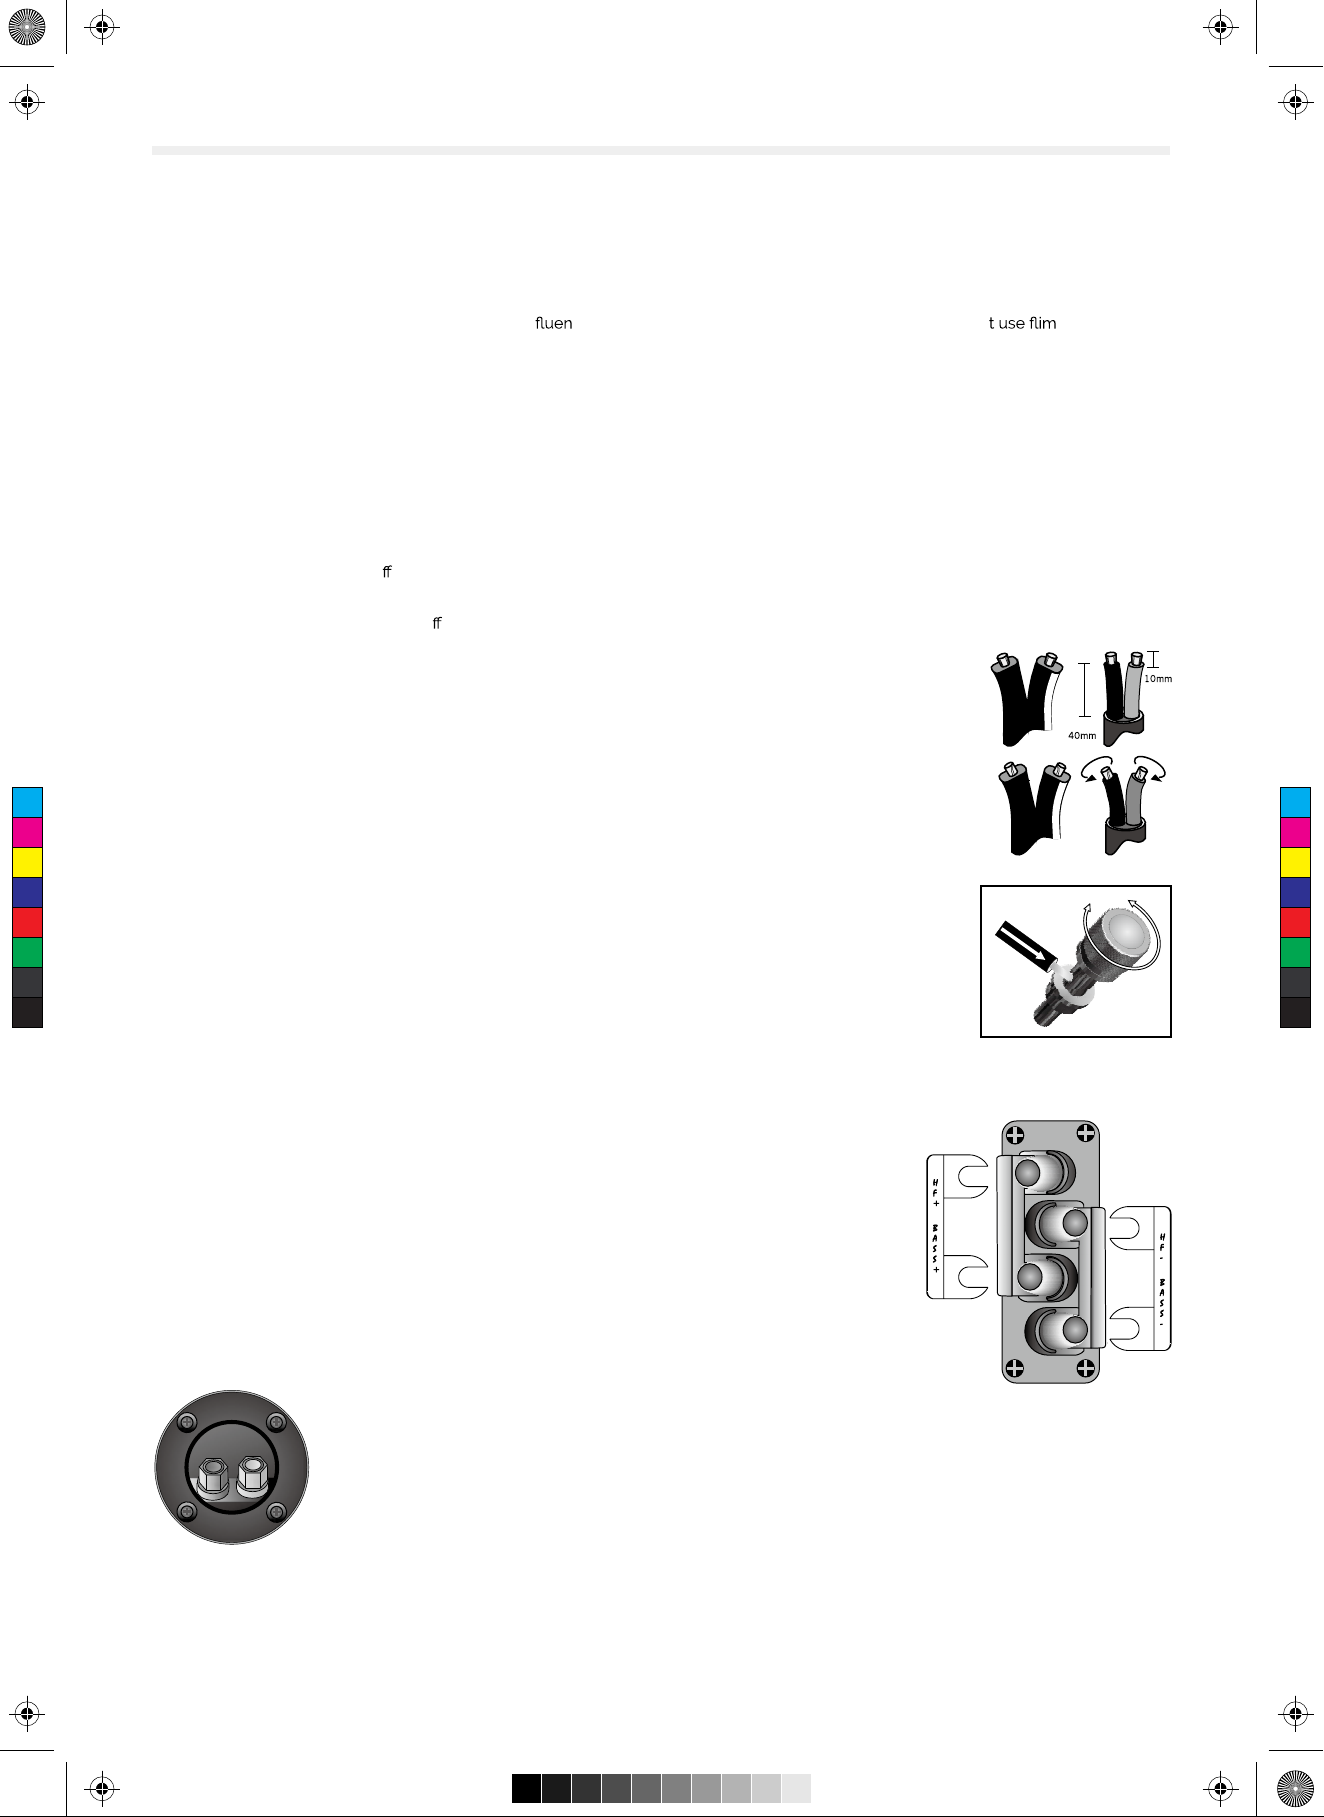
Cables and Connectors
Choosing Loudspeaker Cable
Specialist audio cable usually o ers better performance than general purpose 'bell' or 'zip' wire.
Choose a cable of suitable diameter – cable that is too thin will limit the dynamics of the sound and may impair the bass response. Audio
cable is polarised, with two cores of di
your cable, give careful thought to the positioning of your loudspeakers.
This is especially the case if you are bi-wiring your loudspeakers.
Cable lengths to loudspeaker pairs should be the same for left and right channels in order to equalise the signal
transmission. Allow some slack in your speaker cables so you can alter their position to best advantage.
erent colours, or often a raised rib or coloured tracer in the case of twin cable. Before you purchase
Preparing Loudspeaker Cable
C
M
Y
CM
MY
CY
CMY
K
Split the twin cores to a depth of about 40mm. Carefully strip the insulation from each end, leaving about 10mm
of bare wire. If the cable is stranded, lightly twist to gather any loose strands.
Connecting Screw Terminals
All loudspeakers use screw terminals.
Unscrew the terminal. Insert the bare end of the cable into the hole in the base of the terminal. Tighten securely.
When connecting terminals make sure you leave no strands of bare wire that can short across to adjacent
terminals.
As an alternative to bare wire you can use specialist spade connectors. Your Wharfedale dealer will be pleased
to advise you on this issue.
Crossover Networks
Bi-Wireable Networks
I
f your speakers use a special bi-wireable crossover panel with four terminal binding posts. Please
follow the drawing carefully to see the correct orientation of the loudspeaker terminals. The upper
terminals connect to the treble unit, the lower pair to the bass unit. As supplied, the treble terminal pair
is connected to the bass terminal pair via removable metal straps. These should be left in place for
standard installations.
Single Wire Networks
H
F
+
B
A
S
S
+
H
F
-
B
A
S
S
-
Only for Surround.
1
EVO4 Usermanual 91105.pdf 4 2019/11/8 14:18:23
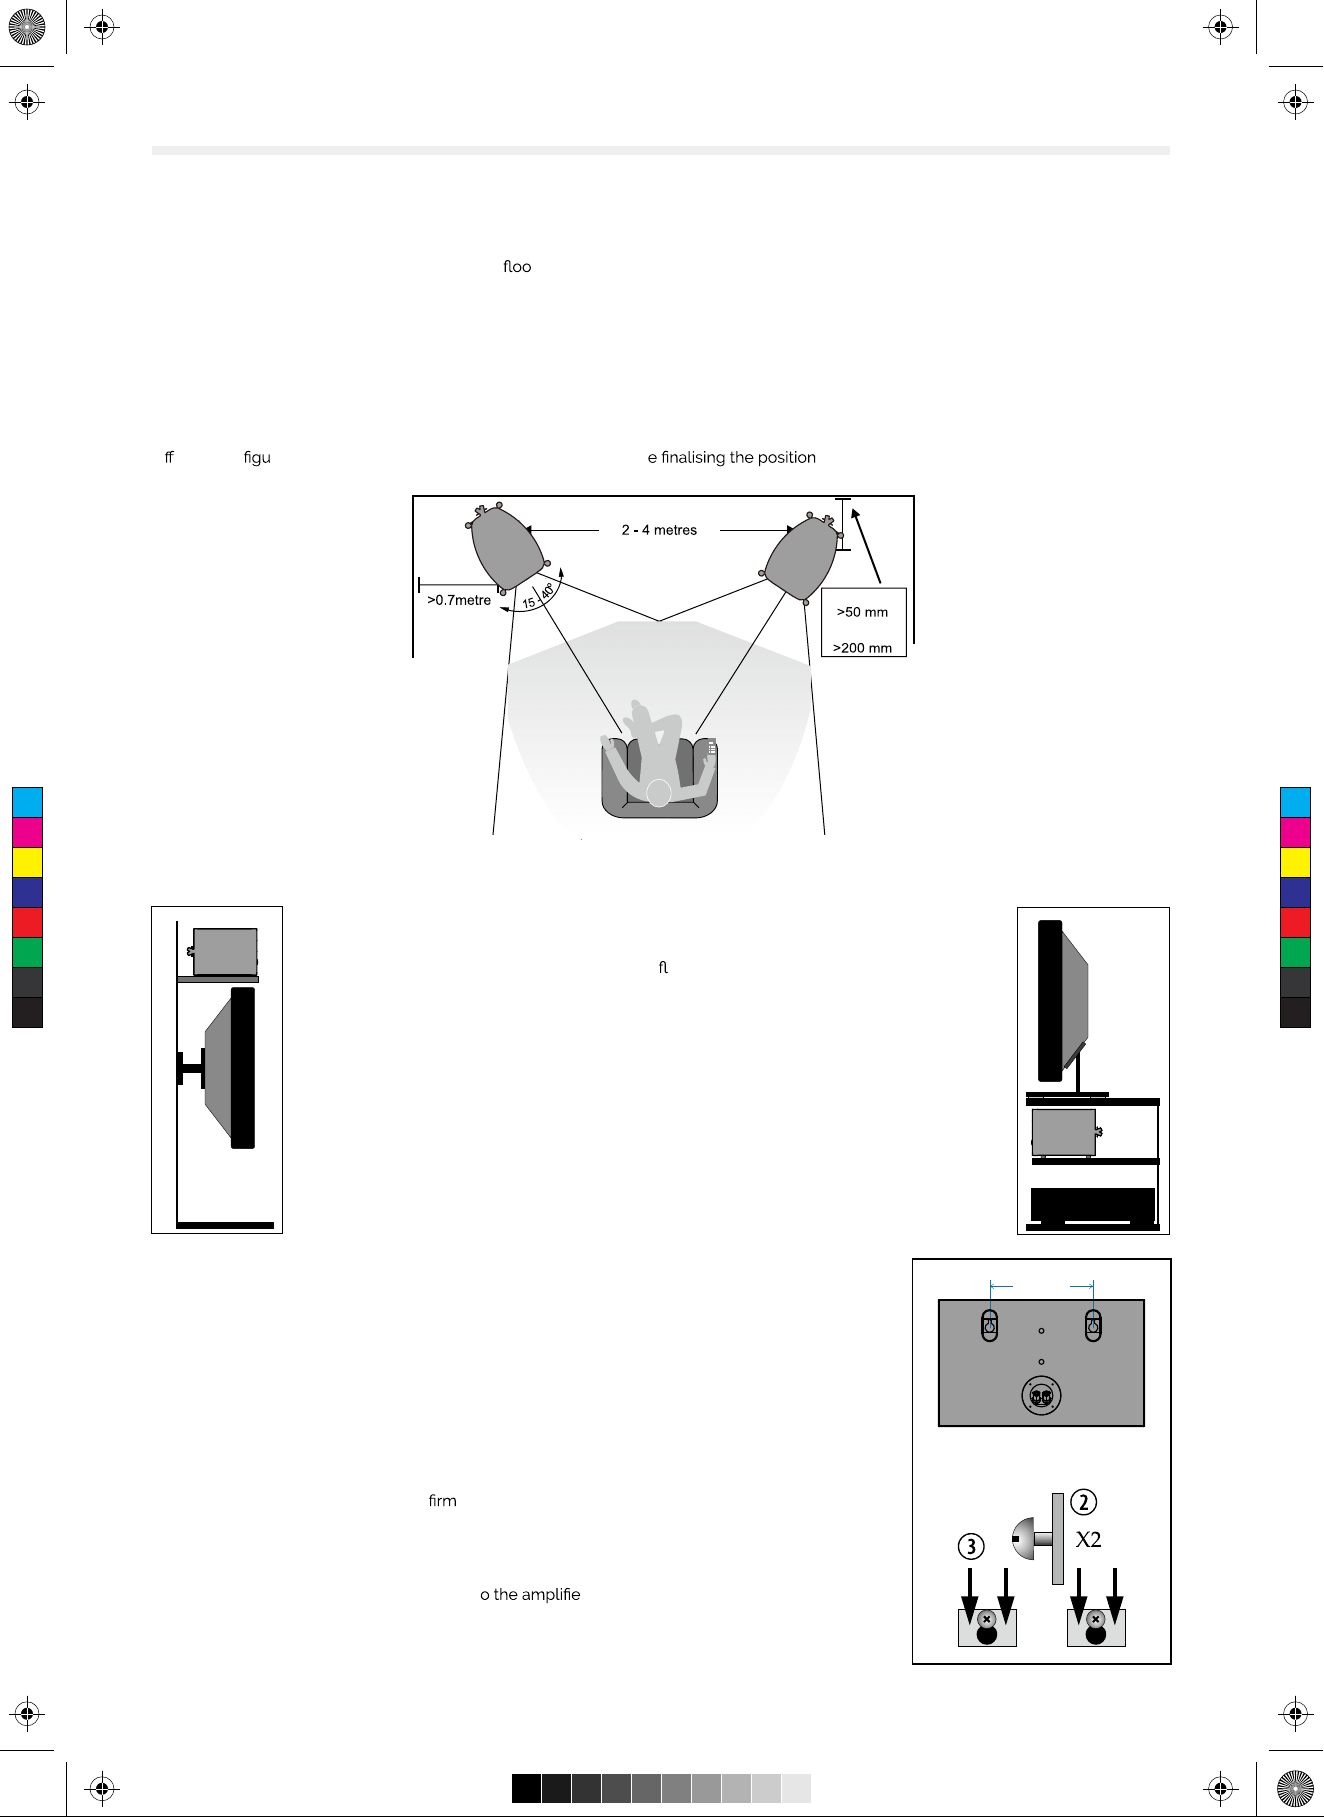
Positioning the Front Loudspeakers
The EVO4.3, EVO4.4 models are designed to be r standing. We suggest that they are positioned at least 200mm from the rear walls and
700mm from the side walls, facing slightly inwards. The EVO4.1 and EVO4.2 models should be stand or wall mounted though they may be
placed on a rigid shelf. The bass extension will improve if the small speakers are operated closer to the rear wall.
If the loudspeakers are placed too close to the walls the bass will increase but may be boomy and indistinct. If the loudspeakers are
placed away from the walls, the inward angle may be increased by up to 40%, although this may restrict the width of the optimum listening
position.
A useful rule of thumb is that the listener should be as for from the loudspeakers as they are from each other. The speakers should ideally
be positioned so that the treble units are roughly at ear level to a seated listener. As personal taste plays a large role, experiment with
di erent con rations and play a wide range of programmes befor of your speakers.
EVO4.1 - 4.2
EVO4.3 - 4.4
C
M
Y
CM
MY
CY
CMY
K
Positioning the Centre Loudspeaker
The centre channel loudspeaker should be positioned centrally between the loudspeakers, close
to the television and mounted above or below the screen.
The loudspeaker should be located on a stable
high sound levels. If you mount the unit above the television, move it forward so that the front
grille sits slightly in front of the screen and the top of the cabinet.
at surface to avoid any cabinet movement at
A custom stand is available for the model which allows the loudspeaker to be positioned under a
wall mounted monitor and has an adjustable vertical tilt for optimal dispersion.
Positioning Surround Loudspeakers
EVO4.S Surround Loudspeakers
The speakers should ideally be sited 600 mm-1.5 metres above the listening position and 2.5-3.5
metres apart, central to the listener and behind the listening position, preferably on a rear wall. If the
listening position is some distance from a rear wall, the speakers may be mounted on opposite side
walls but always behind the listening position.
Ensure that the wall is sound and can support the product. Drill two 5mm holes in the wall 200mm
apart.
Fix a suitable No 8 round head screw
of 5mm protruding from the wall.
Connect the loudspeakers. Align the holes in the mounting brackets over the screw and carefully
lower the unit onto the screws.The speaker should now be securely attached with the spacers resting
against the wall. Now connect the speakers t r.
2
ly into each hole using appropriate wall plugs. Leave a stub
200 m m
 Loading...