

Page 1
westwood design
W
Assembly Instructions
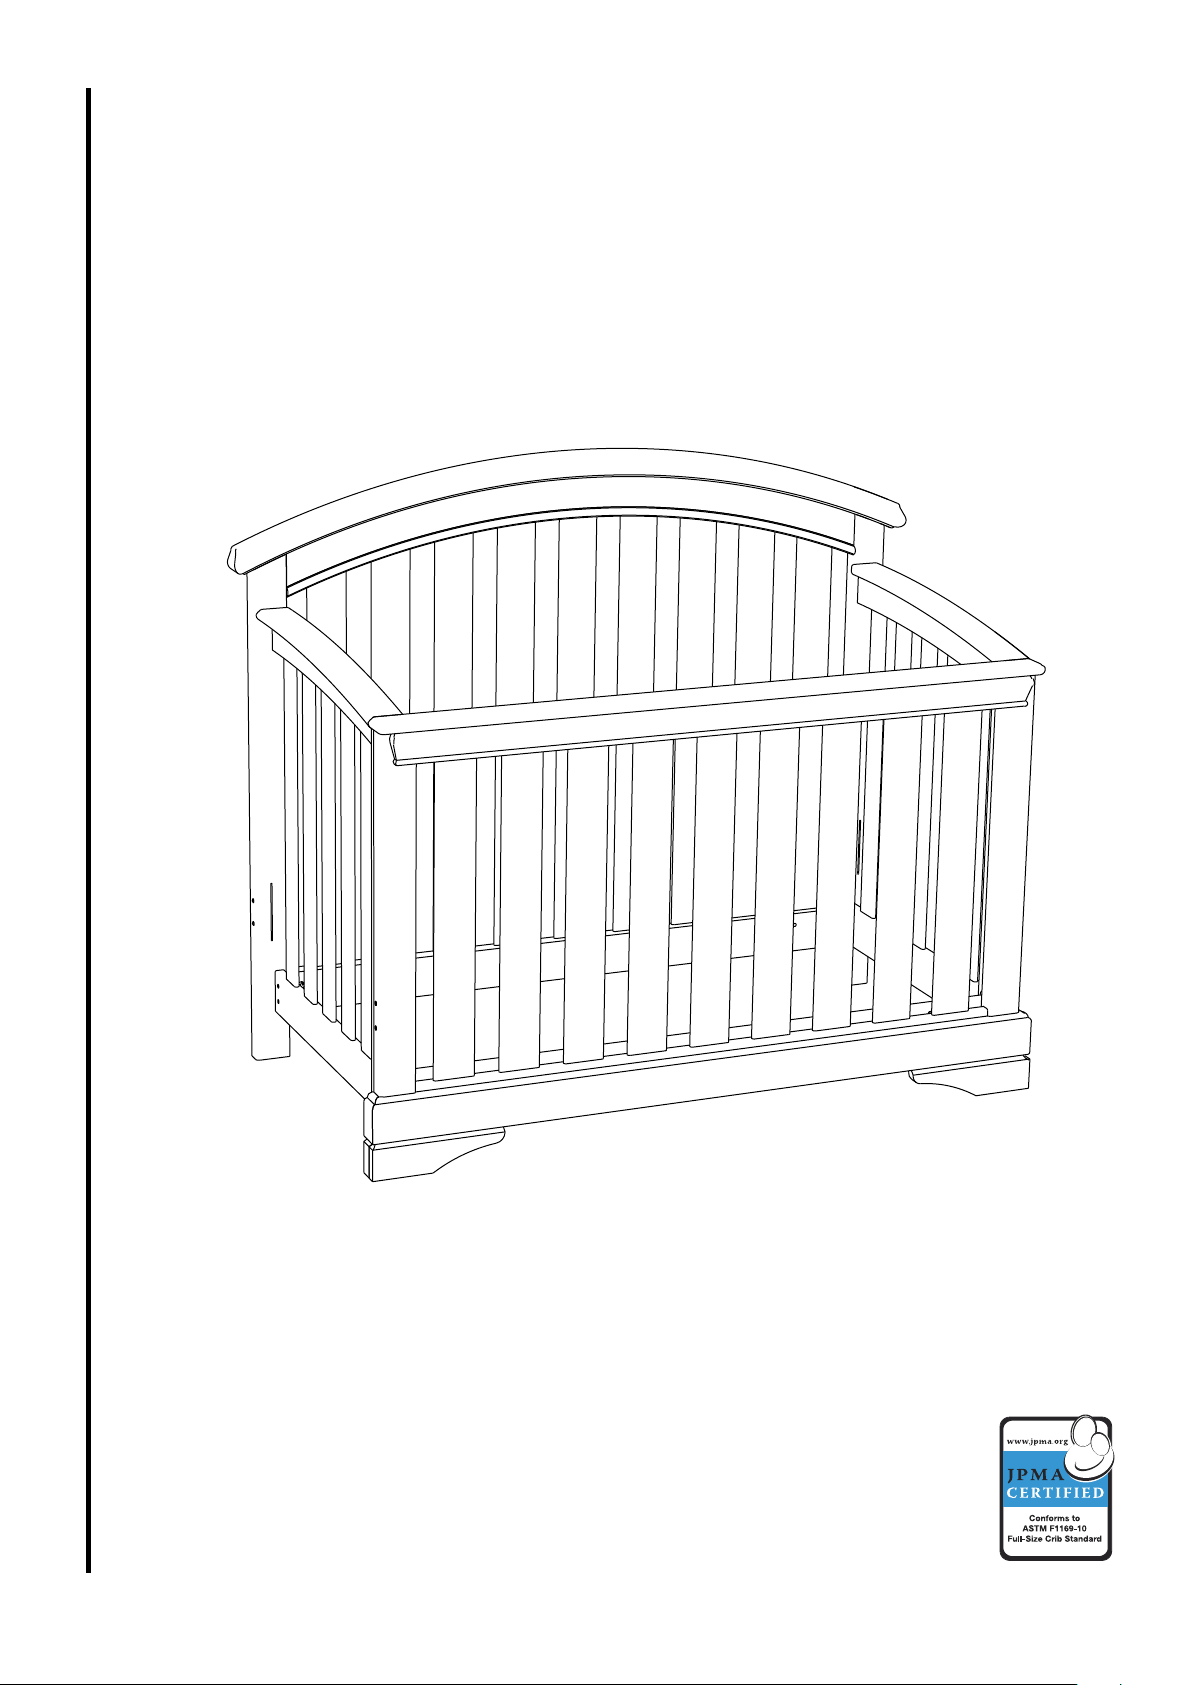
Waverly / Milan Convertible Crib
WA-CR-8601NR
Page 2
Page 3
Congratulations on your purchase of a Westwood Design product. We take great pride in the
quality and design of our furniture. The safety of your child is our highest priority. It is important
that you read these instructions carefully and completely to ensure that this product functions as it
was designed.
After opening the package, check to see that all the parts are present. If you think something is
missing, please contact your retailer, and they can arrange to have the missing parts quickly
replaced. You can also contact our spare parts hotline: 1-973-305-0444, or email
parts@westwoodbaby.com.
If any aspect of these instructions is unclear, please contact your retailer or Westwood for help.
For general support and help questions, you can contact Westwood directly by
calling 1-908-719-4707, or emailing support@westwoodbaby.com.
In addition to meeting our own extensive in-house testing and standards, this crib
has been independently tested to meet JPMA certification standards.
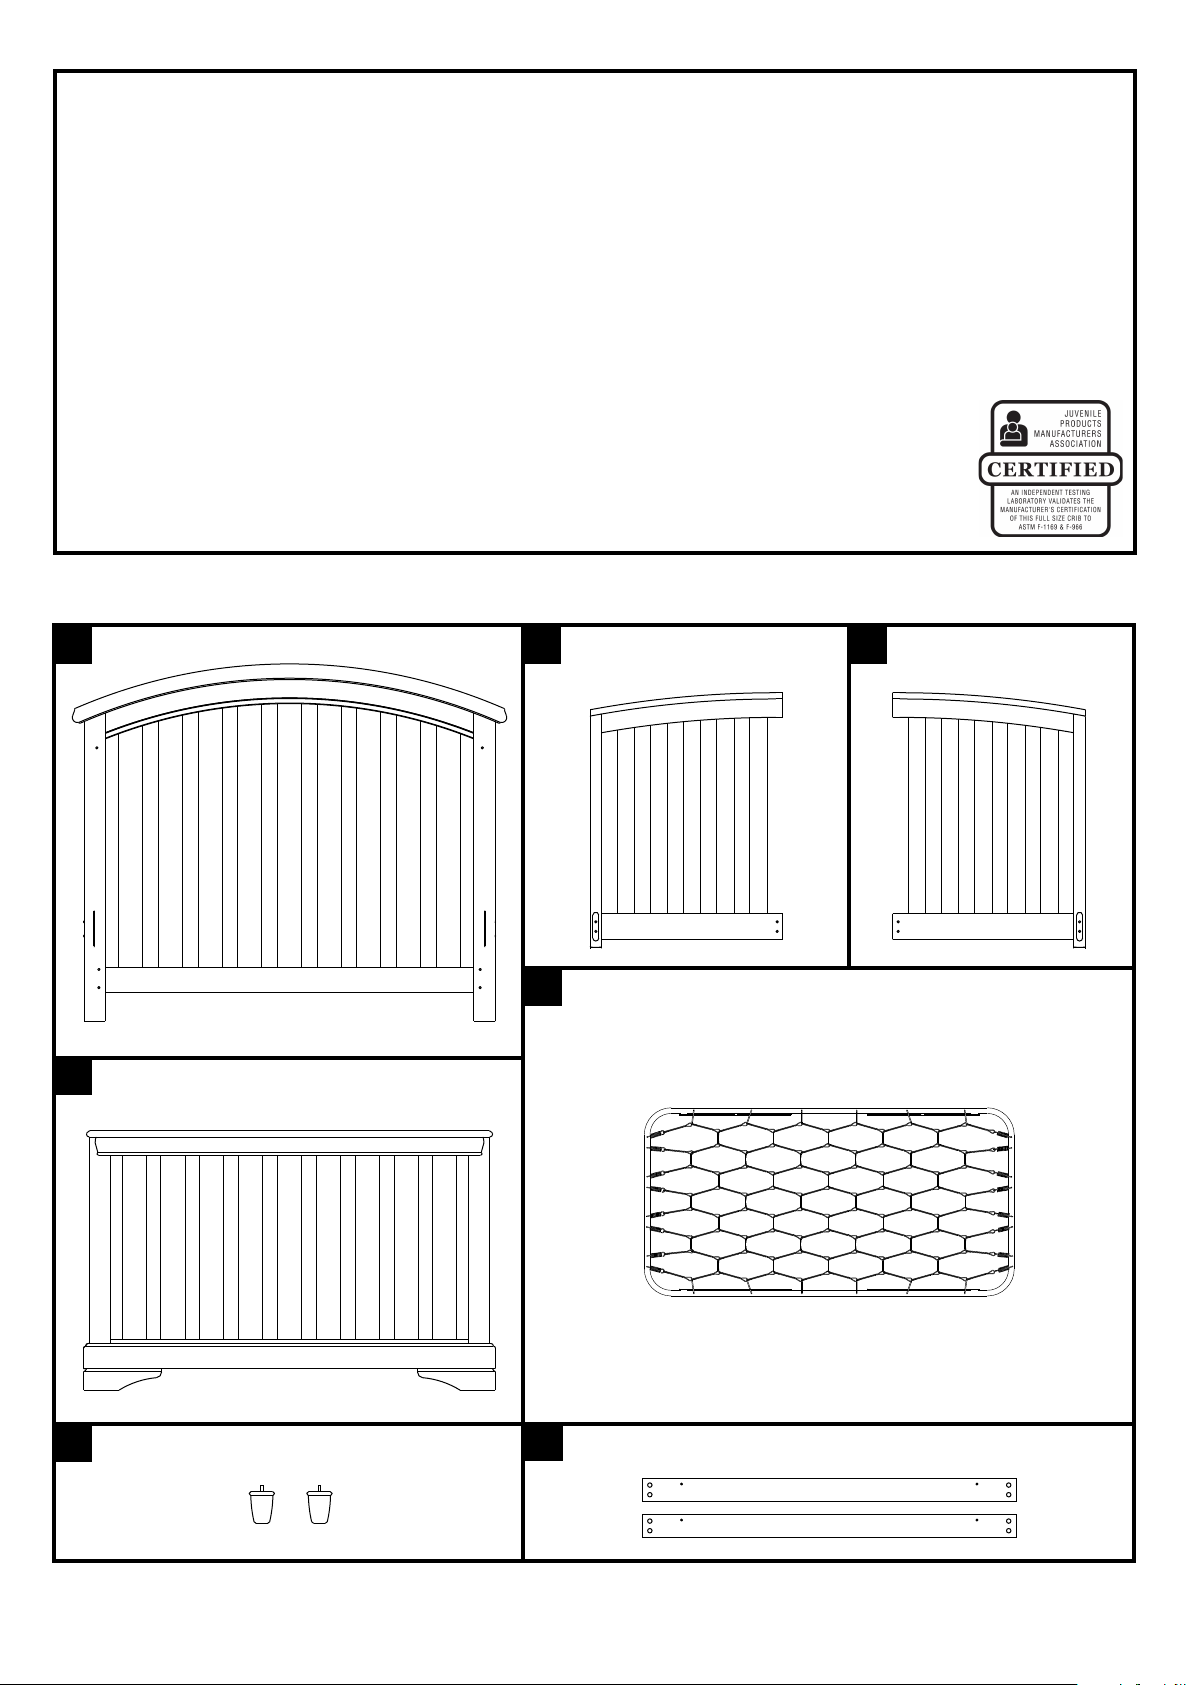
Crib Parts:
Headboard
A
Footboard
B
Left Crib Side
D
Mattress Support
F
Right Crib Side
E
2 x Removable Feet
C
2 x Stabilizer Bars
G
Page 4
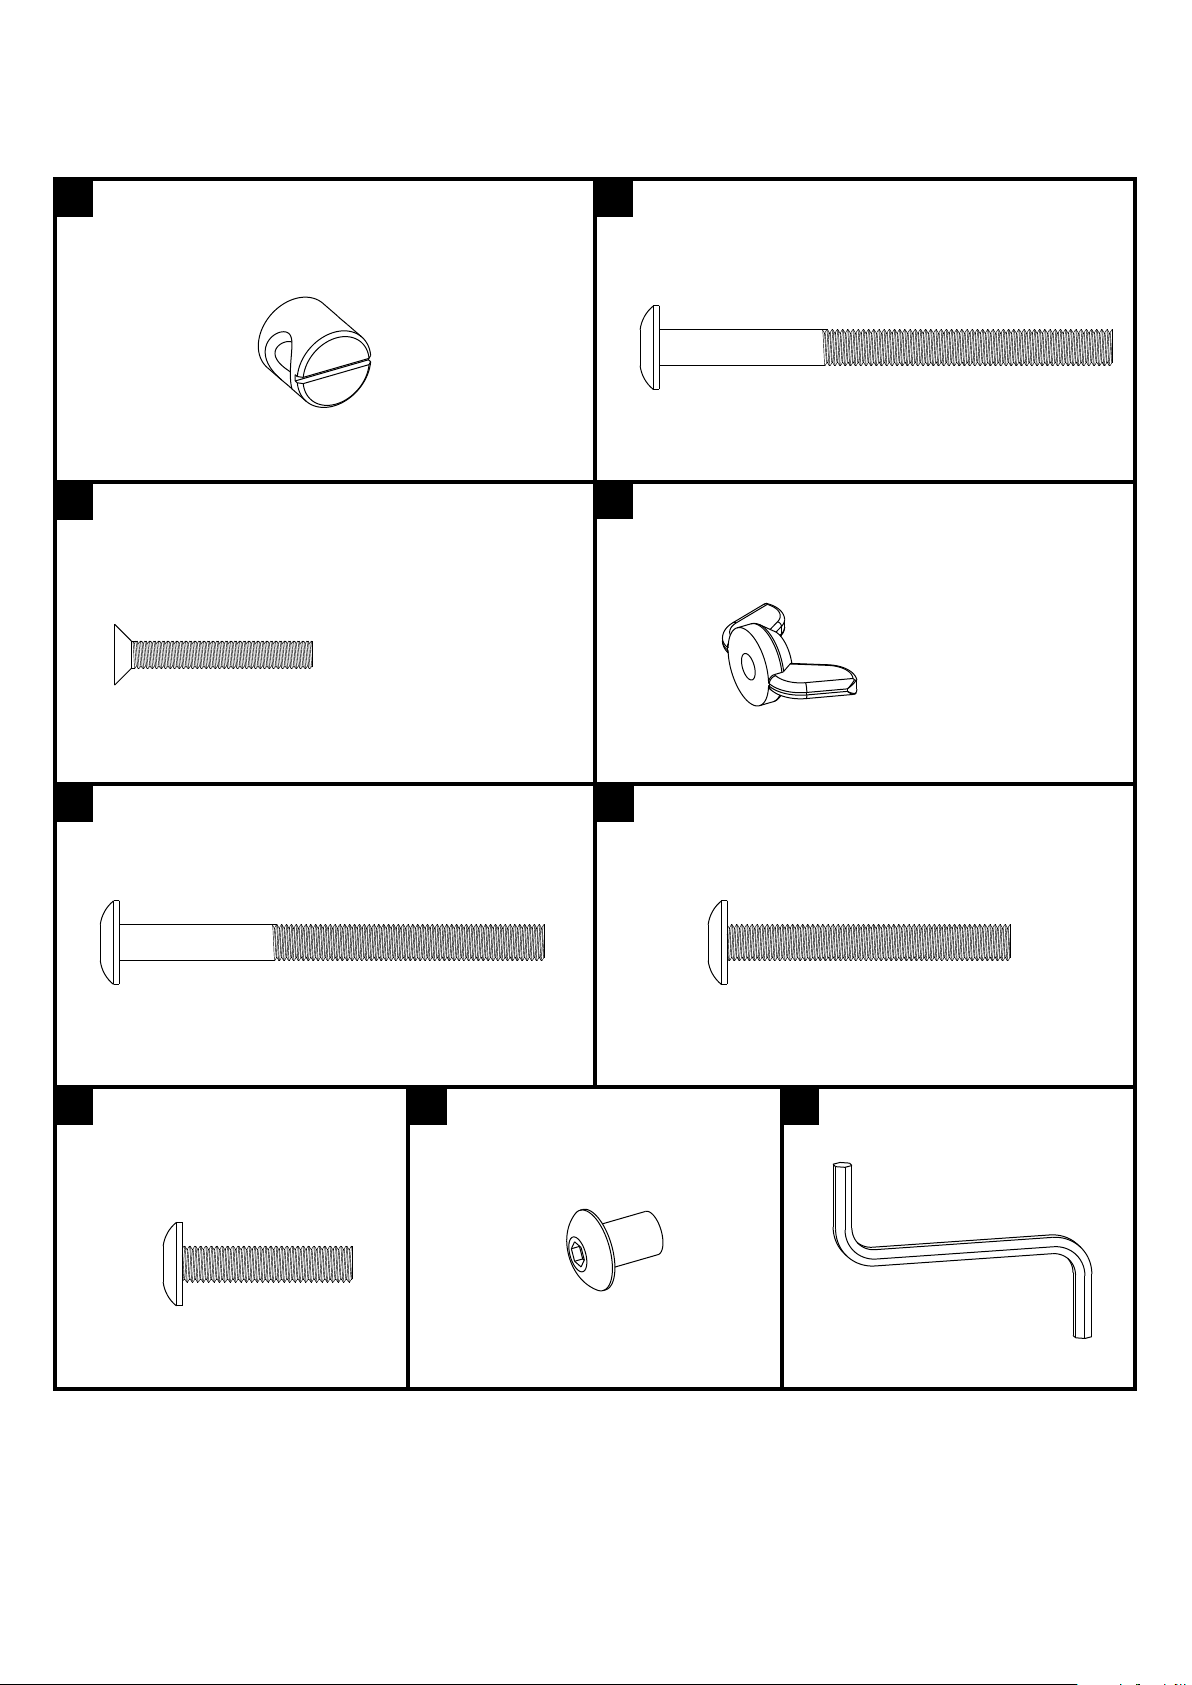
Hardware (Enclosed in Bag):
8 x Barrel Nut
I
8 x Phillips Screw, 1-3/8” Long
K
8 x Allen Bolt, 3-1/8” Long
J
8 x Wing Nut
L
6 x Allen Bolt, 3” Long
N
P
6 x Allen Bolt, 1-1/8” Long
Q
6 x Cap Nut
6 x Allen Bolt, 2” Long
O
R
Allen Wrench
Page 5

Step 1
A. Position the stabilizer bars so that the four large holes face the inside of the
crib. The two smaller holes for the spring deck should be at the top.
B. Place a barrel nut (I) in the hole, with the slot aligned horizontally.
C. Put the allen bolt (J) through the crib side and thread it into the barrel nut.
D. Use the allen wrench to securely tighten the bolt.
E. Repeat with the remaining 7 holes.
Required Hardware
8 x Barrel Nut (I)
8 x Allen Bolt, 3-1/8” Long (J)
Allen Wrench (R)
Crib Side (D)
Crib Side (E)
Stabilizer Bar (H)
Barrel Nut (I)
Allen Bolt (J)
Spring deck mounting holes should be
toward the top
Page 6

Step 2
A. Open all 4 support arms on the spring platform as shown in the drawing.
B. Place a screw through the stabilizer bar as shown, then through the support
arm on the spring. Thread on a wing nut and tighten securely.
C. Repeat for the remaining three support arms.
D. Set the spring to the desired height by adjusting the support arms. The spring
should be at its highest setting for newborns, then adjusted to the lower positions
as the child grows and becomes mobile. Once the child is able to stand, the
spring should be at its lowest position.
E. Insert a screw through the appropriate hole in the frame, then through the
support arm, and thread on a wing nut, tightening it securely.
F. Repeat for the remaining three support arms.
Required Hardware
8 x Phillips Screw (K)
8 x Wing Nut (L)
Wing Nut (L)
Phillips Screw (K)
Support Arm
Lowest
Middle
Highest
Page 7

Step 3
A. Thread the allen bolt (N) through the back of the headboard into the fitting on
the back of the crib side. Tighten securely using the allen wrench.
B. Repeat for the other 5 holes.
Required Hardware
6 x Allen Bolt, 3” Long (N)
Allen Wrench (R)
Allen Bolt (N)
Page 8

Step 4
A. Thread the bolt through the back of the corner post on the crib side into the
fitting on the back of the footboard. Tighten securely using the allen wrench.
B. Repeat for the other 5 holes.
Required Hardware
6 x Allen Bolt, 2” Long (O)
Allen Wrench (R)
Allen Bolt (O)
Page 9

Mattress Height Adjustment
As the child grows and becomes more mobile, the mattress support should be
adjusted to a lower position. By the time the child can stand, the mattress should
be in its lowest position.
A. Carefully tip the crib onto its back.
B. Undo the four wing nuts holding the support arms to the spring and remove
the screws.
C. Lower the spring to the desired setting and align the holes.
D. Insert the screws and tighten the wing nuts.
Support Arm
Wing Nut
Lowest
Middle
Highest
Page 10

Day Bed Conversion
A. Using the allen wrench, remove the six bolts attaching the footboard to the
crib and remove the footboard.
B. Screw the removable feet (included with the crib) into the bottom of the crib
sides.
C. Adjust the spring to its lowest position, following the procedure shown in these
instructions.
D. Insert the allen bolt (P) through the hole in the corner post, and thread it into
the cap nut as shown. Tighten securely using the allen wrench.
E. Repeat with the other 5 holes.
Required Hardware
6 x Allen Bolt, 1-1/8” Long (P)
6 x Cap Nut (Q)
Allen Wrench (R)
Allen Bolt (P)
Cap Nut (Q)
Removable Foot (C)
Page 11

Care and Maintenance
!
After completing assembly, check that all bolts and screws are secure and tight. Hardware
can become loose over time, so it is your responsibility to periodically check the tightness
of all fasteners for as long as you use the crib.
!
Wood is a natural material. As such, it can be affected by changes in temperature and
humidity. Extreme changes in humidity and temperature can cause the wood to warp, swell,
crack, or shrink, thus compromising the structural integrity of the crib and making it
dangerous to use.
!
Use caution when placing the crib in storage to avoid extremes in temperature or
humidity. Cribs should always be stored indoors in climate controlled, dry locations.
!
Use care when using a vaporizer or humidifier around the crib. Do not aim the vapor at
the crib or any other wooden furniture in the nursery. Avoid using vaporizers or humidifiers
for extended periods of time.
!
To clean the crib, wipe with a damp cloth and immediately the dry the surface. Do not use
any chemical cleaners or polishes. Such products can leave a residue on the finish and
come in contact with your child.
!
Your crib has a durable and protective non-toxic finish. However, if you decide to refinish
it, you must use a non-toxic finish specified for children’s products. Do not use any toxic
stripping methods to remove the old finish.
westwood design
W
December 2, 2010
635 N. Billy Mitchell Rd., Ste. B
Salt Lake City, UT 84116
Phone: 1-
support@westwoodbaby.com
973-305-0444
 Loading...