

West Marine VHF100 Owner's Manual
VHF100 VHF Radio
Owner’s Manual
Table of Contents
Introduction ........................................2
Service...............................................2
Licensing............................................2
LCD Description.................................3
Turning the Radio On ........................3
Adjusting the Volume.........................3
Receive Mode....................................3
Squelch Control .................................4
Changing Channels ...........................4
Changing Between USA,
International and Canadian Modes....5
Transmitting a Signal.........................5
Selecting the Output Power...............6
Battery Level Display.........................7
Listening to the Weather....................7
Channel 16/DUAL Key.......................8
Dual Watch Mode ..............................8
Scanning Channels............................9
Display Back-Light ...........................11
Keypad Lock ....................................12
Restoring Factory Settings ..............12
Battery Options for the VHF100 ......12
Maintenance ....................................13
Troubleshooting Guide.....................14
USA Frequency Chart......................15
International Frequency Chart
.........
16
Canadian Frequency Chart .............17
WX Frequency Chart .......................18
Accessories and Parts.....................18
Specifications
...................................
18
Warnings and Safety Precautions ...19

2 West Marine VHF100 Radio Owner’s Manual
Welcome!
Thank you for purchasing the West
Marine VHF100. This product was
designed and built for boaters to use in
the harsh marine environment. With proper care this product should provide you
with years of trouble-free operation.
Your satisfaction with this product is
backed by the entire West Marine organization worldwide.
Remember:
• Safety and distress calls take priority
over all others.
• You must monitor Channel 16 when
you are not operating on another
channel.
• False or fraudulent distress calls are
prohibited under law.
• Information overheard but not intend-
ed for you cannot lawfully be used in
any way.
• Indecent or profane language is pro-
hibited.
Service:
In the event that the radio fails to perform, or needs servicing, please send
directly to our Electronics Repair Center
in Hollister, CA. Be sure to include your
return mailing information and a detailed
accounting of the problems experienced
and/or the service requested.
West Marine
Electronics Repair Center
2395 Bert Court
Hollister, CA 95023
Radio Licenses:
1. Ship Station License
An FCC ship station license is no longer
required for any vessel traveling in US
waters which uses a VHF marine radio,
RADAR, EPIRB, and which is not
required to carry radio equipment. A
license is necessary however for a DSC
MMSI number, or for any vessel required
to carry a marine radio on an international
voyage, carrying a HF single side band
radiotelephone or marine satellite terminal. For more information, see the FCC’s
Fact Sheet PR 5000 #14. FCC license
forms, including applications for ship
(506) and land station licenses can be
downloaded via the Internet at
www.fcc.gov/forms. To obtain a form
from the FCC, call (888) 225-5322.
2. Radio Call Sign
Currently the FCC does not require recreational boaters to have a Ship Radio
Station License. The USCG recommends
that the boat’s registration number and the
state to be used.
3. Canadian Ship Station
Licensing
You do not need a license if your vessel is
not operated in sovereign waters of a
country other than Canada or the USA. If
you do need a license, contact their nearest field office or regional office or write:
Industry Canada
Radio Regulatory Branch
Attn:
DOSP
300 Slater Street
Ottawa, Ontario
Canada,
K1A OCA

West Marine VHF100 Radio Owner’s Manual 3West Marine VHF100 Radio Owner’s Manual 3
LCD Description
USA/INTERNATIONAL/
CANADIAN (UIC) Mode
indicator
Current
channel
indicator
Battery level indicator;
more bars indicate the battery is more fully charged
SCAN Indicates that the radio is in
Memory Scan or Priority Scan
Mode
MEM Indicates that the channel is
entered into the Scan Memory
WX Indicates that the radio is in
Weather Mode
DW Indicates that the radio is in Dual
Watch Mode
TX Shown when transmitting
BUSY Shown when receiving
LOCK Shown when keypad is locked
Transmit power indicator; M=
Medium, L=Low, (none)=High
Fig.
3:
Busy Displa
y
1. Turning the Radio On
Turn the Power/Volume Knob clockwise
until it clicks. The radio will power up in
the same condition as it was last used.
The last Channel Mode (USA/INT/CAN),
Channel, TX Power, Key Lock, Squelch
Level, etc. are restored.
2. Adjusting the Volume
Turn the Volume Knob clockwise to
increase volume and counterclockwise to
decrease volume.
3. Receive Mode
When the radio is receiving a signal, the
BUSY indicator will be displayed. (Fig. 3)
This is an indication that you should not
transmit until the BUSY indicator is not
showing.
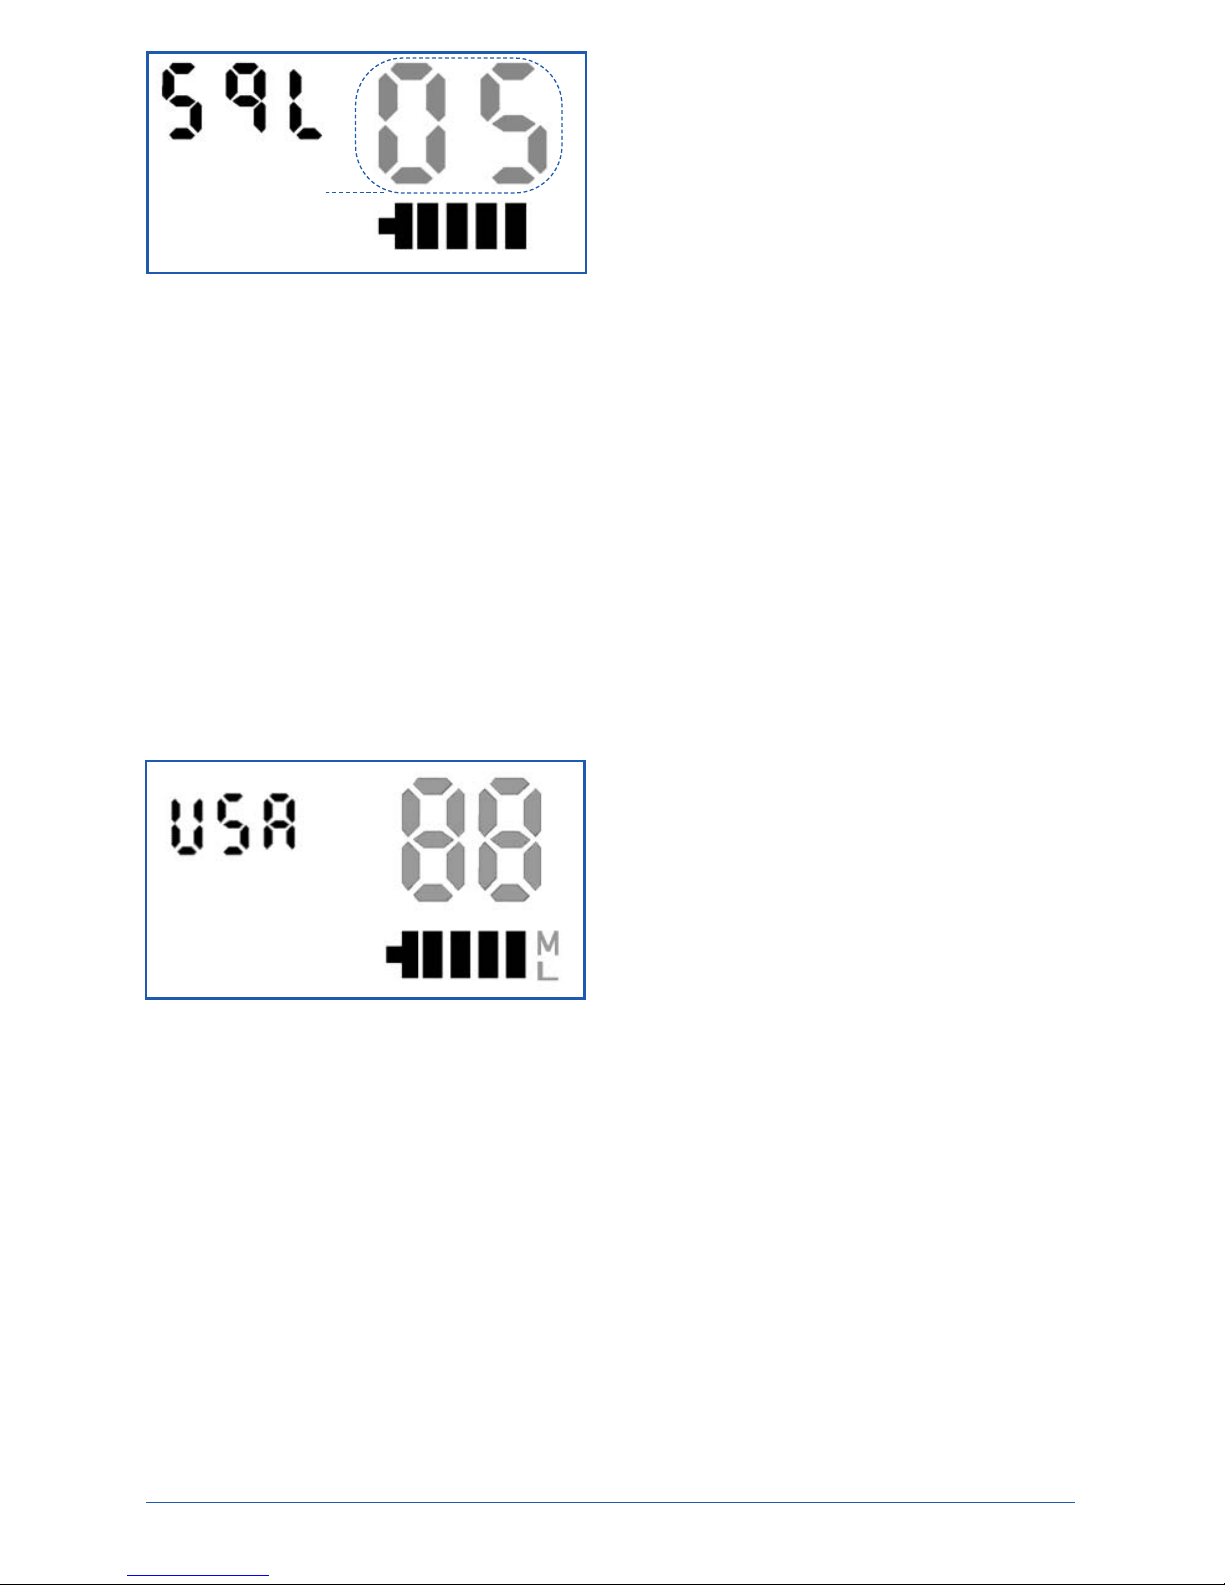
Fig. 5 Channel Change Display
4 West Marine VHF100 Radio Owner’s Manual
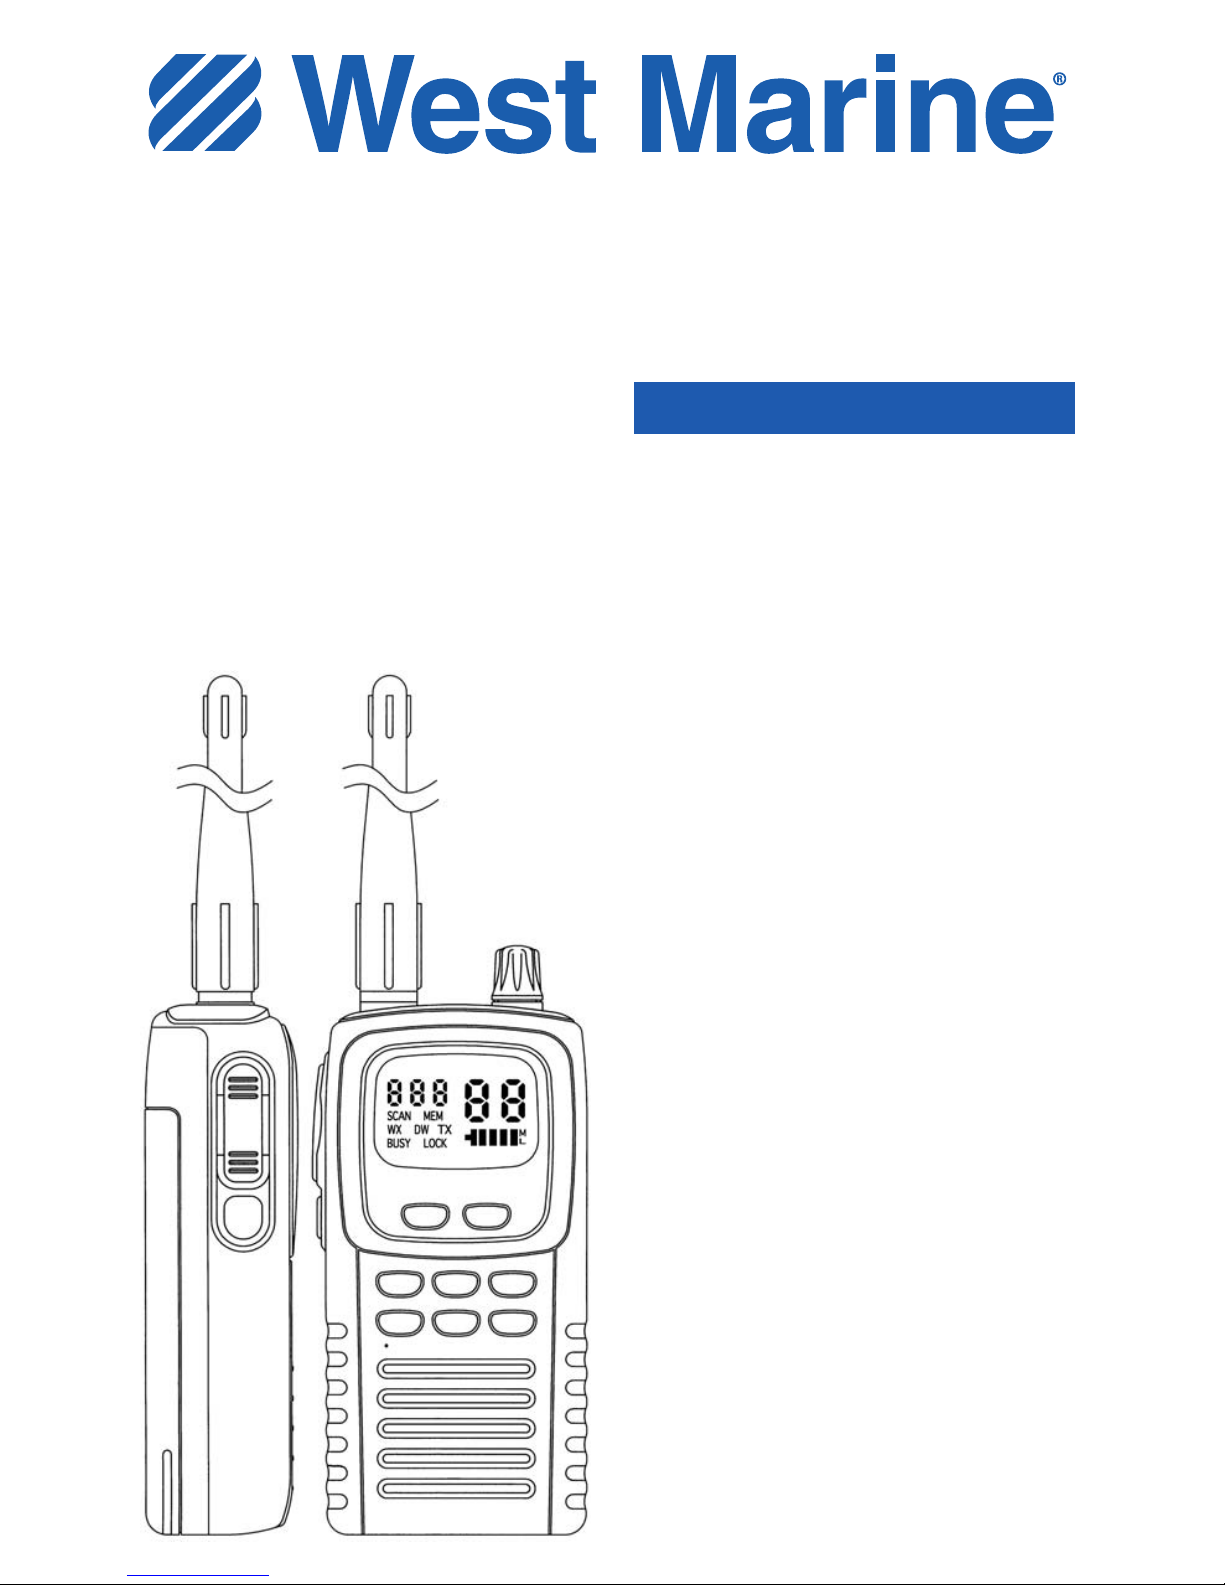
Fig. 4: Squelch Control Display
Blinking
4. Squelch Control
The Squelch Control reduces the static
and noise heard on the radio, but allows
strong signals to be heard clearly. To
adjust the squelch setting, press the
SQL/UIC key quickly. The radio’s display
will show
SQL - 0X, where X is the cur-
rent squelch setting. (Fig. 4) Press the ▲
or ▼ keys to adjust the squelch setting
from 00 to 08. Higher settings allow only
stronger signals will be heard, while
lower settings allow weak signals to be
received (and possibly annoying static).
Generally, the squelch control should be
set for the lowest setting that eliminates
unwanted static.
• Level 00 allows all signals to be
heard.
• After there have been no keys
pressed for three seconds, the radio
will return to normal receiving mode.
5. Changing Channels
To change channels, press the ▲ or ▼
keys.
• If the ▲ or ▼ keys are pressed for
more than one second, the channel
will change rapidly.
• The radio displays the channel num-
ber, memory status (MEM) and TX
power status of the channel as you
change the channels. (Fig. 5)
West Marine VHF100 Radio Owner’s Manual 5
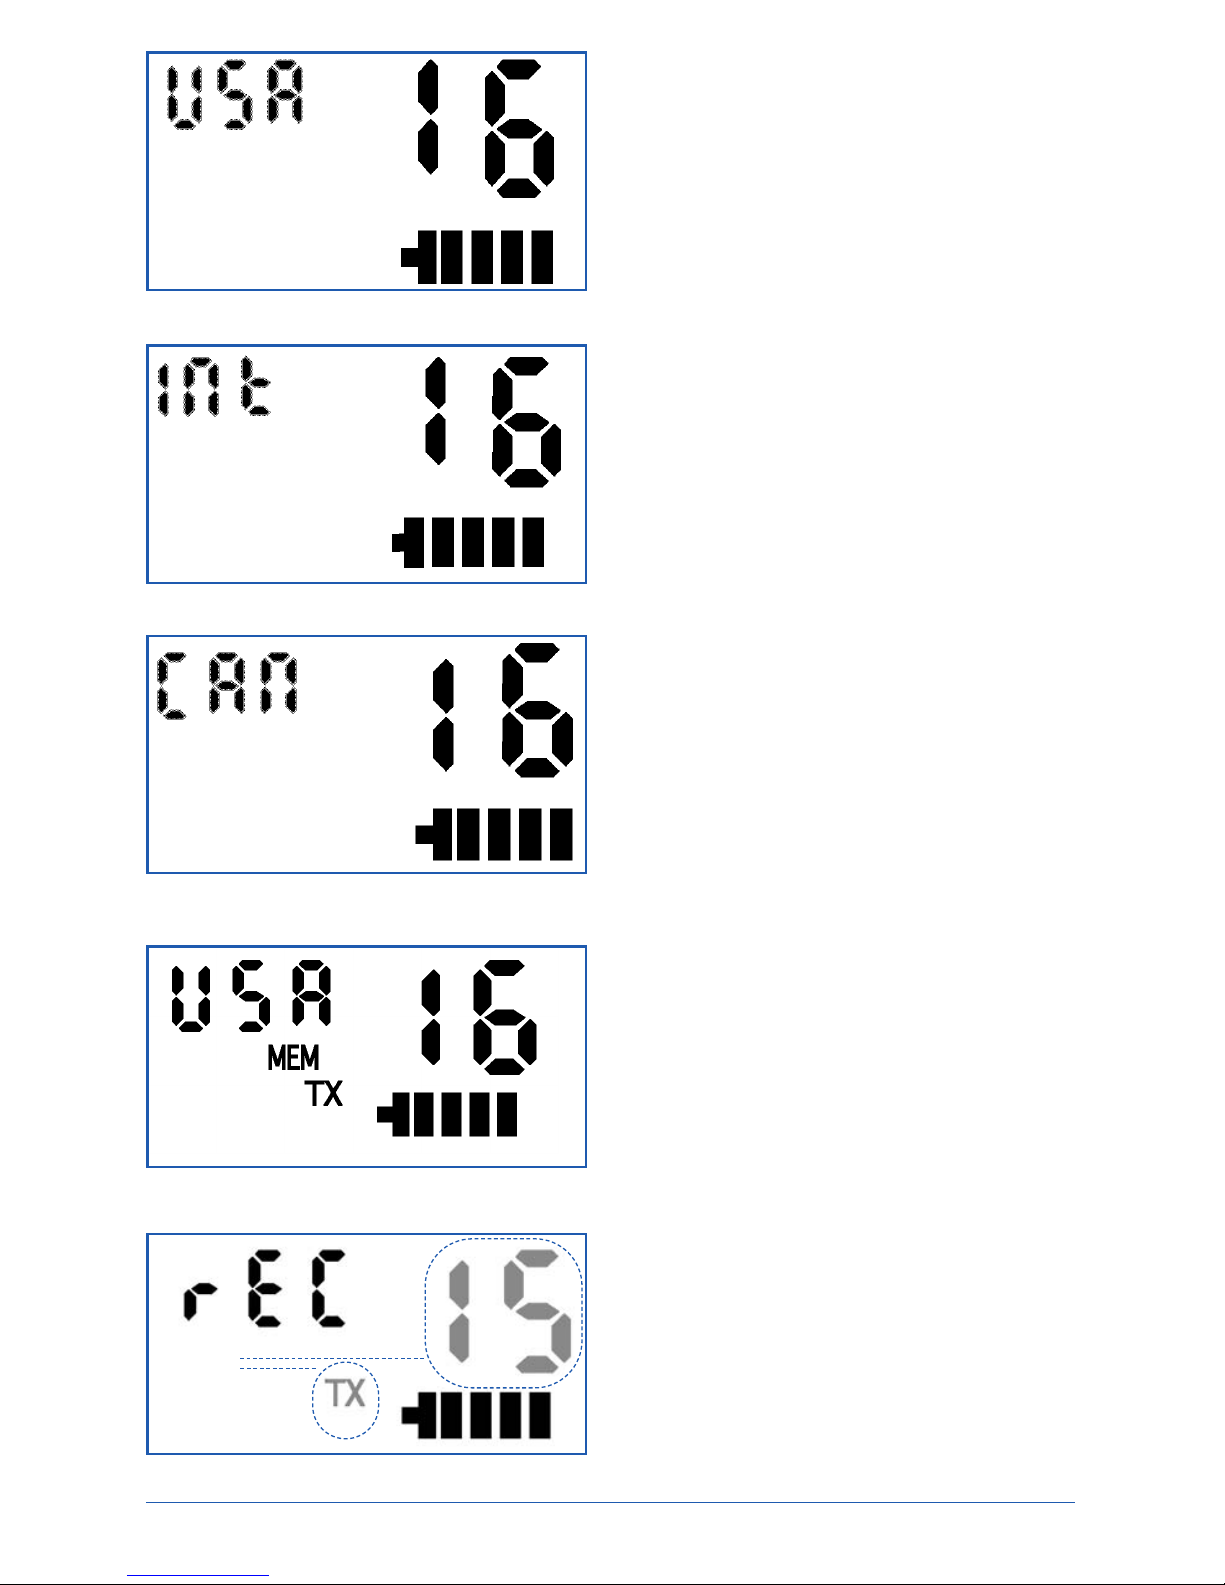
Fig. 6a: USA Mode Display
Fig. 6b: International Mode Display
Fig. 6c: Canadian Mode Display
6. Changing Between
USA, International,
and Canadian Modes
Different areas of the world use different
VHF frequencies, although the channel
designation (1-88) may be the same.
There are three modes: USA,
International, and Canadian. Press and
hold the SQL/UIC key for two seconds to
change from USA to International to
Canadian Modes in turn.
• When Country Mode is changed,
Channel 16 is automatically selected,
not the last channel used. (Figs.
6a–6c)
• If for some reason you find that you
cannot communicate with another
radio use on a predetermined channel, insure that both radios are set the
correct Channel Mode. This can be
very confusing if different modes are
being used.
Fig. 7b: Weather Channel Mode Error Display
Blinking
Fig. 7a: TX Display
7. Transmitting a Signal
To transmit a signal, press the Push-ToTalk (PTT) key on the side of the radio.
While transmitting, the TX indicator will
appear. (Fig. 7a) When PTT key is
released, the radio returns to Receive
Mode.
• You cannot transmit on receive-only
channels like the Weather Channels
or Channels 15 and 70. If you try, an
error tone will sound and the channel
number and TX indicator will blink
three times (Fig. 7b) and then go
back to the normal display.
• If PTT key is pressed when the bat-
tery condition is low
, one last trans-
mission will be allowed, then an error
tone will sound with BAT LO dis-
played. No further transmission will
be allowed. See page 7.
6 West Marine VHF100 Radio Owner’s Manual
8. Selecting the Transmit
Power
By law, marine VHF radios must be able
to transmit at 1 watt output power as well
as the radio’s maximum transmit power.
The West Marine VHF100 radio has three
transmission powers: 5 watts, 1 watt, and
0.5 watts.
The general rule is to use the lowest
transmit power that results in clear communications with whomever you are communicating. At distances less than a mile,
0.5 watts will result in clear and consistent communications, and will have the
benefit of greatly extended battery life.
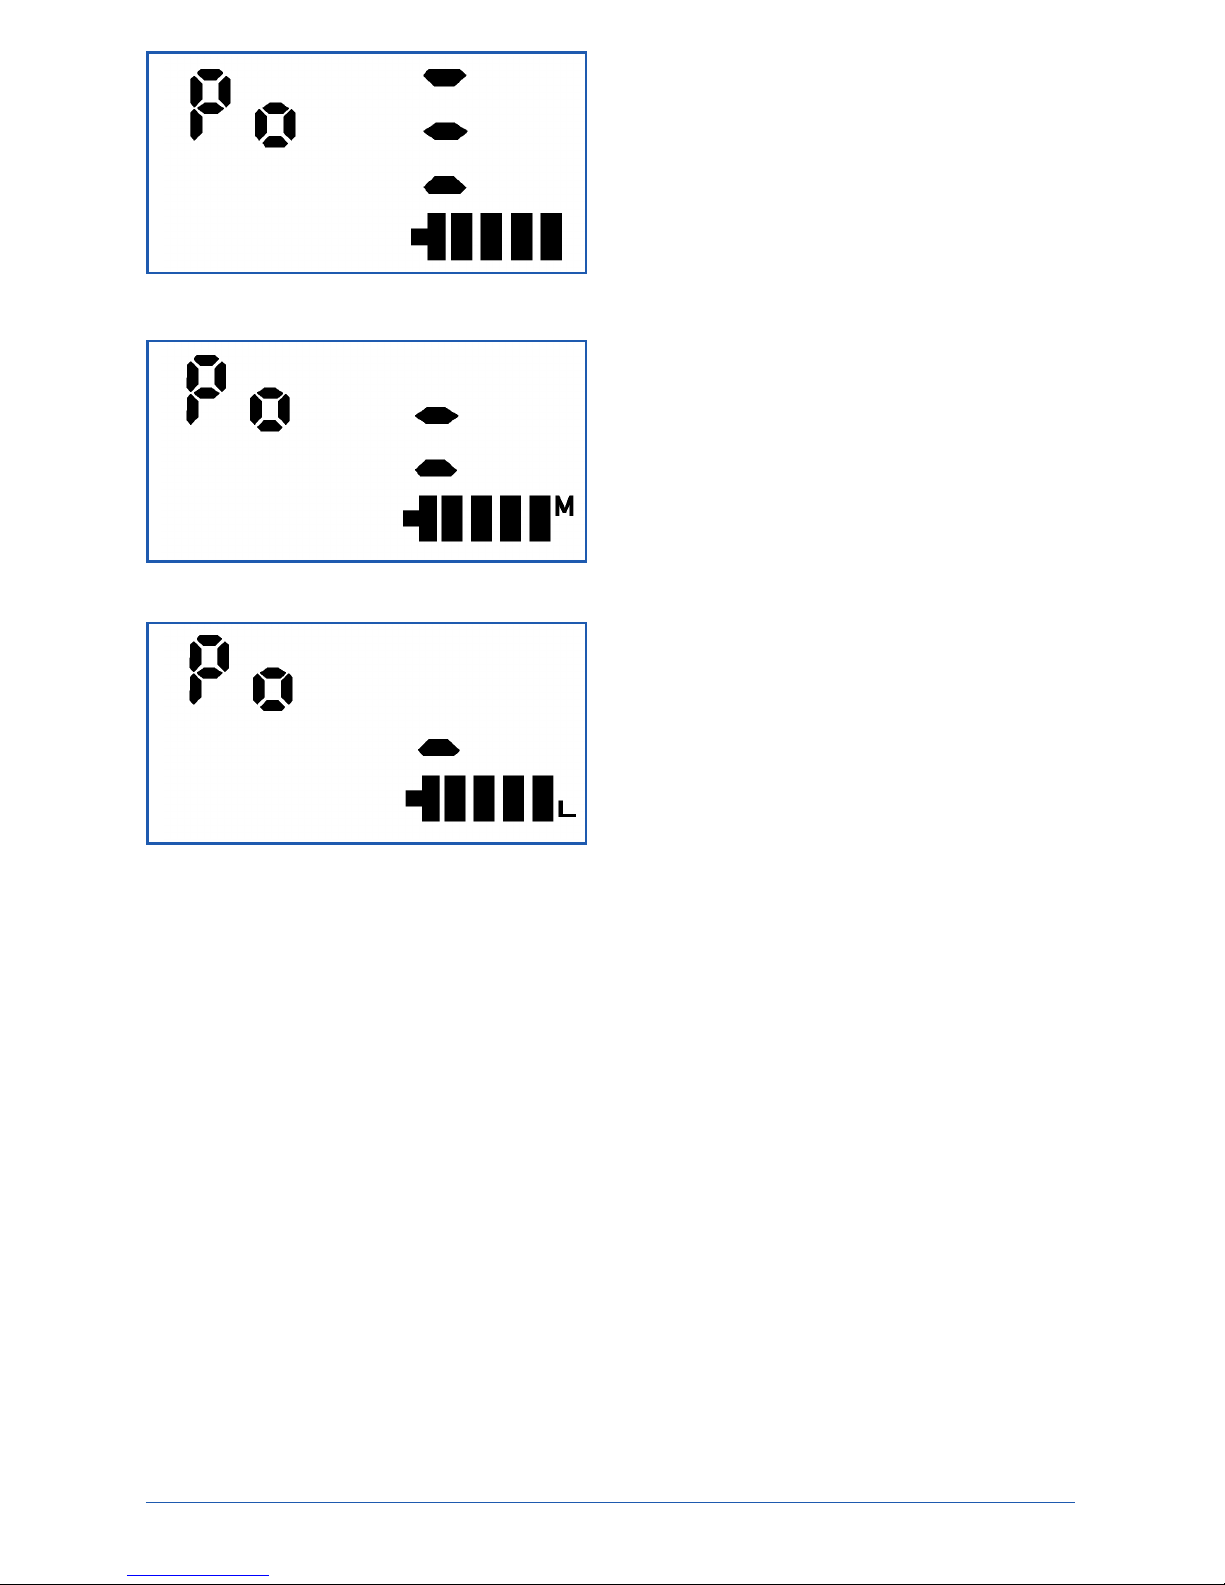
Pressing the H/L key will change the
transmit power from 5 watts to 1 watt to
0.5 watts and back to 5 watts with each
press. (Fig 8a–8c.) Note the Medium
power indicator
M on Fig. 8b next to the
battery display, and the Low power indicator L on Fig. 8c next to the battery indi-
cator. There is no indicator for High
power. (Fig. 8a)
• After two seconds of PO display, the
radio will return to channel number
display.
Restricted Channels
Certain channels are limited by law to 1
watt transmit power (USA Mode Channel
13, 17, 67, 77; INT Mode Channel 15, 17;
CAN Mode Channel 13, 15, 17, 20, 66,
77). These channels will always transmit
on medium (1 watt) power.
• You cannot change the transmit
power setting on receive-only channels (all weather channels, USA
Mode Channel 15, 70, INT Mode
Channel 70, CAN Mode Channel 70)
• Pressing the H/L key while scanning
or while on a receive-only channel
will sound the error tone and the
transmit power setting will not
change.
Fig. 8a: High Power Display
Fig. 8b: Medium Power Display
Fig. 8c: Low Power Display
 Loading...