

West Marine Inflatable Boats Owner's Manual

WEST MARINE
Owners Manual

Dear customer,
You are now the proud owner of a inflatable boat. You have thus acquired the
assurance of quality, since our boats are manufactured in conformity with strong
safety regulations. Each boat has an identification number, which you will find on the
data plate under SERIES NUMBER. The first letters and figures of this ID number
have already been printed on the Conformity Certificates in this handbook. Please
complete it by noting down the missing figures/letters into the Conformity Certificate
of the manual. This ID number is to be mentioned in every correspondence with us or
any authorised service station. It is only with this number that we will be able to
identify your boat and give you the relevant information.
.

WEST MARINE INFLATABLE BOAT
CIN-No.
(See serial number on the ID plate on your tender)
CONTENTS
I-Mounting and Operating Instructions
A- Assembly and Disassembly page 3-6
B- Operating Instructions page 6-9
C- Repairs page 9-10
II-Drawings page 11-16
III-Limited Warranty page 17
ASSEMBLY AND DISASSEMBLY
Attention ! Do not use a compressed air source (such as a compressor) to
inflate boats. Over-inflation through the use of compressed air may result in
ruptured seams and/or bulkheads.
ASSEMBLY
1. Remove any sharp object from flat surface where the boat will be assembled and
inflated.
2. Unfold and spread out the boat flat.
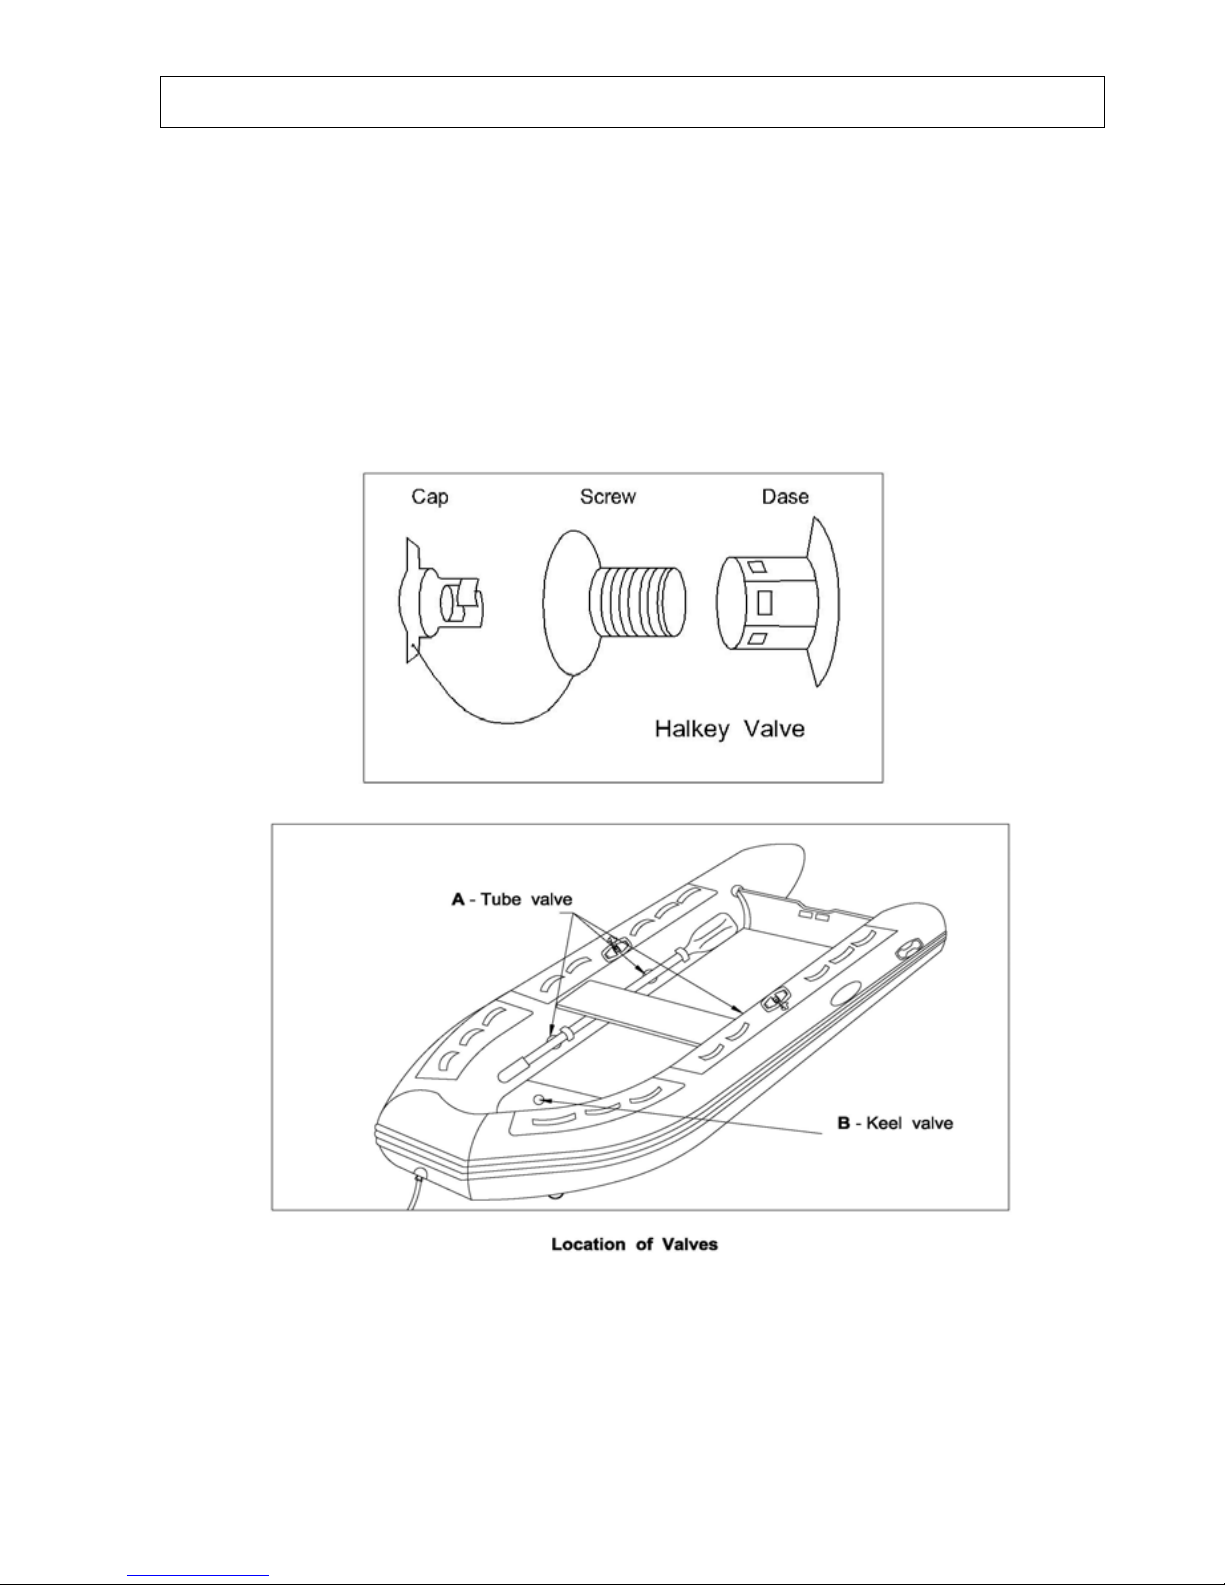
4. When using the boat for the first time, fully inflate it by attaching the foot pump
to each of the valves, one at a time, and when pumping, ensure that a balance of
pressure between the chambers is maintained until the boat has been fully inflated.
When the boat has been fully inflated, unscrew the valves and allow approximately
½ of the air to escape. Screw the valves on again, and continue assembling the boat.
NOTE : Do not inflate the keel until the floor boards have been installed.
 Loading...