

West Marine 180SS Owner's Manual

Owner’s Manual
®


INTRODUCTION
Thank you for selecting the West Marine 180SS Propane Barbecue. Your unit was carefully
inspected and tested at our factory. We take pride in producing one of the finest barbecues
manufactured for marine use. Please take the time to read this manual carefully before installing
and using your barbecue; many of the instructions are essential to the safe operation of your new
Propane Barbecue.
Due to the continuing refinement of our product designs, your barbecue may possess features not
discussed in the manual. We have tried to supply all the information you might need. West Marine
advises strongly against unauthorized modification of this product, but we do encourage you to
correct problems which may arise by undertaking the simple repairs and maintenance described
in this manual.
Barbecue mounting options are not included. To satisfy your specific mounting application
for your West Marine 180SS Propane Barbecue, the mount is sold separately. Please read the
“Installation Instructions” section entitled “Mounting” for more details.
Safety
Read all Instructions before Operating.
• For outdoor use only.
• Use high pressure propane cylinders only.
• Always light barbecue with lid open.
• Do not leave the barbecue unattended when in use.
• Always turn propane off after use.
• Do not make unauthorized modifications to this product.
Caution: The Barbecue lid is hot – Do not touch when in use. Open lid with handle only.
If you are missing any parts or have questions regarding assembly,
performance or operation please contact Customer Service at
1-800-663-8515 or sales@force10.com.
INSTALLATION
Unpacking and Installation
1. Remove all plastic protective covering before use.
2. Unstrap Grease Tray from cooking rack and place in front slot.
3. Verify the burner is positioned with the burner slots vertical.
4. Position the Flavor Plate with the flat end to the back and the indent facing up on the lower
rails (See item 2 in Assembly Diagram).
5. Ensure the back tabs on the Cooking Grill are in the holes on the back of the upper rail.
6. The front of the grill should sit on the front top ledge.
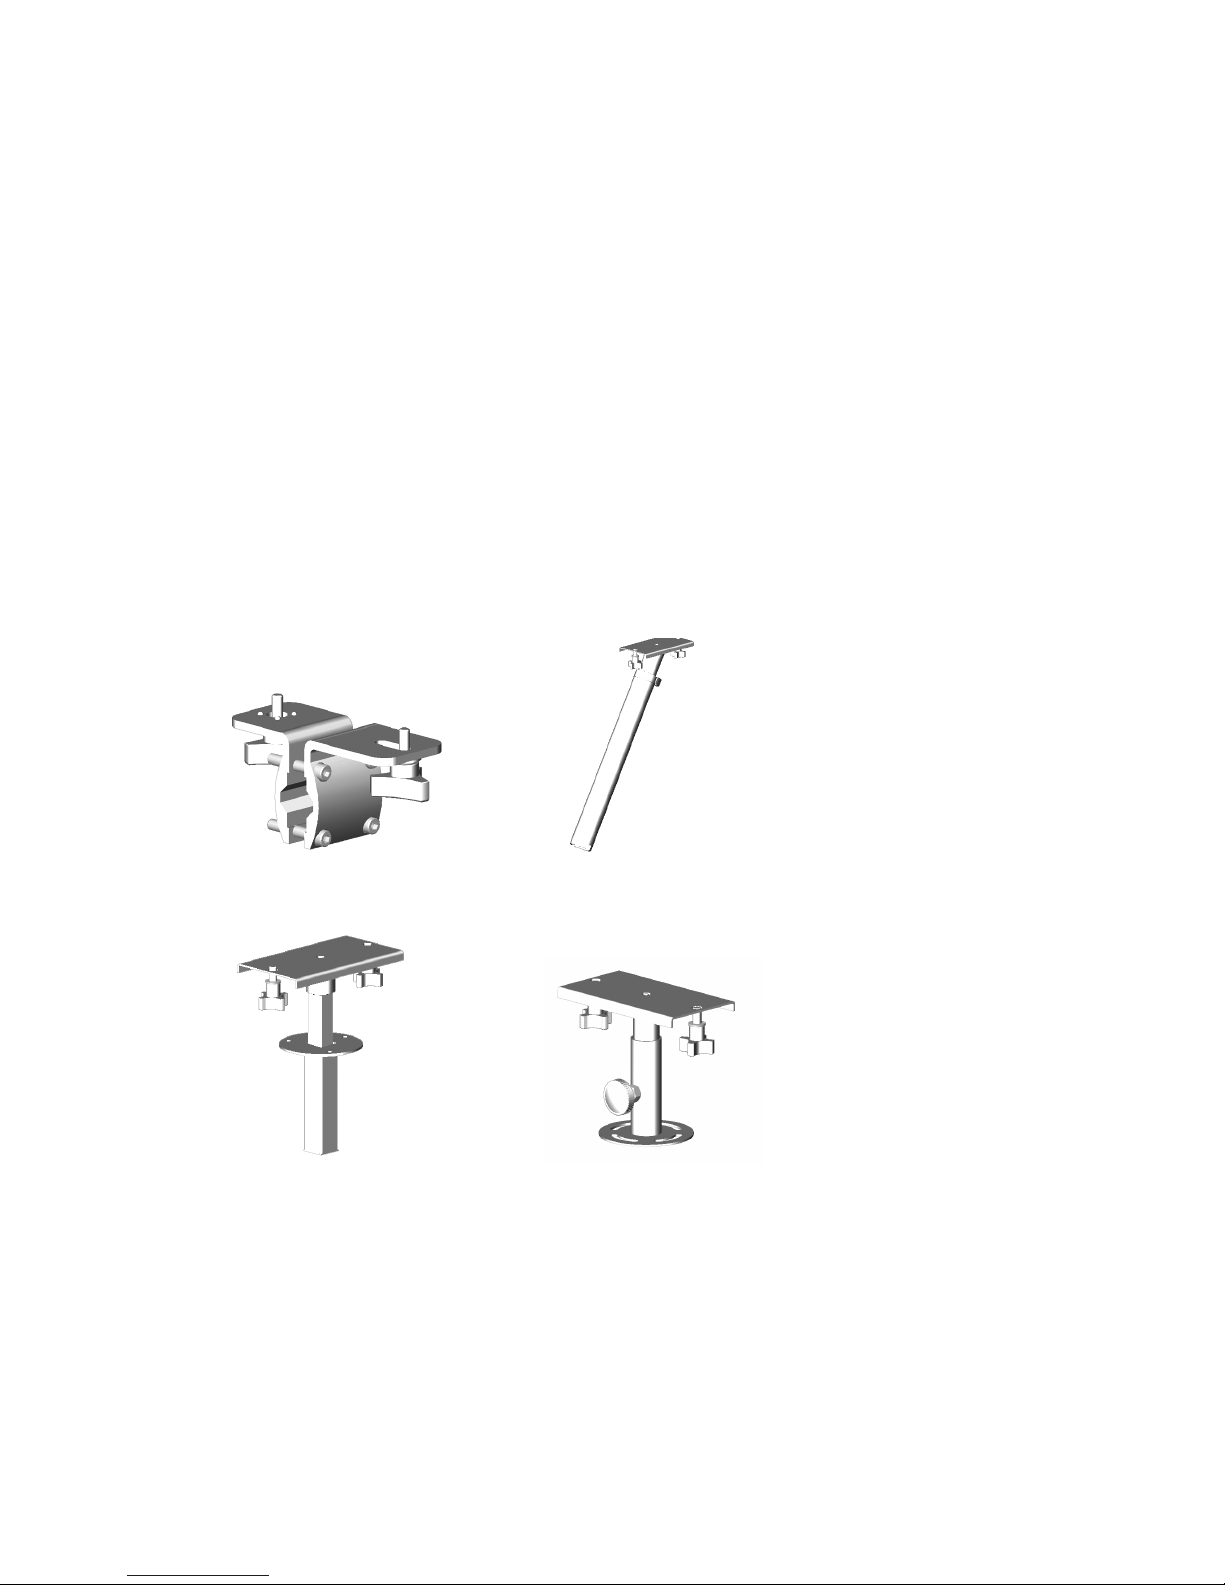
Mounting
There a (4) mounting options available for the West Marine 180SS Barbecue. (Mounts are
sold separately)
Figure 1 Rail Mount, Model # 6816540 Figure 2 60º Rod Holder Mount,
Model # 6816573
Figure 3 Flush Socket Mount, Figure 4 Surface Deck Mount,
Model # 6956122 Model # 6956148
Note: To ensure that your barbecue remains safely aboard your vessel, we recommend that you
remove the Barbecue from the mount and store it while underway. Long periods of vibration
may loosen the barbecue on the mount.
To attach the barbecue to the mount, please follow the instructions included with the mount.
 Loading...